Hi everyone, it's KaminoKGY and today we're going to test the Tarantula Pro from Tevoup. We had already tested the version of the previous brand Tevo or Homers, live, but I was not very convinced by these plastic parts. And I'll admit that I still wondered why the brand had changed its name already.
Rebirth
And I found this article which seems to be a press release from the brand. We can read that a certain Yongyi Wang, sorry for the pronunciation, invested millions of dollars in the company for 3 years because he believed in it. And he gave all the money to a friend, Chris Leonardo because he trusted him. Except that his friend allegedly kept a good chunk of the money supposed to buy materials for the machines, but they never arrived. So he gave her more money to be able to reimburse people who had ordered machines without success and were asking for a refund. Except that again, his customers would not have received a refund or the promised machine.
Then the company would have waited 3 months for materials to make Hydras, except nothing happened. This is where the investor understood by registering on the Facebook group that he realized that he was being lied to and that the money was partly embezzled by his friend.
So he ended up contacting the police and reporting the embezzlement and putting Chris Leonardo in jail.
During this period, the investor took over the site and the Facebook group. He reimbursed customers who requested it, and ensured that machines were completed and shipped. Above all, he developed the team with designers and engineers. This raised the question of the future of the brand, if Tevo and Homers were to continue or be closed, which meant abandoning its customers. He preferred to keep the team, but to relaunch the activity under a new Tevoup brand with the Tarantula Pro that we are testing here.
Article : https://www.inov3d.net/tevo-is-back-stronger-than-ever-tevoup/Unboxing
In the box, there is documentation, some test PLA, a pouch with screws, tools, power cable and spool holder. We have a spatula, the amount of the printer preassembled, apart from the hotend that we find just below. Finally, we have the base also pre-assembled.
Before moving on to assembly, when I got out of the base, I realized that the tray support was a little bent, probably during transport. I don't know if you can see it very well there, but the back is quite visible. Once out, you realize it better. The good thing is that it is a rigid piece, but you can still straighten it by hand. You just have to go slowly and avoid going back and forth so as not to break the part.
Assembly
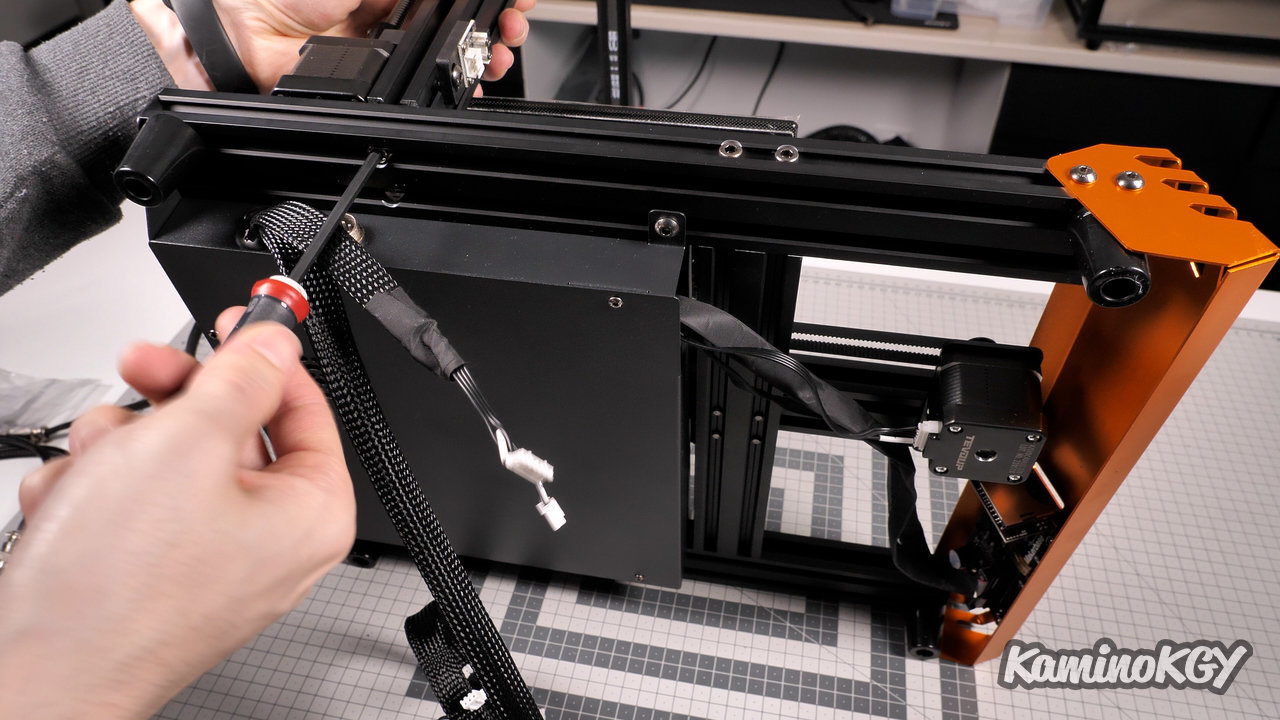
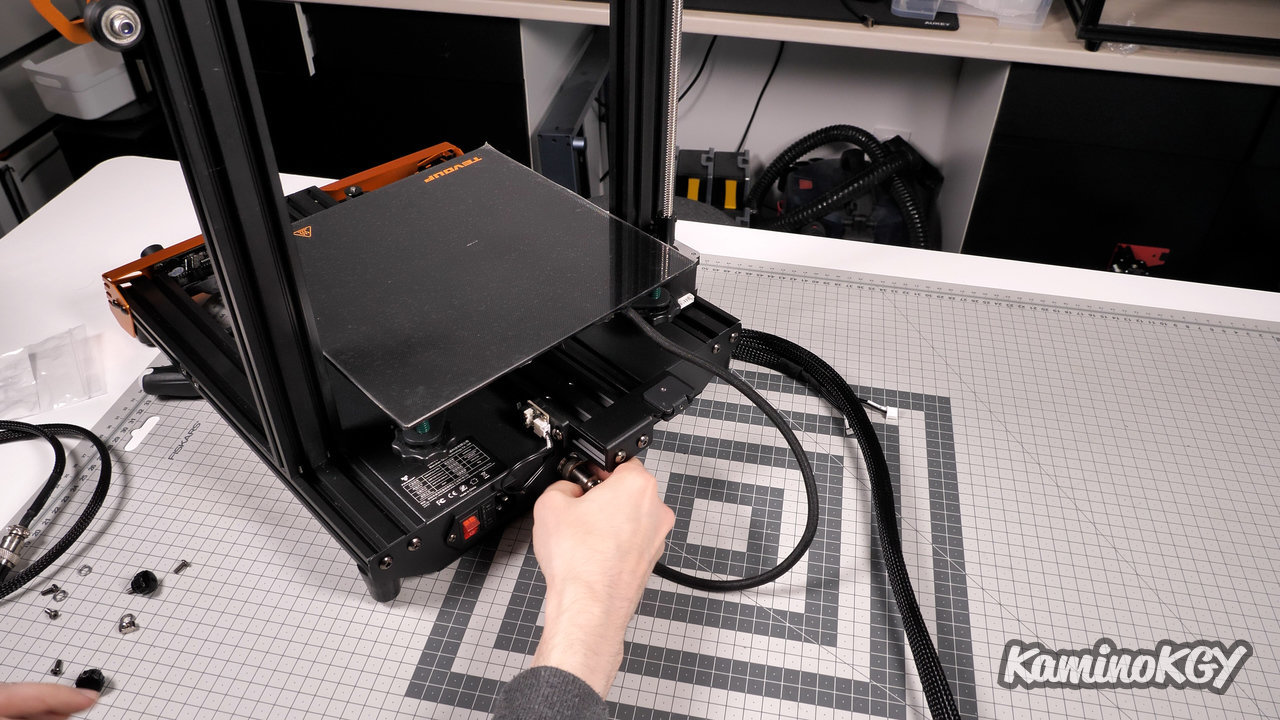
Regarding the assembly, it's super simple, there are 4 screws to put underneath to screw the upright in place. We connect the plate, we just screw the hotend on the carriage. We screw the 2 knobs which are used to tension the belts. Connect the Z axis motor and its limit switch. We connect the extruder, the end of filament detector and finally the hotend on the base.
Features
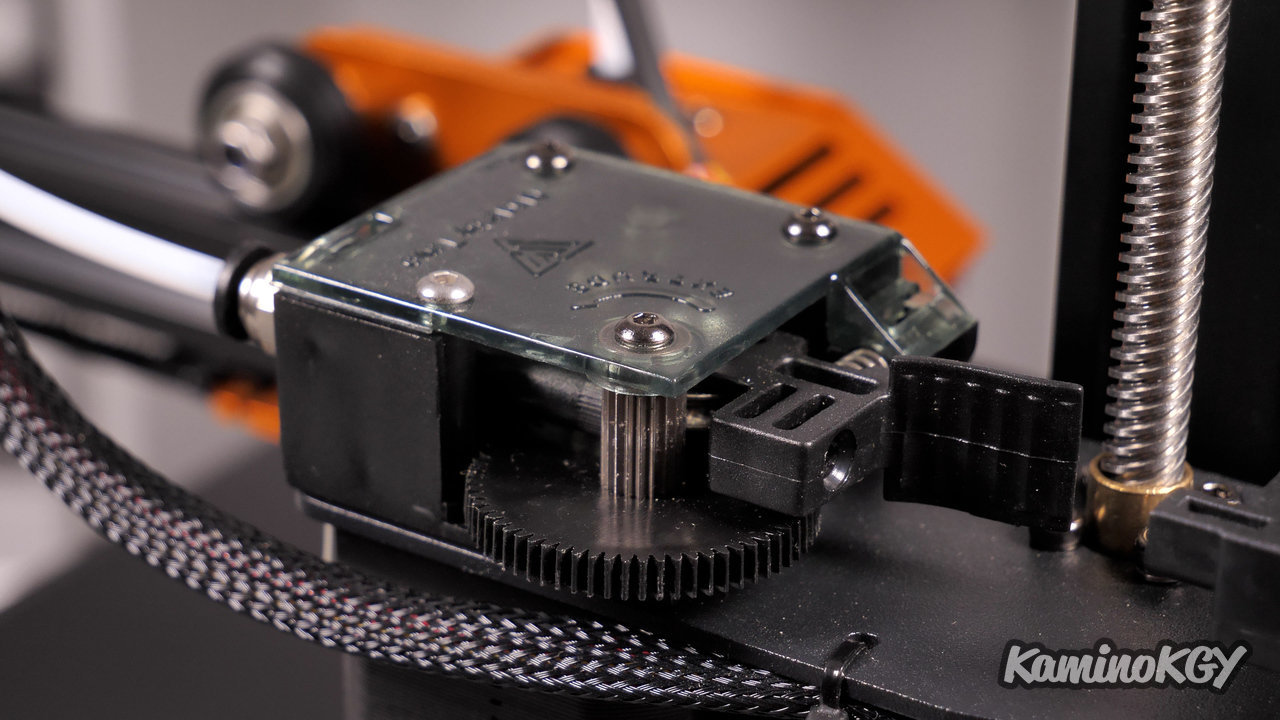
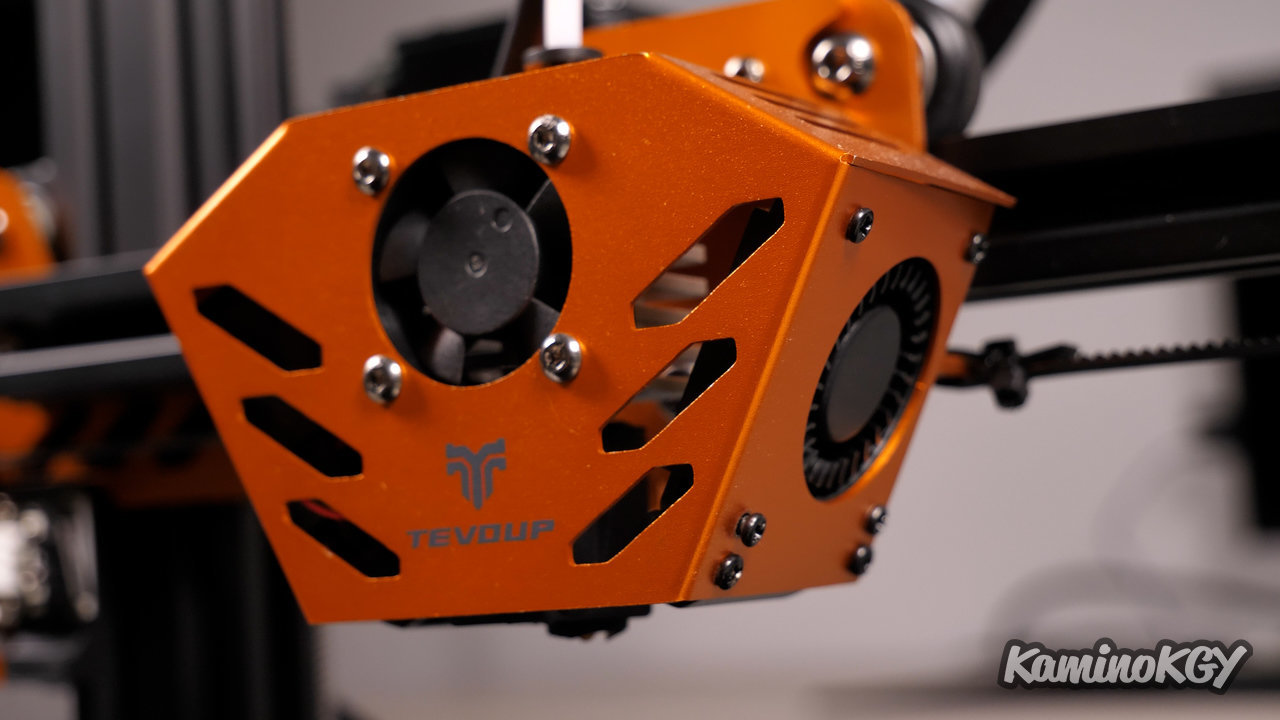
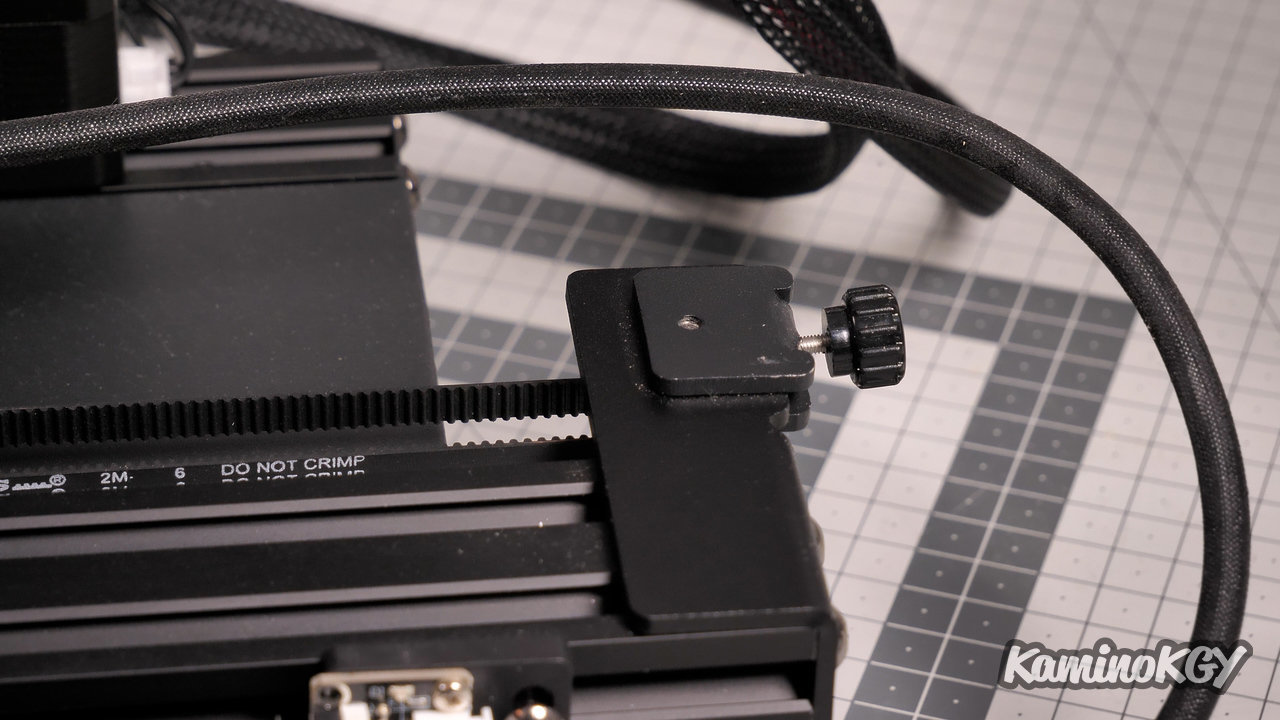
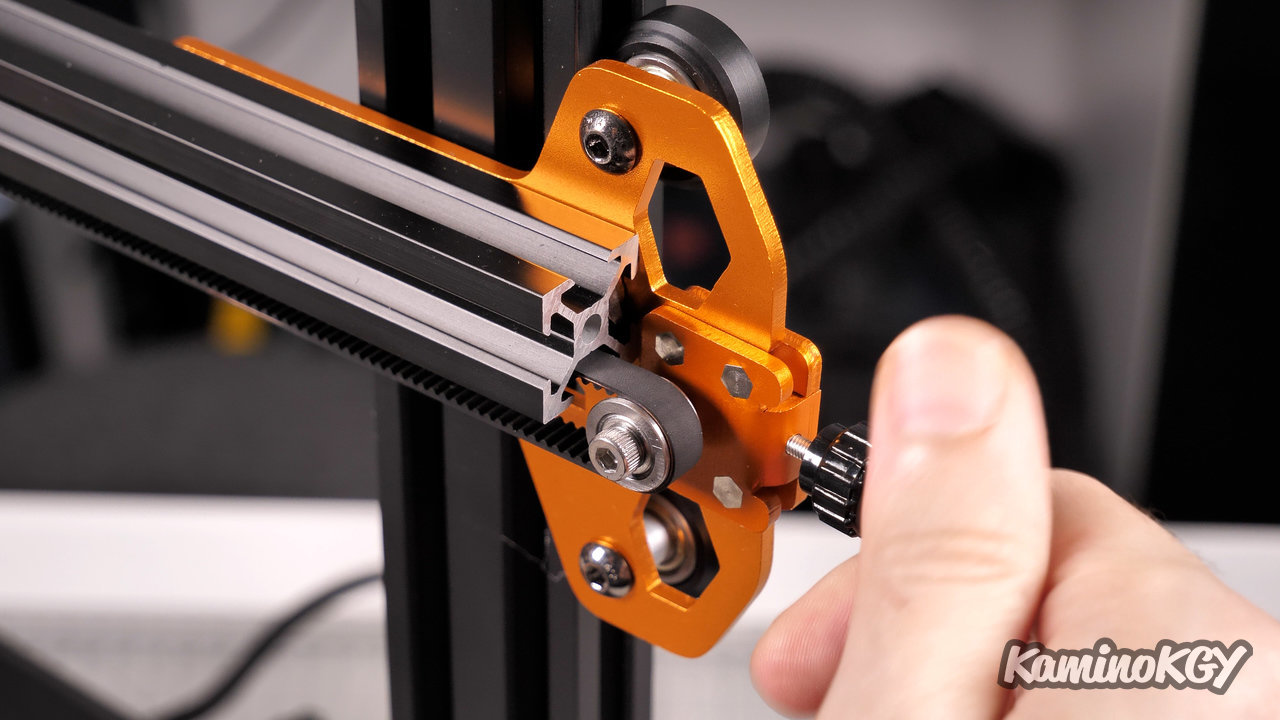
Regarding the characteristics, we have a print volume of 235 by 235 by 250 mm in height. We have an end of filament detector, a titan-type extruder. There is recovery in the event of a power outage. There is a double fan to cool the filament coming out of the nozzle. We have belt tensioning systems that are a little different from what you can find elsewhere, I will even admit that I hadn't really understood what was going on before installing the screws, I had the impression that it was crimped.
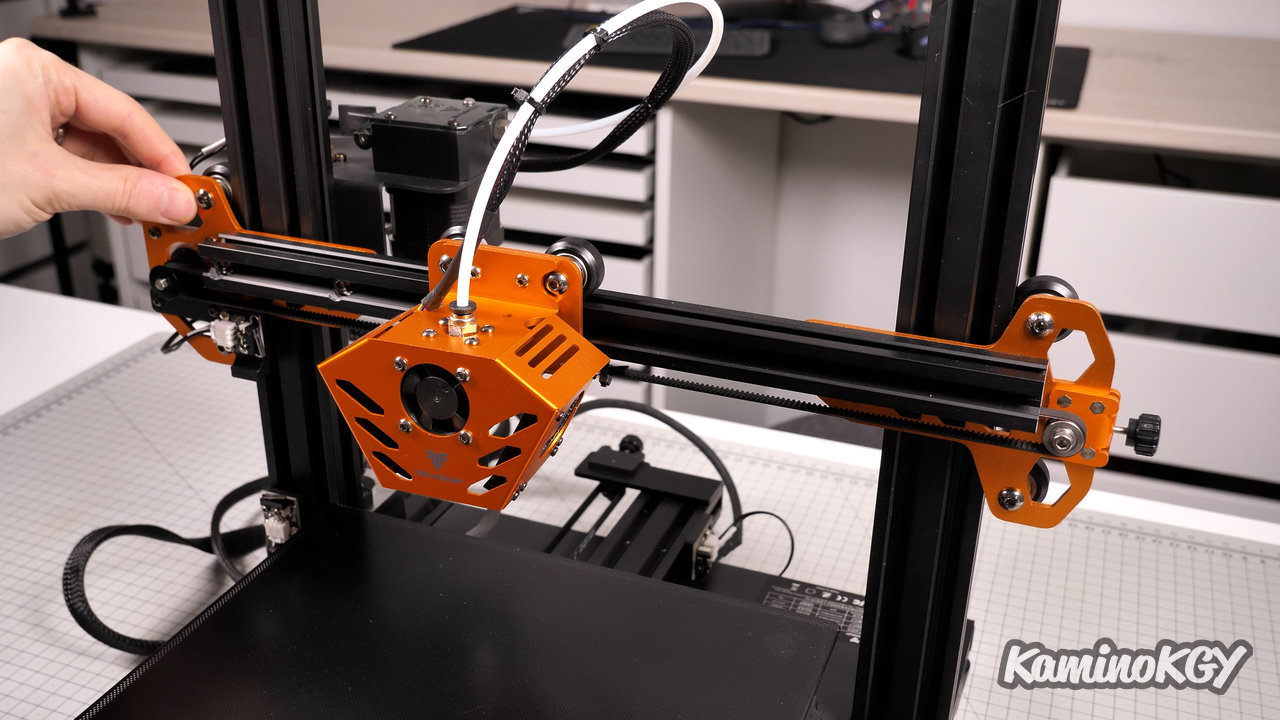
Then, the big difference compared to the old machine that we were able to test is the structure with all the metal parts and not plastic as was the case before. And it gives the machine a lot more rigidity, so that's a big plus.
The printer is relatively quiet compared to other machines we have tested on the chain. There's what they call a semi-automatic deck leveling, really it's more of a guided manual leveling.
To be improved
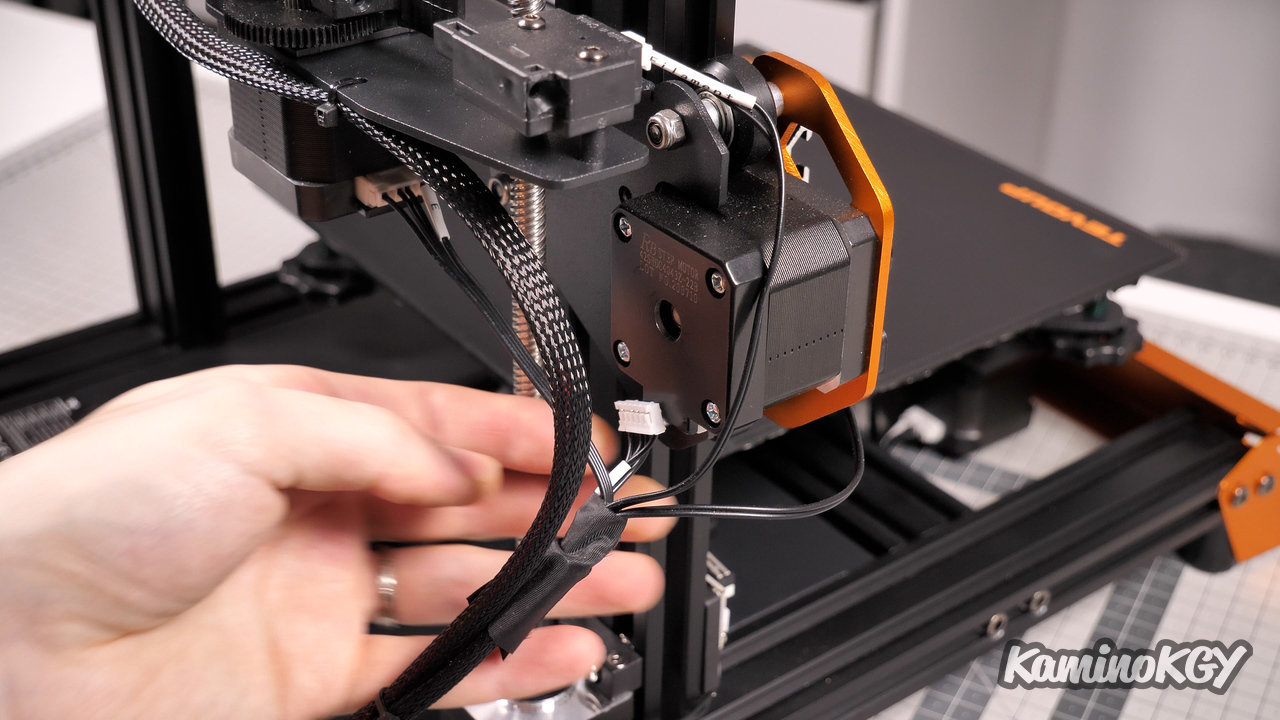
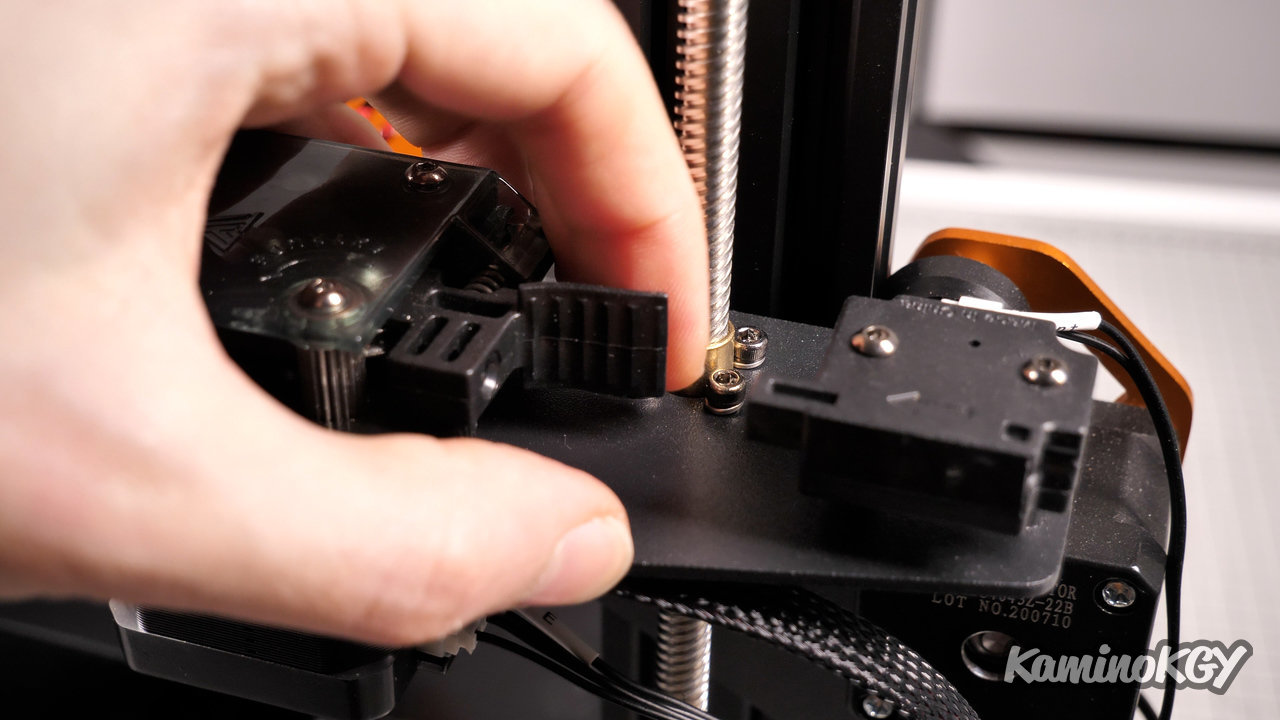
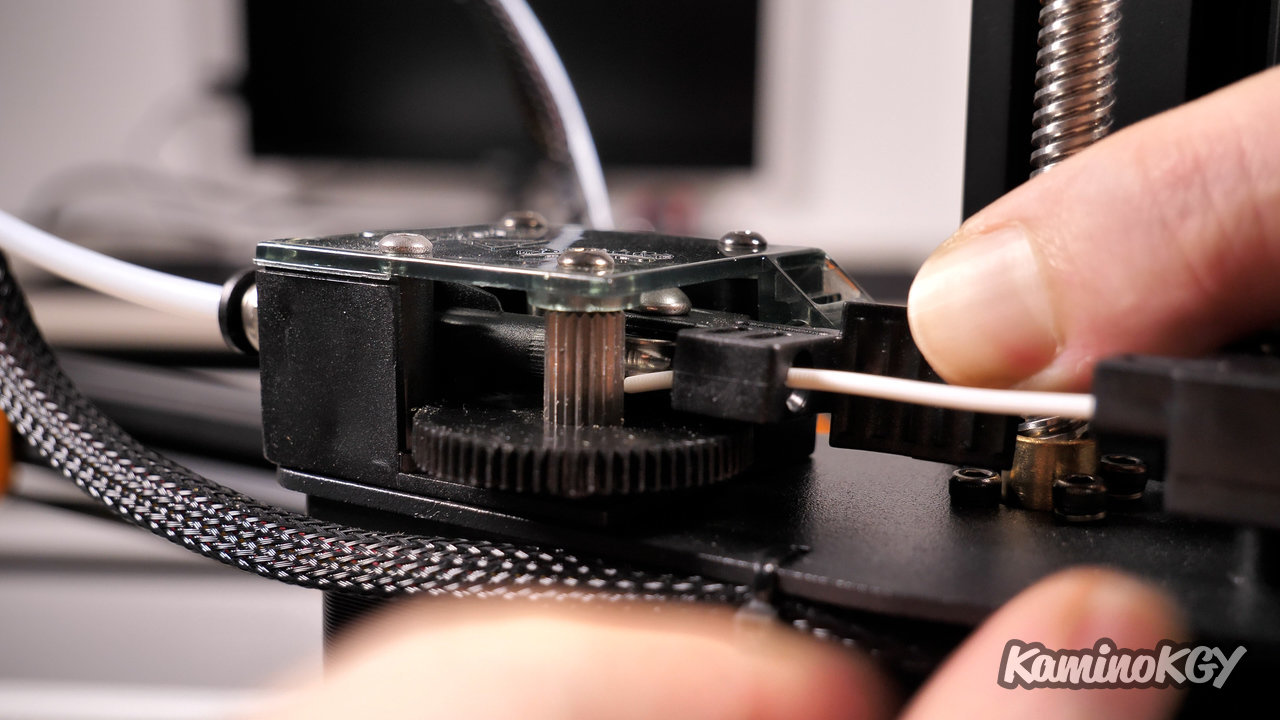
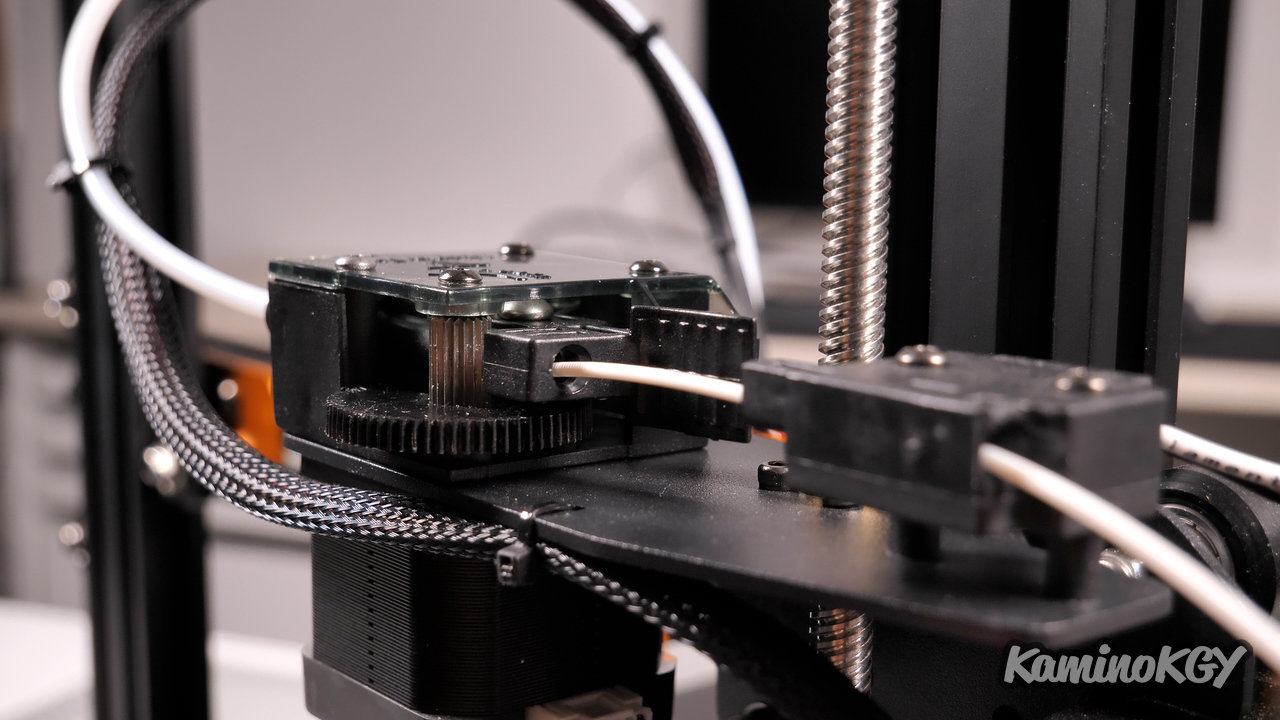
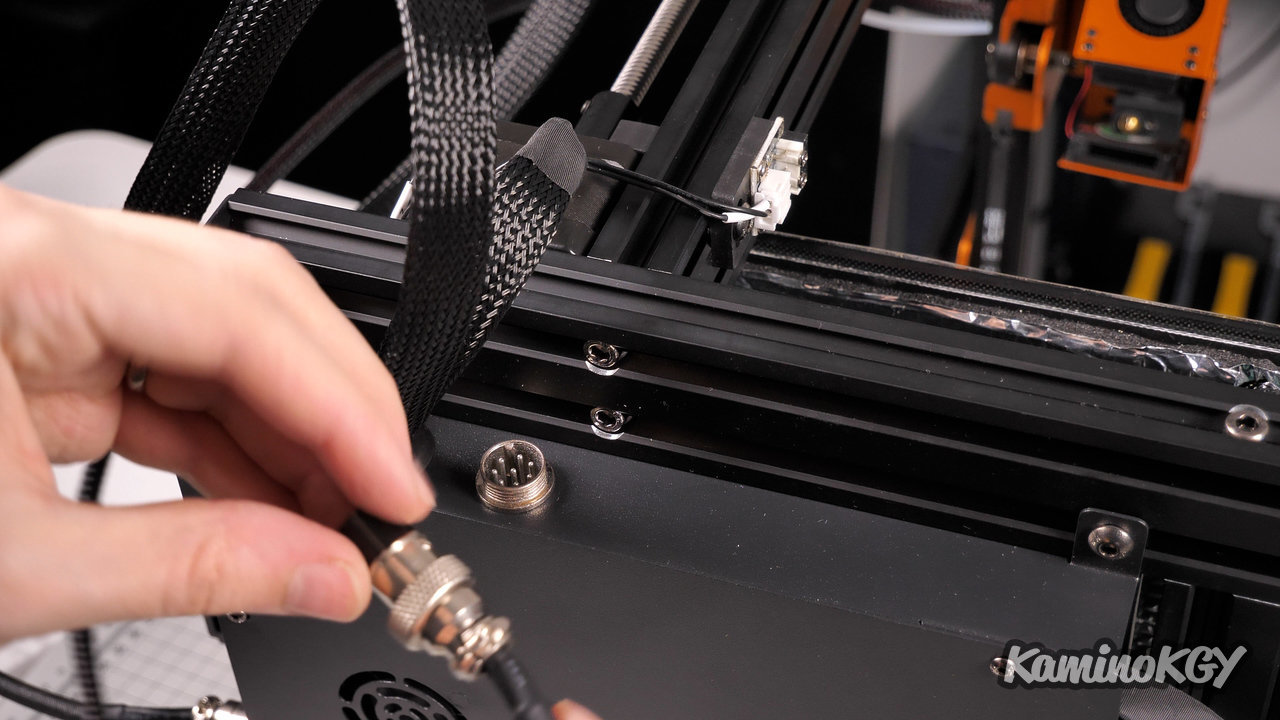
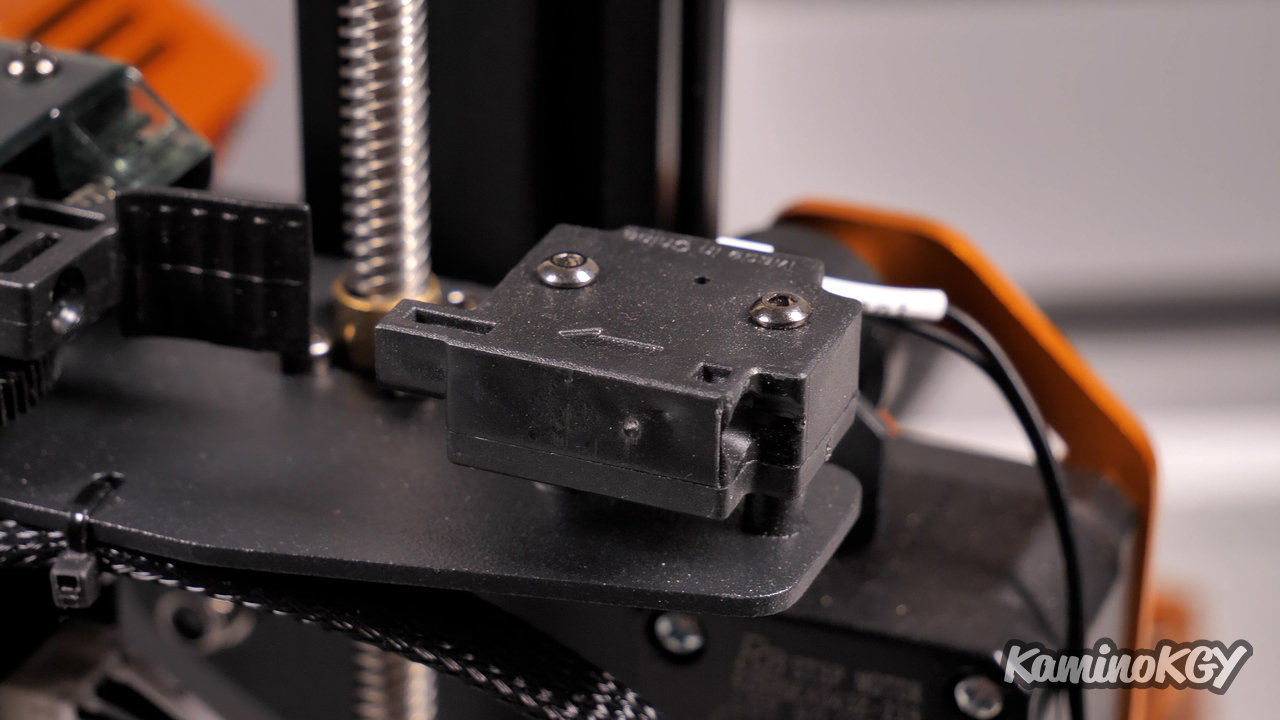
The X motor connector that disconnects if the wire snags. The connection between the Z axis and the plate which cannot be screwed too much otherwise the Z axis no longer turns. The printer always adds a Z-offset of 0.2mm, which often results in printing too high. The filament is a bit tricky to insert into the extruder, because it tends to go quite easily below or above the hole because it is not guided enough and since you have to first go through the end of filament detector, it is difficult to correct its trajectory.
Bed temperature
We have an indication of the rise in temperature with the color of the screen and the backlight. And for the plate itself, this is the first time that we have seen so many lines of the heating resistance which is under the plate. It should also be noted that the colder edges and corners are kept for a long time at the leveling screws.
Test prints
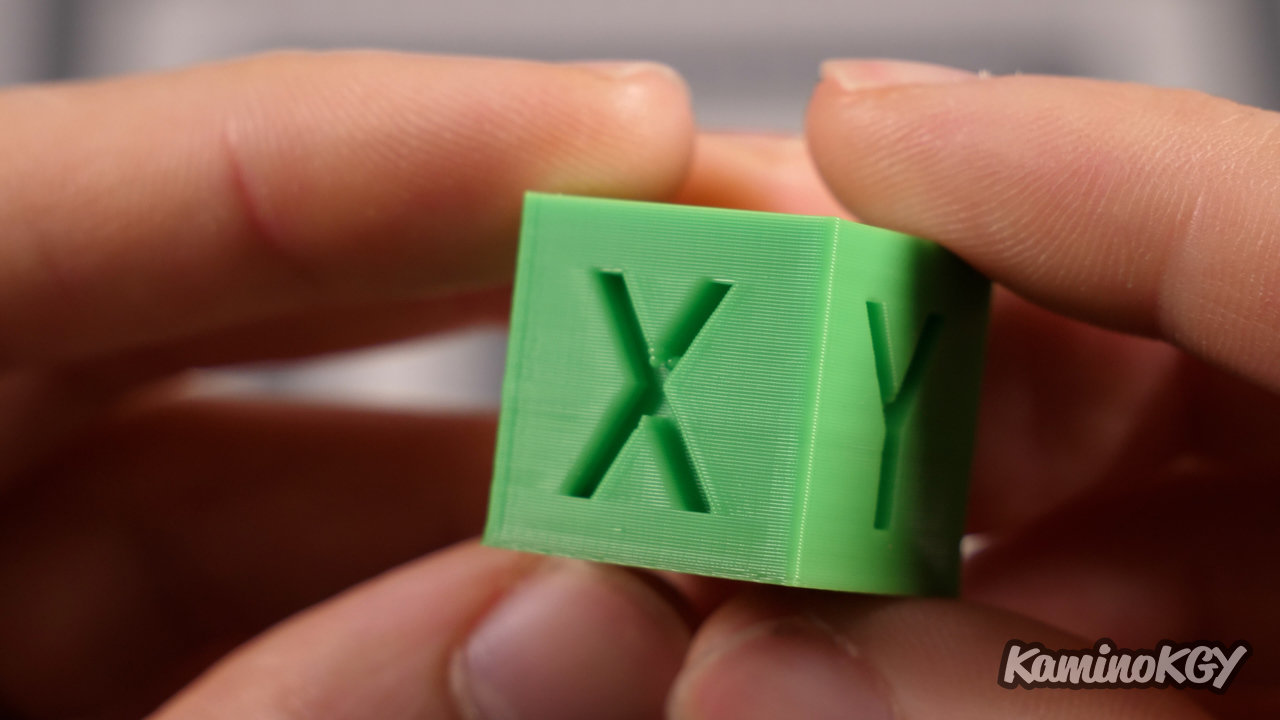
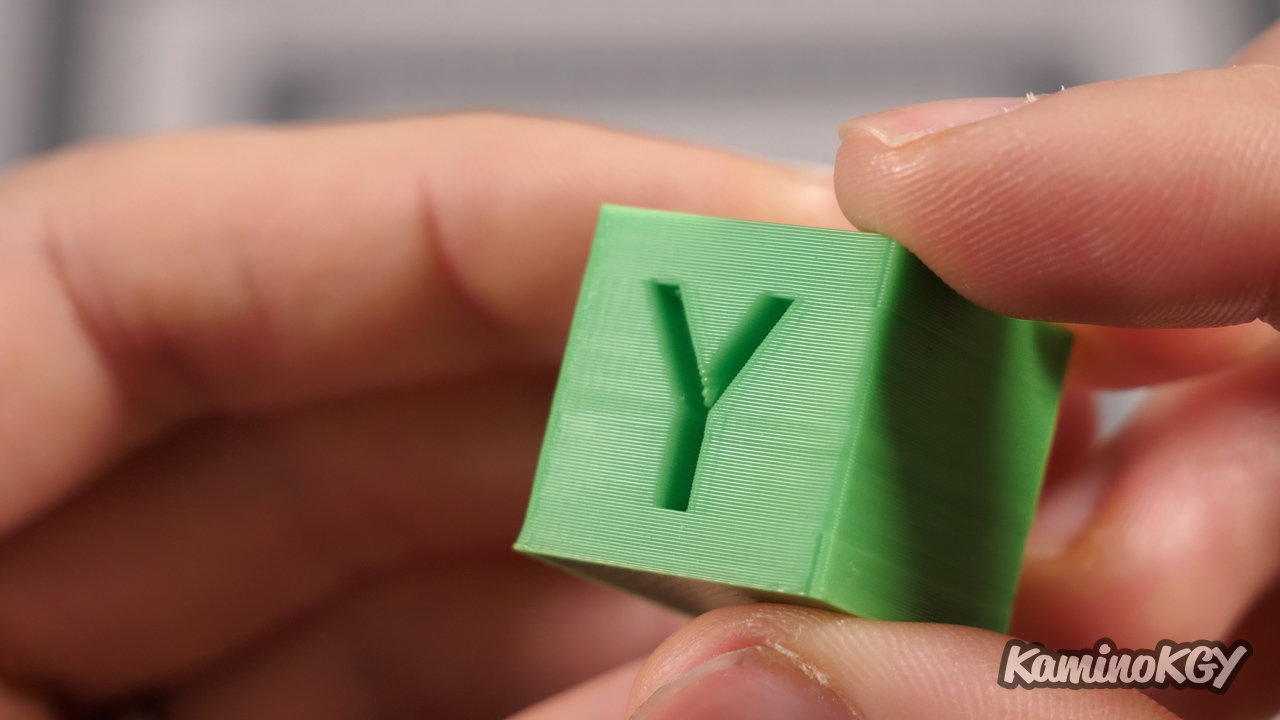
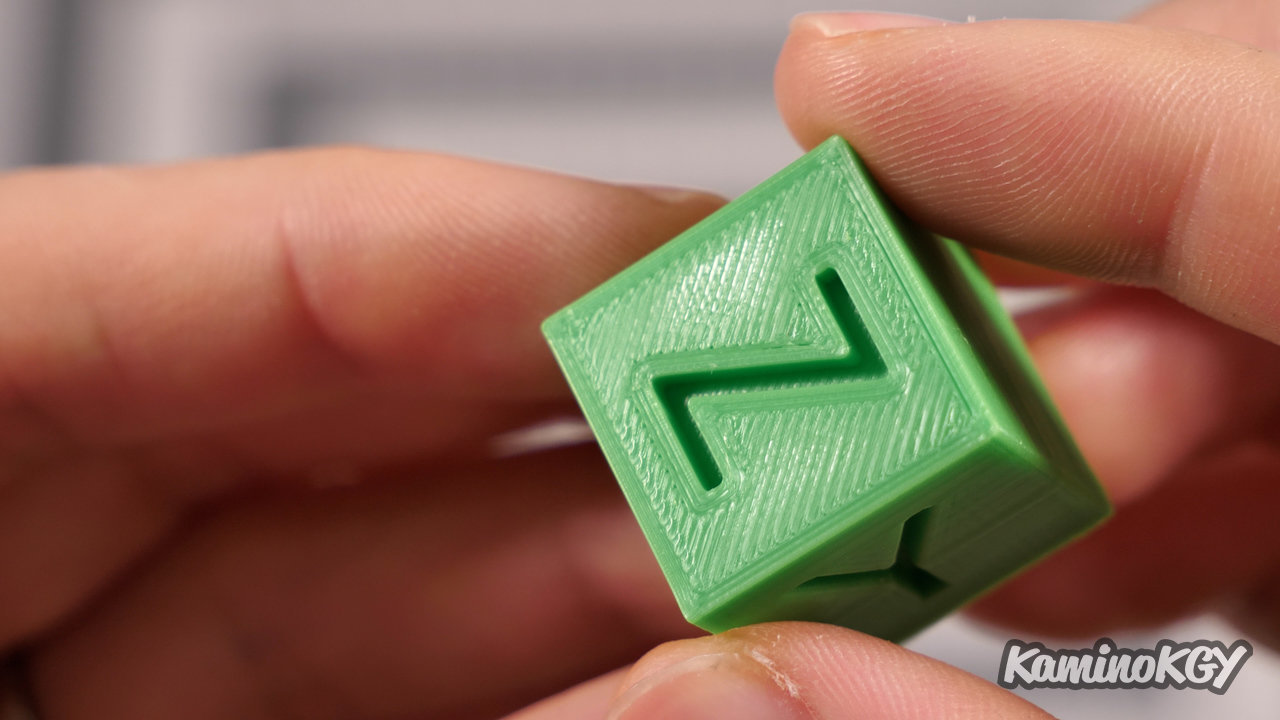
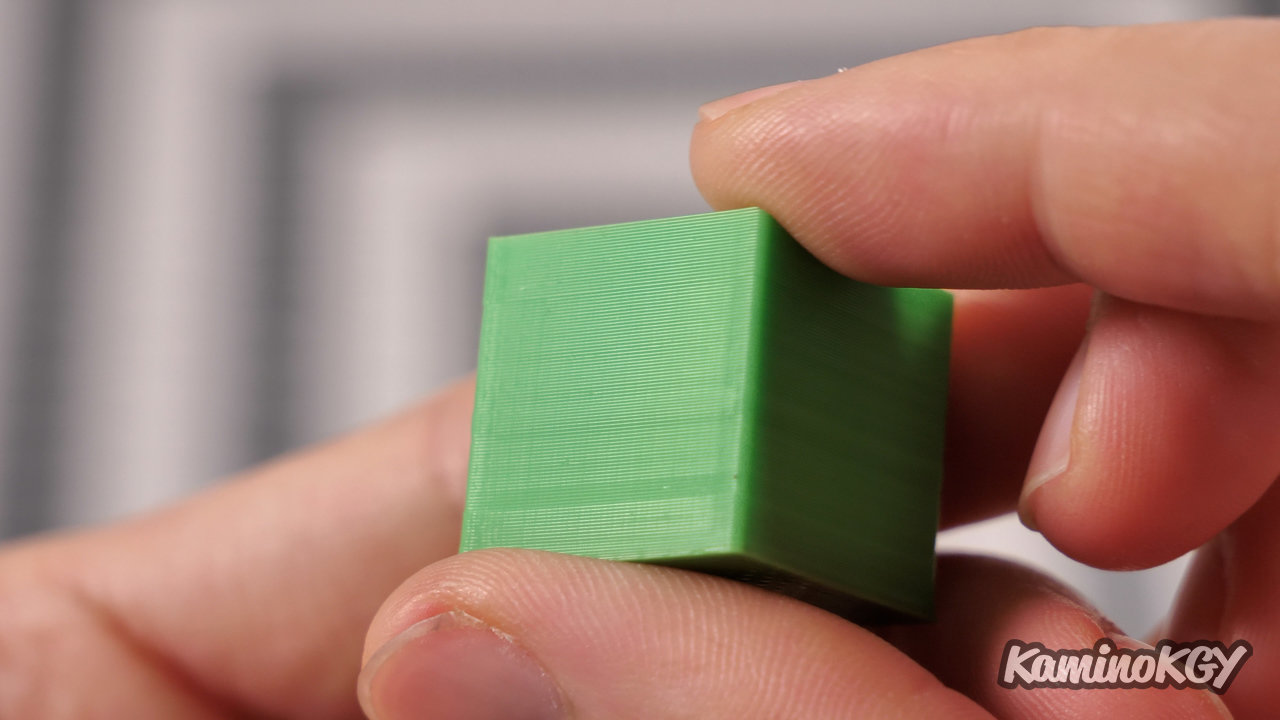
If we move on to test prints, starting with this calibration cube, the result is pretty good, we see a little crushing of the layer halfway up. Cooling inside the letters isn't too bad. We have ghosting but super light. And the surface of the top is very smooth.

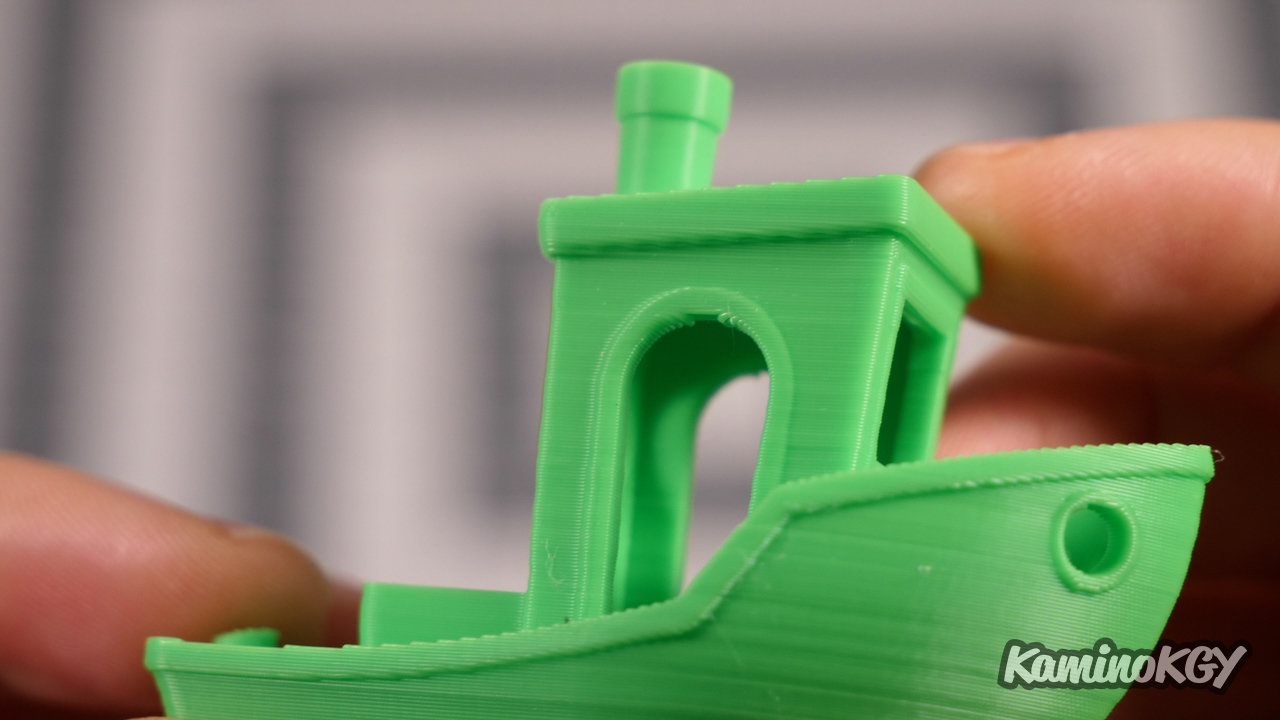
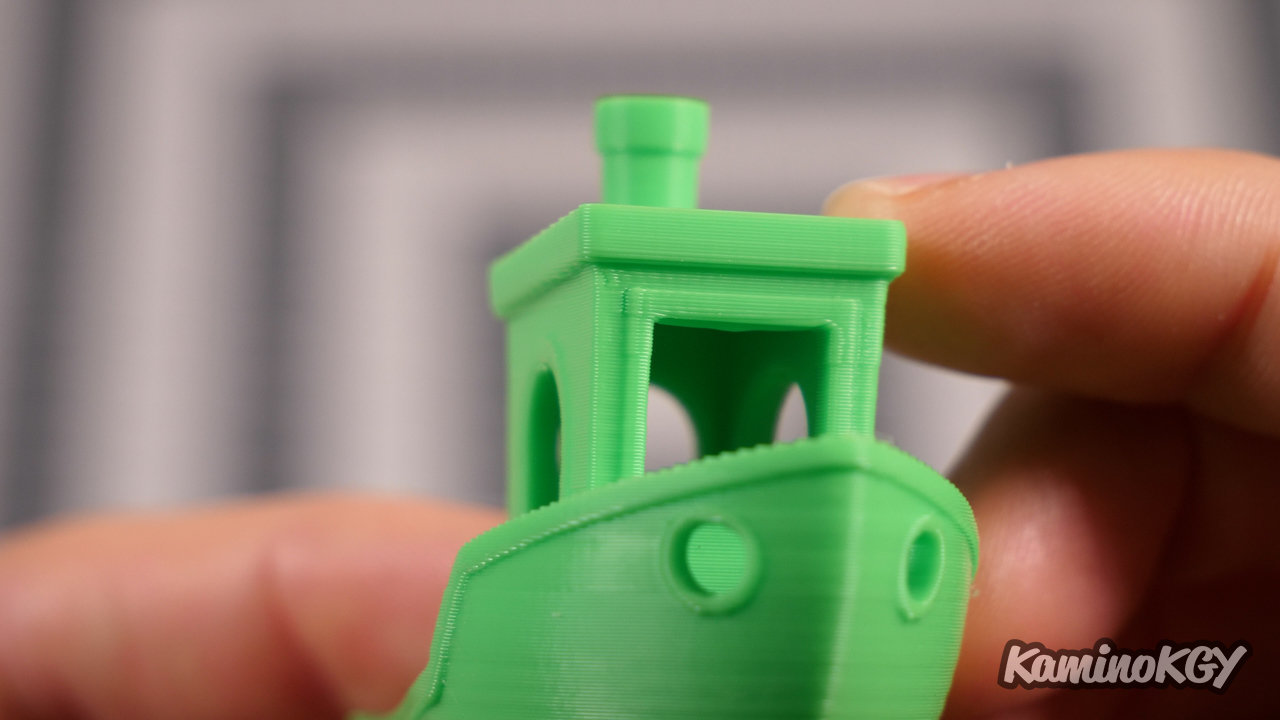
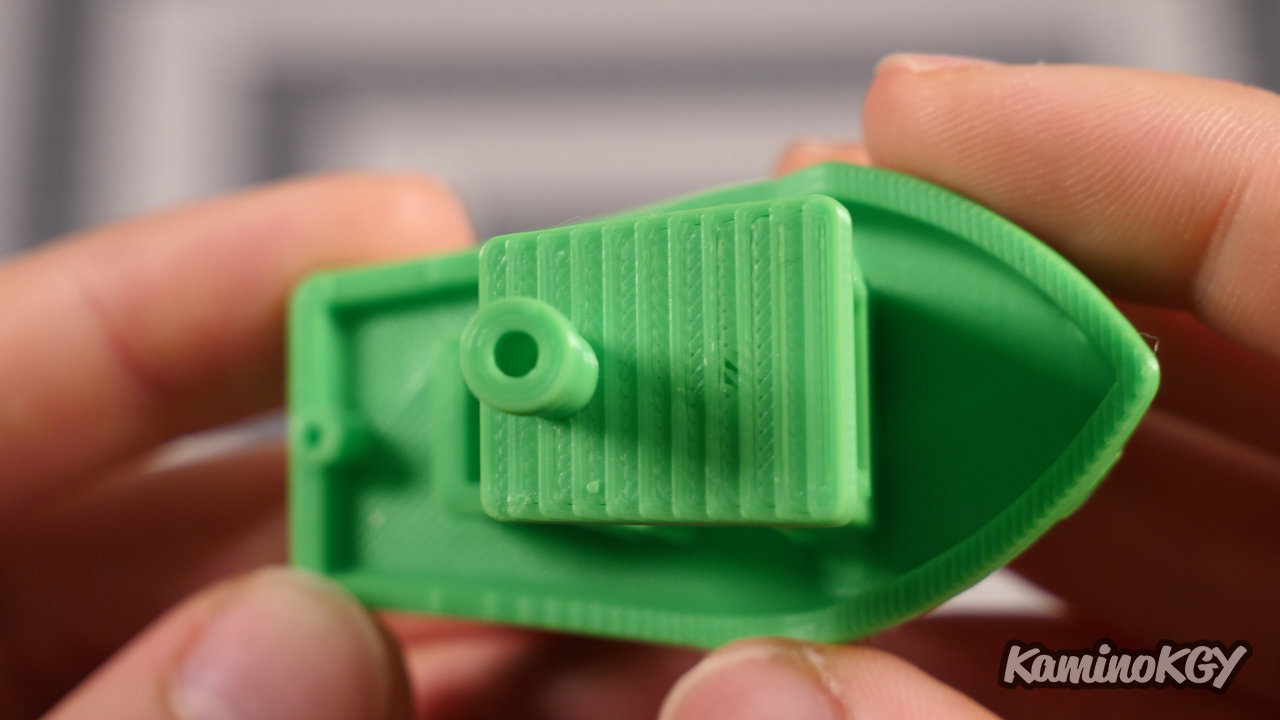
On the Benchy, the result is quite good, the hull is well designed. Cooling from the top of the cabin is good too. We may have a slight under-extrusion in places on the top of the cabin.
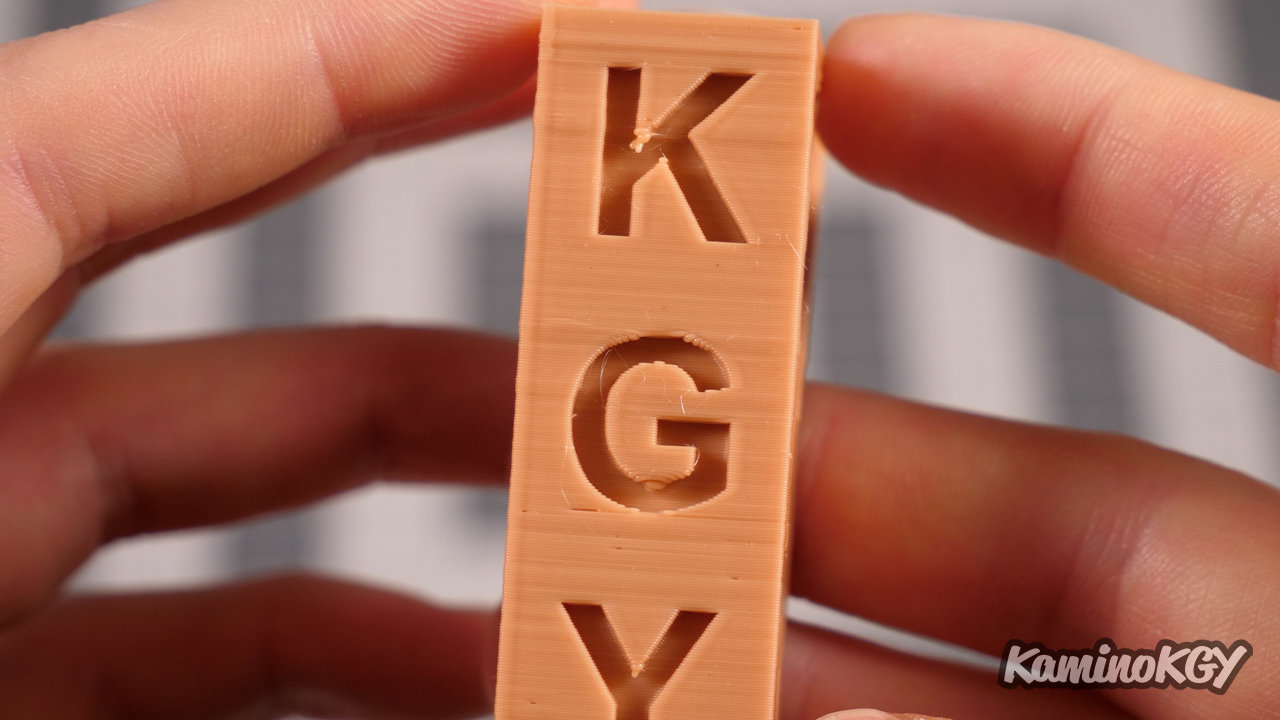
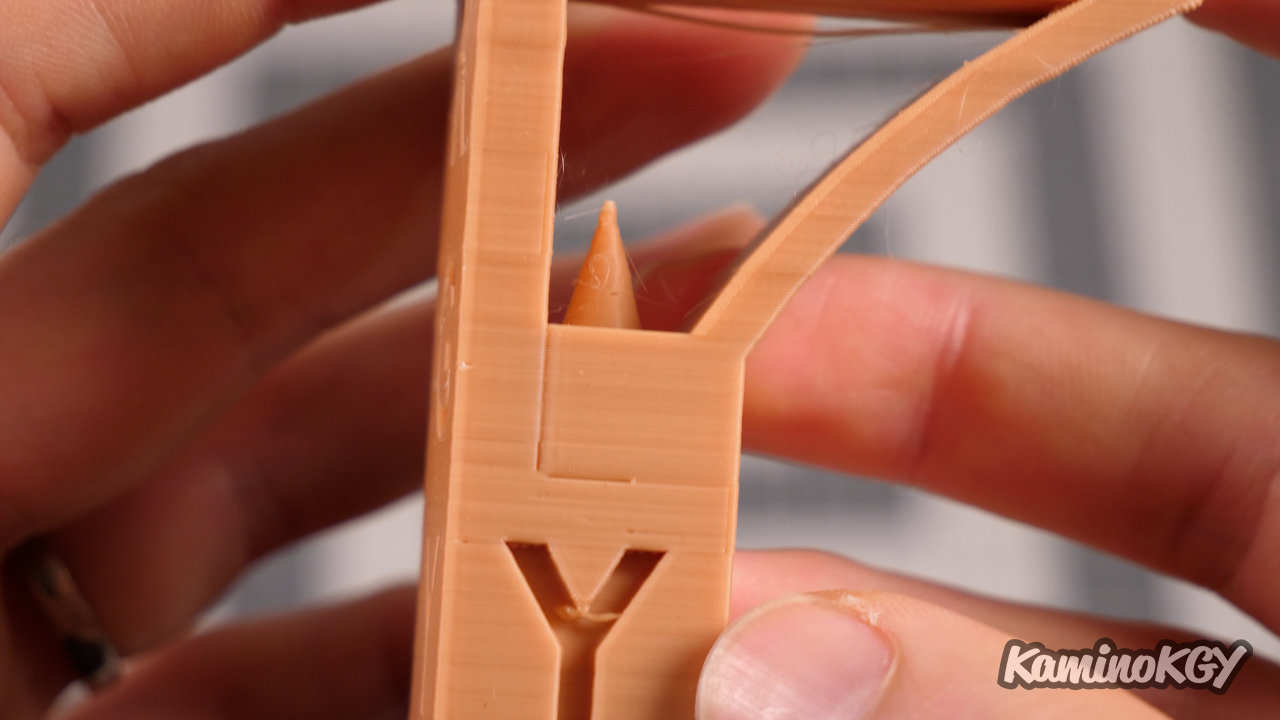
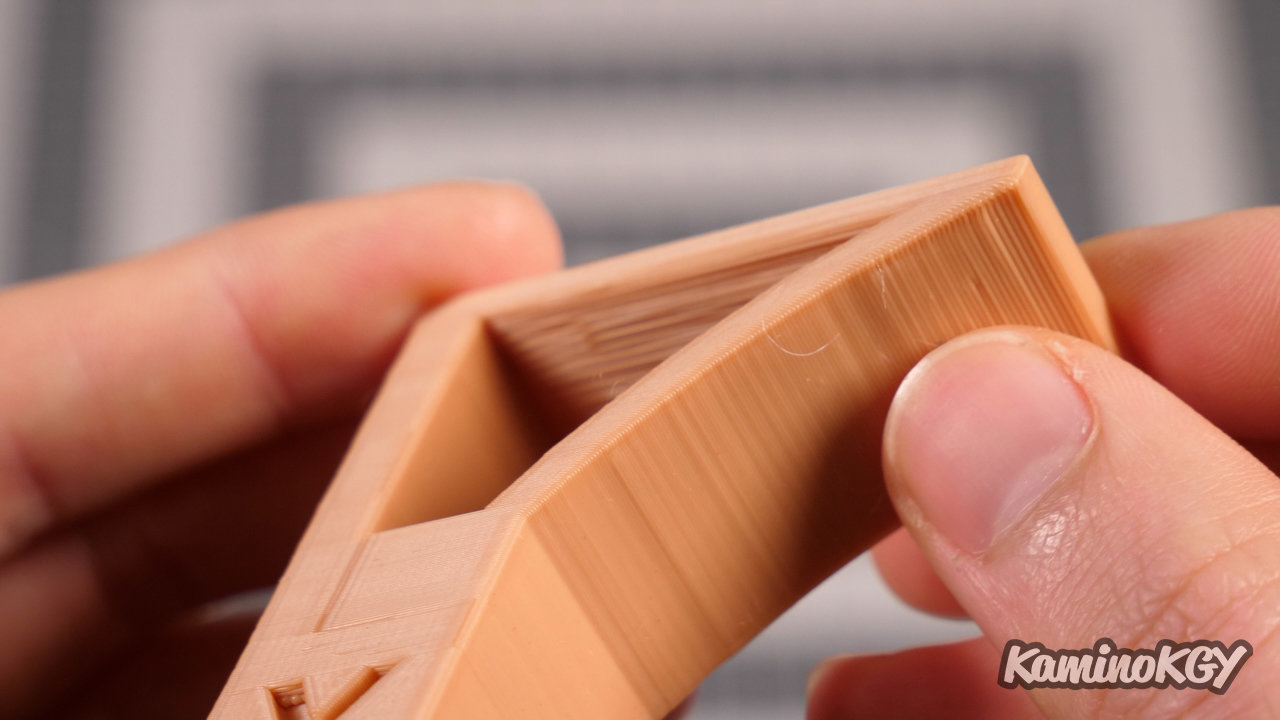

On the KGY, there is a lack of cooling inside the letters which is a little more visible. My filament may have taken on a little moisture because you can see lack of filament in places, but which were not present on the green just before. Hence also the slight stringing inside the model. The cooling is quite good on the overhang, but leaves a little more to be desired on the bridge. The top face is smooth, although it looks slightly over-extruded, this time around the letter Z.
Review
We can see that there has been a long way since the printers sold under the Tevo and Homers brands. With materials that bring more rigidity to the structure of the printer.
Bye bye!