Today we are going to test Sermoon V1 Pro from Creality. It is a 3D printer clearly oriented towards the general public with very present user support, but we will see it together in the rest of the video.
Unboxing
In the box, there is documentation, a power cable, a reel to make some test prints, a pouch with screws and tools. And below, we just have to take out the well-packed printer.
Assembly
Regarding the assembly, there is not really any, just remove all the plastics and collars that prevent the trolley from moving during transport.
Features
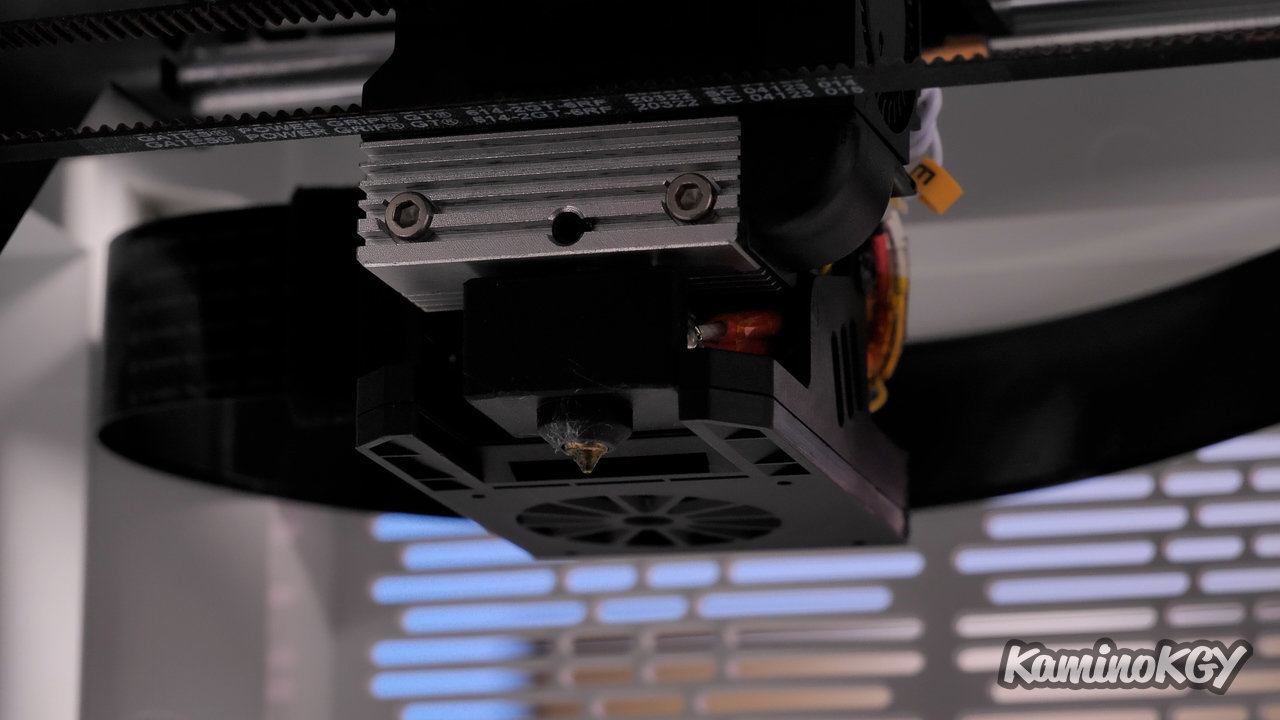
Regarding the specifications, the print volume is 175 by 175 by 165 mm. We have a very good Sprite type direct drive extruder that we have already been able to test on the Ender 3 S1. Its assembly is a little different since the radiator is visible on the front. The cooling on the filament at the nozzle outlet is done by a small blower which is horizontal, but unlike the Ender 3 S1 we have a double air outlet, so the flow is normally better distributed.
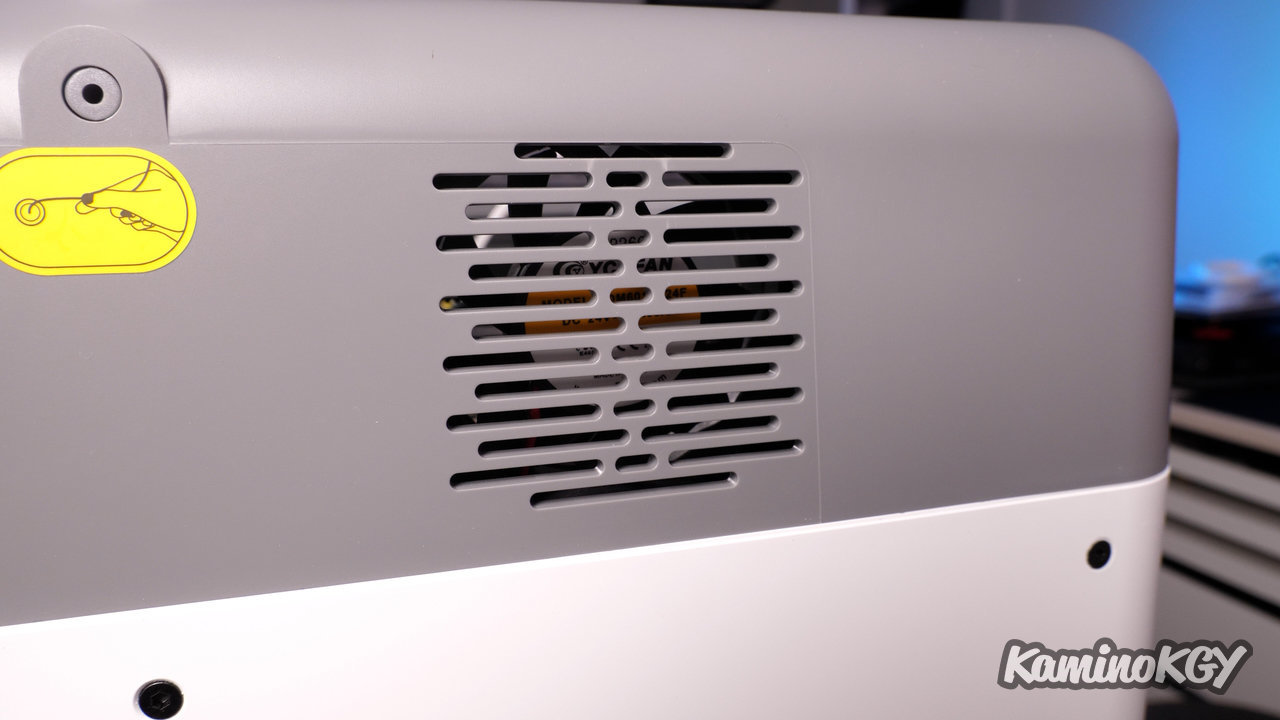
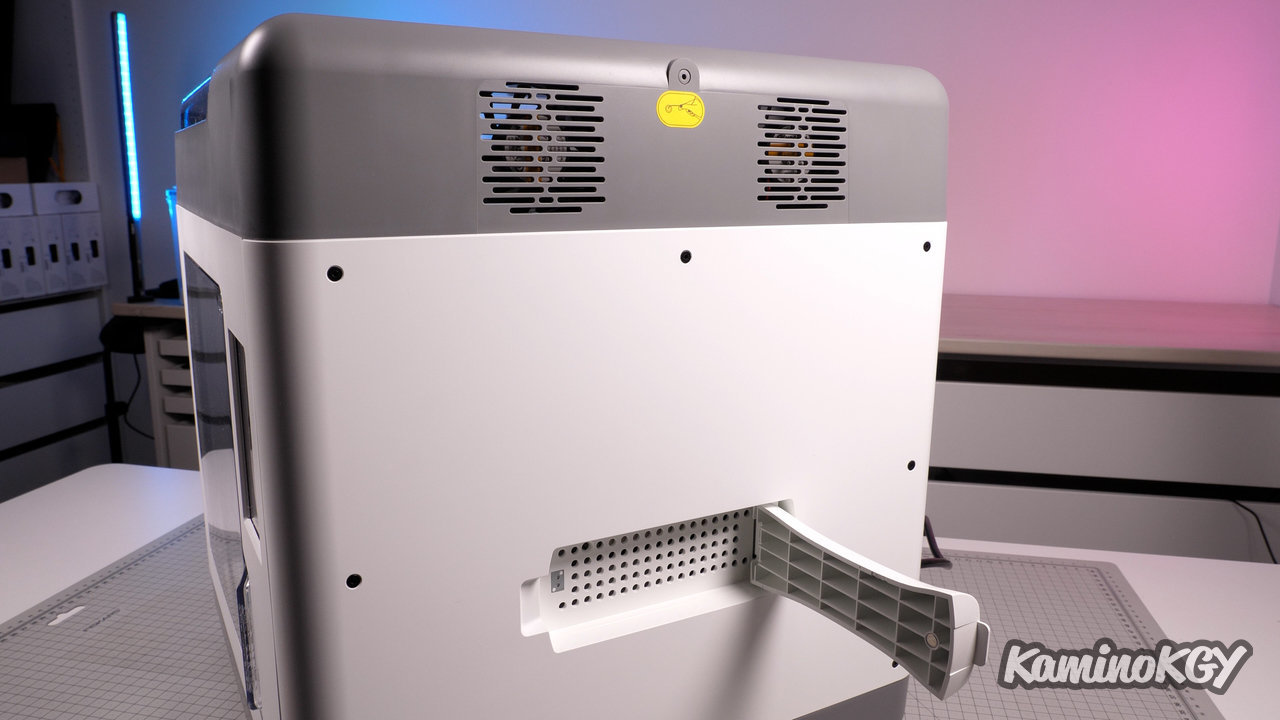
The box is completely closed, with a ventilation grille on the side. and rear You can decide whether or not to turn the fans to circulate the air in the box.
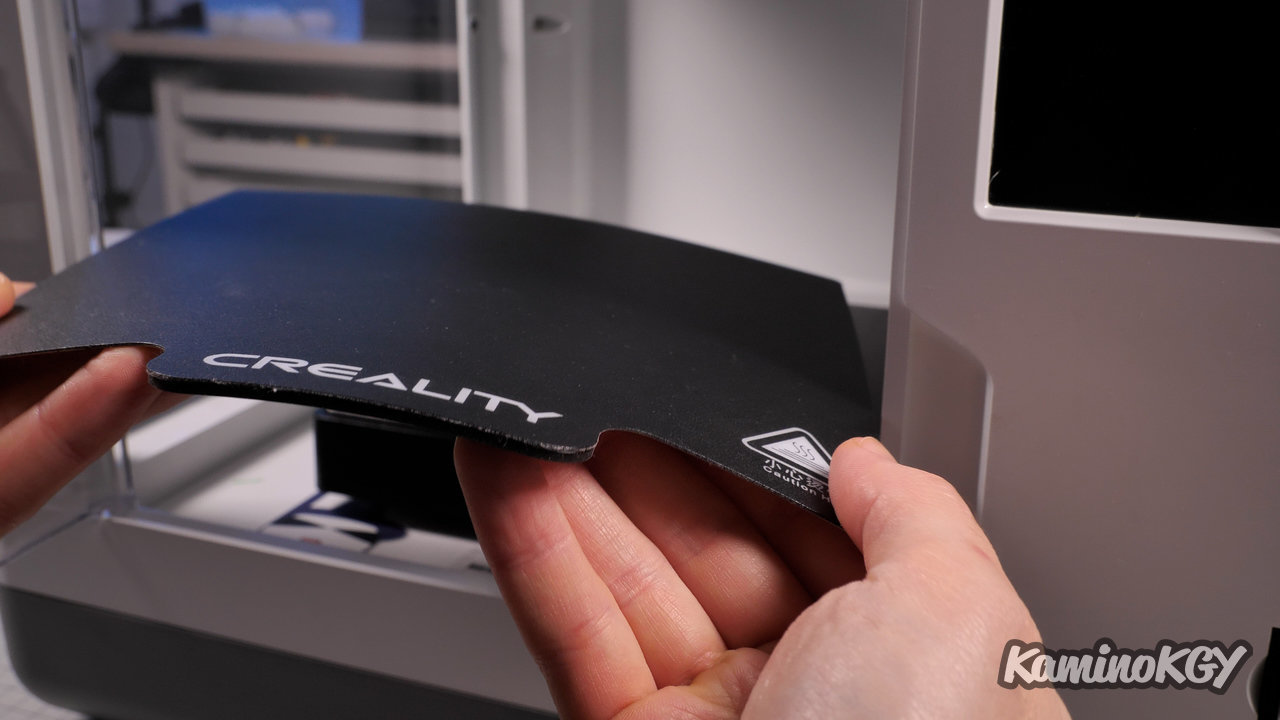
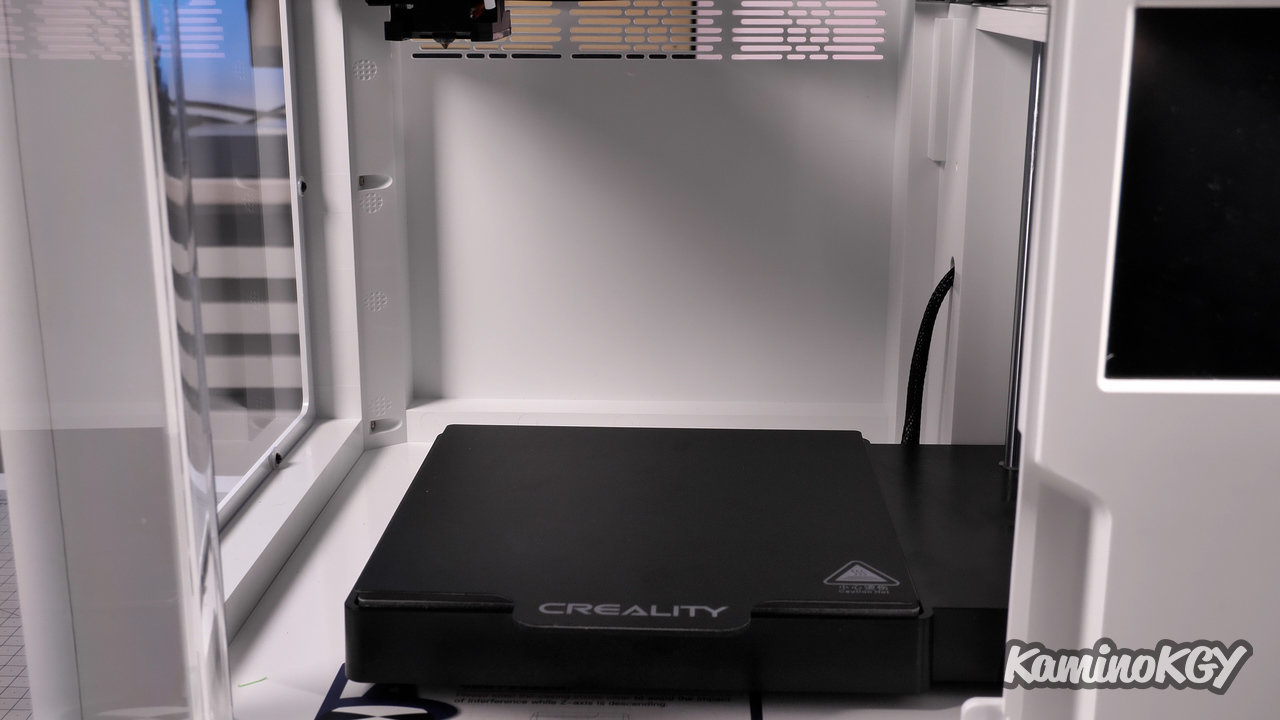
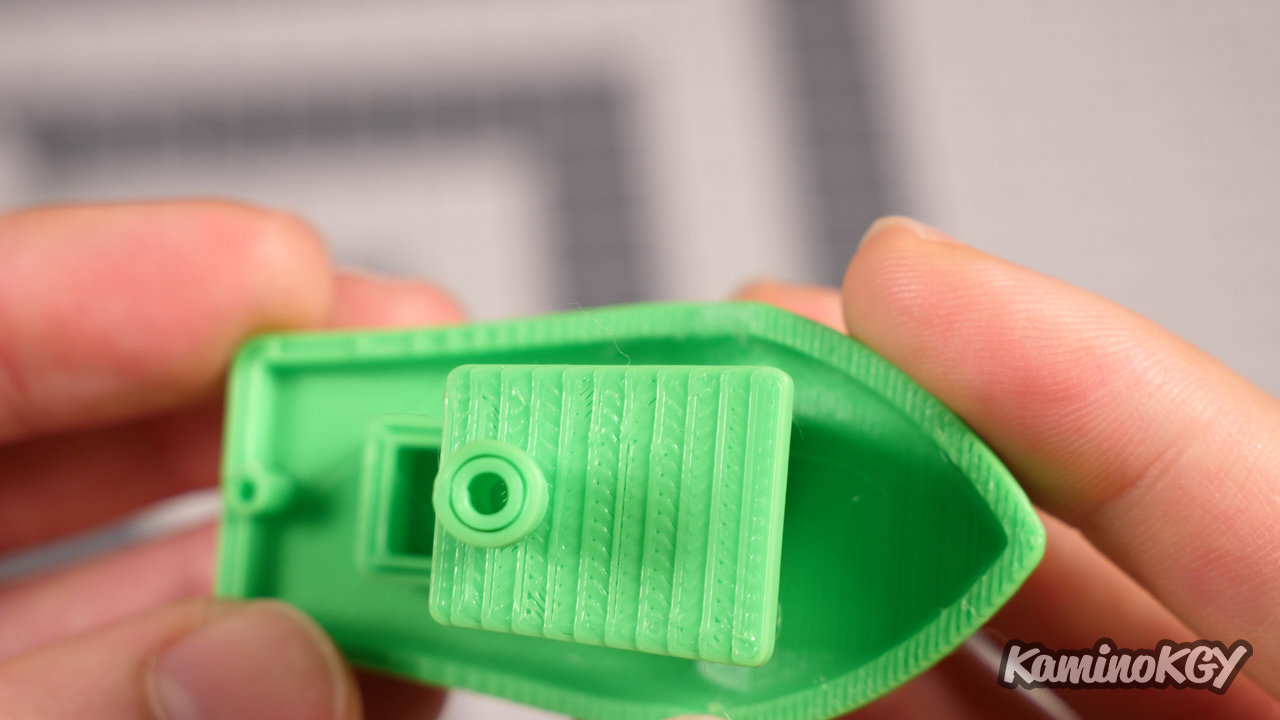
The flexible magnetic platen sticks really well, almost too much, causing my prints to have a pretty far first layer, but it doesn't come off at all.
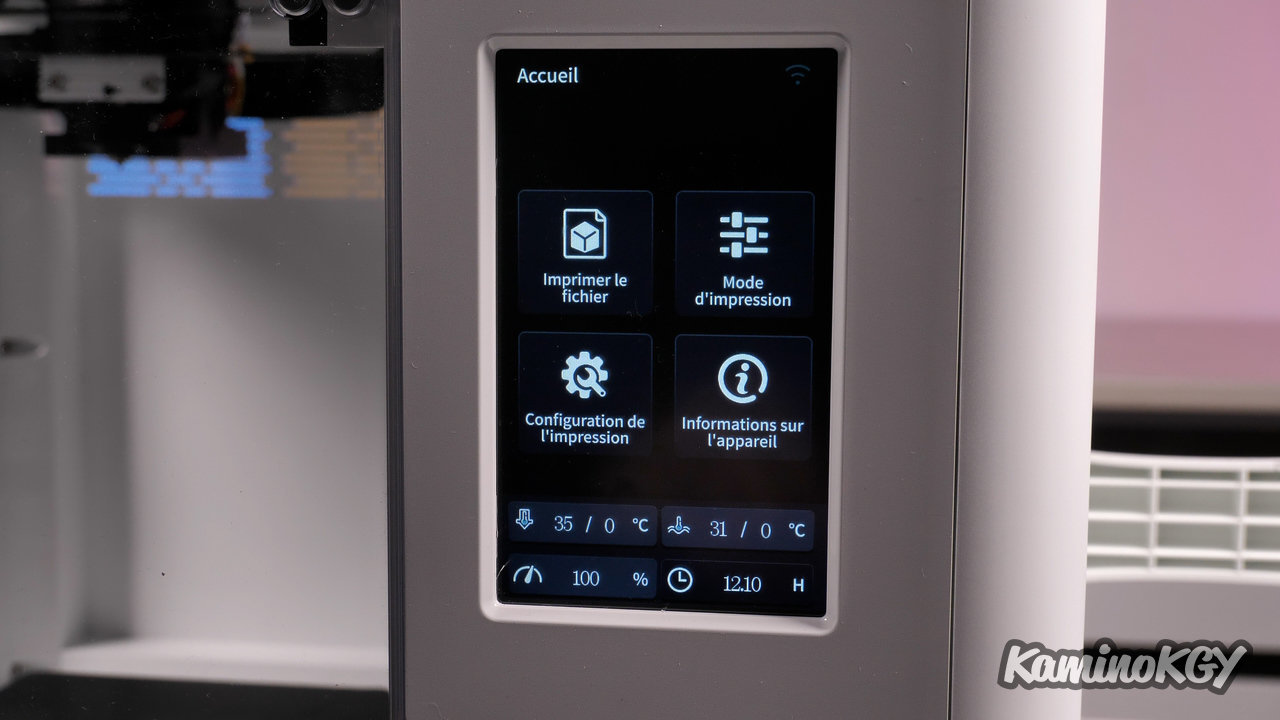
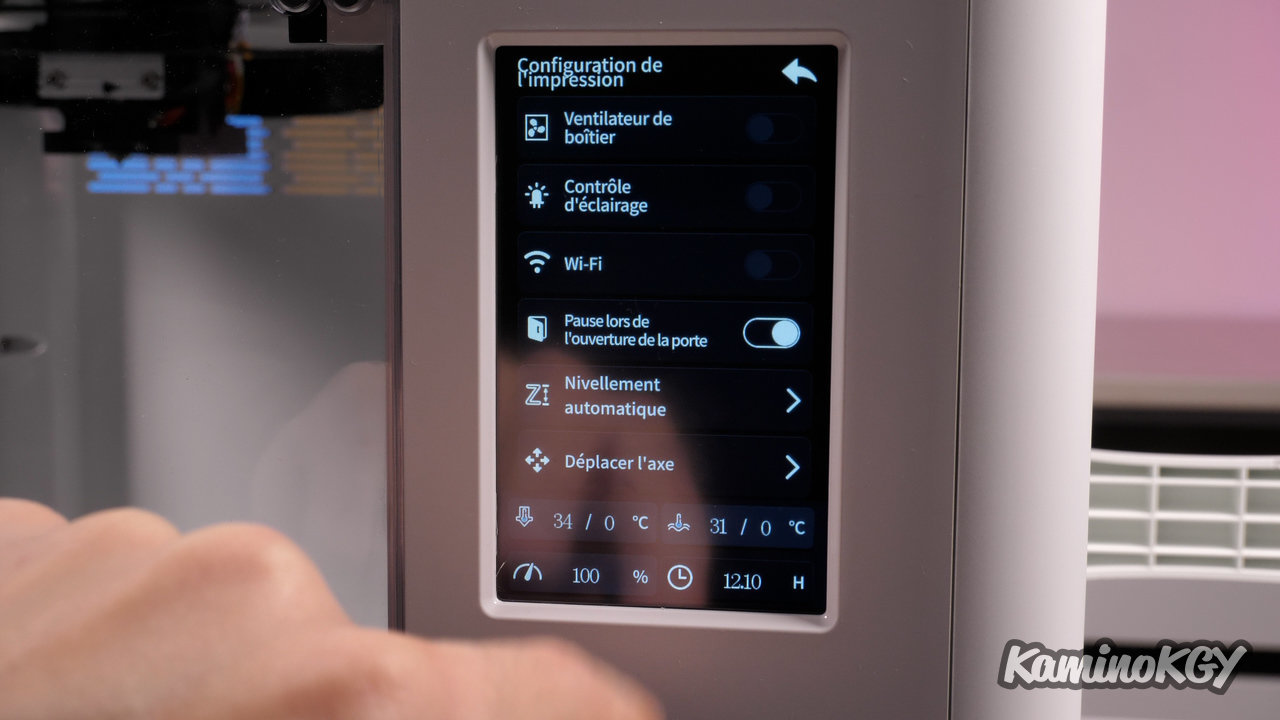
We have a touch screen that responds very well and remains in the perspective of having a simplified use of the printer with menus reduced to what is strictly necessary, but for simple everyday use, it is very good. You don't have to always want to change a whole bunch of parameters to improve quality and you'll see it on the test prints.
Wifi
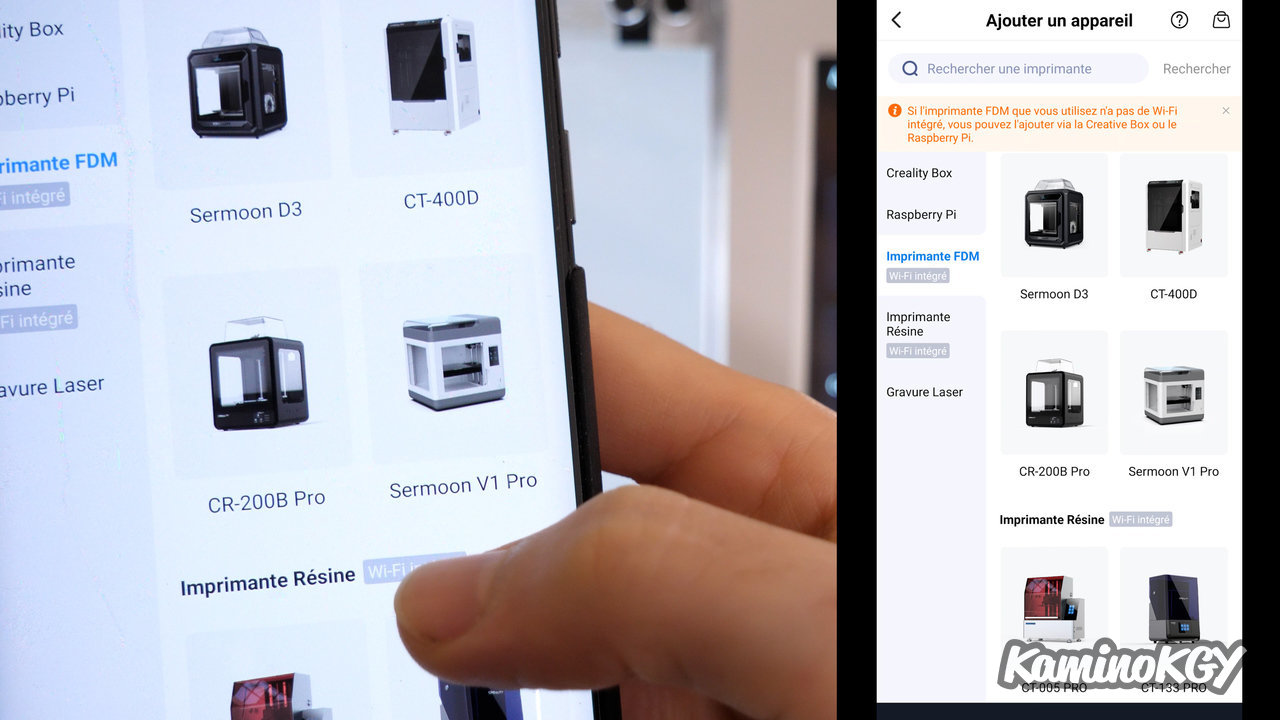
For the wifi configuration it is quite simple. You need to have the mobile app installed. When you add a printer, it will ask you for the model. You must reset the Wifi on the printer by pressing a small button hidden behind the grid. Once your wifi is entered, you can manage the printer remotely. You will be able to slice an stl file via the slicer in the cloud with a lot of different parameters present on Cura or Creality Slicer. Once the file has been loaded and the temperature has risen, printing starts automatically. We can follow which layer we are on, the time spent and remaining. We can also modify some parameters remotely.
Rise in temperature of the plate
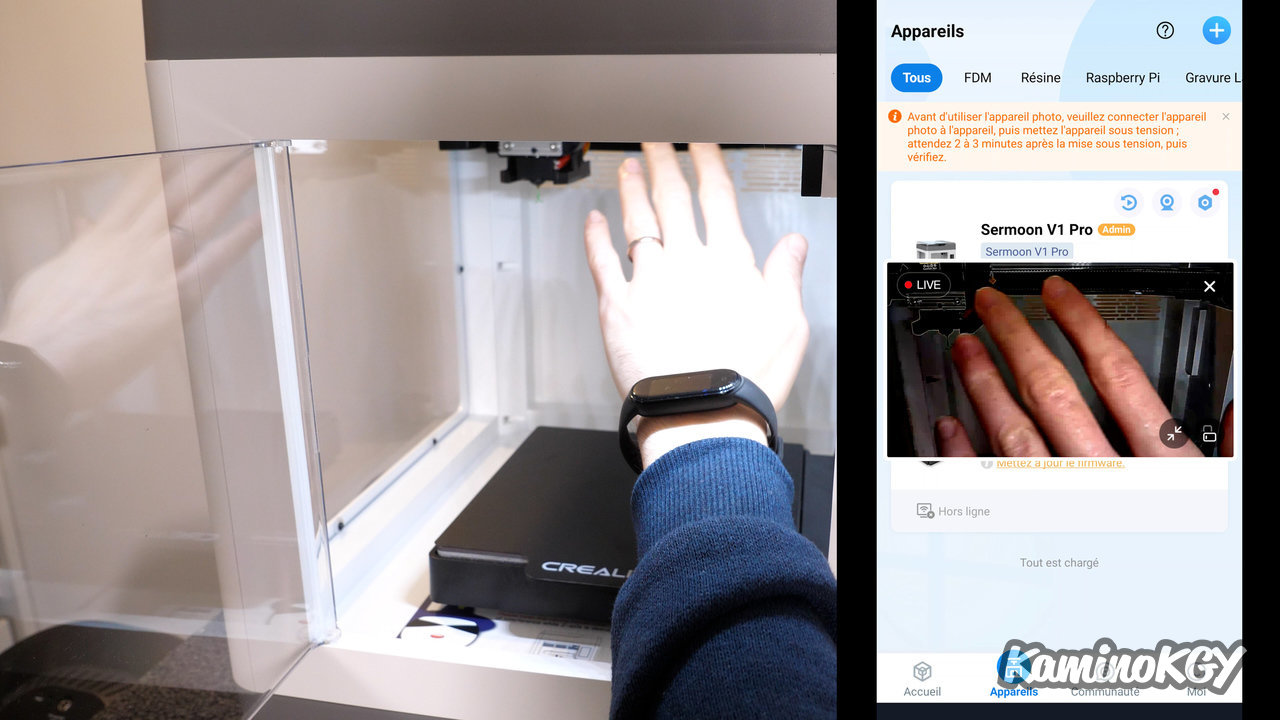
Having a built-in camera is really handy for monitoring a print without having to go back and forth all the time. And you'll be able to monitor them both at home and away because access via the mobile app works even if you're not on your local network. The image quality is really sharp. And it goes very well with the lighting integrated into the box, which can be turned on or off remotely. Only small downside is that it is oriented a little high, which means that on a high print or once the print is finished, you can no longer see what was at the bottom.
To be improved
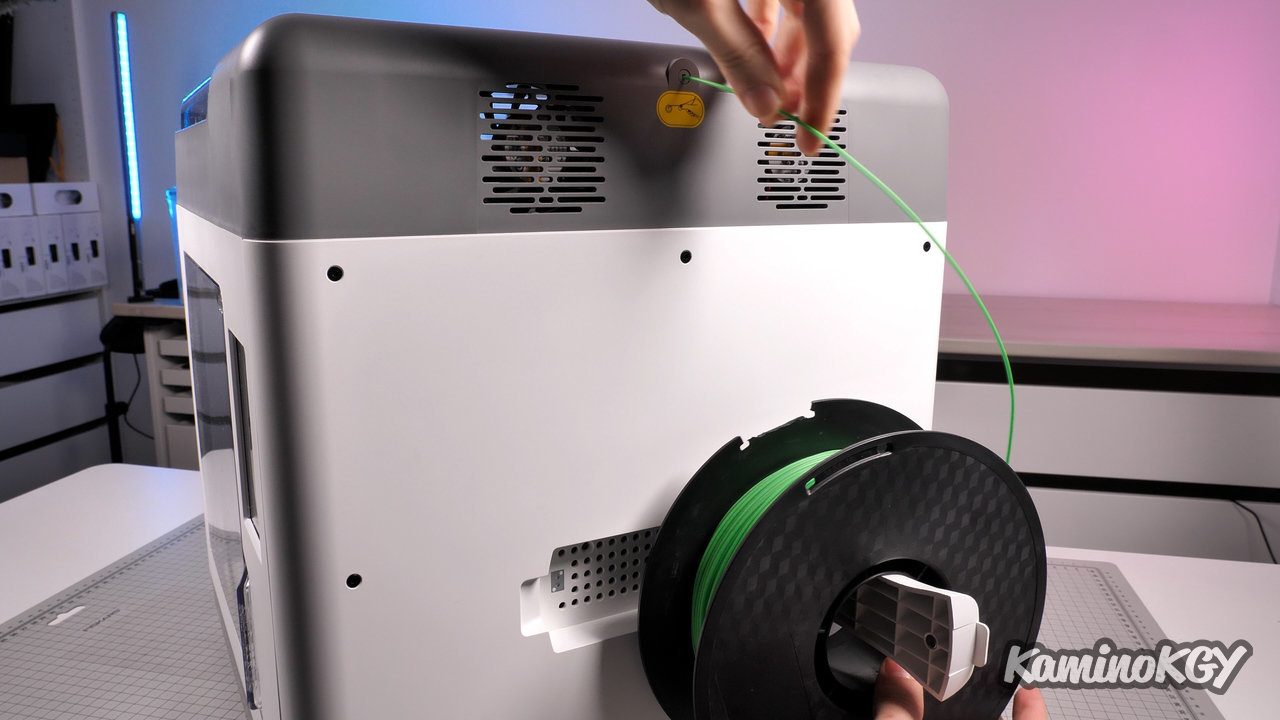
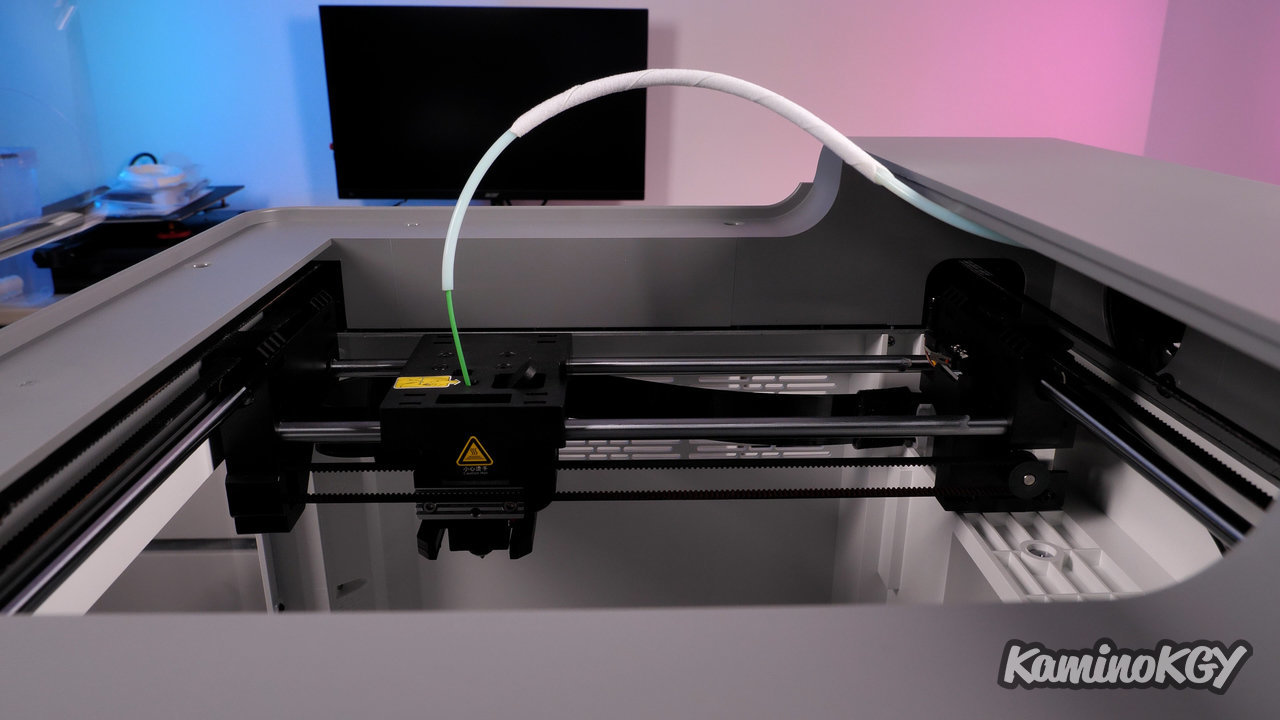
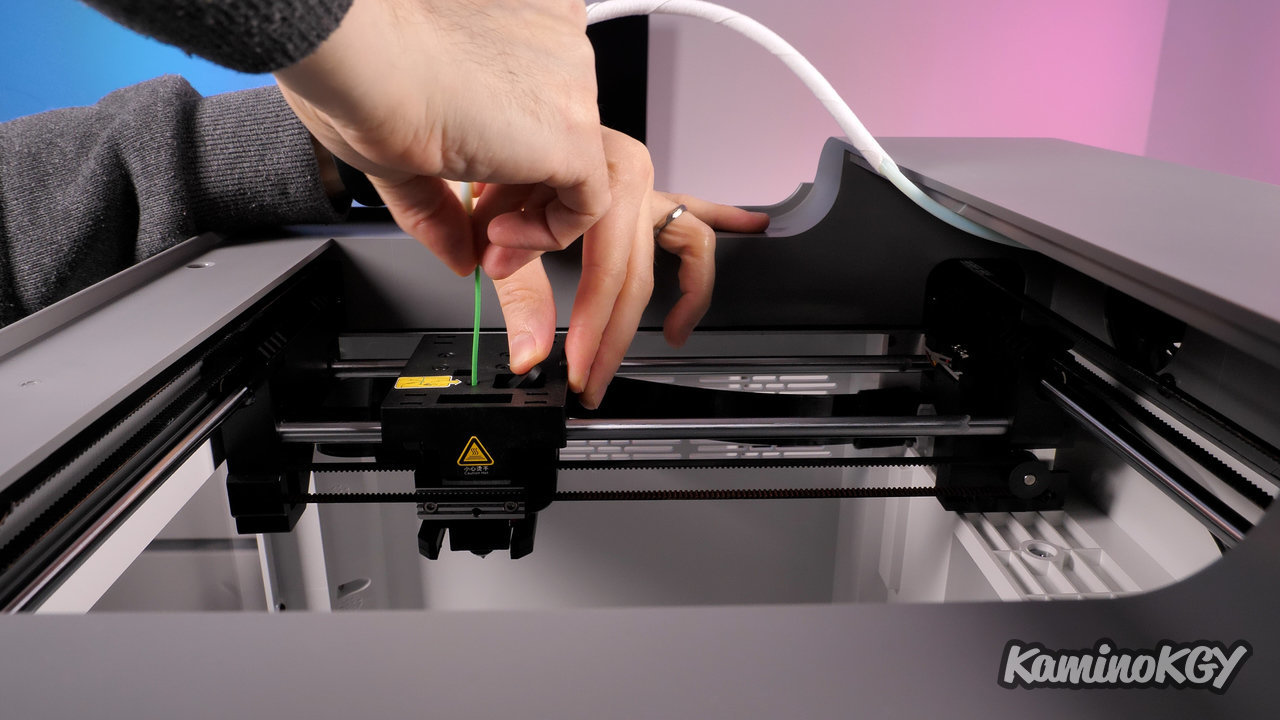
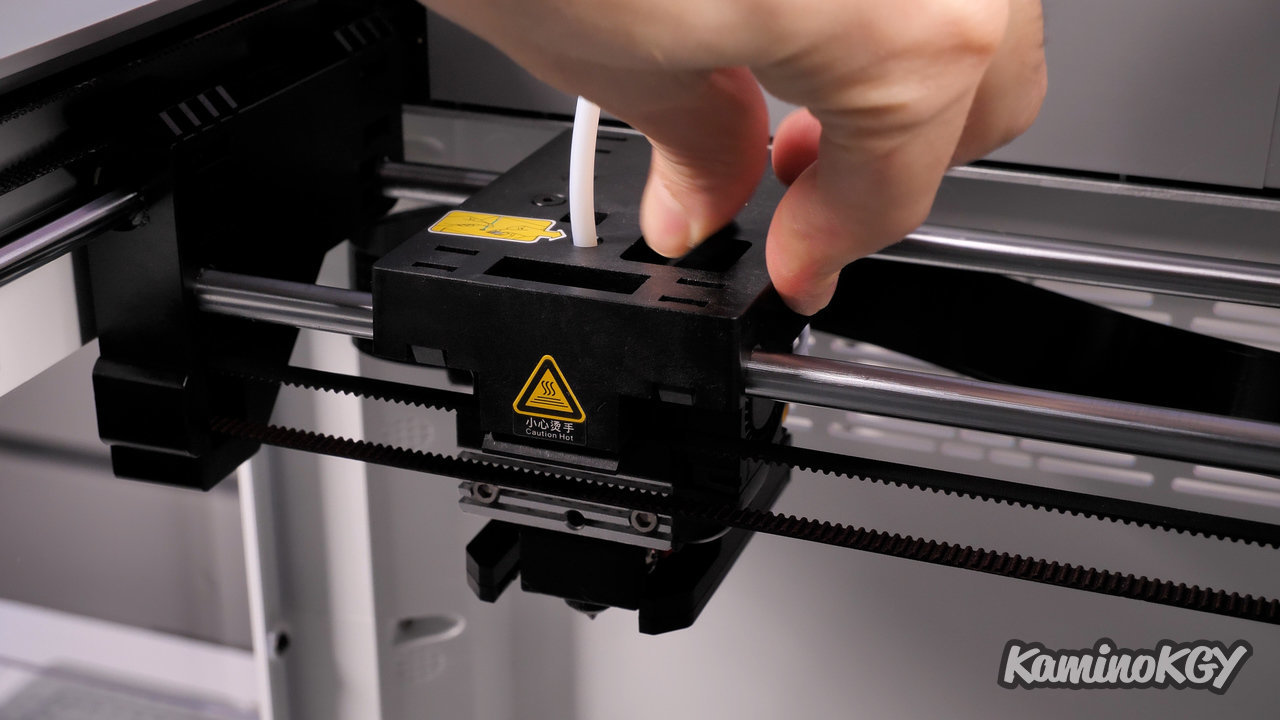
Already for loading the filament, I'm a little disappointed that we can't bring it directly to the extruder. It will be necessary to install the spool on the support which unfolds on the side, insert the filament into the hole, through the end of filament detector, into the PTFE tube and open the top cover to insert the filament into the direct extruder drive because you have to push the lever.
There is no step per mm setting for the extruder. You will therefore have to play with the slicer parameters to extrude more or less if you see under or over-extrusion.
The under extrusion problem is related to a problem with setting the number of steps per mm for the extruder. Indeed, when you ask to extrude 100 mm, 8 mm is missing, which is not nothing. Rather than trying to read the value of the number of steps and correct it, as we have relatively little access to the settings. I simply increased the multiplier on PrusaSlicer to 1.08. This should already provide a good working basis, even if it means adapting it later, or if the firmware evolves.
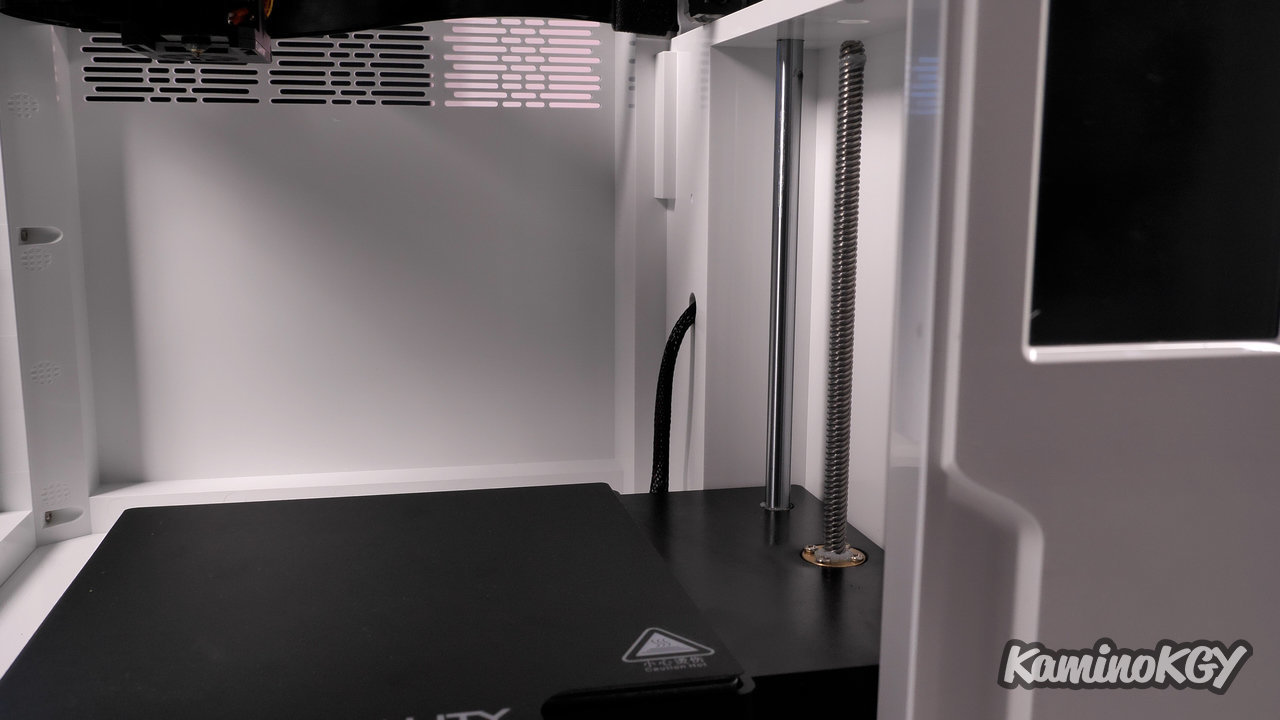
When the plate goes up, the wire at the bottom tends to rub, it's not really the wear that worries me, but it's more the noise that can be a little disturbing. Because it sounds a bit like a noise like something is blocking the extrusion, thus with the extruder skipping steps.
Small point that is not blocking at all, it's just to point it out, it's that if you put the machine on a desk next to you, it's better that it can be on your right . Because you will be able to see the progress of the print and also avoid having the fans of the case blowing directly on you.
Rise in temperature of the plate
Concerning the rise in temperature of the plate, it is quite homogeneous, we can see the location of the screws which are below, in the corners especially the first minute. We have a temperature of 60°C which is reached after 5 minutes.
Test prints

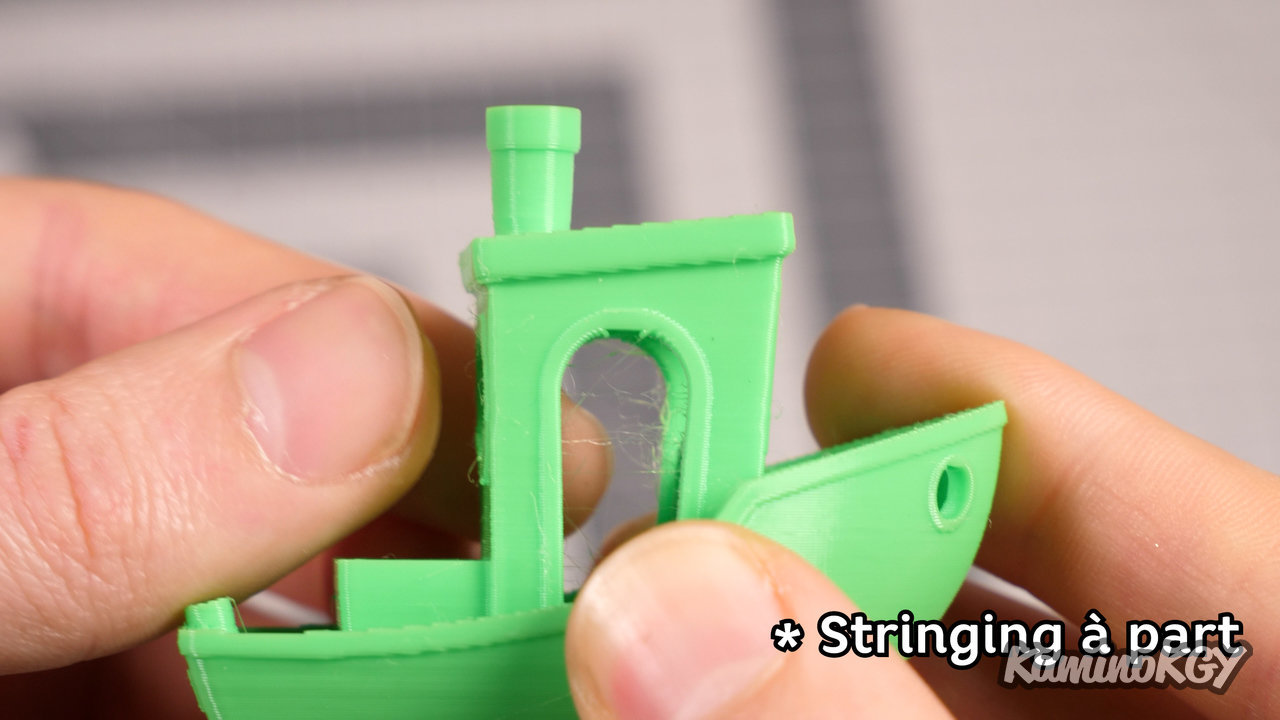

On test prints, I started by printing the Benchy pre-sliced by Creality, present on the SD card. The printing is really clean, maybe a bit slow for my taste. But if the result is there, can we really blame him. And the final Benchy is really super beautiful, on the other hand we have quite a lot of under extrusion. The parameters used by Creality on test printing had to be limited.
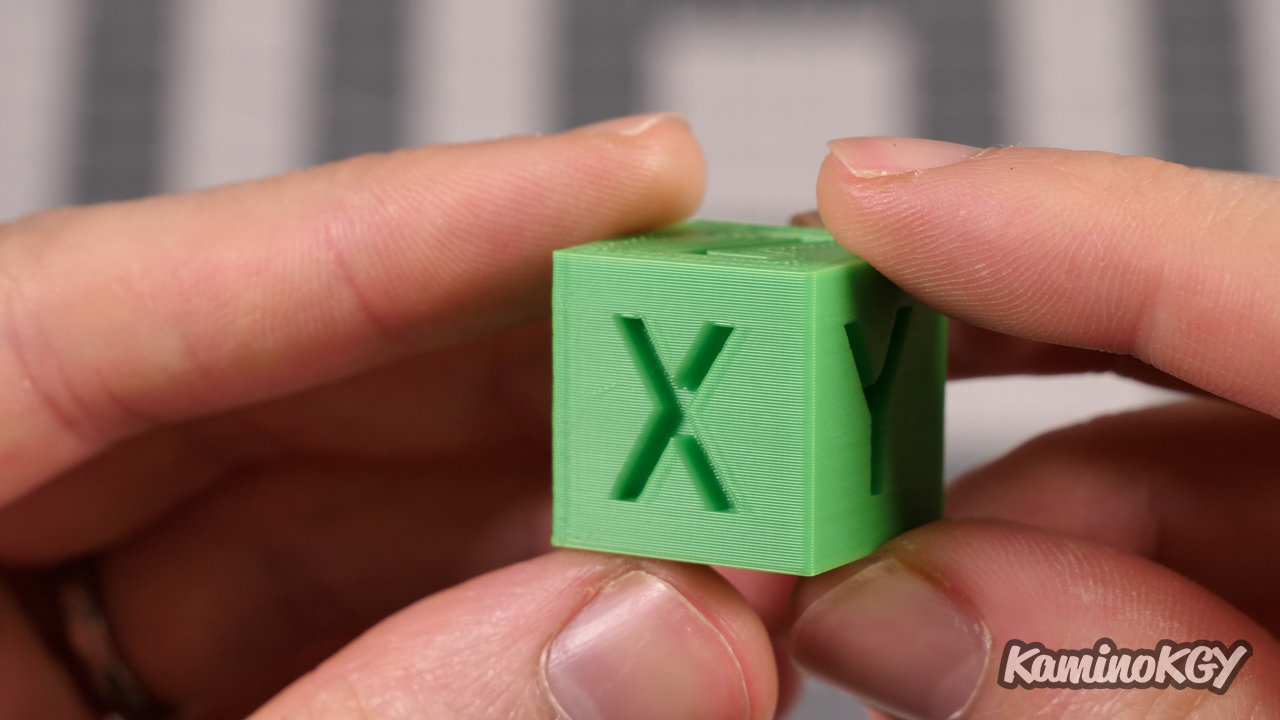
The best results I've had are with the Creality Slicer and using the printer's default profile. This calibration cube is extremely smooth, you can't see any ghosting on the side, the top is quite smooth. And unlike before, it shows more signs of over-extrusion.
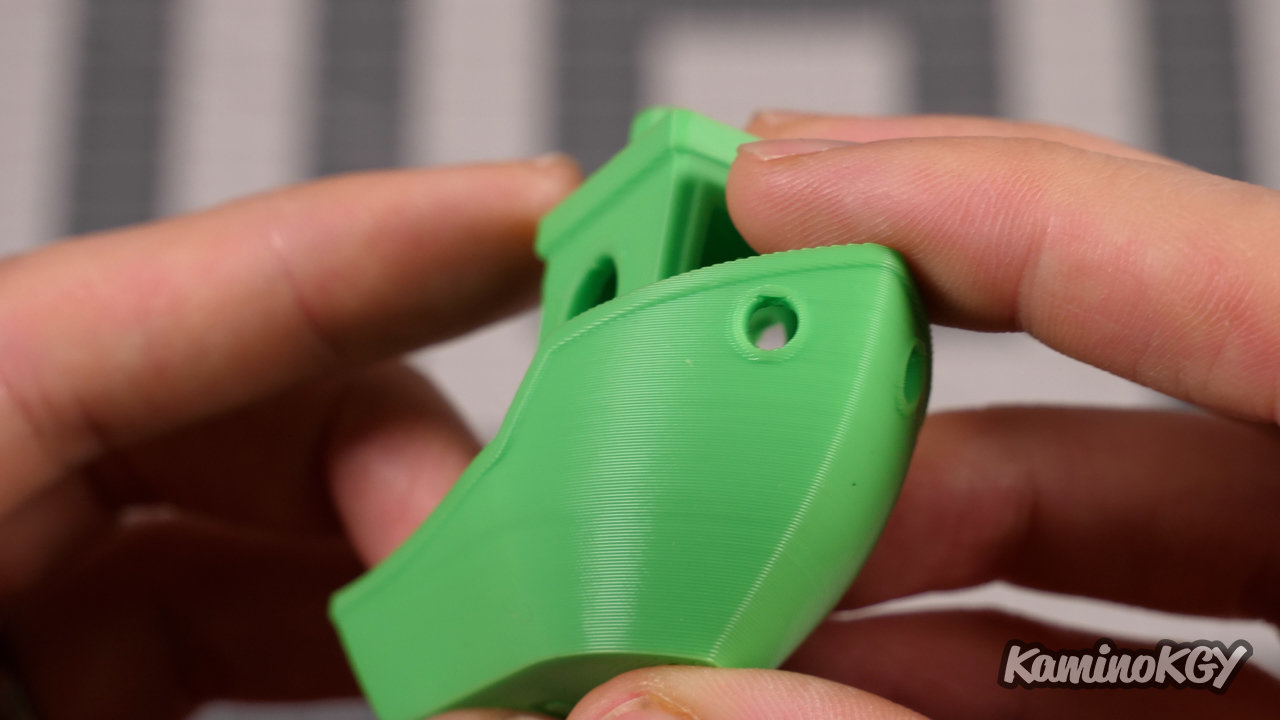
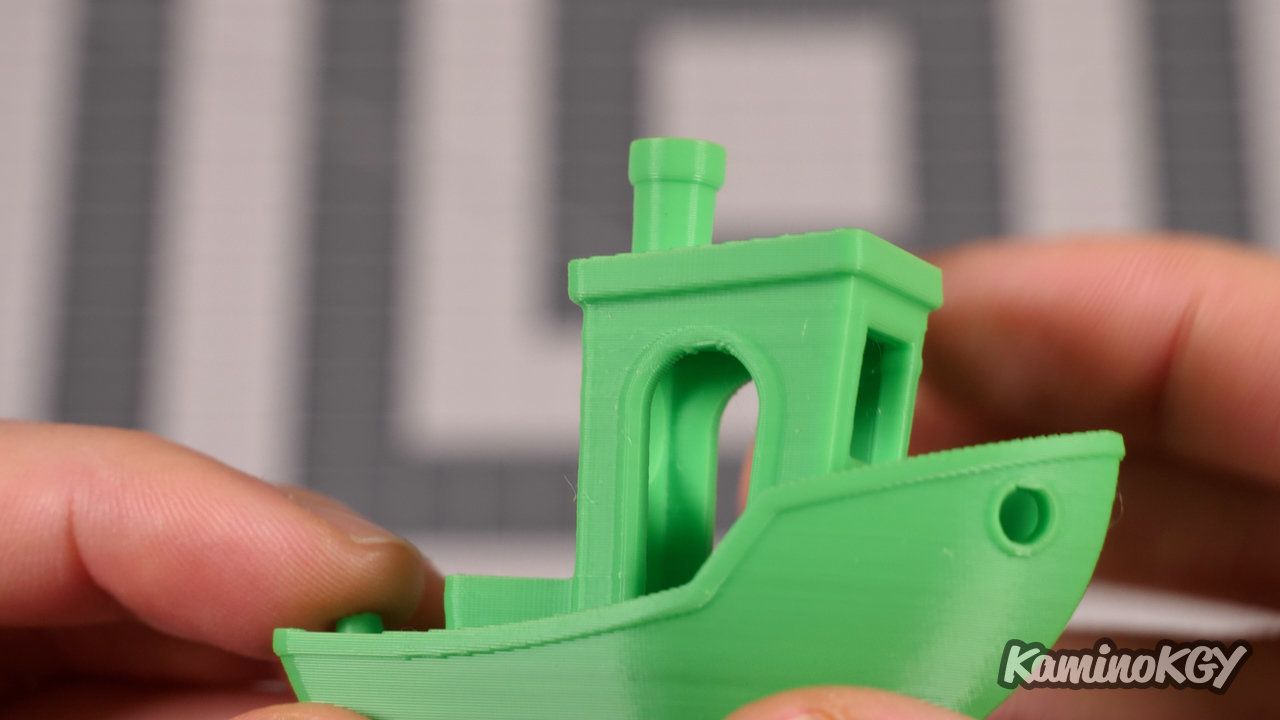
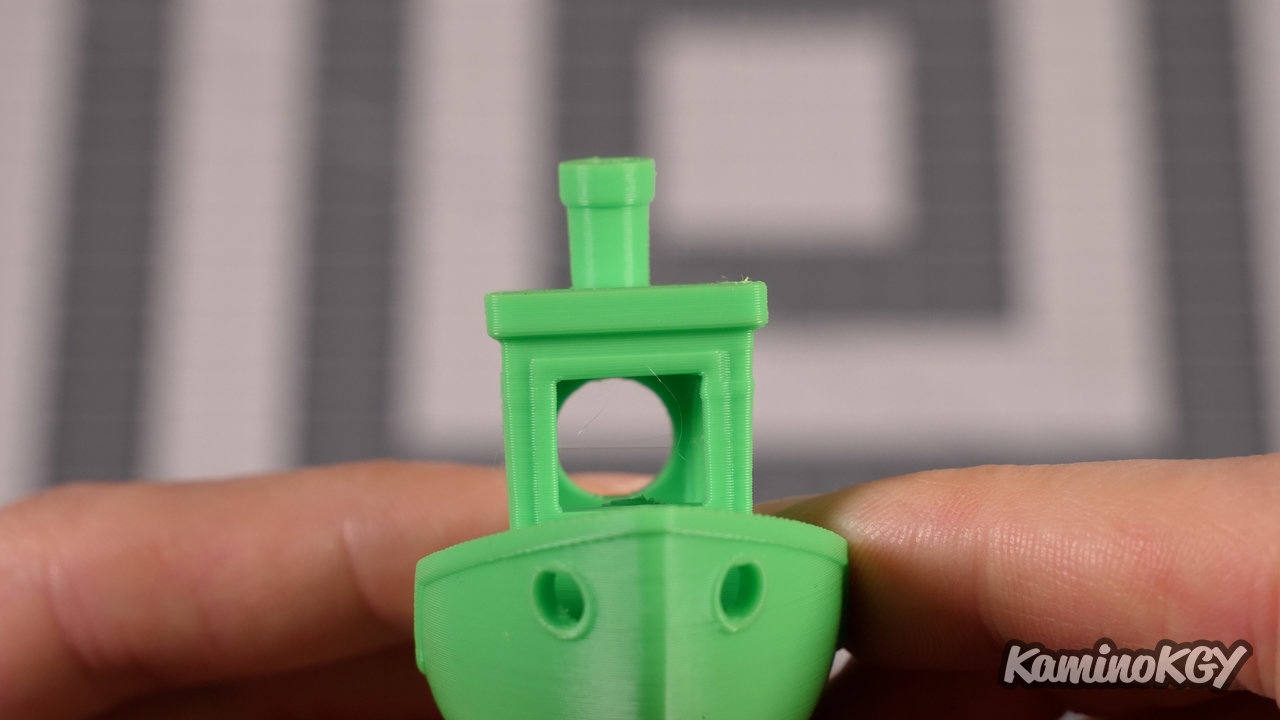
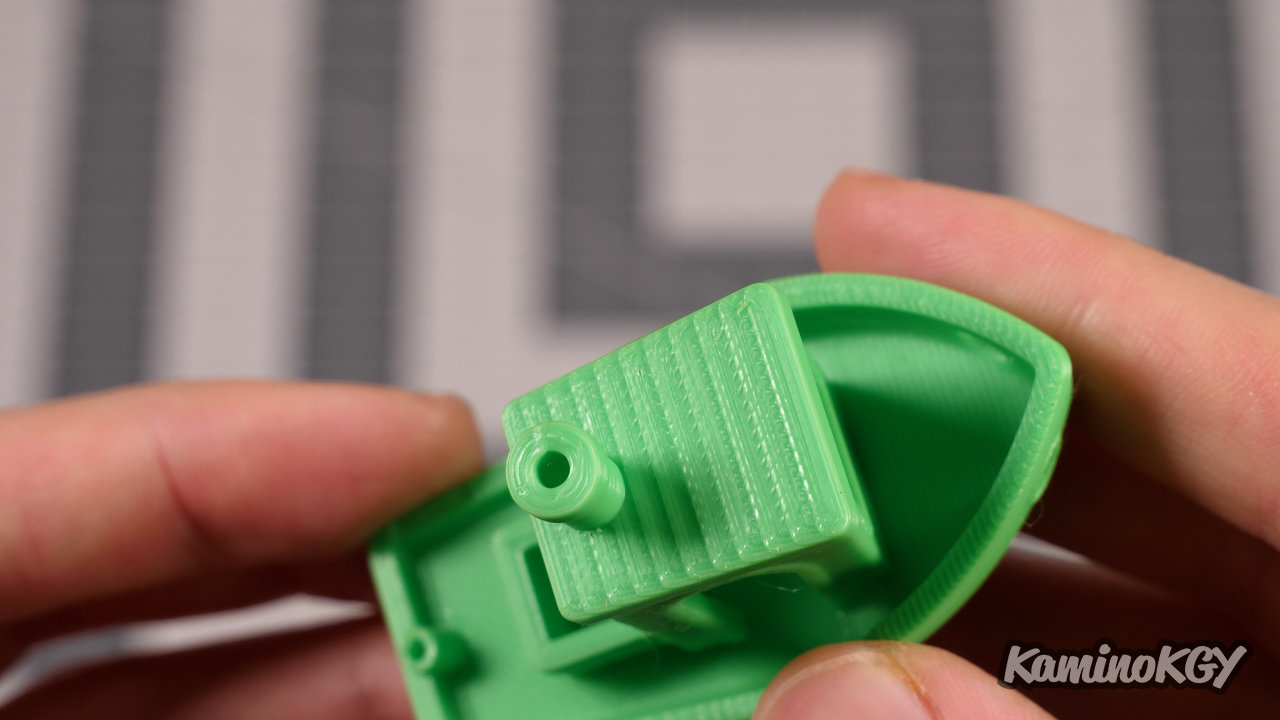
This Benchy is really super well printed, there is absolutely nothing to complain about at all. The hull is very well formed, the top of the cabin is very well cooled. We no longer see the problem of under-extrusion as on the basic model. It is clearly one of the most beautiful Benchy we have had so far. It prints a bit slower than the settings I'm used to for my other tests, but honestly it's worth it.
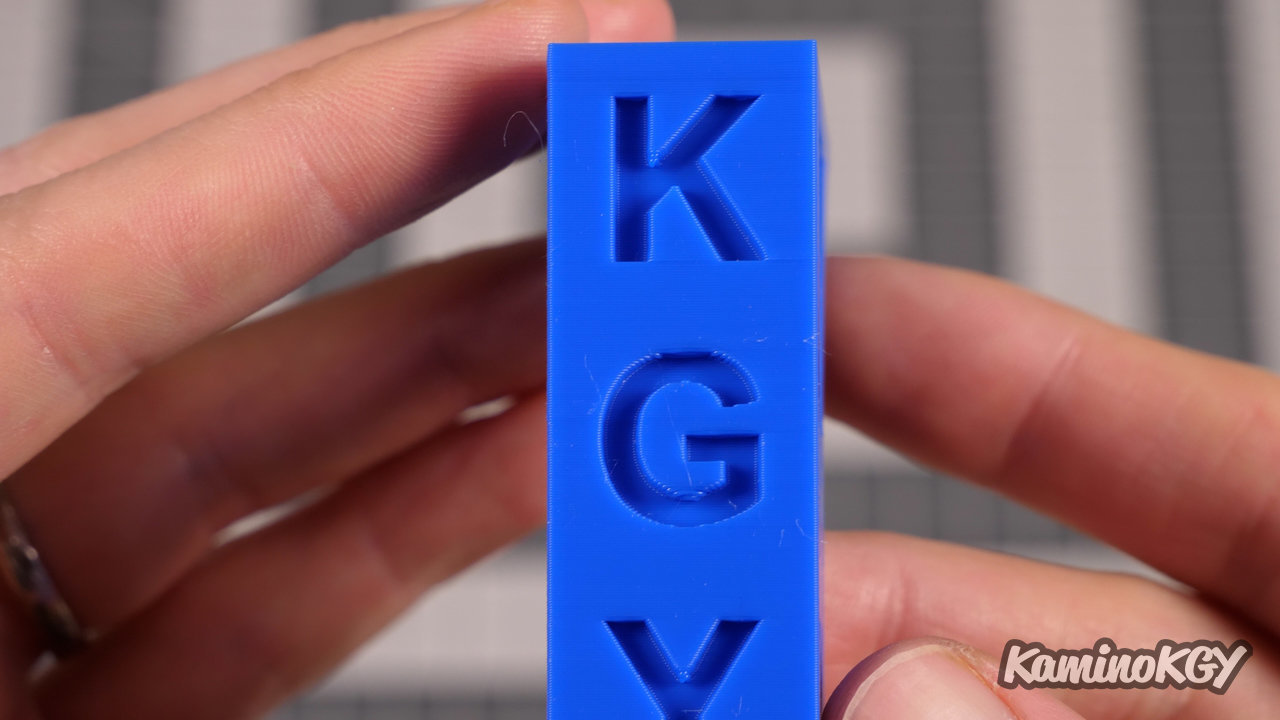
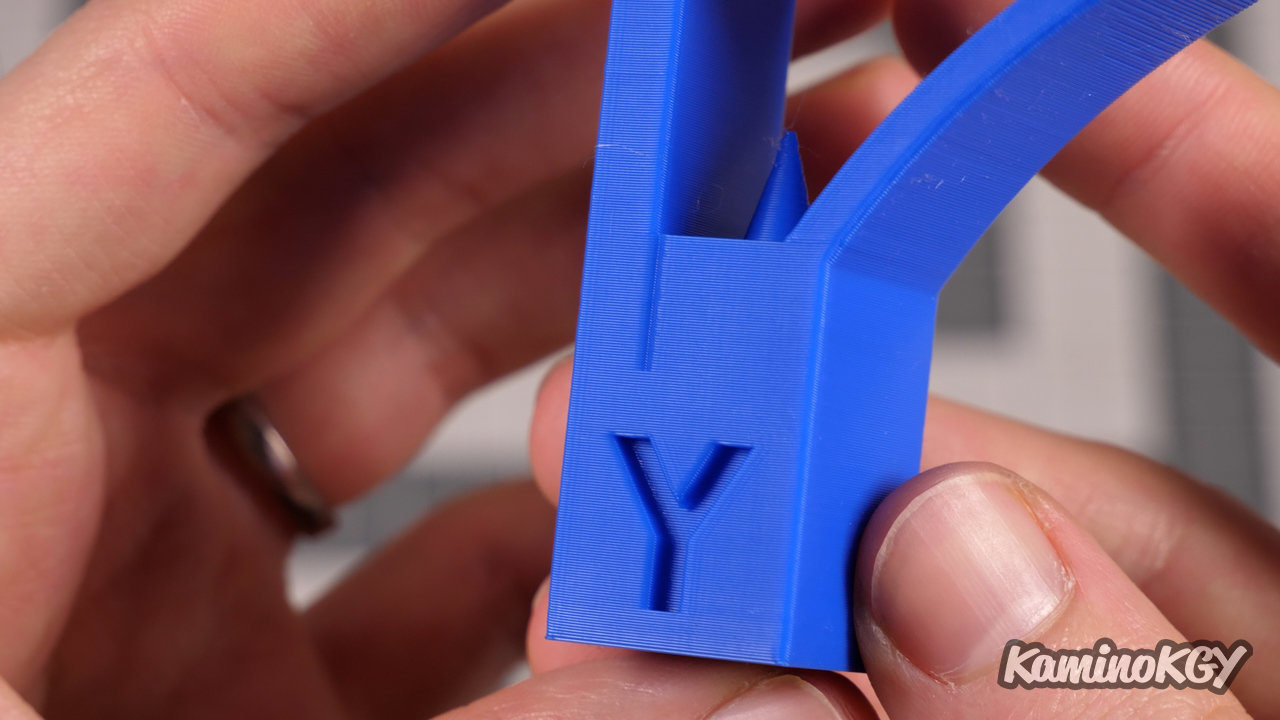
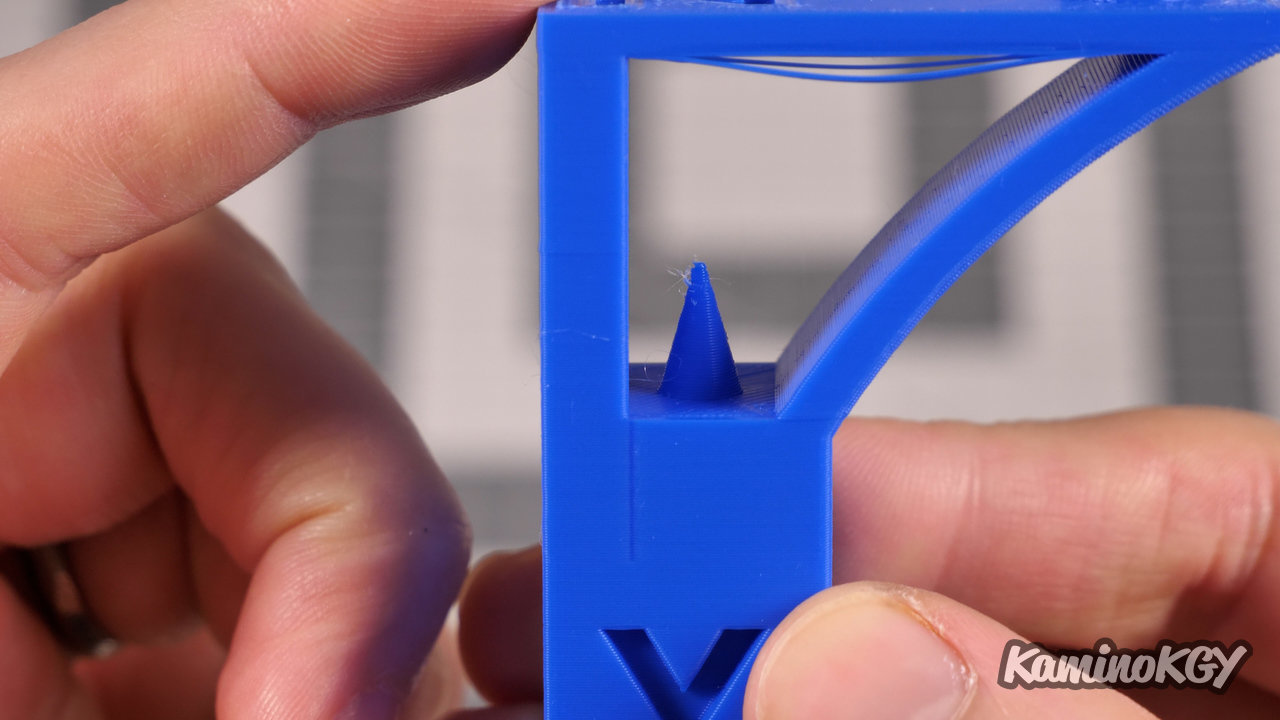
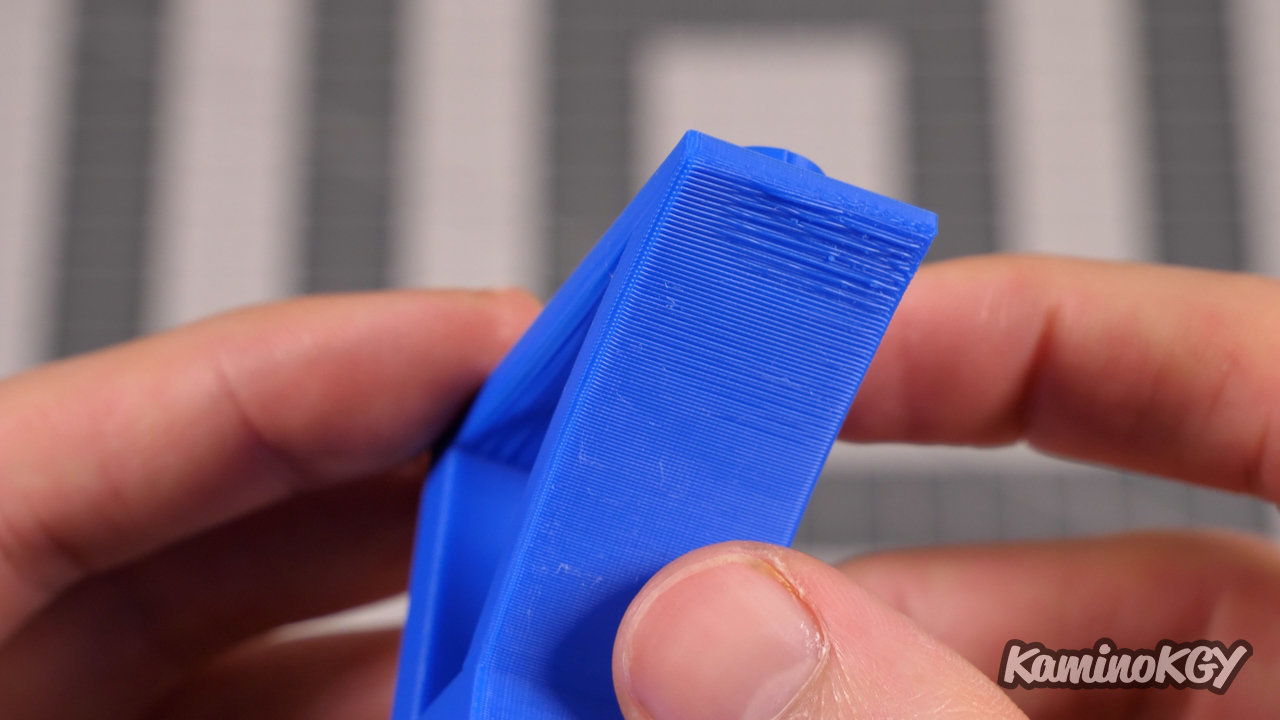
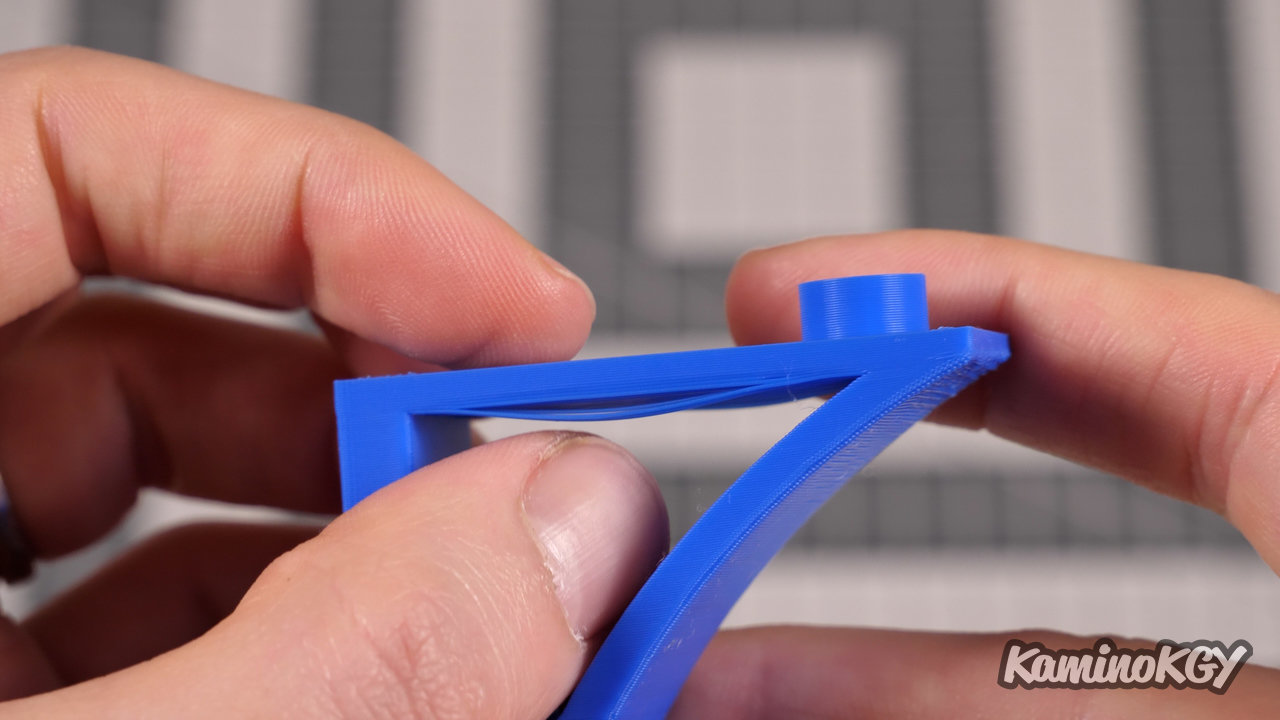
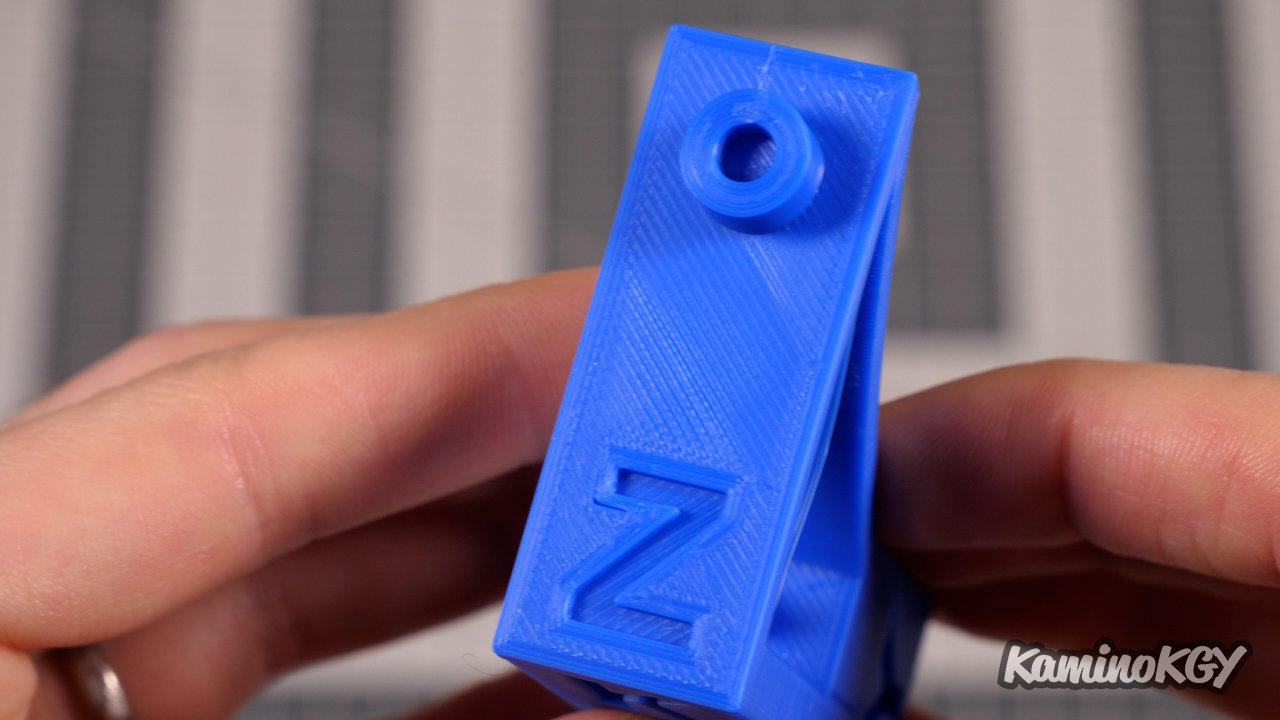
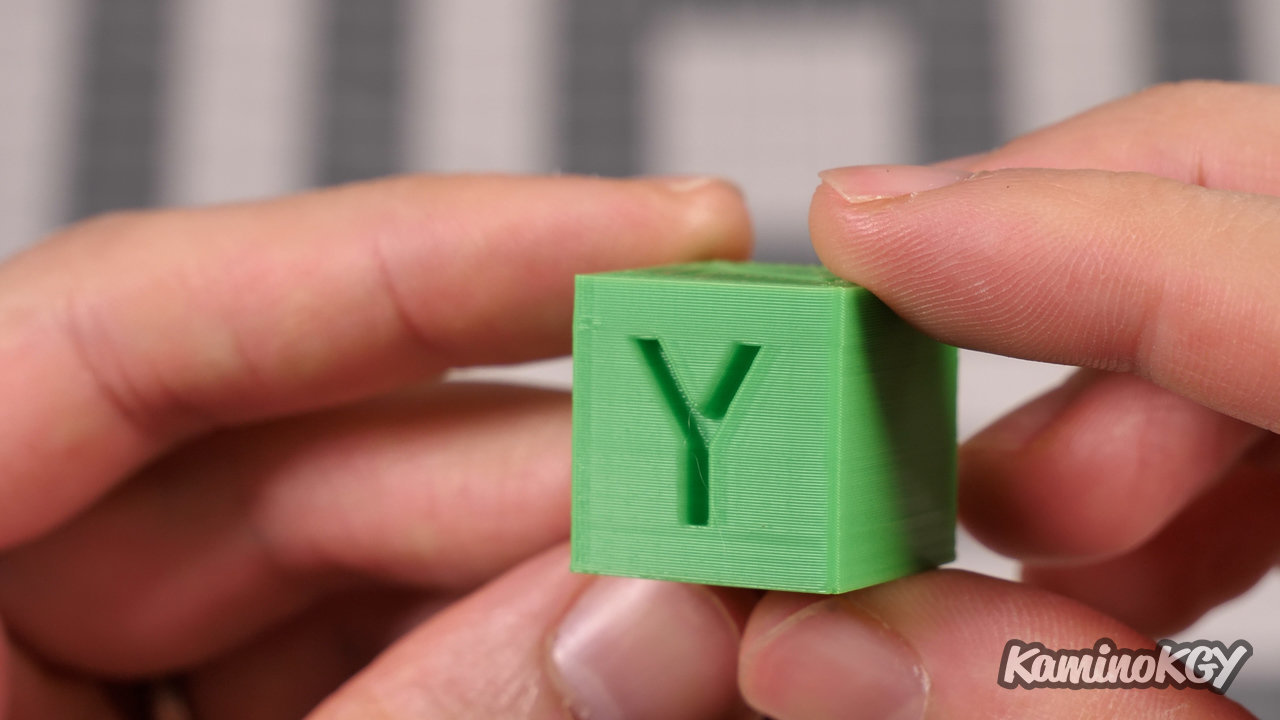
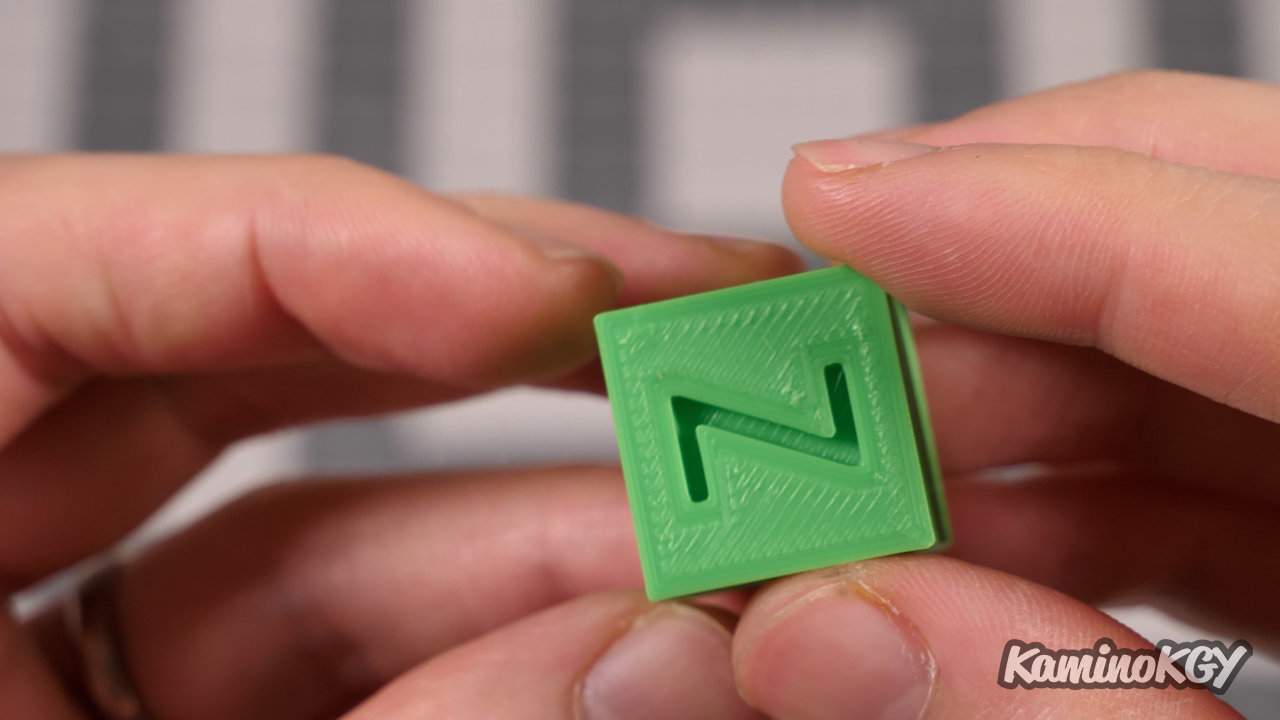
On the KGY, the letters are really very clean, the cooling works very well inside. There is absolutely zero ghosting on the Y on the side. Which is quite normal since we have a plateau that goes up and down, but still. We can see a very slight stringing inside the model, but nothing that we cannot compensate for on the slicer because the retraction is really minimal with 0.8 mm. we can very well increase it a little without risking clogging the nozzle. The overhang is very good, a little more marked on the top, but that's ok. We have a lack of cooling on the bridge. And the top is super smooth. There is no under-extrusion sign, just a small defect on the top left Z.
Review
So to get quality impressions, I did several profile tests on PrusaSlicer without necessarily arriving at satisfactory results at first. So I wanted to start with a base created by Creality directly. So I switched as I said, to the Creality Slicer, based on Cura with profiles for all their Creality brand printers. And there I had much better results. But having passed mainly on PrusaSlicer, I will see if I redo a profile by carrying a maximum of parameters from their slicer.
From a design point of view there is nothing to complain about, it's really nice, some parts could still be improved a little, such as the closure of the top cover, or access to microSD sports of the screen to be able to update its firmware if necessary. Because currently, you will have to unscrew the side panel to access it.
And what is good is that with the subwoofer the noises are muffled. What is more pleasant to work not far from it.
Bye bye !