Today we will test the Ender 3 v2 Neo from Creality. It's an improved version of the Ender 3 v2 and we're going to look together at what's new.
Unboxing
In the box, we find the screen, the assembly instructions, a big bag with all the screws, tools, filament, a cutter. Then, we find the power cable, the spatula, the coil support. We take out the fully pre-assembled post and the base at the same time, which is already connected.
Assembly
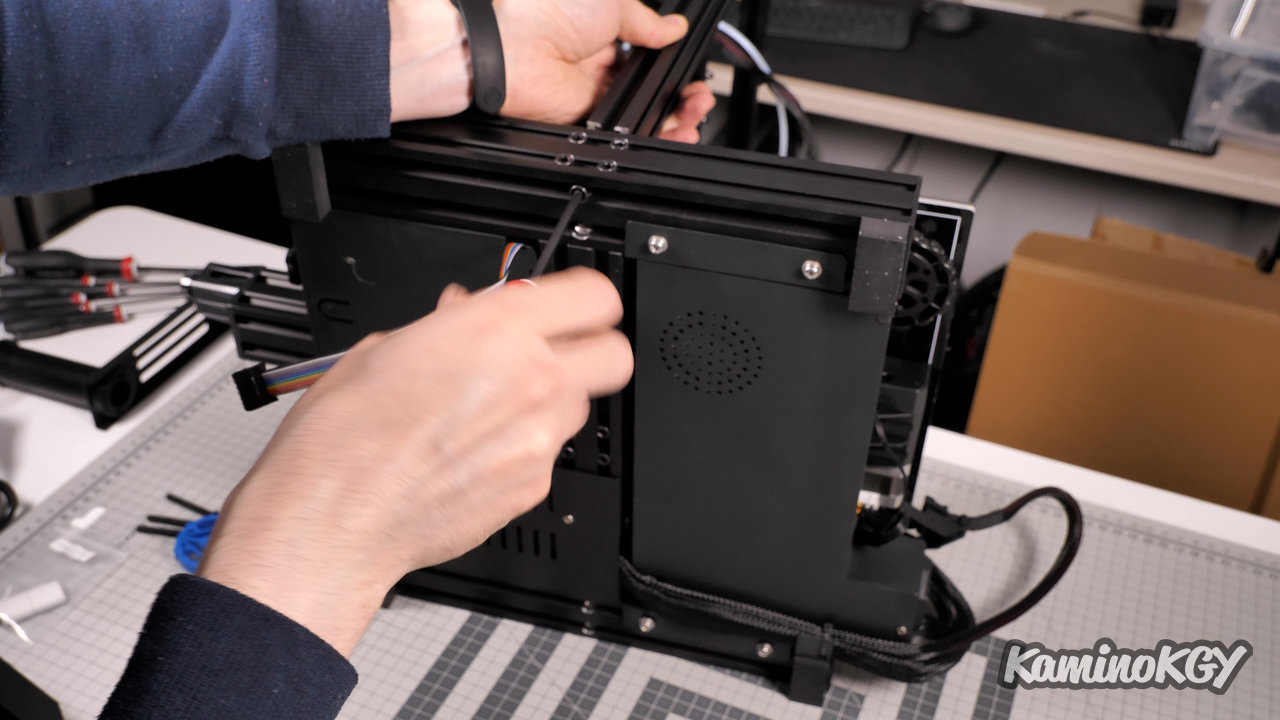
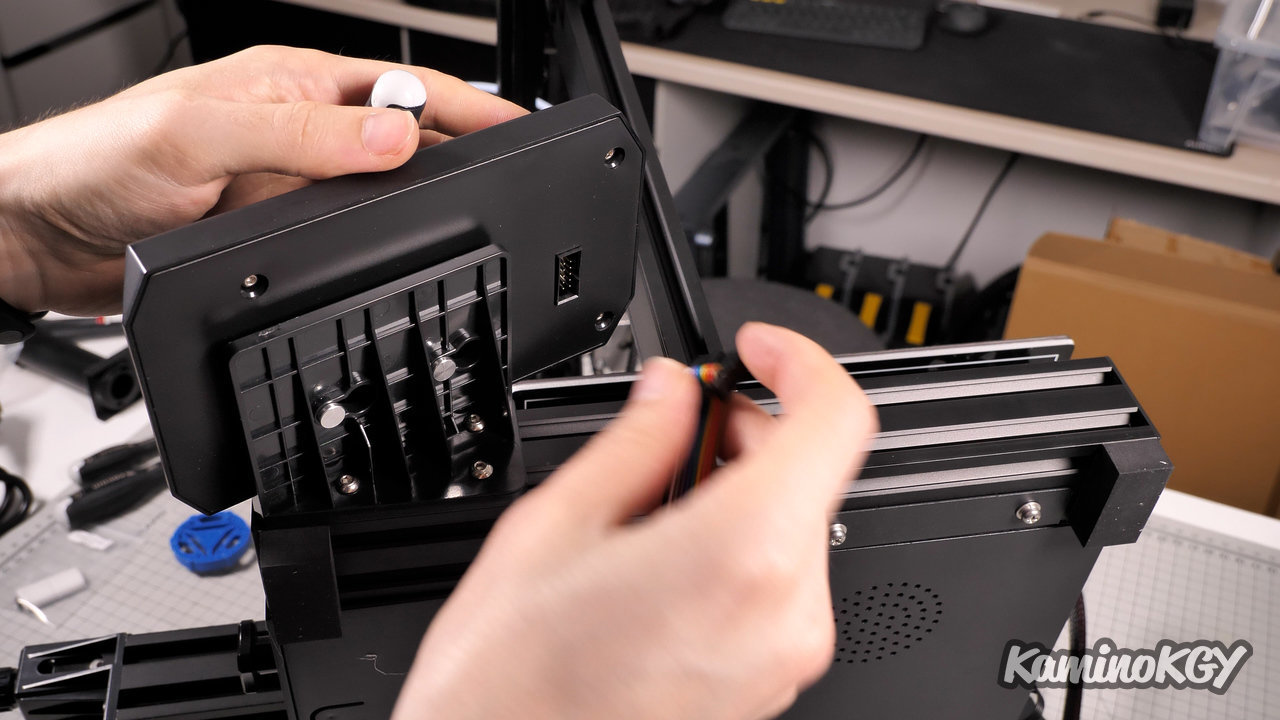
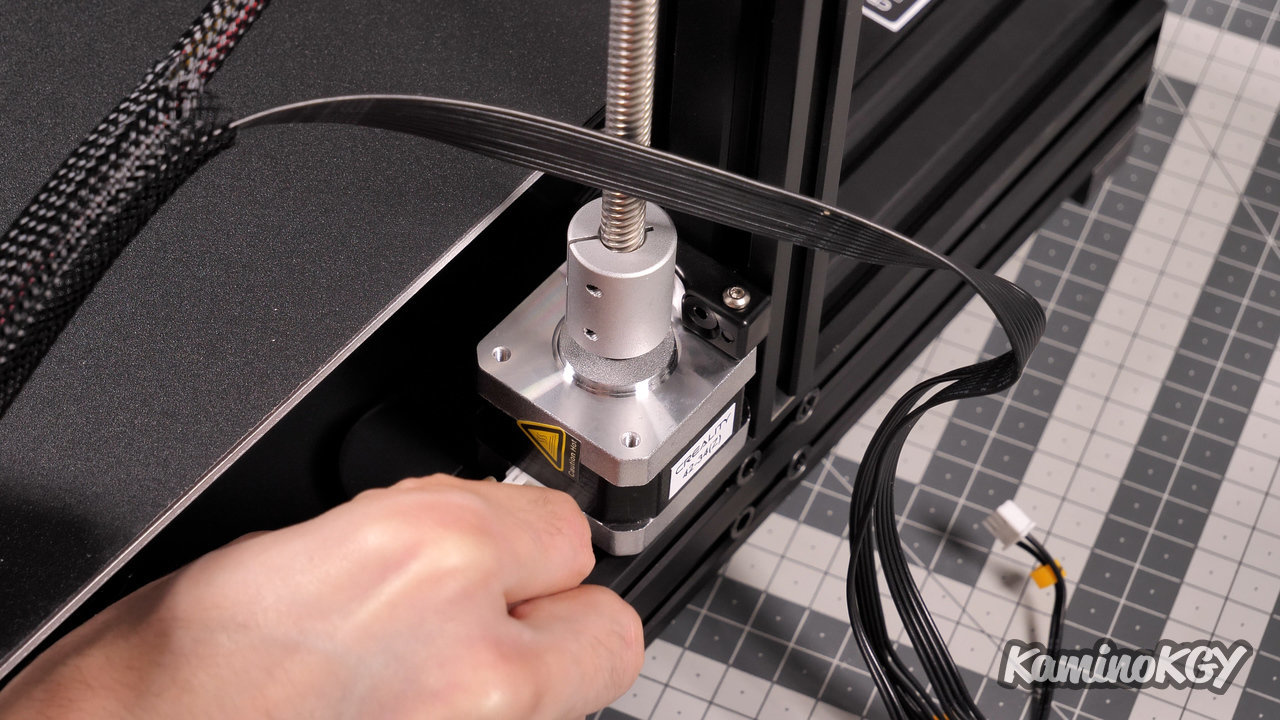
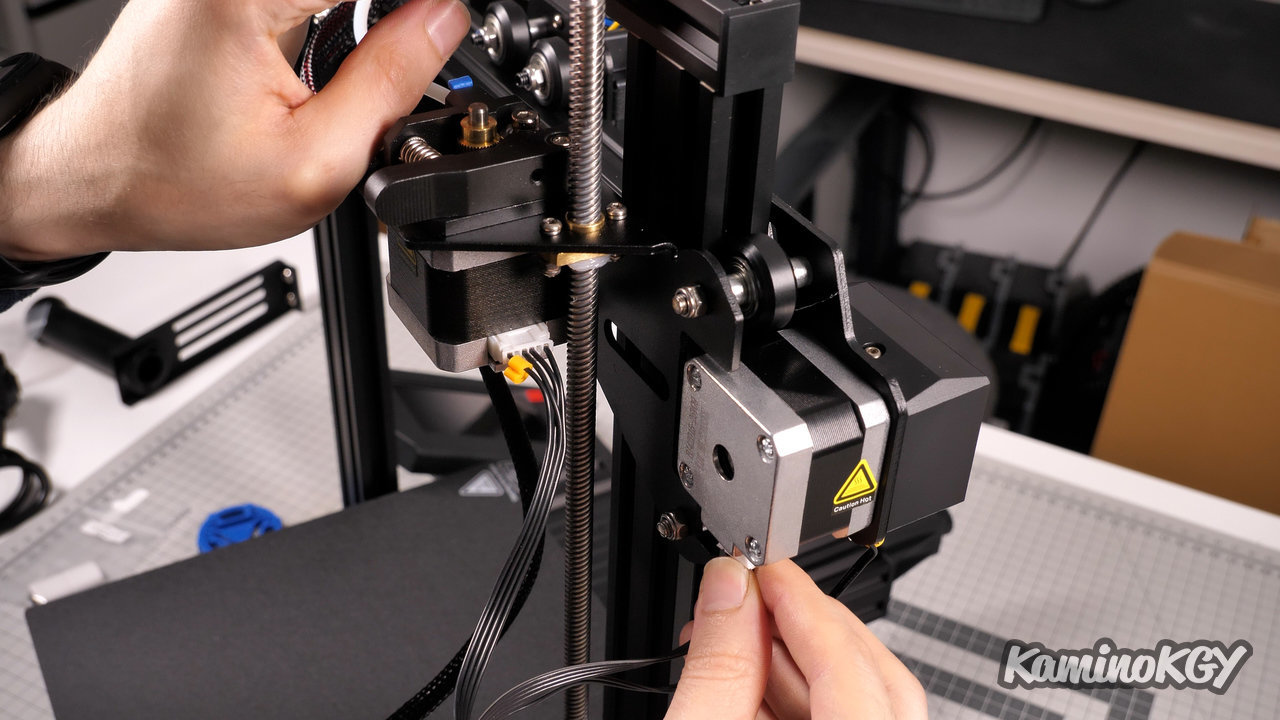
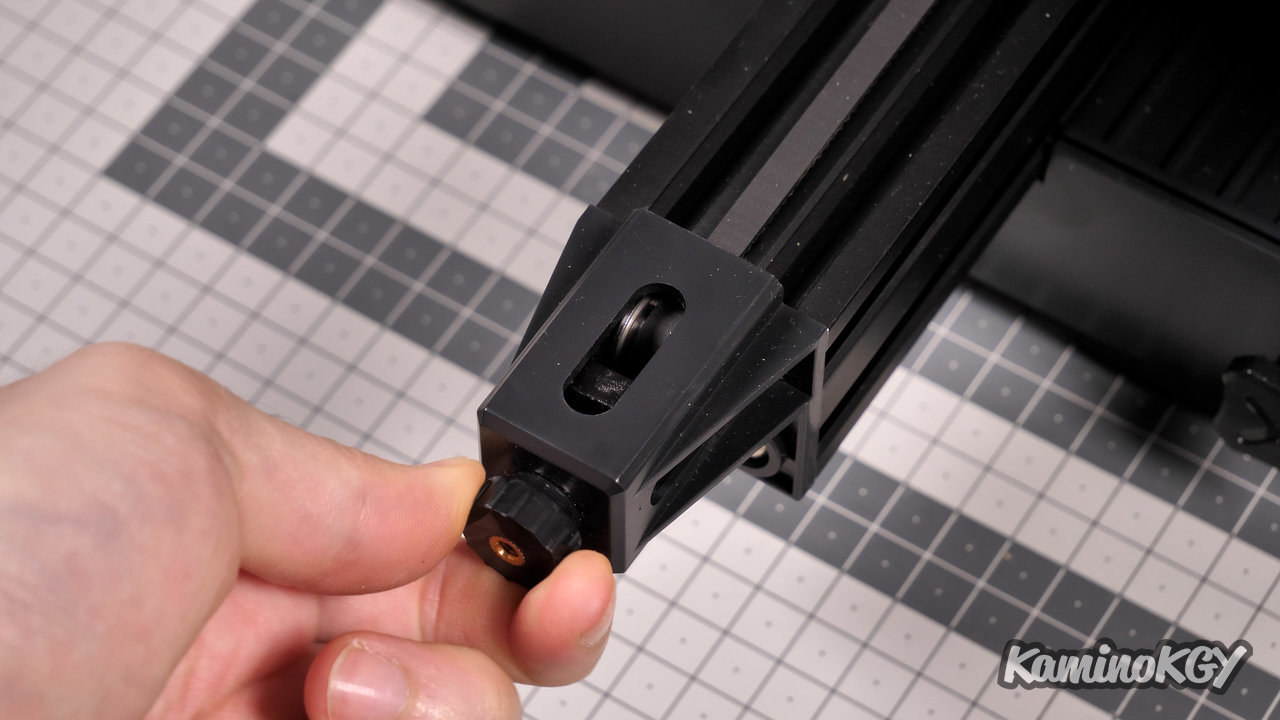
For the assembly, it is super fast, we put the post on the base, that we screw from below with 4 screws. We screw the support of the screen with 3 screws and we insert the cable. We connect the motor of the Z axis. Then, it is the motor of the extruder, the X axis, the endstop and finally the support of coil on the top. And after a small adjustment of the eccentric nuts of the plate, we are ready to print.
Features
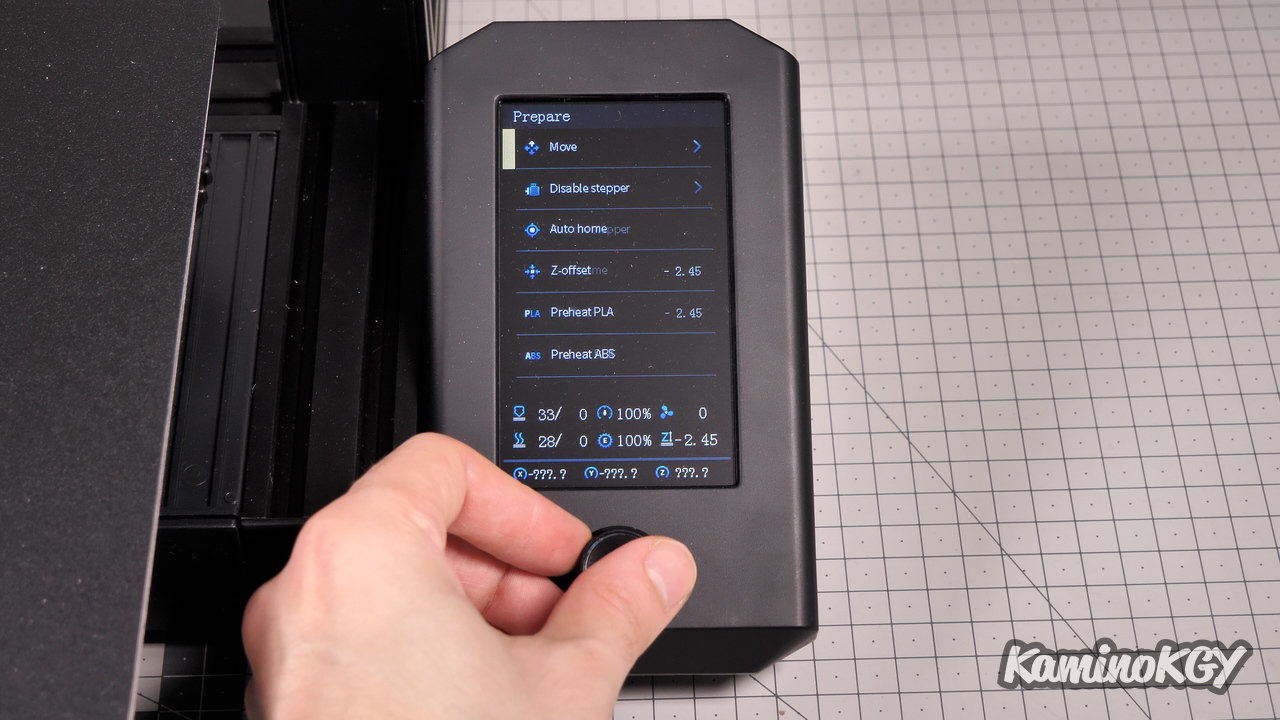
Concerning the characteristics, we keep a printing volume of 220 by 220 by 250 mm. The screen with wheel remains the same as before, it has the merit of being simple, but effective. The plate can go up to 100°C and the nozzle 260°C. On the bowden type system, the deported extruder is made of aluminium to avoid the broken arms that we had on the first versions.
What's new on the Ender 3 v2?
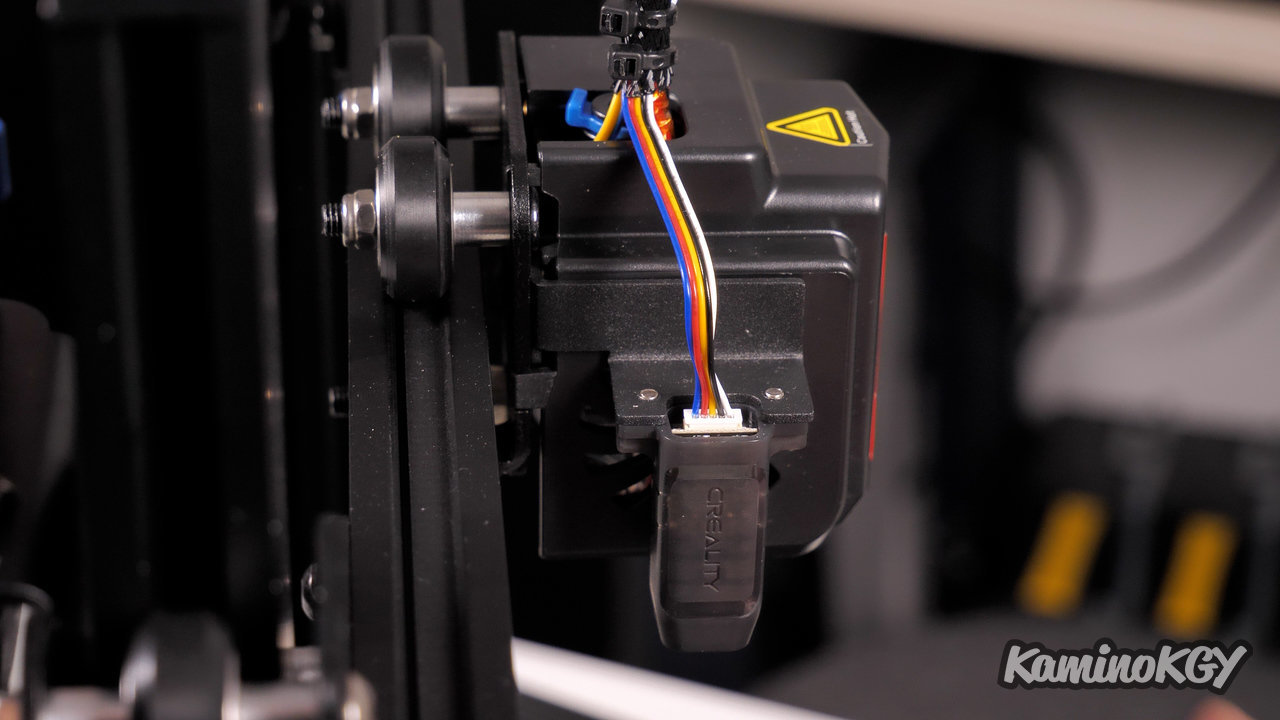
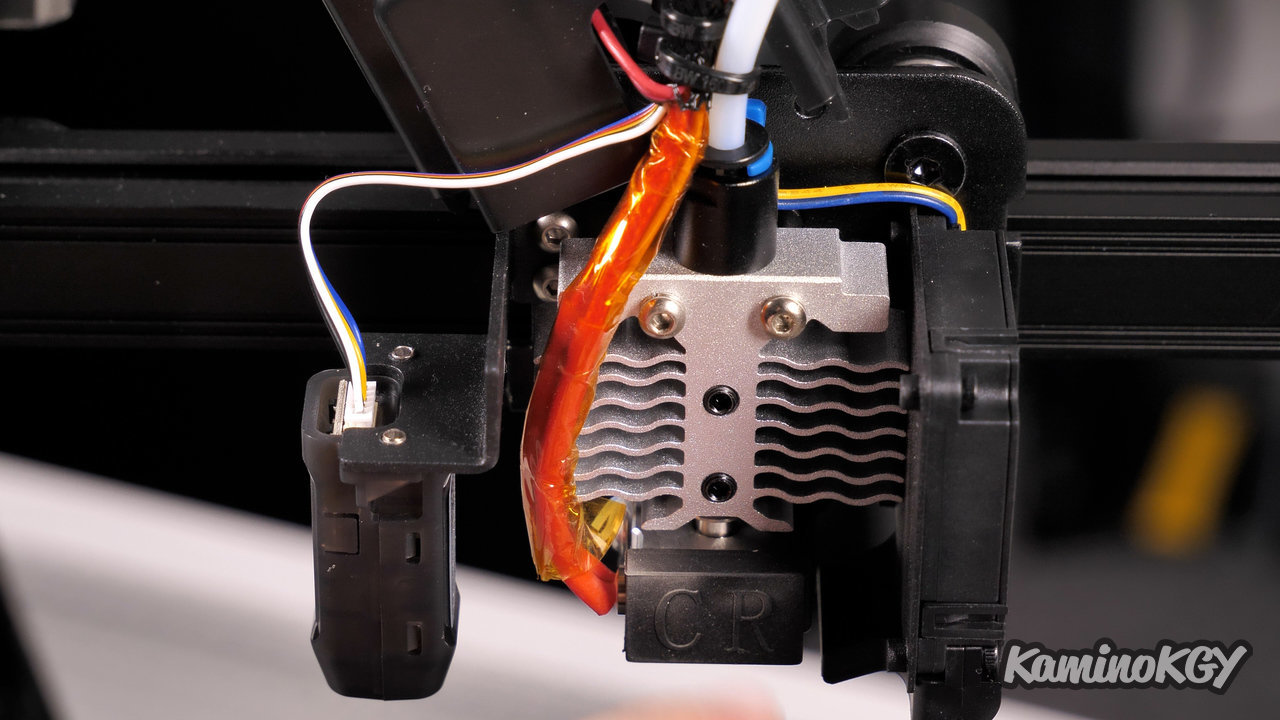
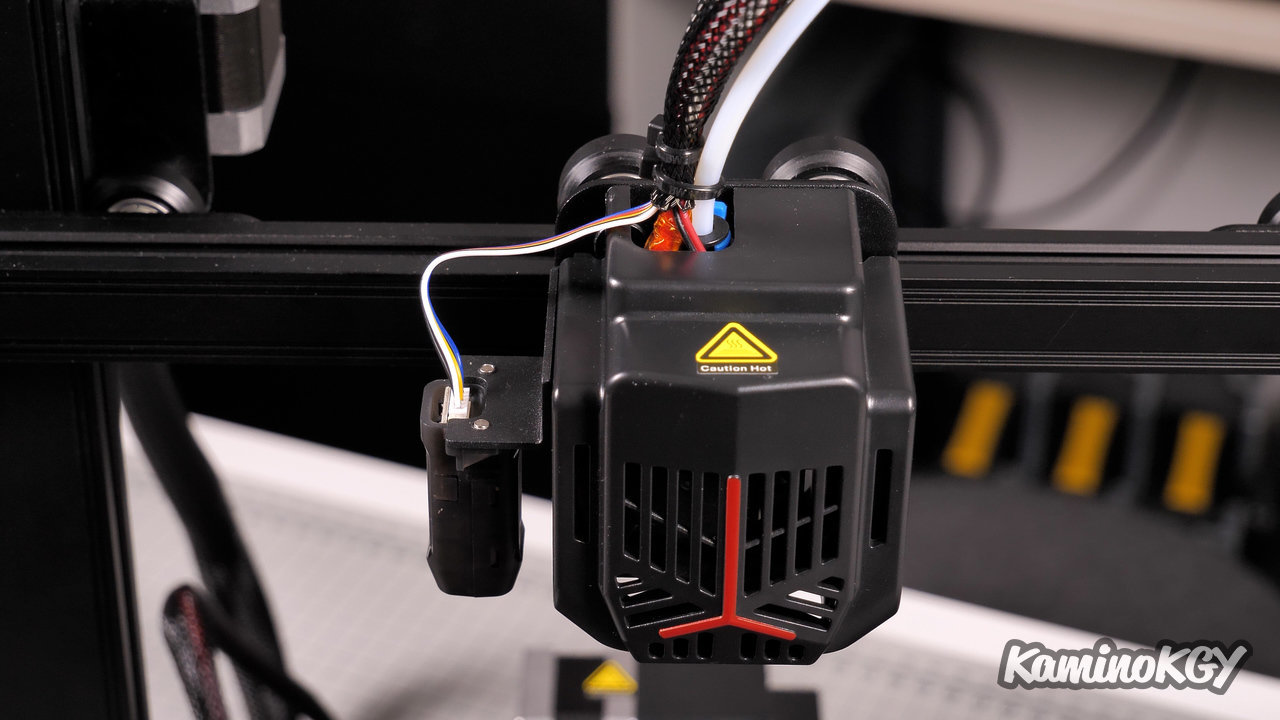
We gain the CR-Touch for the automatic leveling of the tray. The cart has a clear new look, and the radiator is much larger than before.
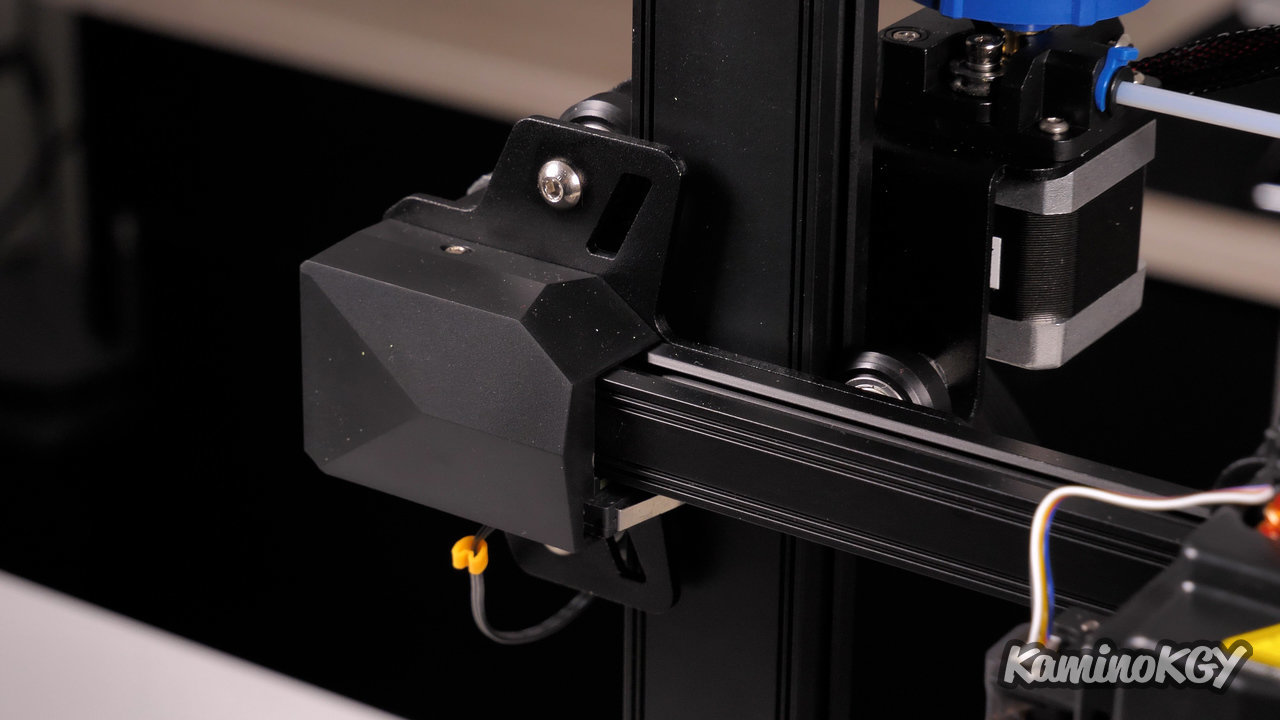
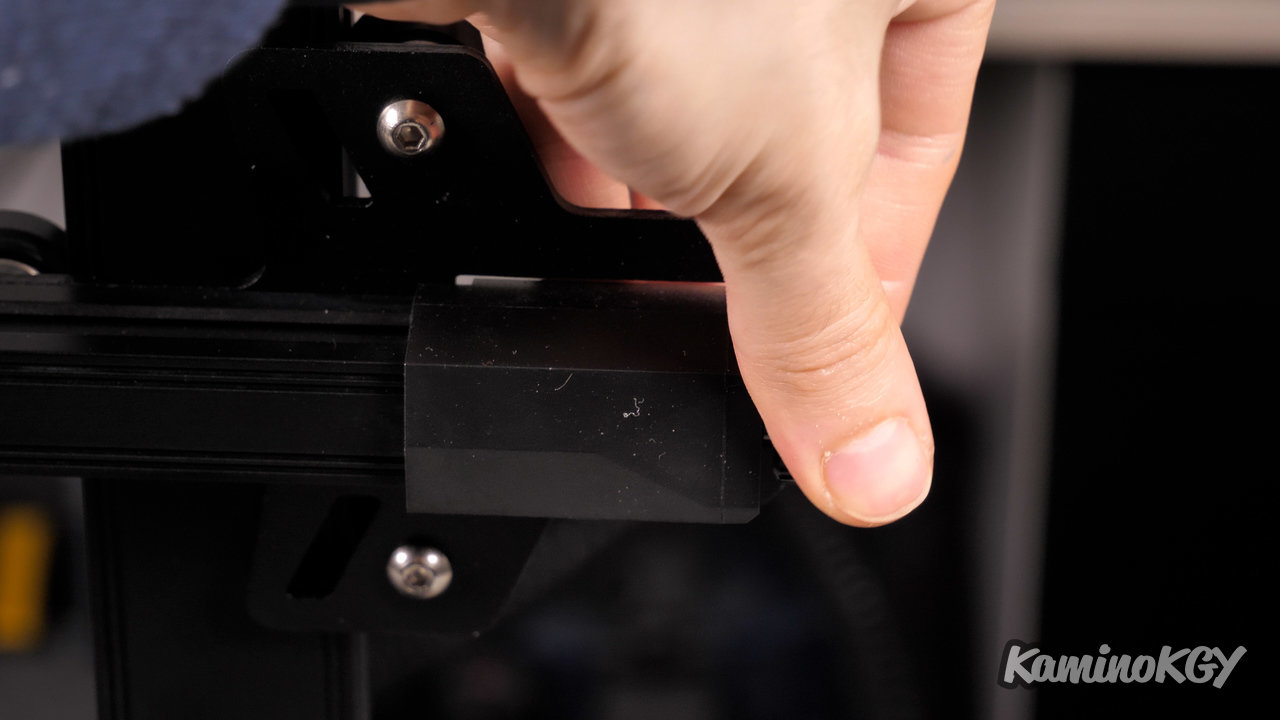
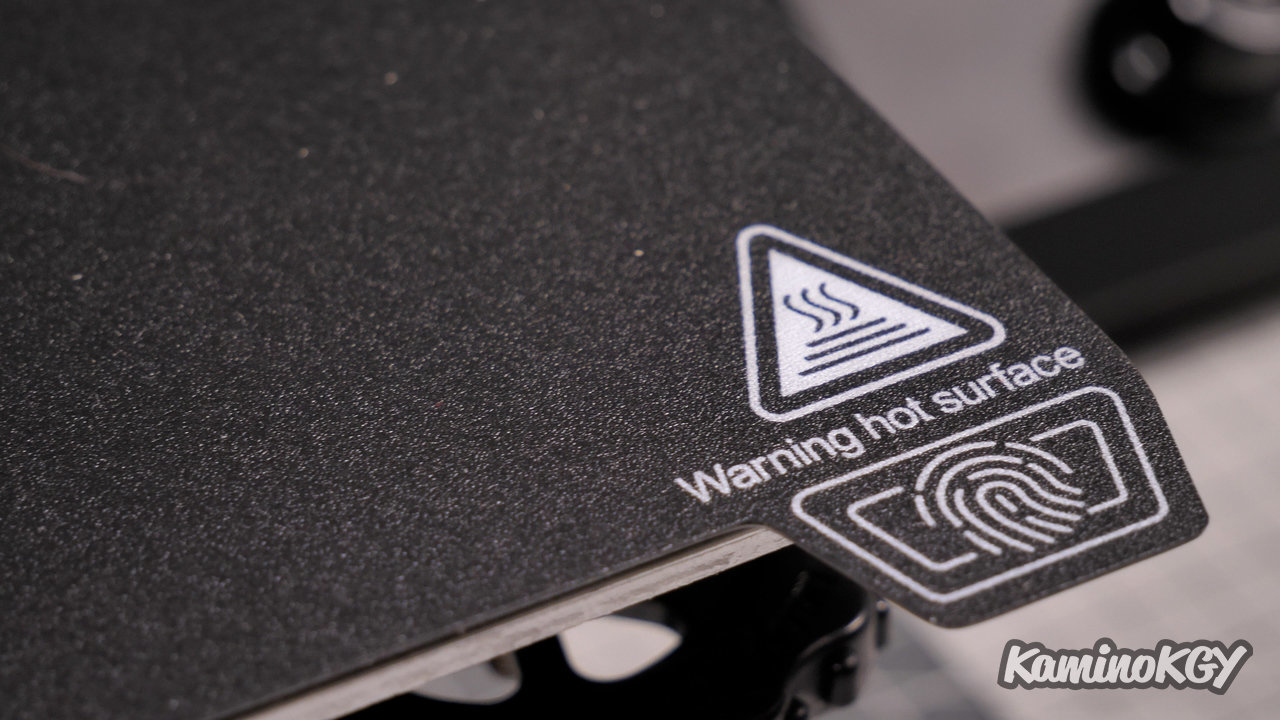
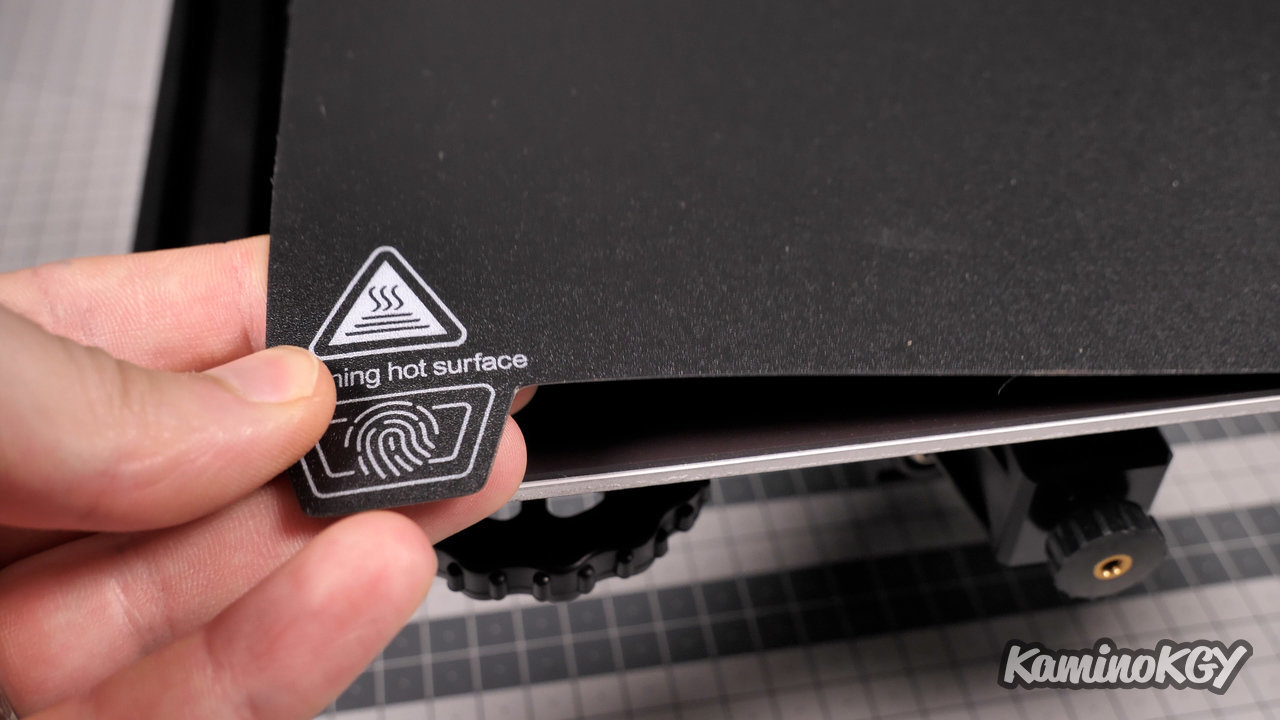
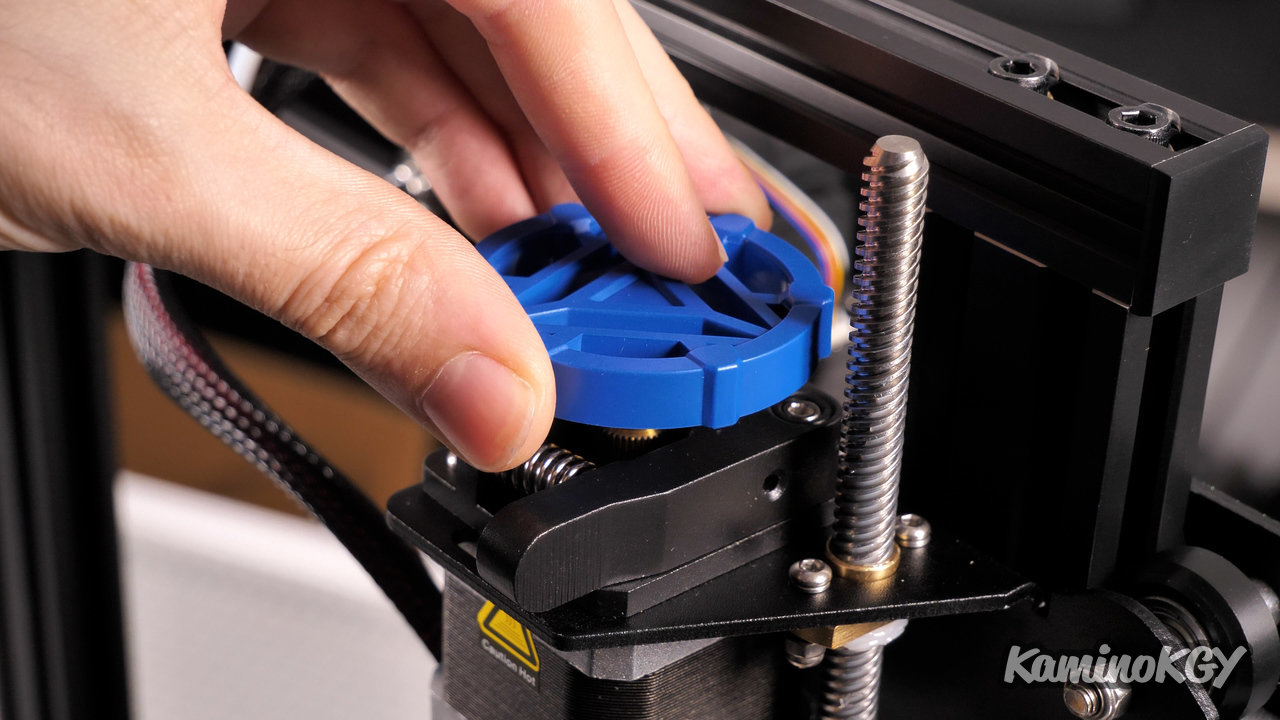
The ends of the X axis are taken from the Ender 3 S1 Pro. The flexible magnetic plate is taken from the Ender 3 S1 and really sticks. The manual extruder drive wheel is the same, but it's a shame they didn't try to recall the red side on the wheel.
Inside
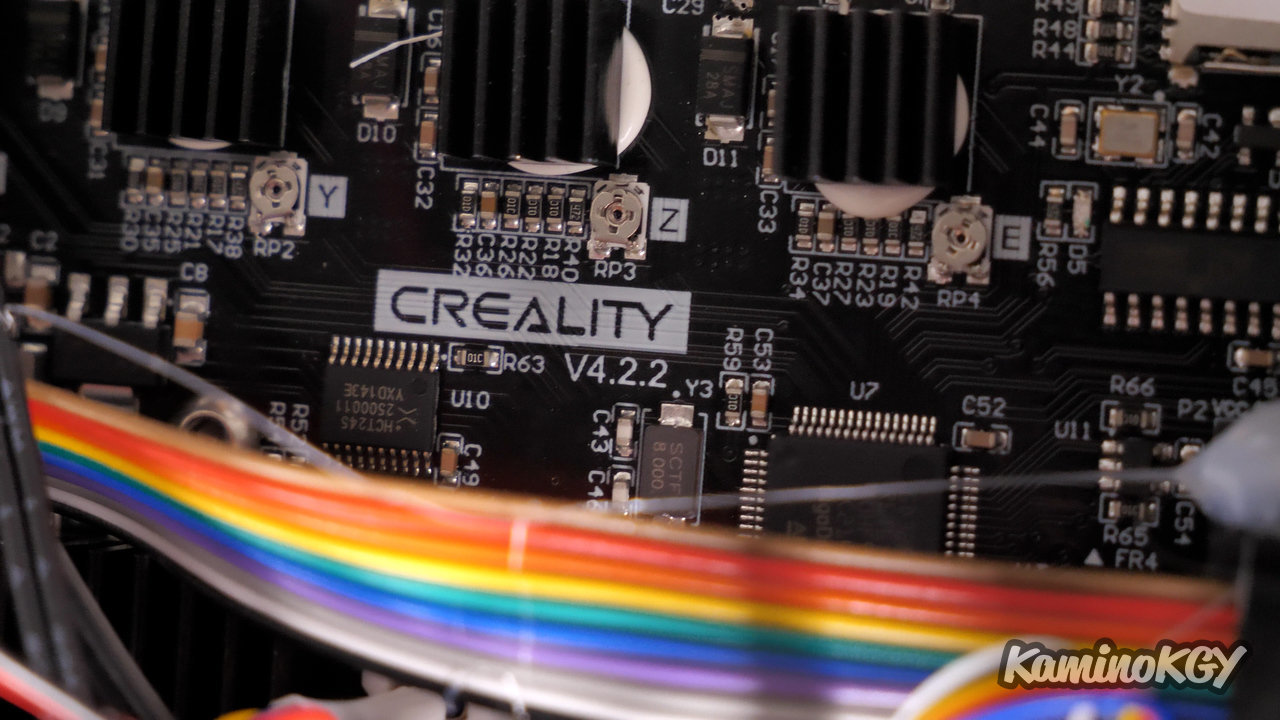
Inside the printer, as you would expect, there is a 32-bit 4.2.2 motherboard.
To be improved
We find the same internal structure of the extruder with a small blower on the side. This was not so much a detriment to the original Ender 3, but I would have appreciated a little upgrade on that side.
Temperature rise of the bed
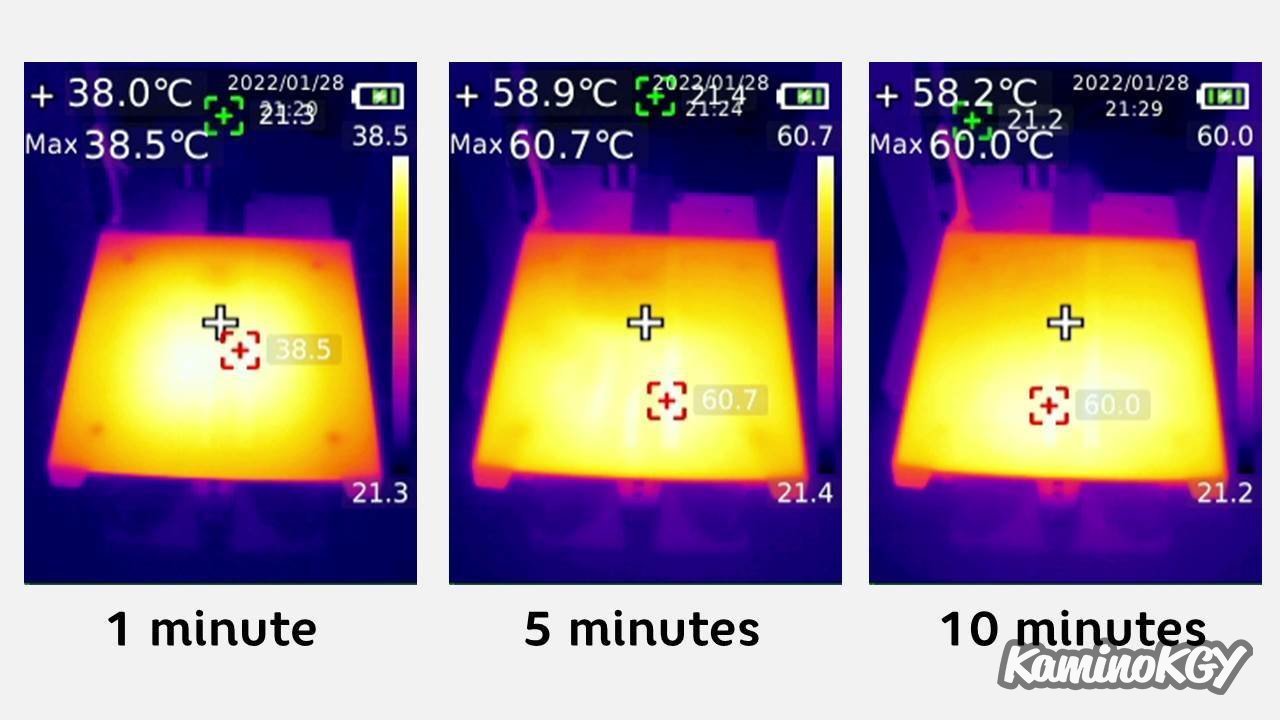
The heating of the bed is relatively fast, it takes less than 3 minutes to get there. At the beginning, you can see the screws that hold the tray in place, but you soon get a homogeneous surface. If we were to be picky, we could guess that it is slightly less hot in the back left corner, but this should not impact your impressions.
Test prints

My first test impressions showed a small problem of crushing layers always at the same place. The first cube also showed a lot of under extrusion. So I calibrated it using my online tool indicating that when I asked to extrude 100mm, it was 8.5mm short. Which is quite a bit. So I was supposed to go from 93 pitches/mm to over 100, but I stayed at 100 pitches/mm on the machine to start.
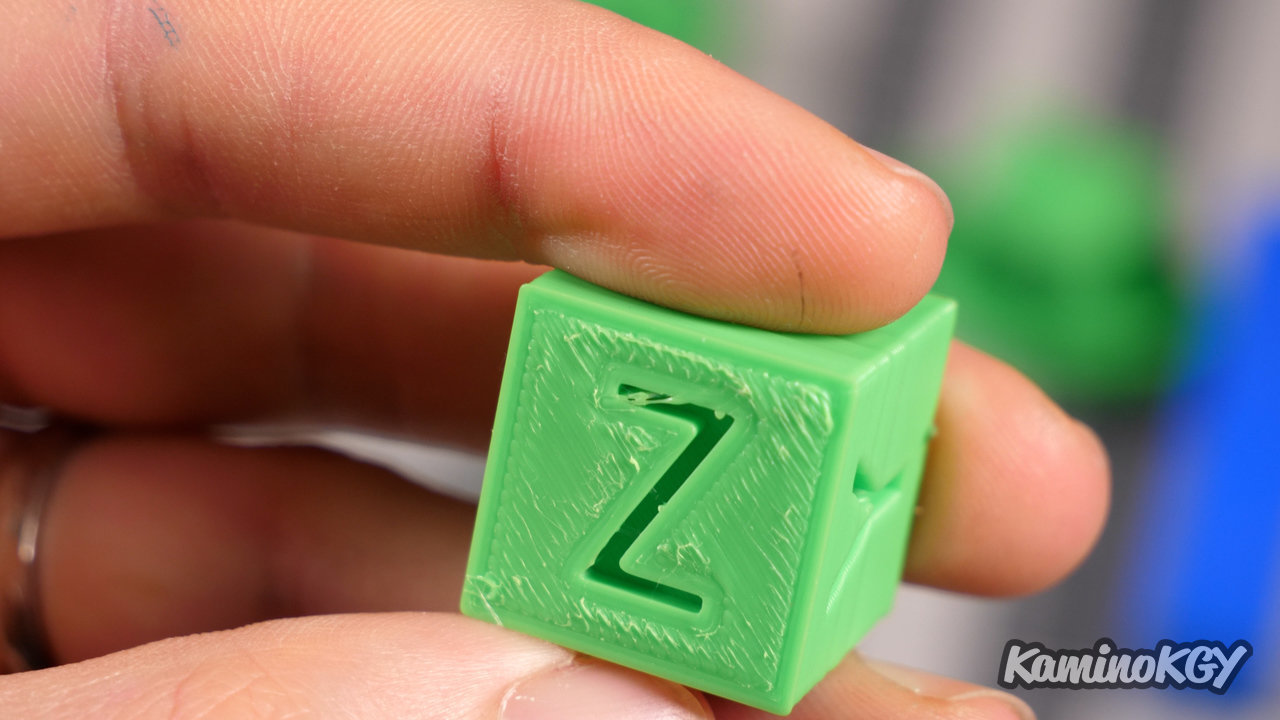
And even after having the Z-axis height moved back and forth quite a bit, the layer crush defect was still present on the second calibration cube and we seemed to have an over extrusion because of that. So I tested with a Benchy to see if the result was related to the gcode, but same result. So to test it, I took off the threaded rod of the Z axis to see if it was better, but no. From there, the problem was probably the wheels that hold the axis horizontally. I loosened them a bit and then the defect disappeared.
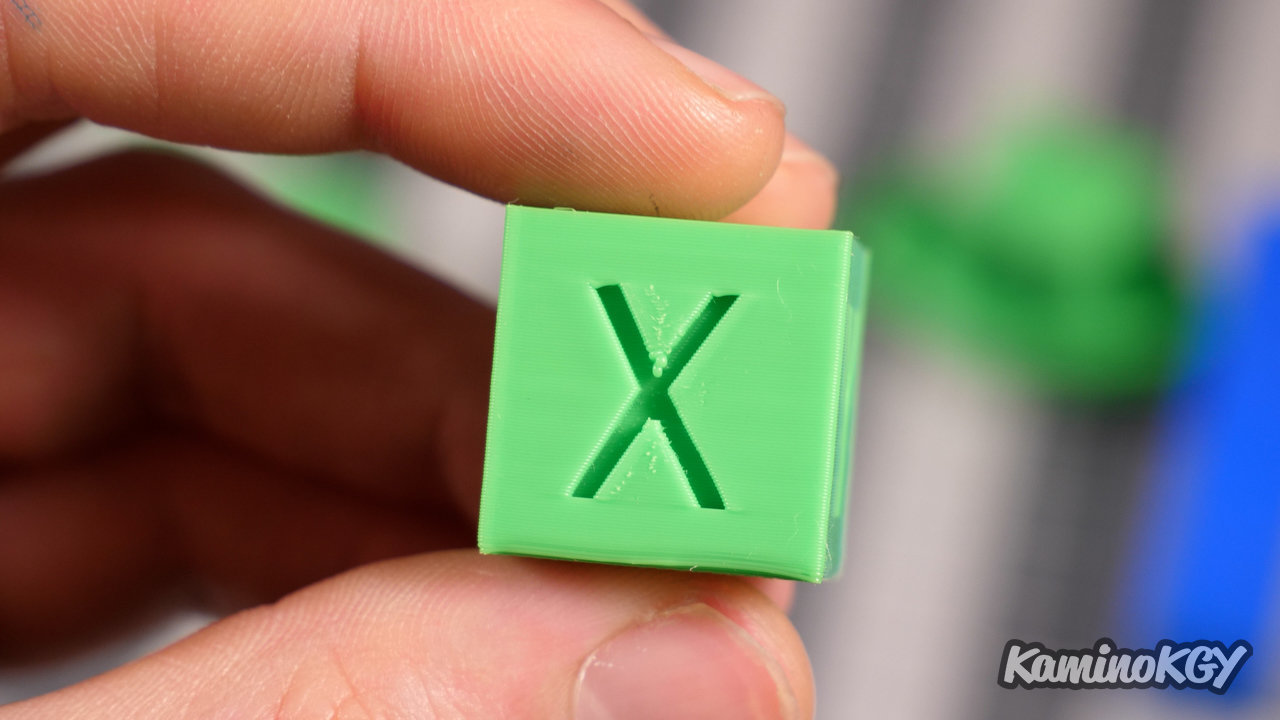
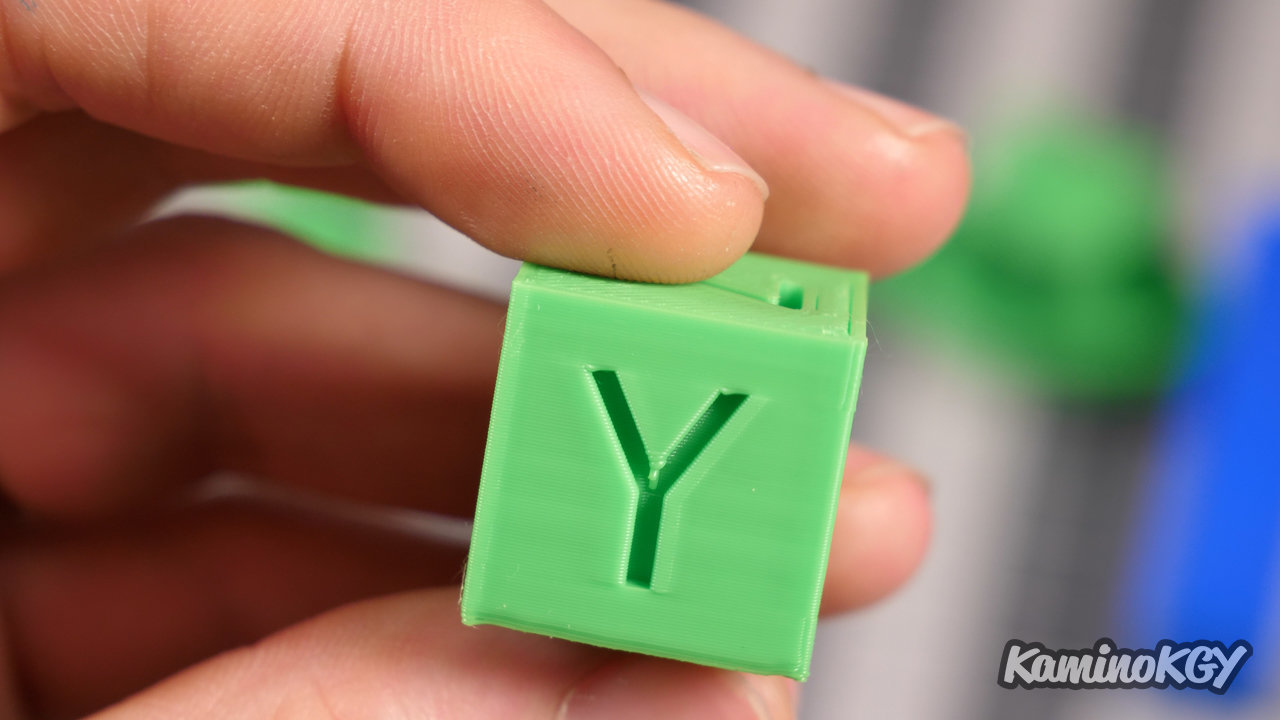
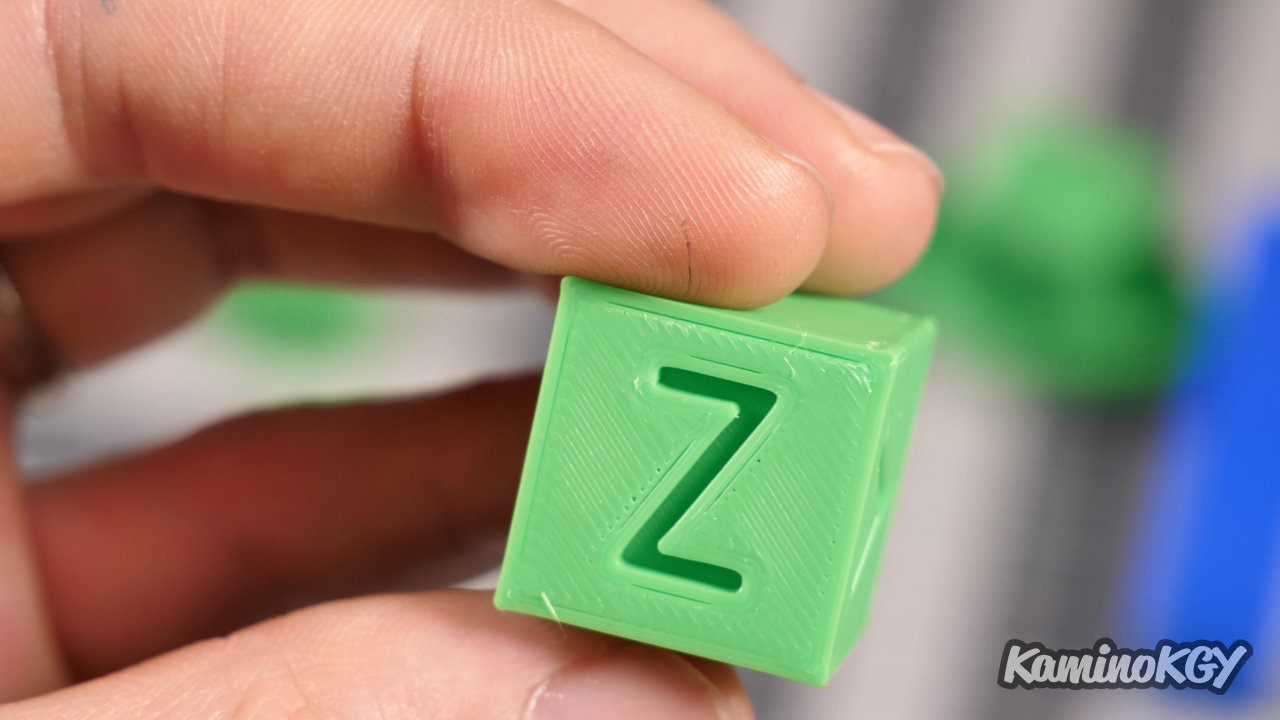
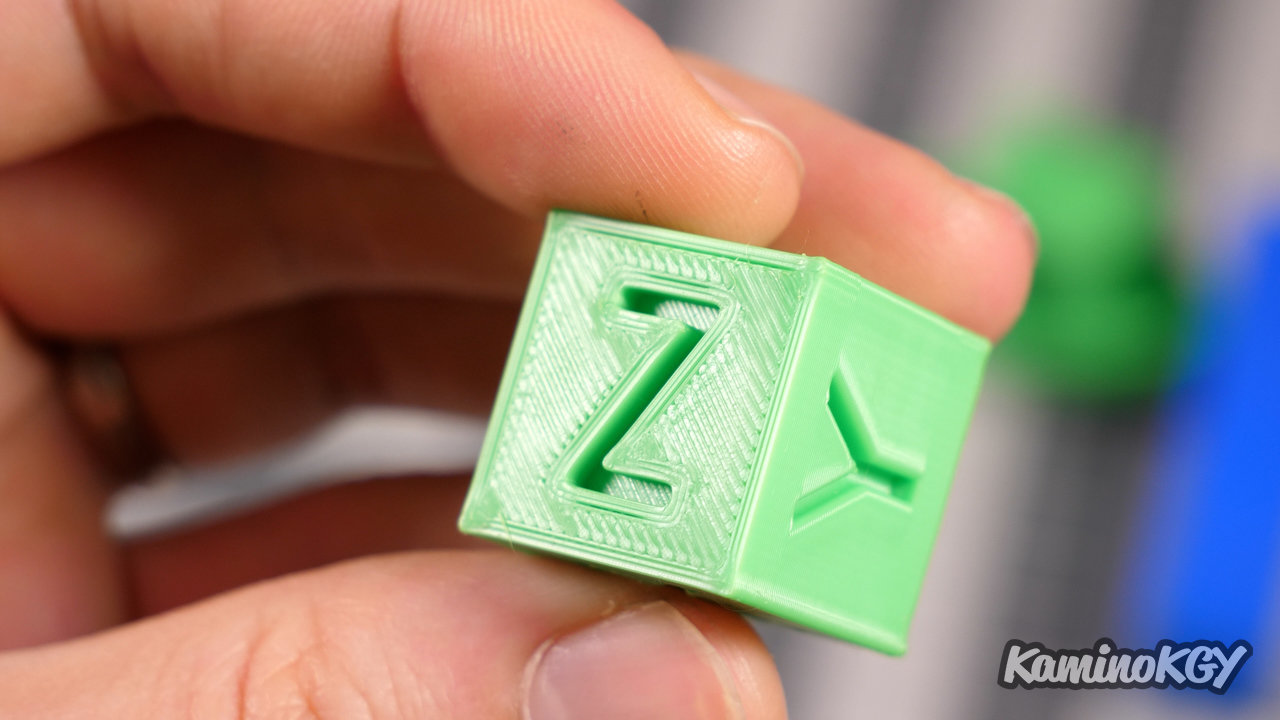
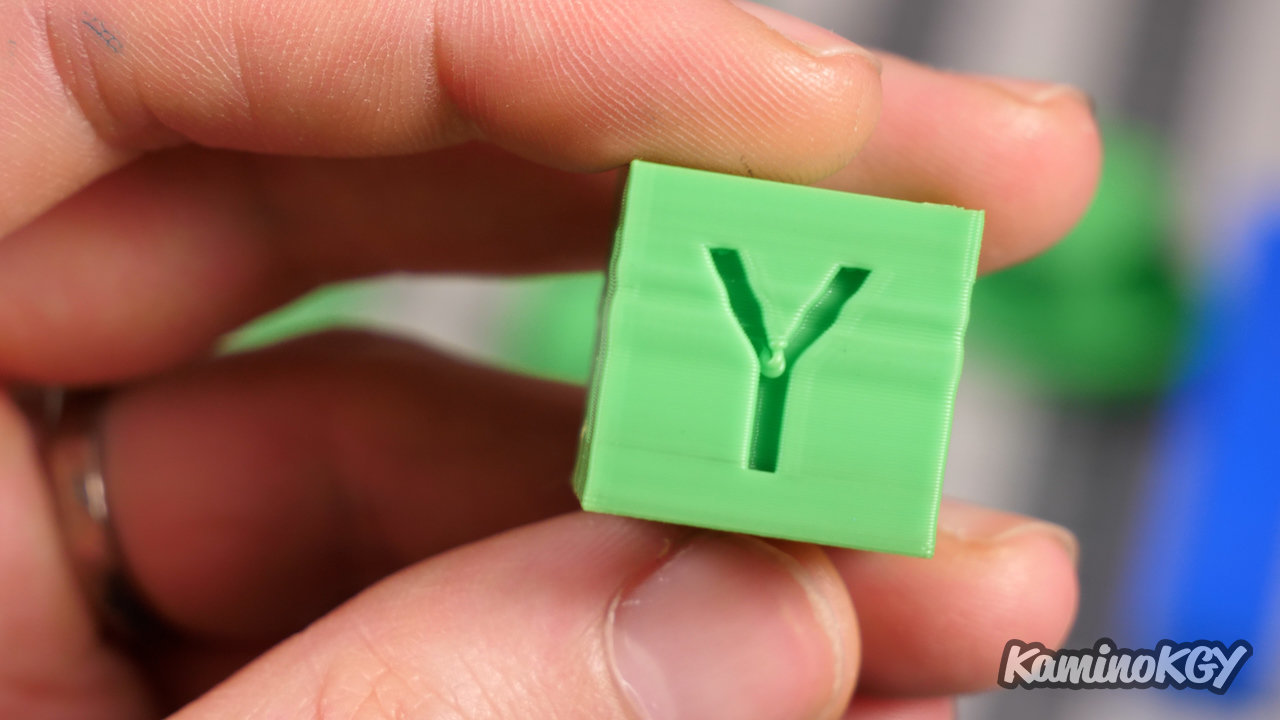
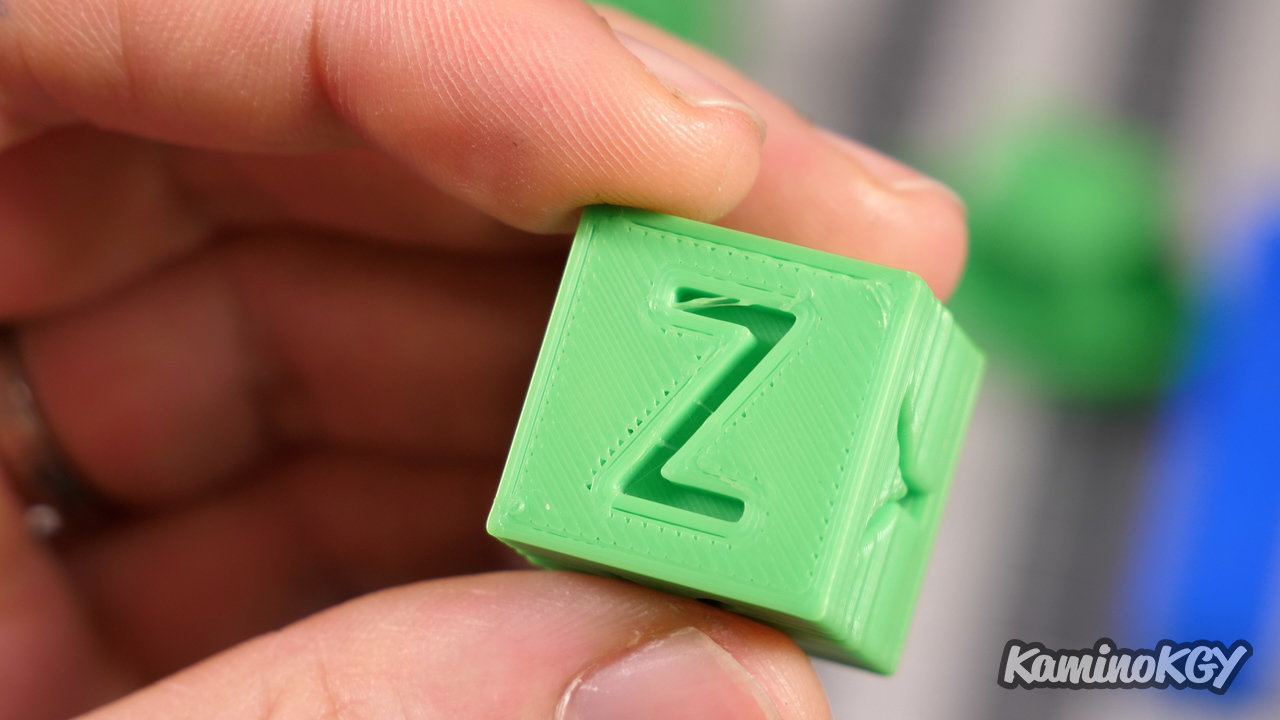
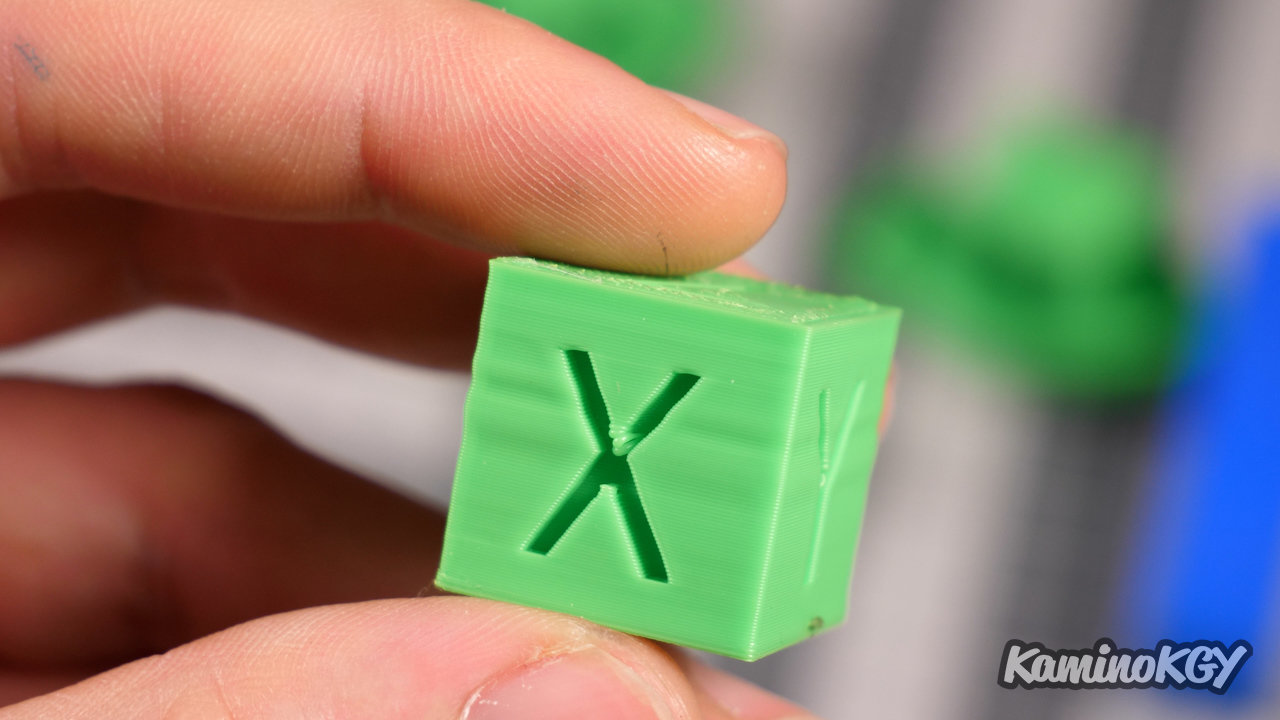
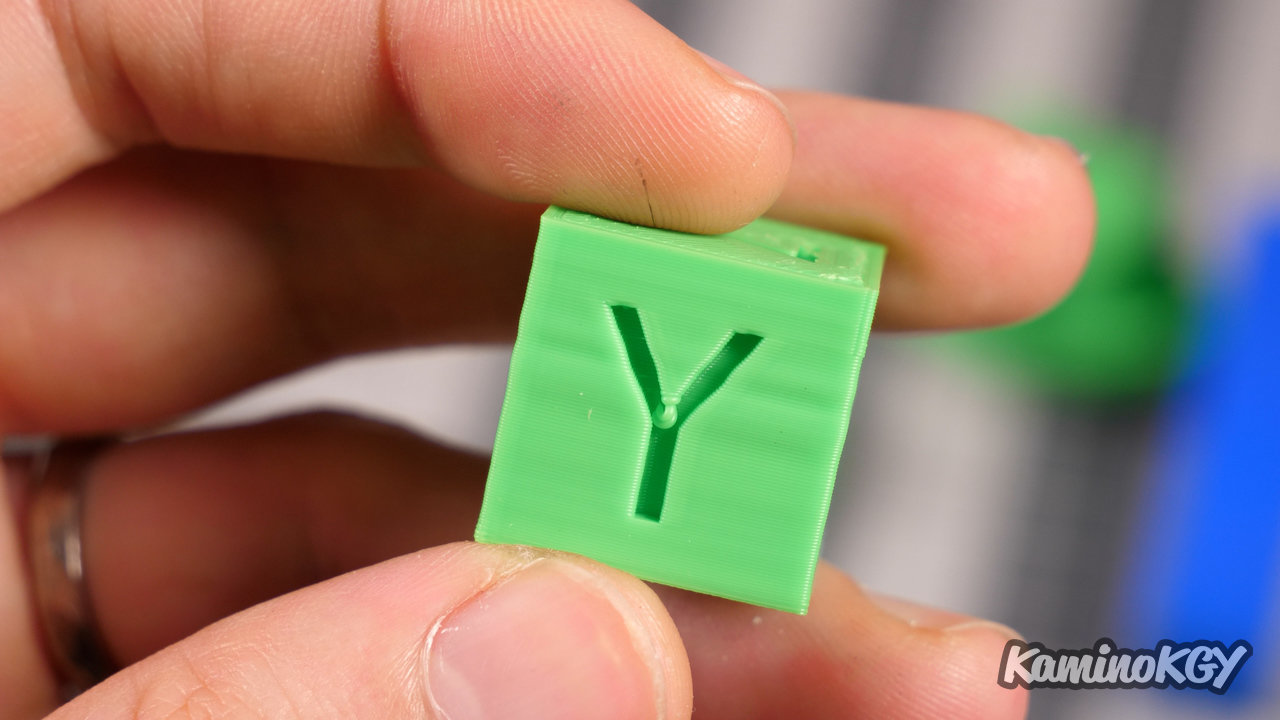
So if we now look at a calibration cube, we can see that the rendering of the faces is quite smooth, the cooling inside the letters seems to work quite well. There is no ghosting on the Y side. On the other hand for the top face we are still a little under extrusion. So I will be able to increase the number of steps/mm for the extruder and go beyond the 100 as initially calculated.
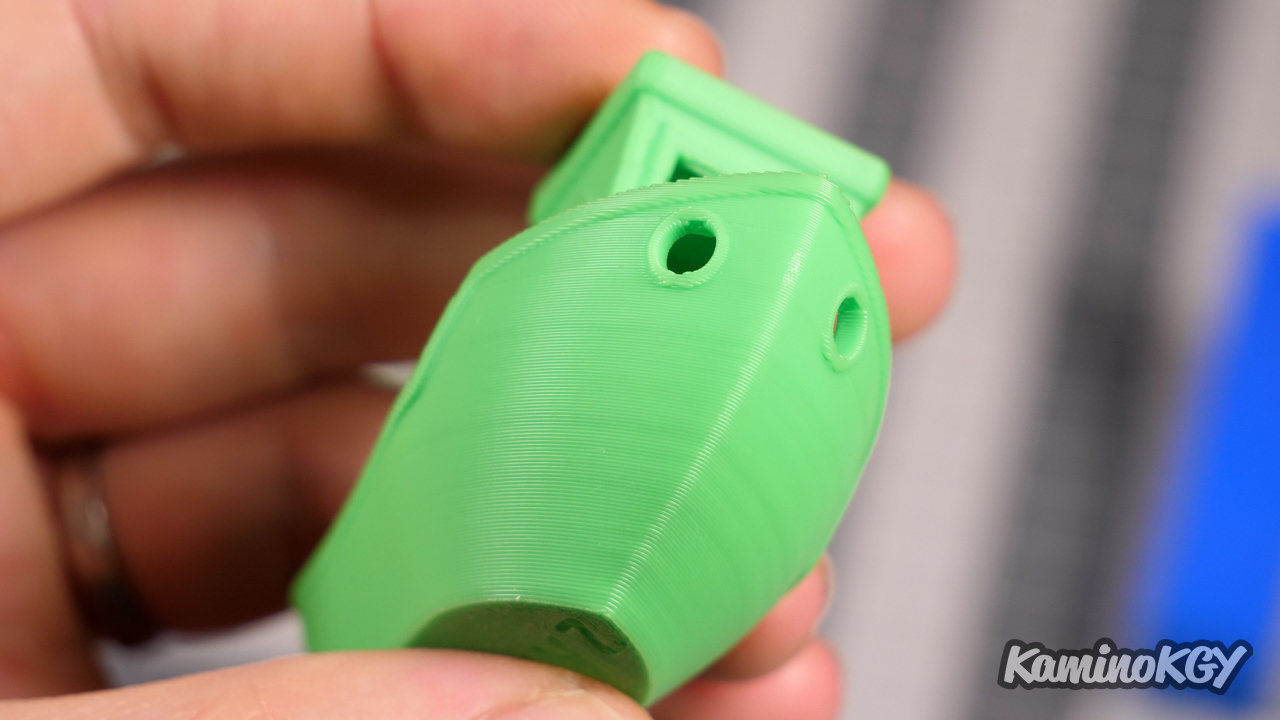
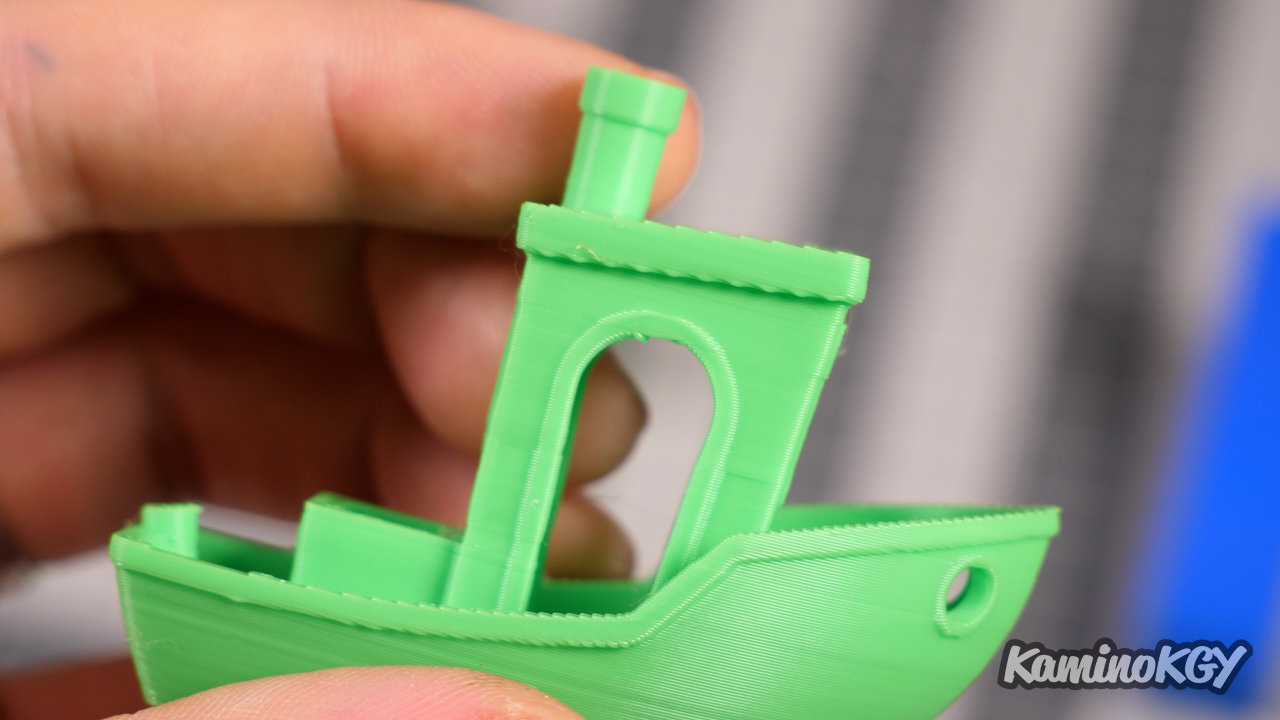
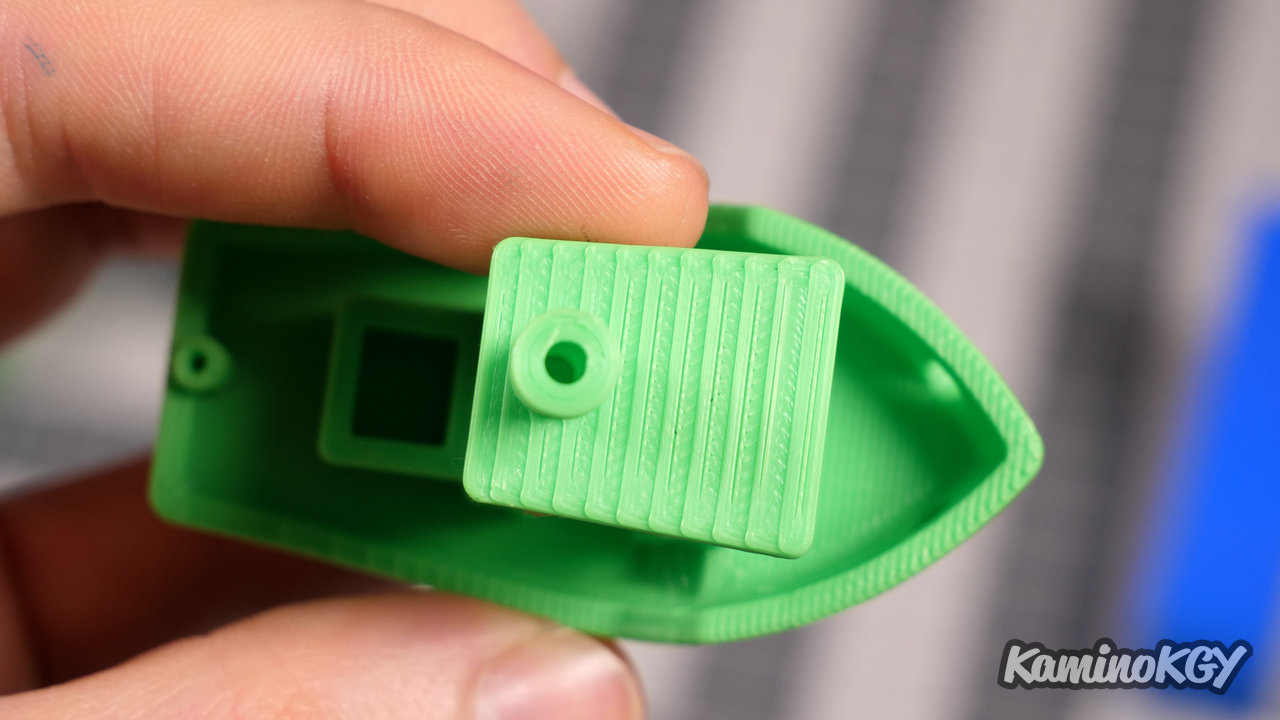
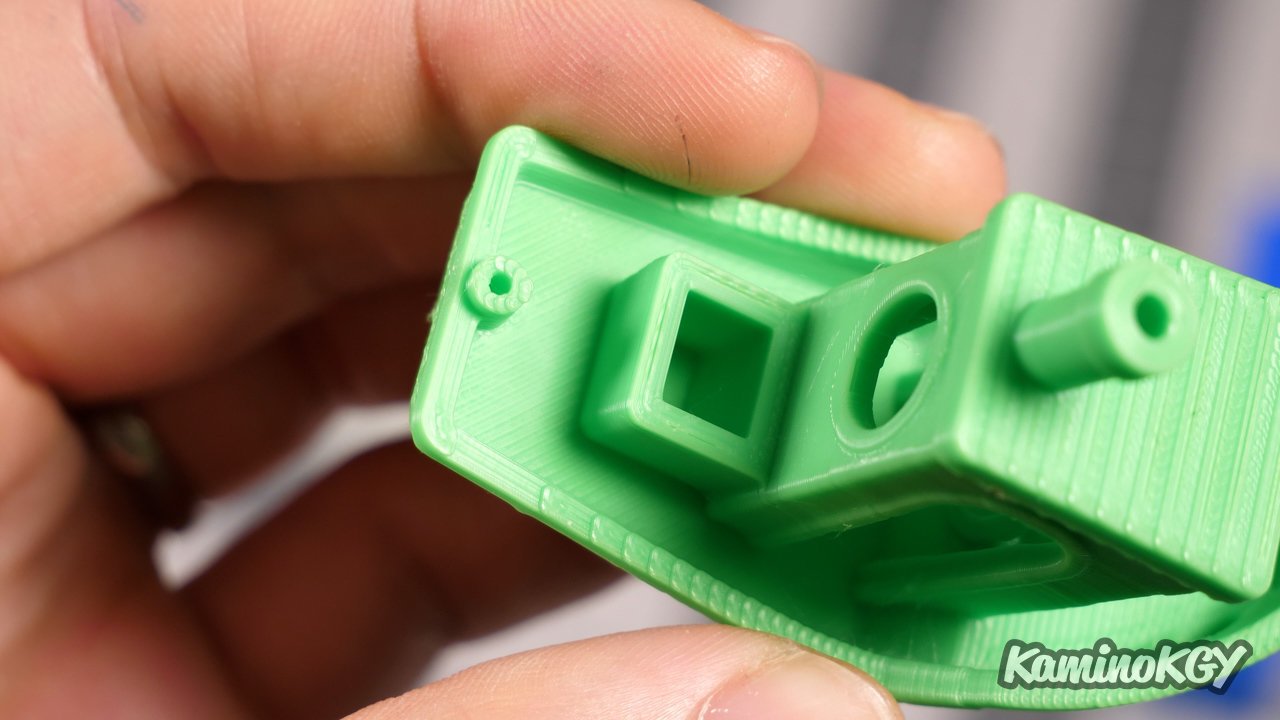
Then on the Benchy, the hull is really well shaped. The cooling on the top of the cabin is correct. There is the slight under extrusion because I only modified it after my tests. But overall, the rendering is very satisfactory.
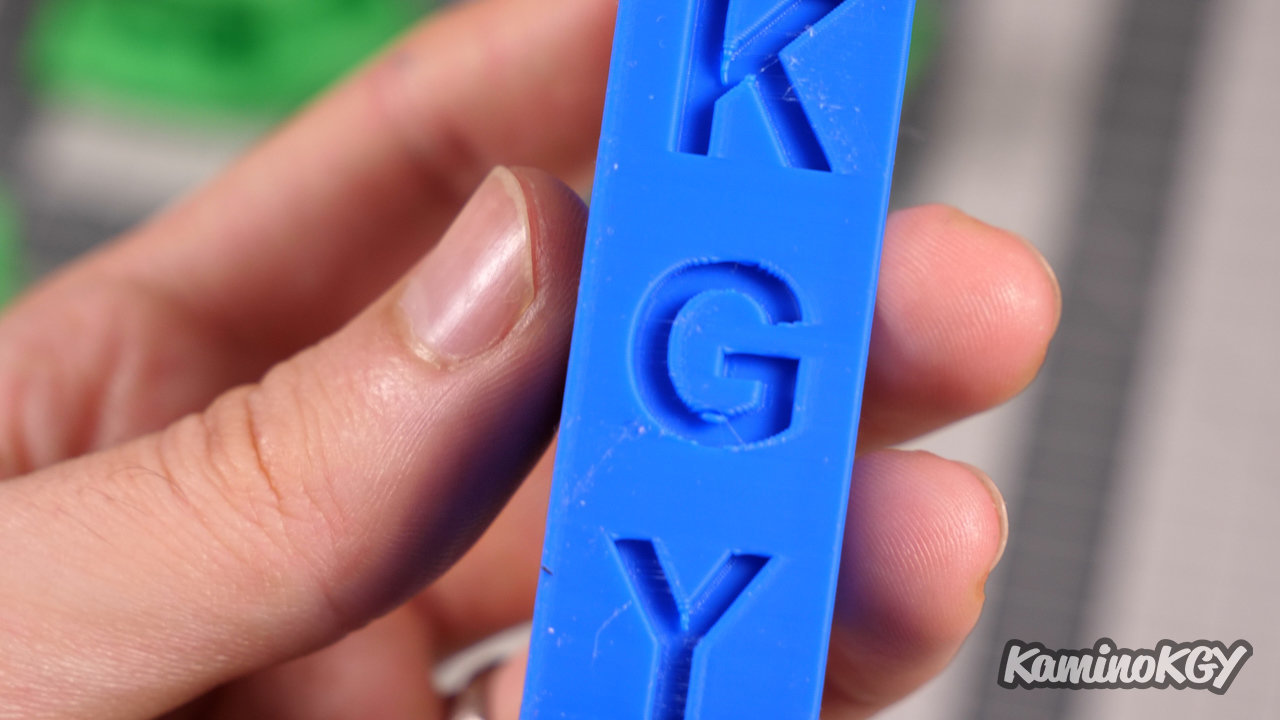
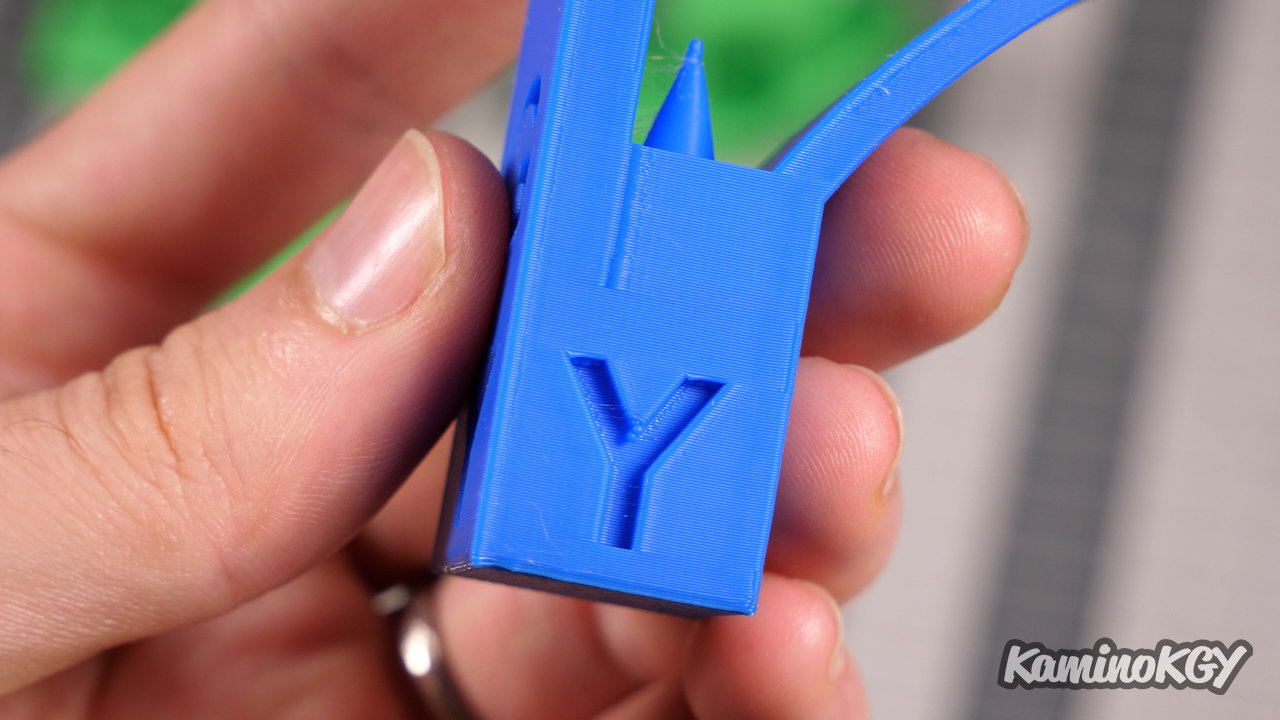
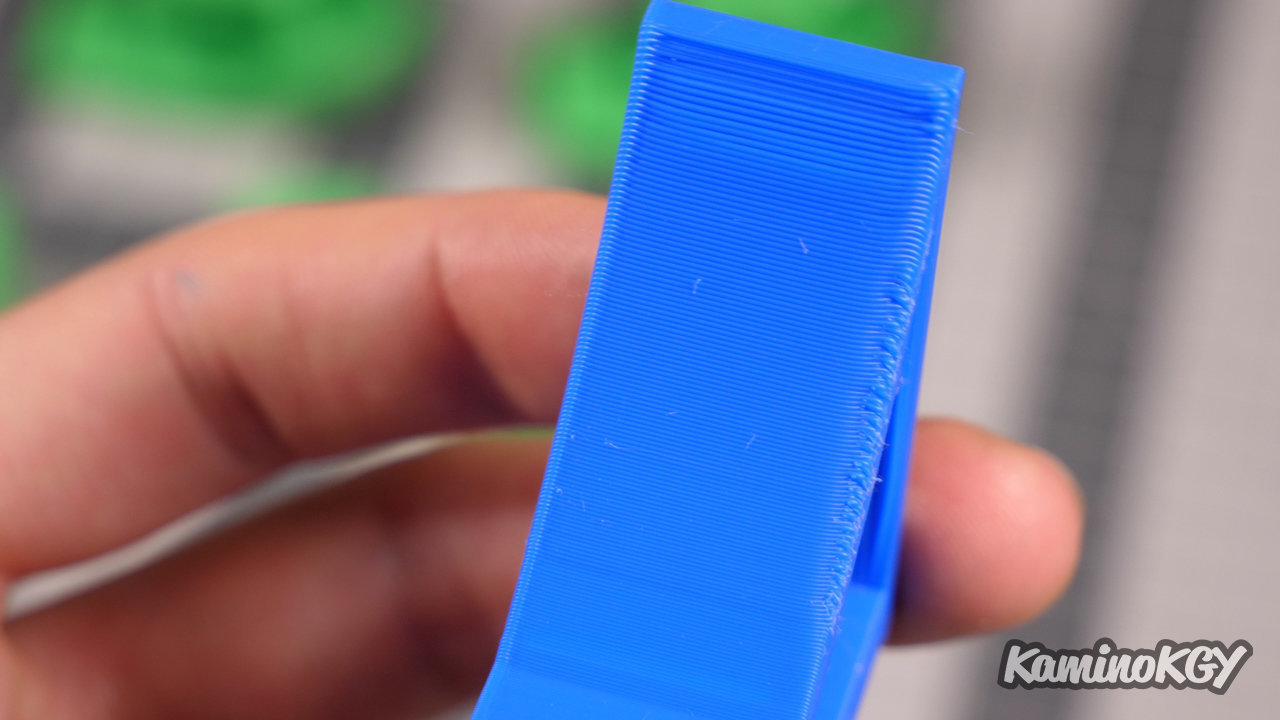
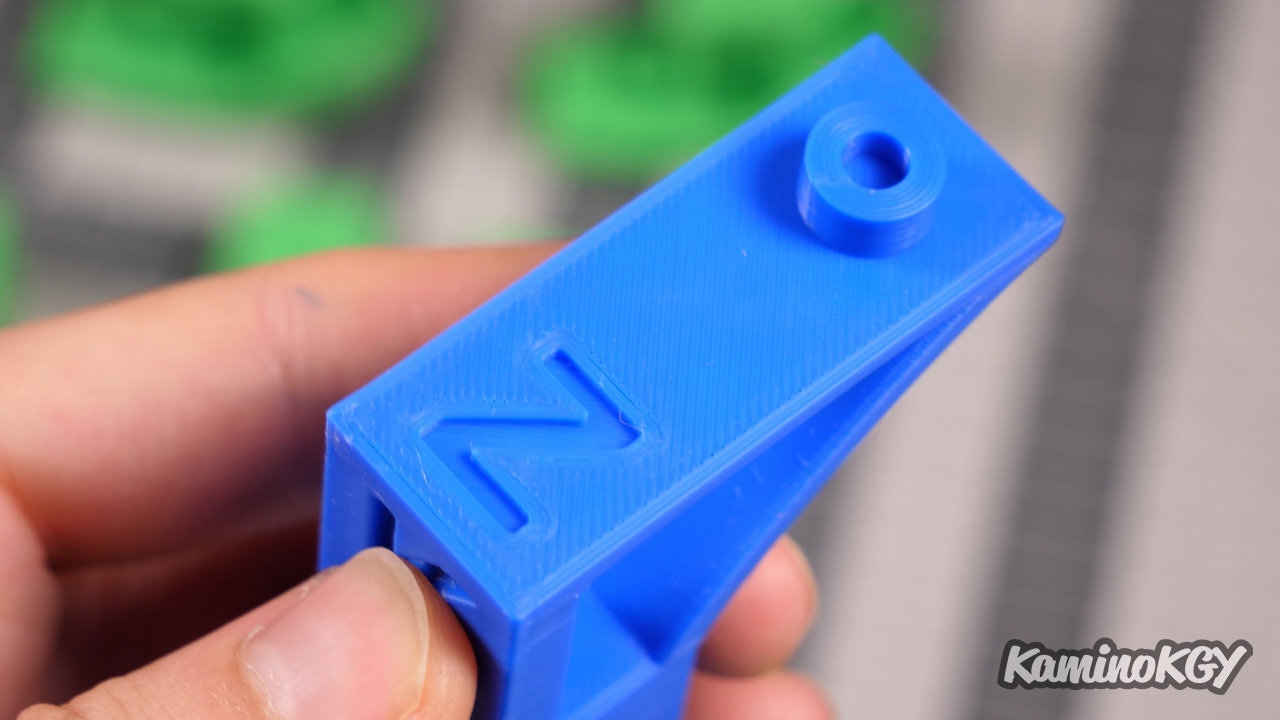
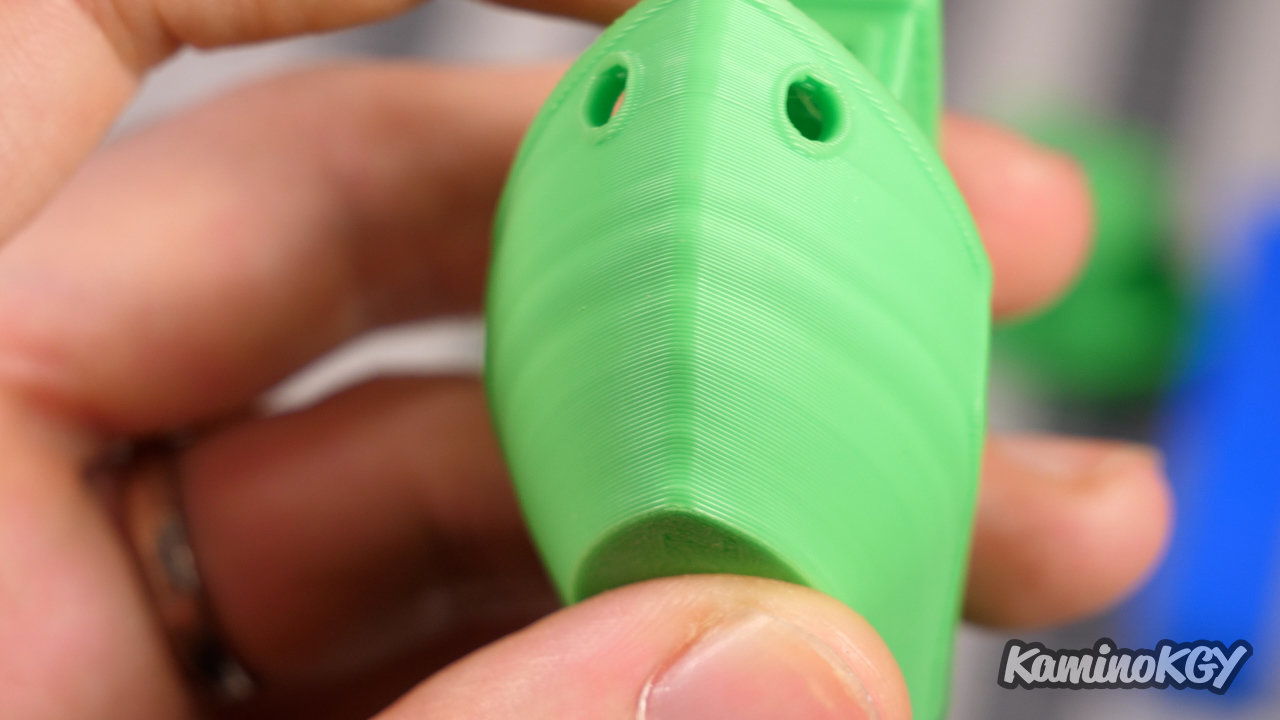
Finally on my KGY test print, the letters are well drawn, there is a slight stringing, perhaps related to the filament. We can play a little on the temperature and the retraction on the slicer to make it disappear. The Y is clean. There is no ghosting on it. You can see the slight stringing. The overhang is well cooled, but we see the limitations of using a blower only on one side with proper cooling on the right side of the print where the blower is, but a lack on the left. And the top is very smooth.
Bilan
With this new Neo version of the Ender 3 v2, Creality has added an intermediate model that could be placed between the v2 and the Ender 3 S1. Especially for those who want to stay on a bowden type system. And after calibration of the extruder and the eccentric nuts on the horizontal axis and the platen, we find similar results to the original Ender 3, but we gain on the platen and the CR-Touch. Is it worth the extra cost on the starting price? It's up to you to make your calculations according to the price where you will find it and the upgrades that interest you.
Bye bye!