Today we left to upgrade the Flsun Super Racer with 9 different upgrades and nothing superfluous! The goal is to get the most out of this excellent machine and have more durable parts.

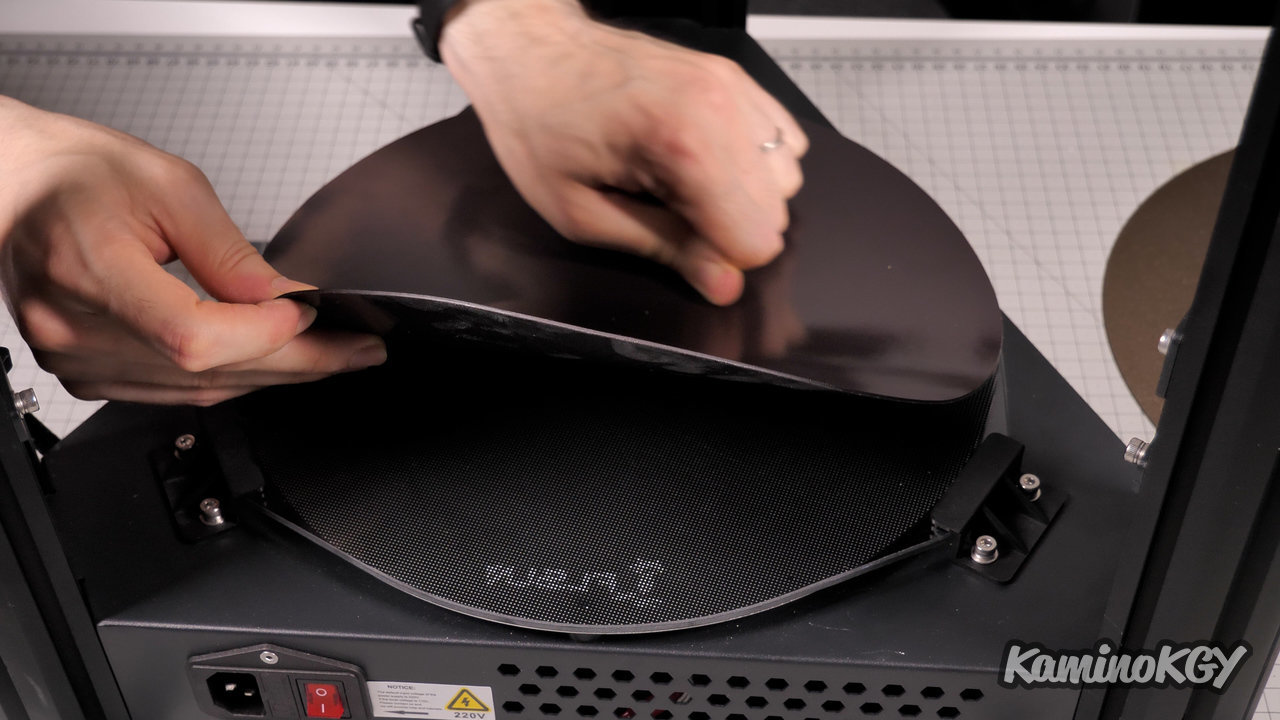
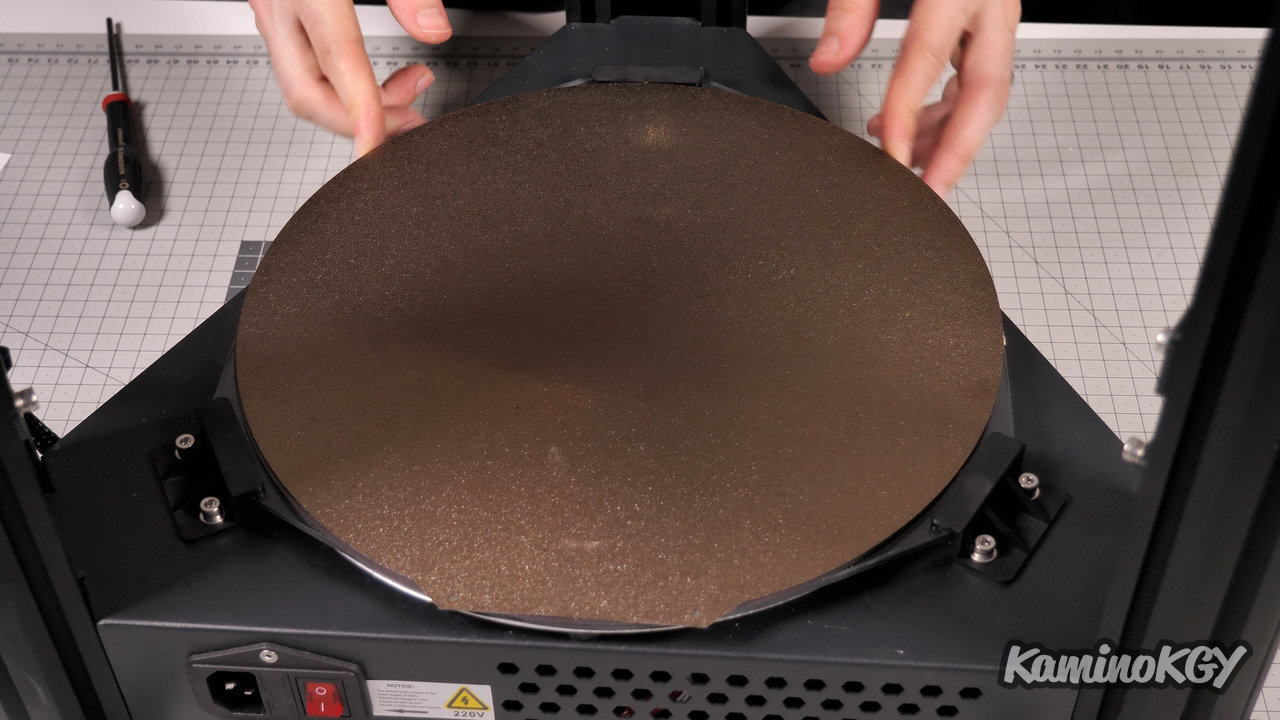
Upgrade Number 1, we'll start with the tray and obviously I went with a double-sided flexible magnetic PEI tray with a textured side and a smooth side because with the glass tray, I've already ended up with prints that really adhere too. So I removed the current plate, placed the magnetic base directly on the aluminum plate to try to have a better rise in temperature. Except that in the end, while doing test prints, I realized that the tray was crushing and deforming in places. And despite a temperature bed leveling, it was far from perfect. So I had to take it off, put the plate back on the glass side and glue the magnetic base back on. I was afraid that the magnetic base would be deformed after that, but in fact the result is very flat so it's perfect! And as some might wonder about the homogeneity and the speed of the temperature rise of the plate, I put the result here. Note that the lower air temperature for the PEI plate probably because it is a little reflective and the thermal camera captures its temperature less well. But personally, I find the result to be quite satisfying.
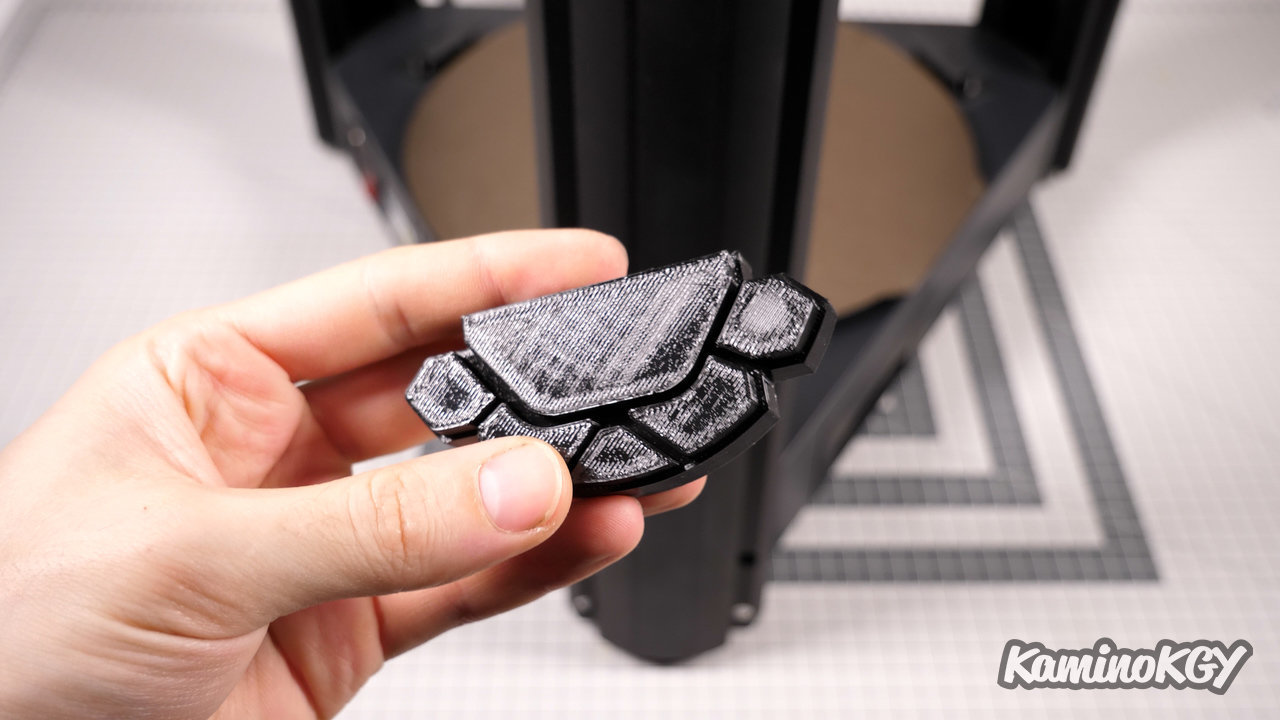
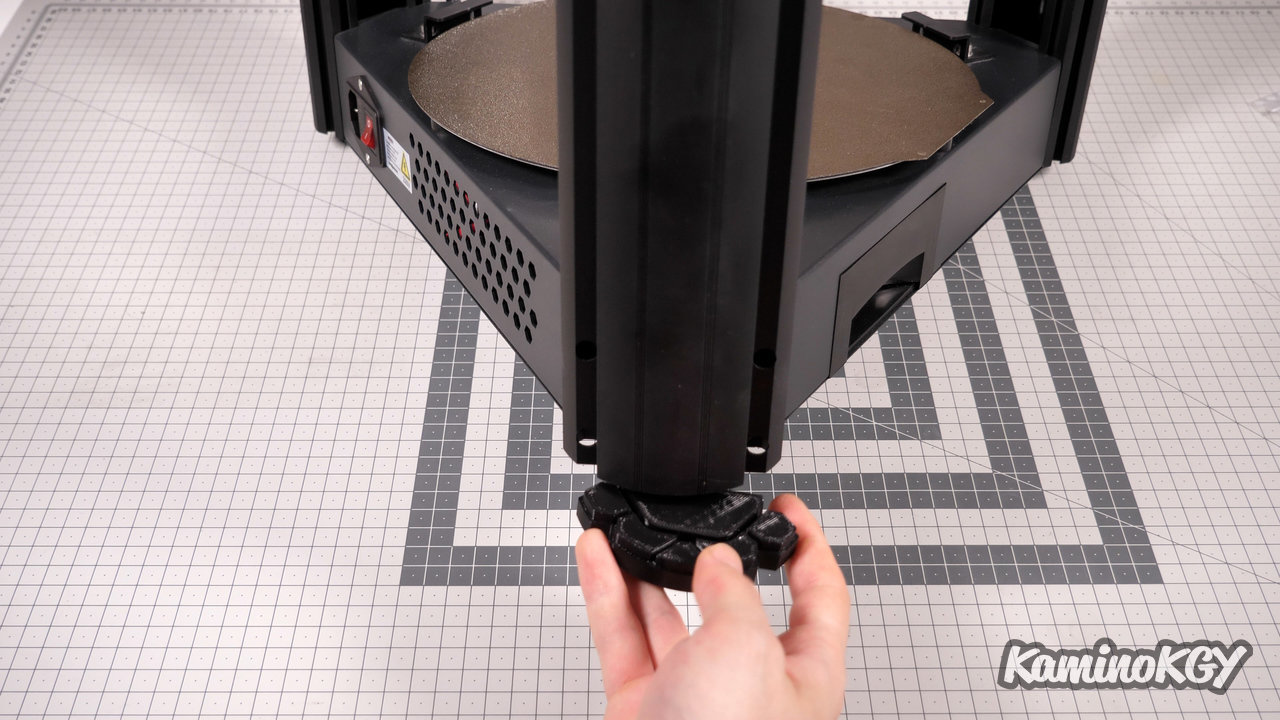
Upgrade Number 2, to gain stability, I modified some feet I found on thingiverse to be exactly the height of the original feet. So that they better absorb shocks I printed them in flexible TPU filament with a hardness of 82A, if that doesn't speak to you, I put my video on flexible filaments in the description to go see it after this video.
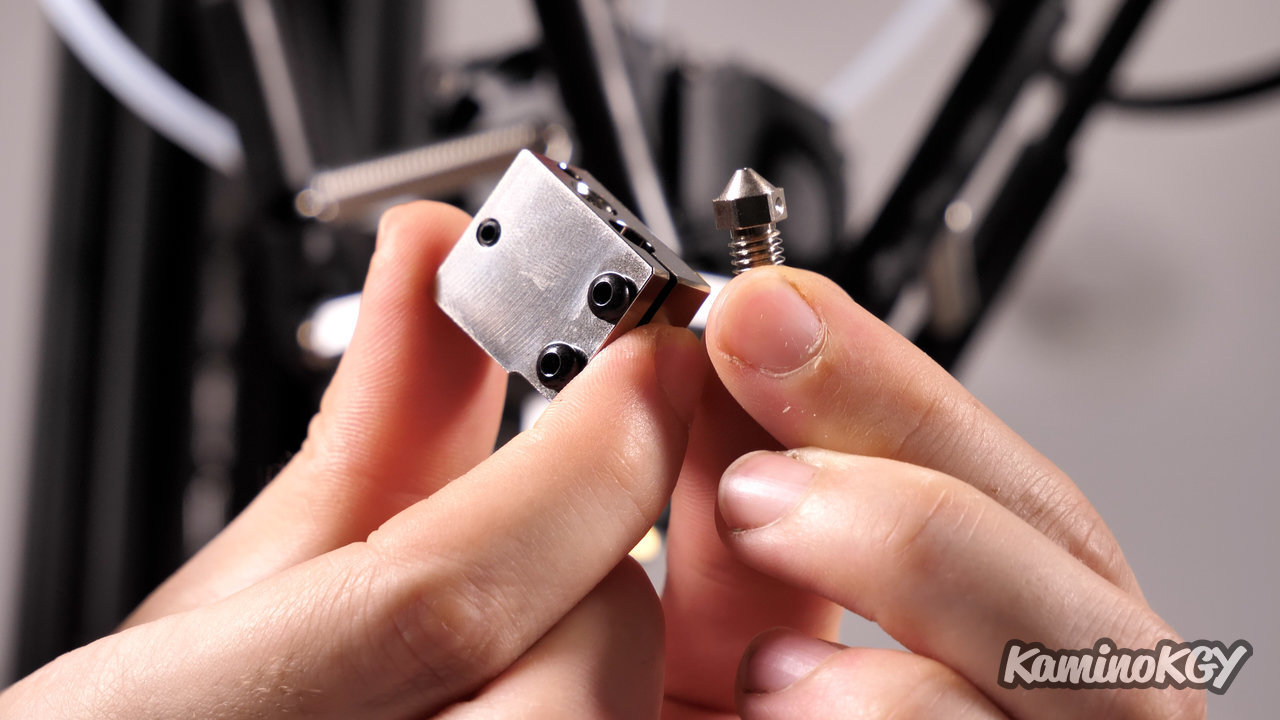
Upgrade Number 3, 4, 5, 6 because they are all mounted on the central platform. Already we will start with the nozzle that I will replace with a reinforced NitroMax nozzle which will allow you to print abrasive materials or quite simply, not having to change it at all if you print PLA for example. Personally, I went with a diameter of 0.6 mm.
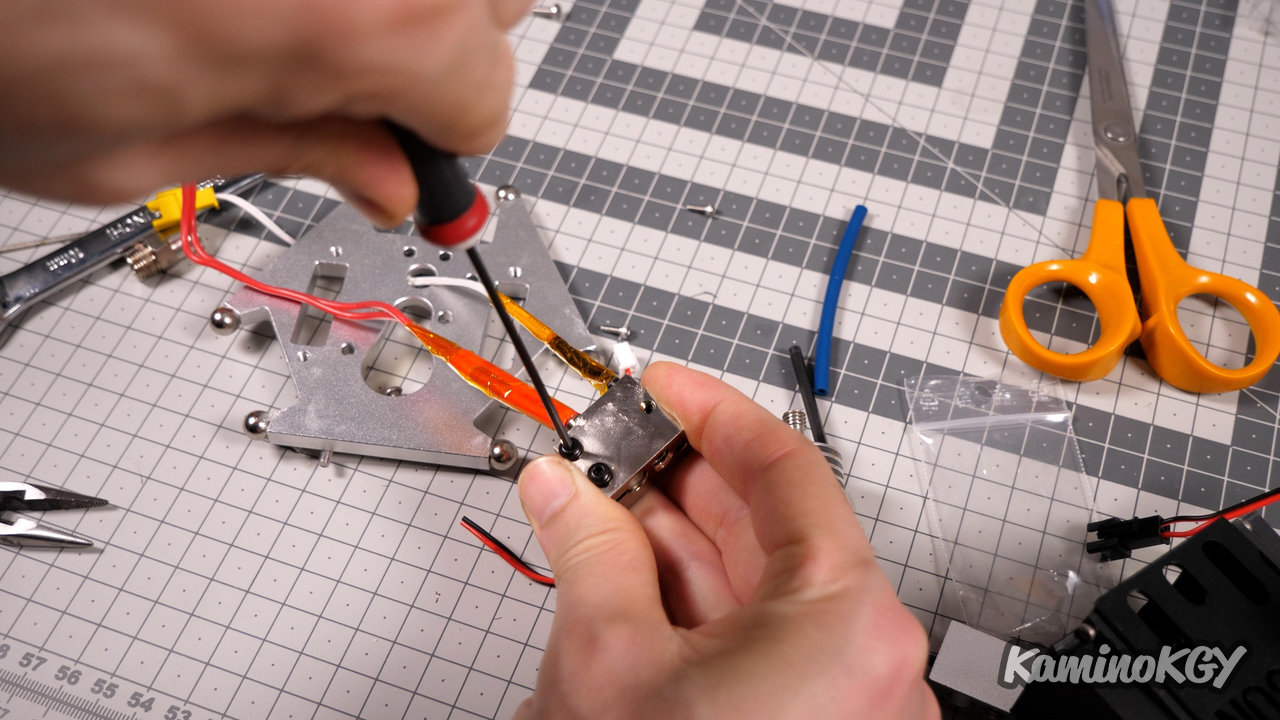
I also replaced the heater block to get a better quality one, which is also larger than the original one. For this step, there is not really any possible choice on the order to mount it because otherwise you will not be able to pass the heating resistor and the temperature sensor. I separated the 2 wires and put back special tape that serves as a heat shield, I put it in the link in the description, it is still used in 3D printing. To pass the cables that are found on either side of the outlet of the nozzle. I passed the temperature sensor through the small hole in the front and the heating resistor through the big hole in the back. We just screw the radiator on the heating block and we finally screw it to the platform.
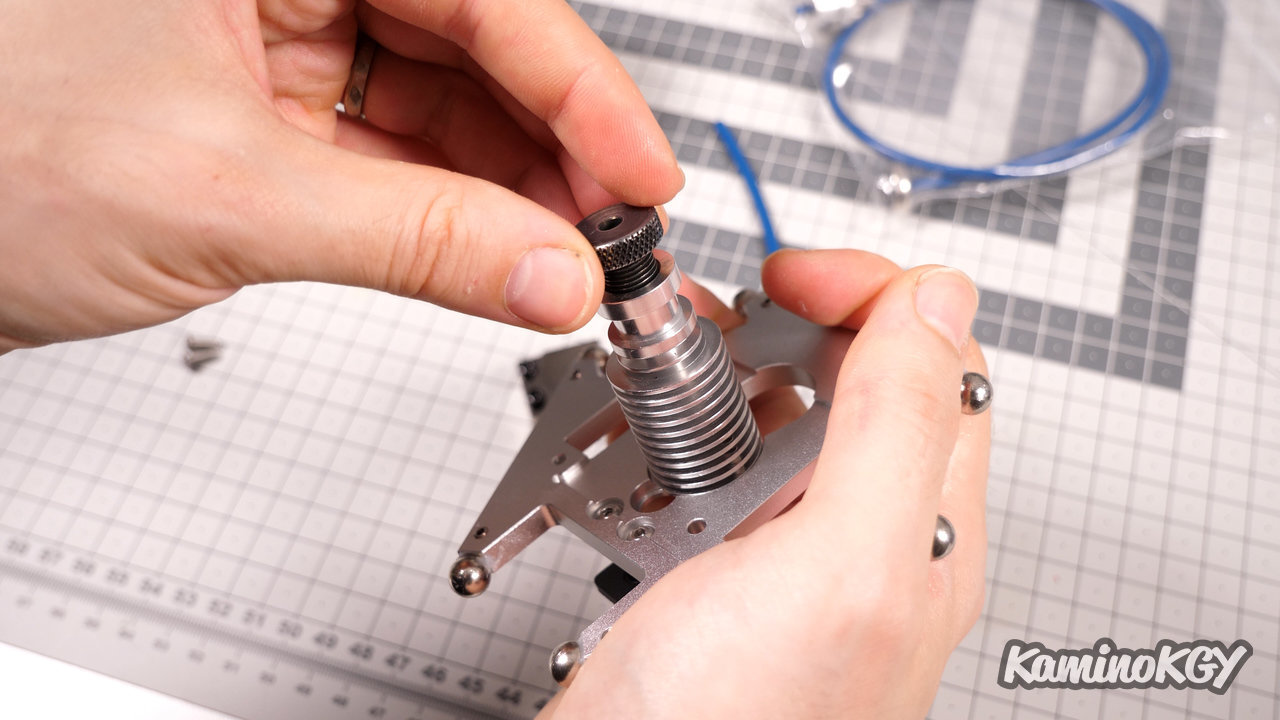
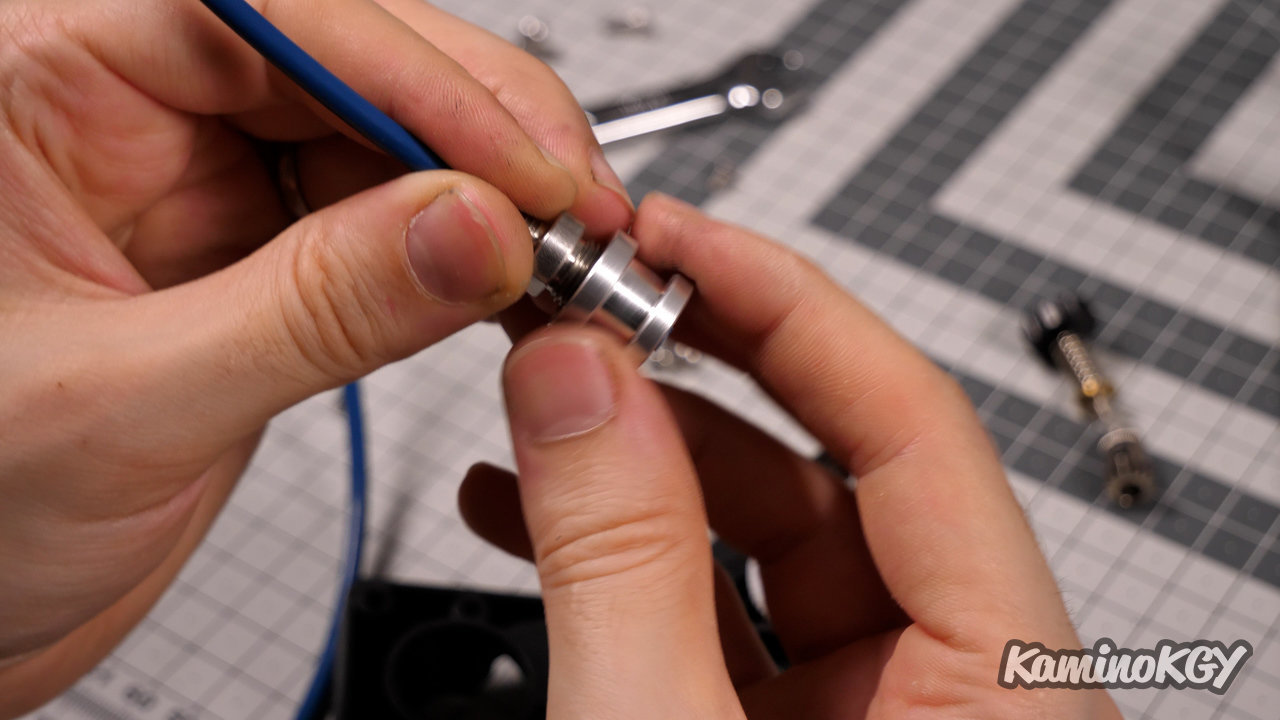
I removed the stock air coupler to install the Magnet MK10 fitting. I advise you to do it with the radiator attached to the platform, it allows you to have a better grip.
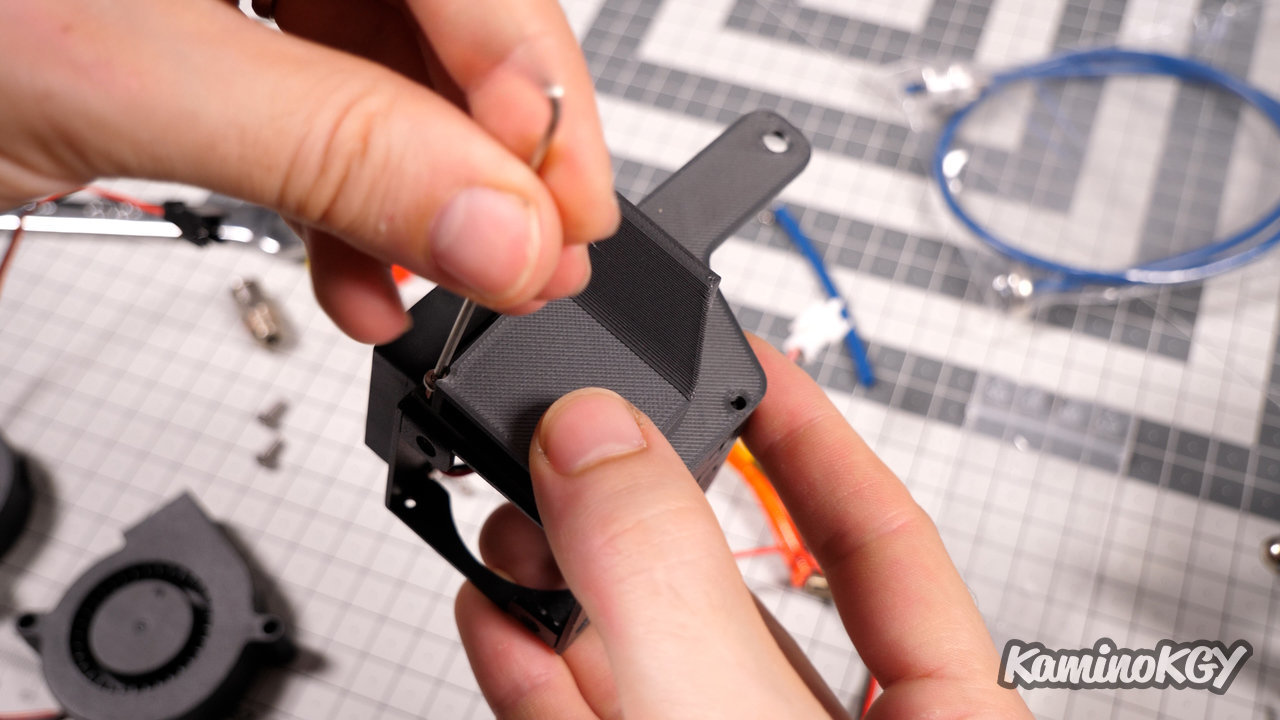
Then I went to replace the original blowers with 5015 which will have a higher air flow and I have not tested it, but it is possible that they make less noise, as it is often the case when switching to larger fans. For this, we unscrew the original fans. We are going to replace the original connectors of the 5015 fans by crimping new JST plugs which have a clip to keep them perfectly in place when the platform moves. There you will have to print and mount adapters because you cannot mount the 5015 directly, there is neither space nor places to screw them. I printed one in each direction so that the air inlet is from the outside. Except that once mounted, you will find that it does more than rub so, I finally had to put the 2 adapters in the same direction. And unlike before this new change, I can put the spacer to screw 2 M4 screws in 20mm and keep the 2 fans perfectly in place.
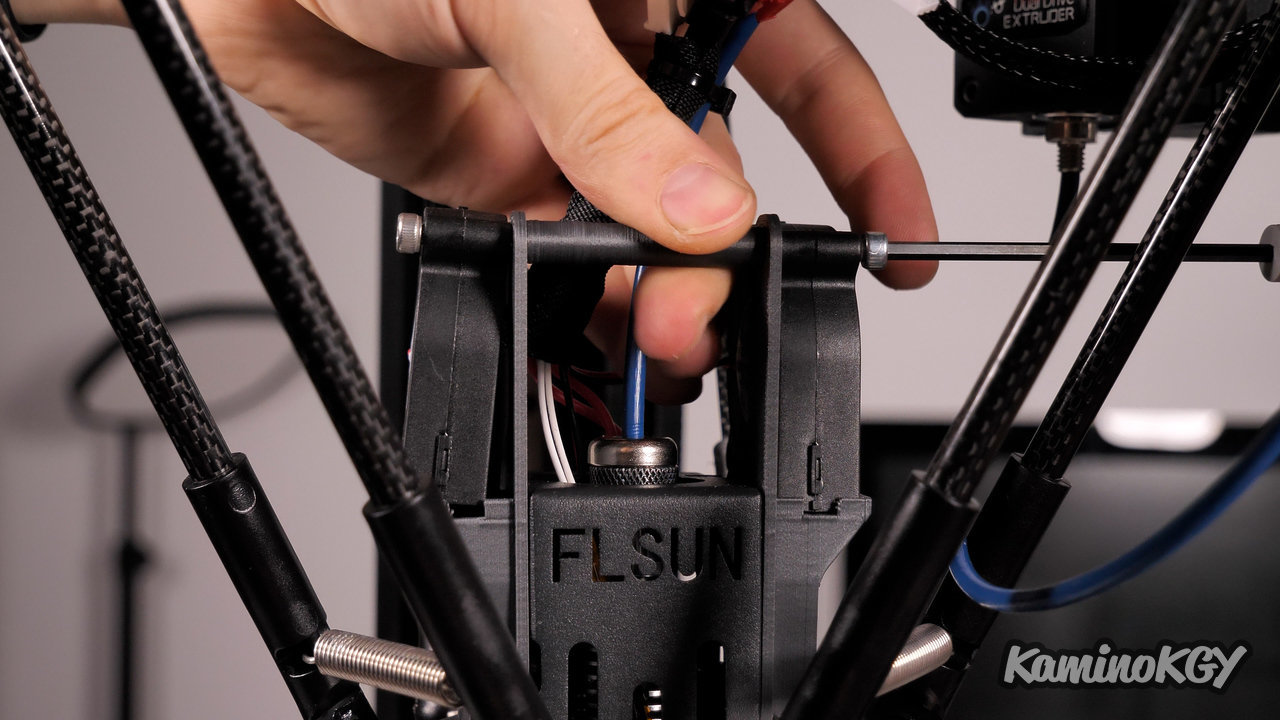
Once the platform is raised, we can see that the nozzle goes lower than before and the fanducts now blow more on the heating block than on the filament. So I modeled spacers to keep the original fanducts and just lower them by 3mm. But you can add their height easily on your slicer. You will just need 4 slightly longer m3 screws to attach them.
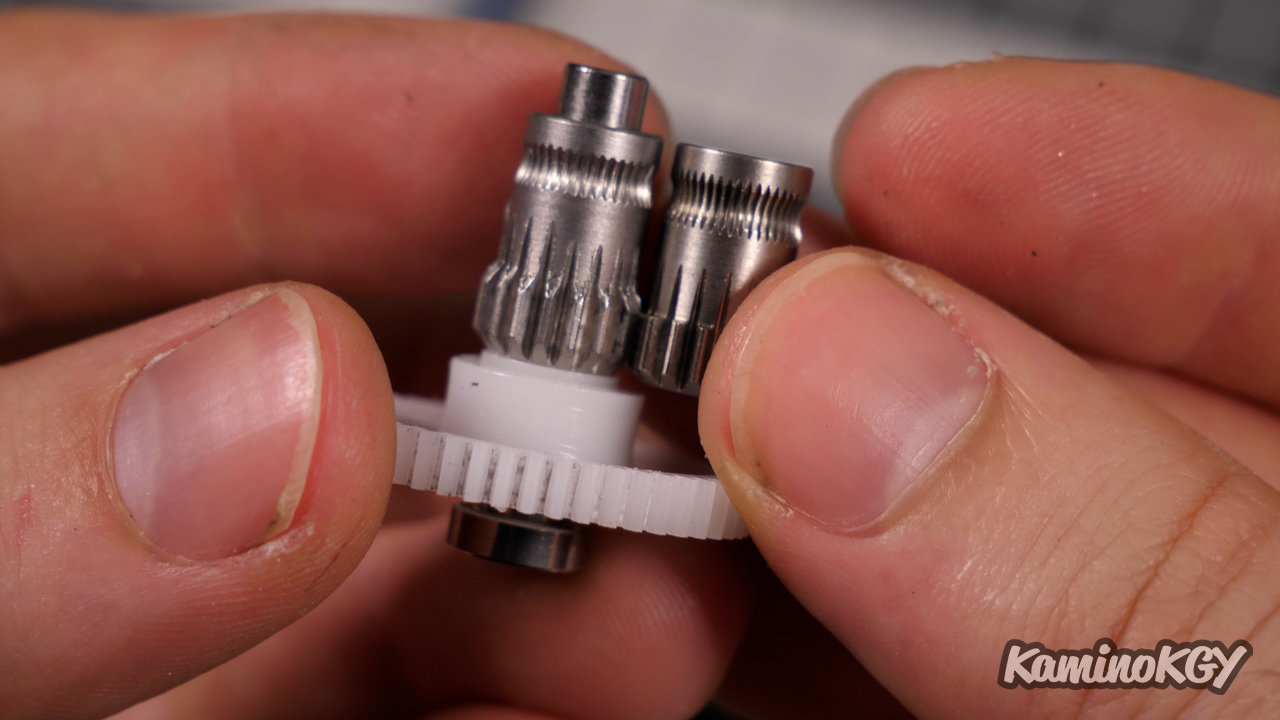
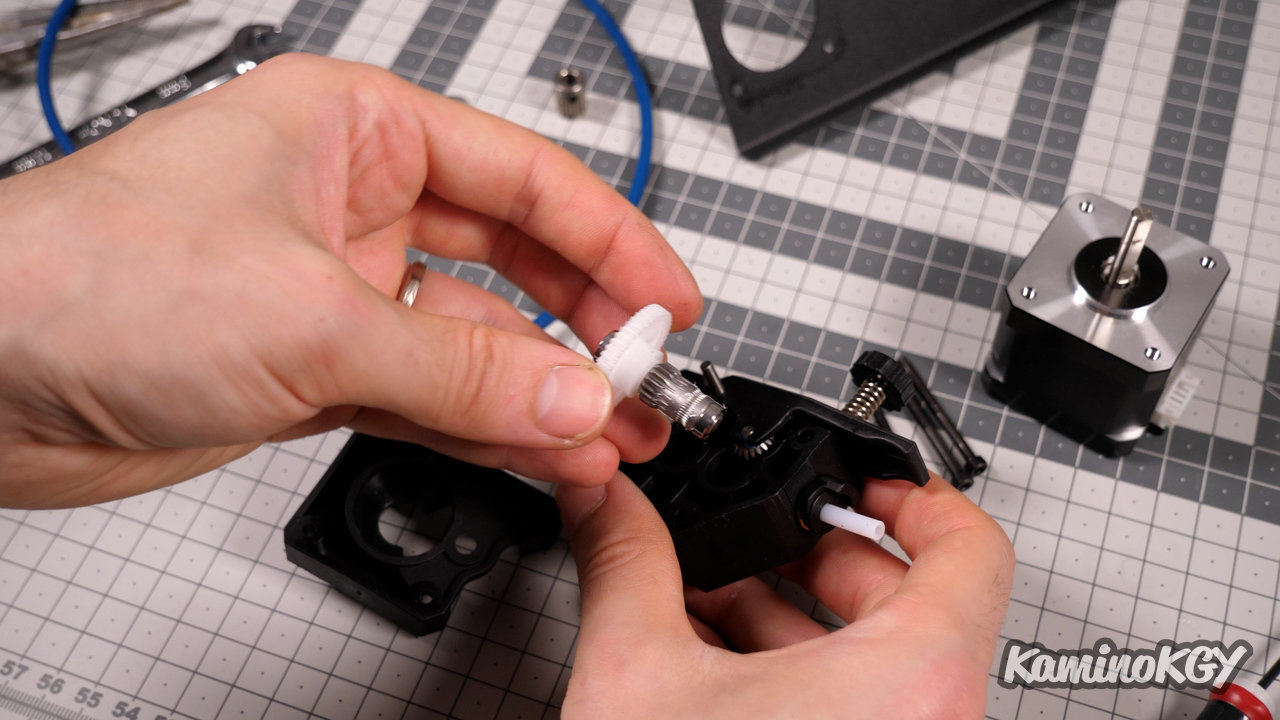
Upgrade Number 7, we will tackle the feeder to replace the filament drive sprockets. It can be seen that the new ones are much better than the original ones. Besides, if we quickly compare the original one on the left and the new one on the right, we can see that the original one, which is new, I want to clarify, has machining of different lengths, less precise and teeth poorly finished. We will therefore replace it, as well as the other which does not have a clamping screw on the arm of the extruder.
Upgrade Number 8, still at the level of the feeder, we will install a capricorn XS PTFE tube, loosen it a little, put it in place, raise the extruder and tighten it. And all you have to do is magnetically attach the other end to the hotend.
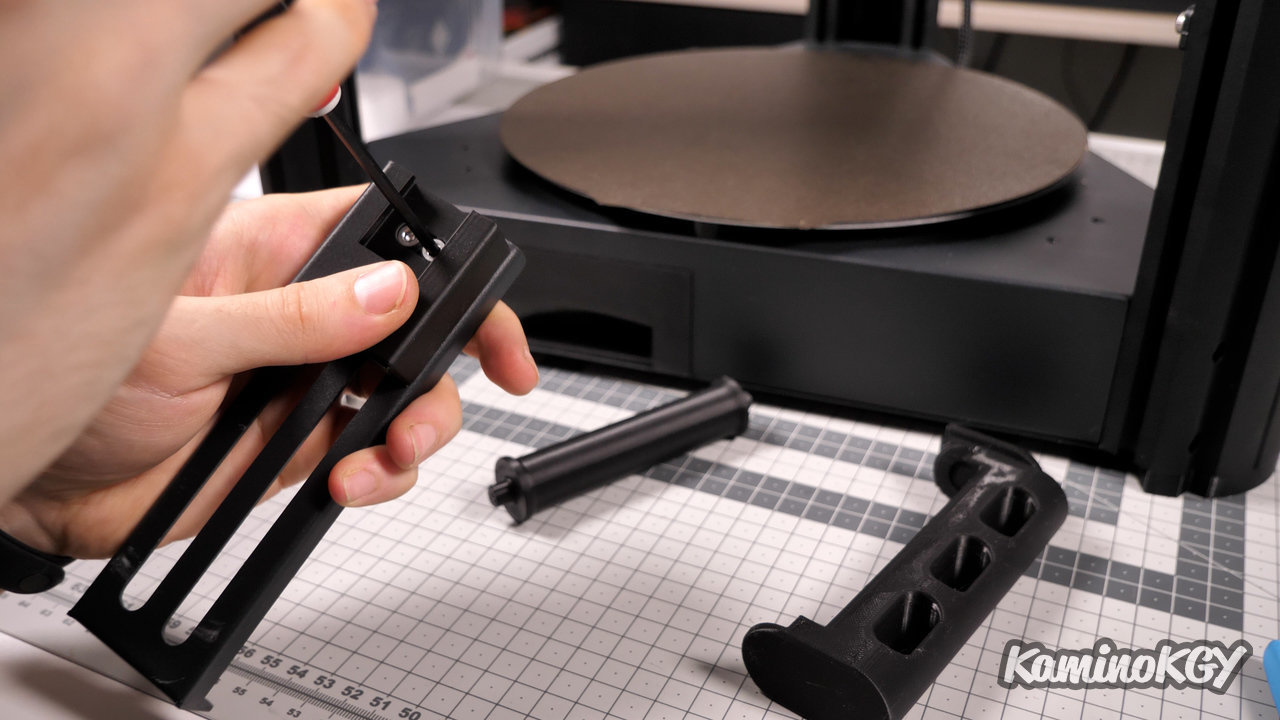
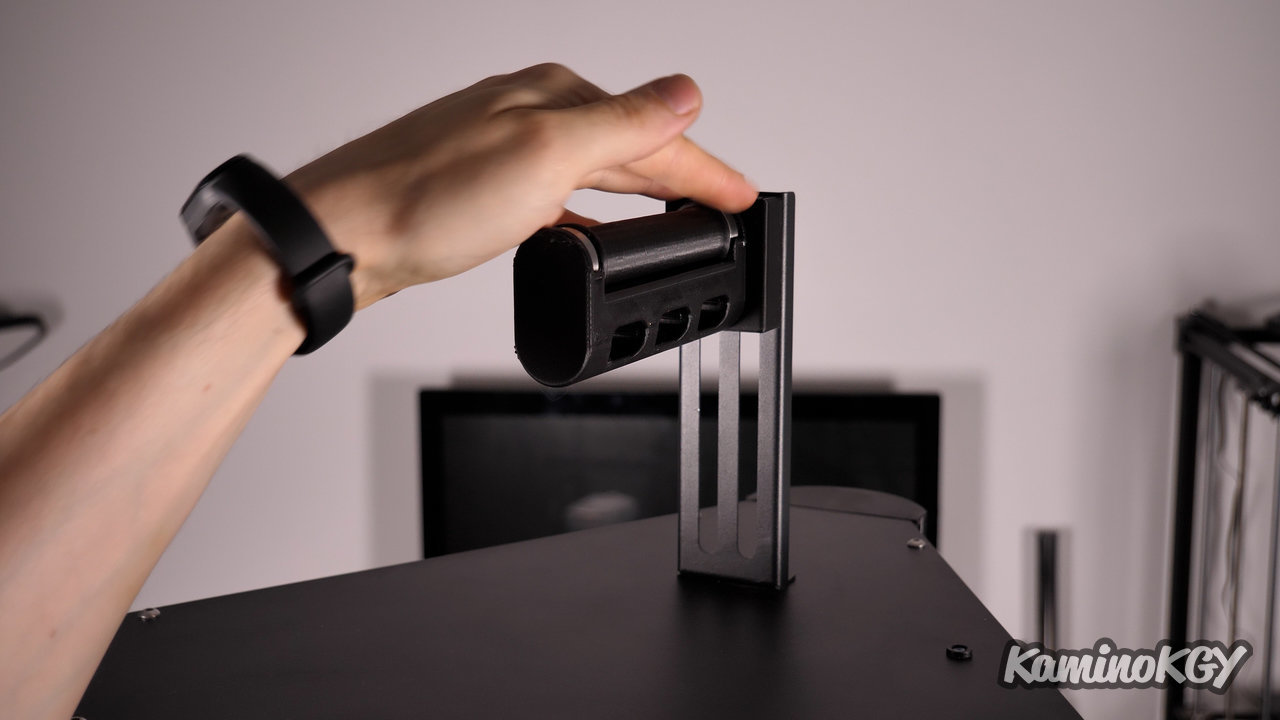
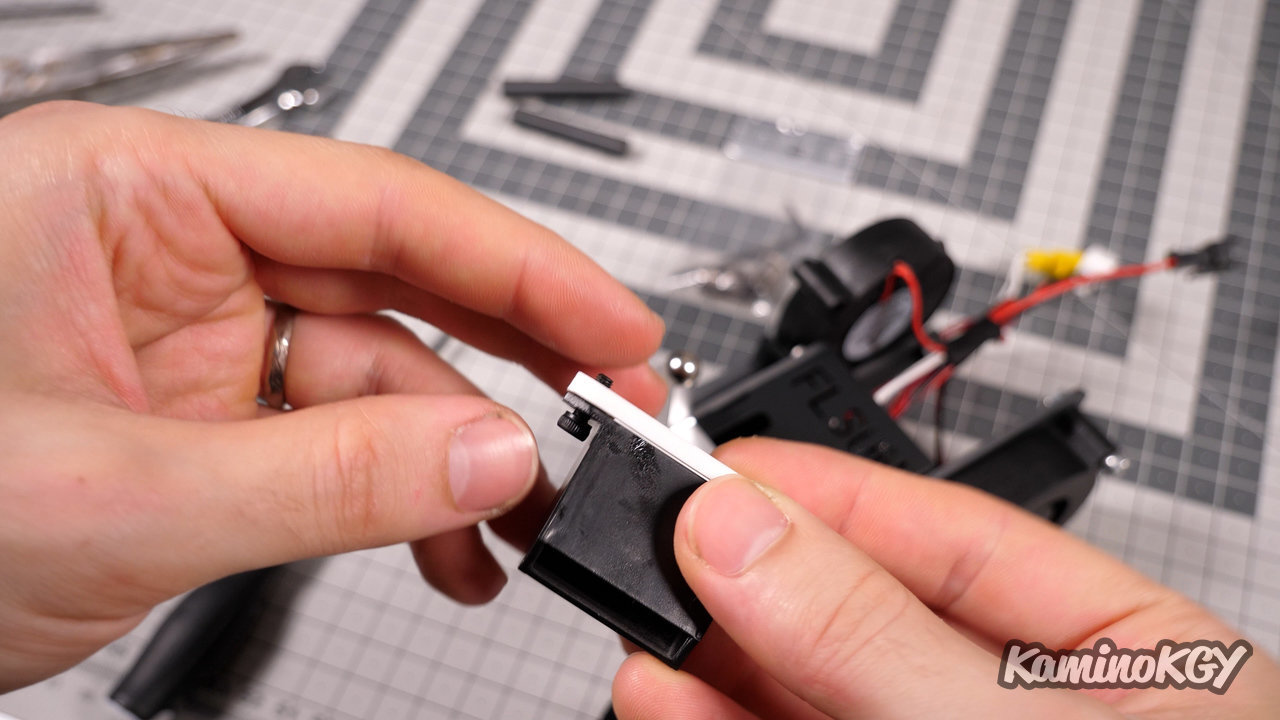
Upgrade Number 9, we replace the spool holder which is on the top of the machine. As the PTFE tube is already relatively long, the filament detector rubs a little on the filament, etc. It is in our interest to limit friction and therefore switch to a spool support on ball bearings. For this we print 3 parts, the roller, the arm and the attachment support. We just fix it on the original support, we insert the ball bearings of the roller which we place in the arm and which we slide on the attachment.
So at this stage, do not forget that we have changed the height of the plate and the length of the nozzle, so it is essential to redo a leveling of the plate.
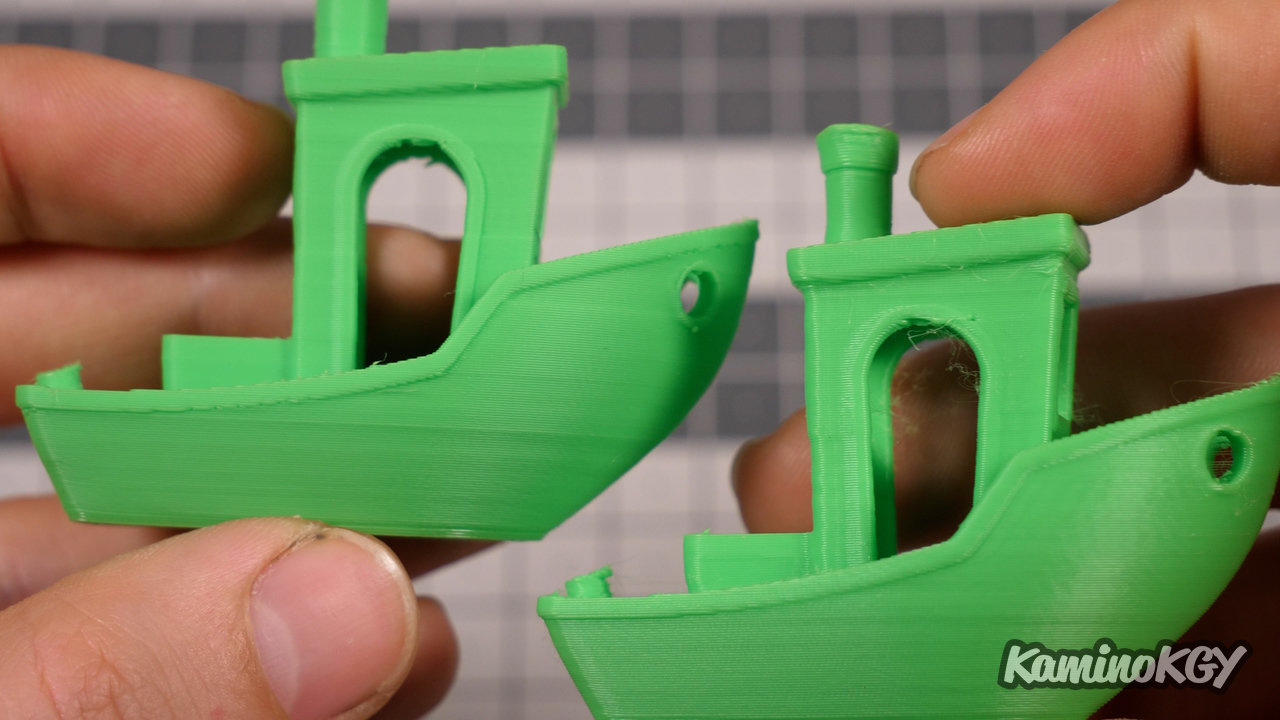

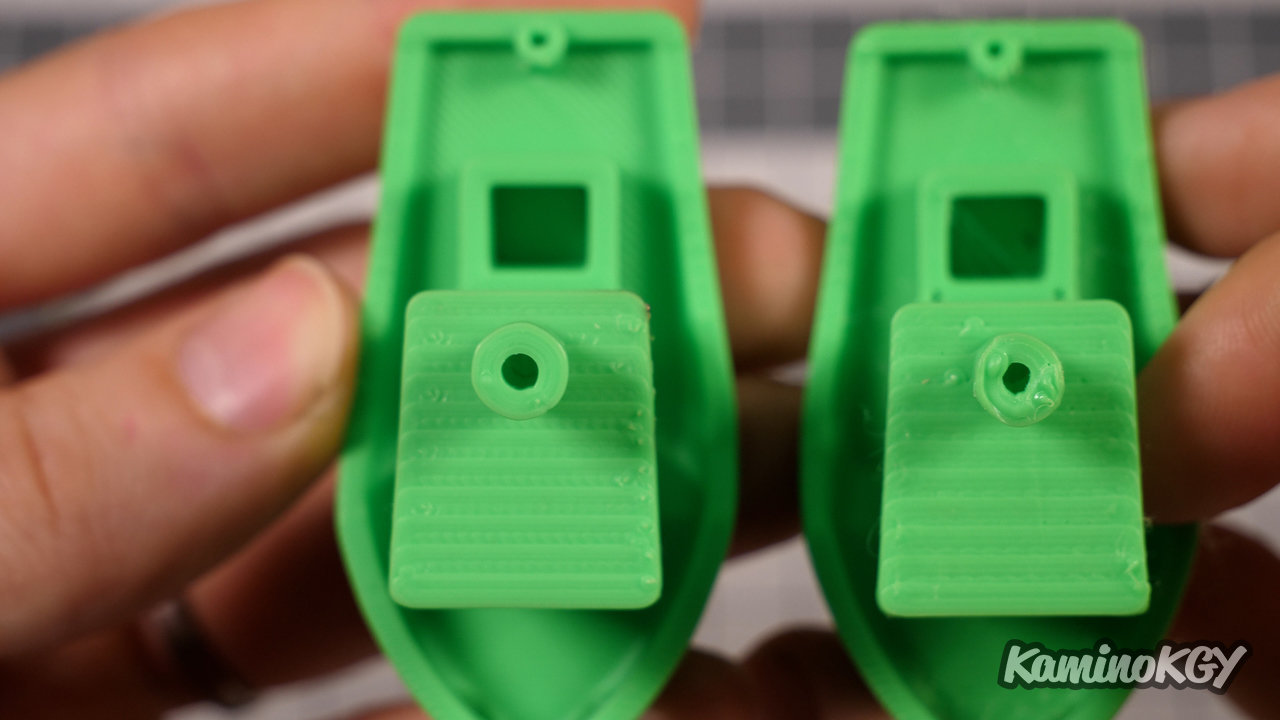
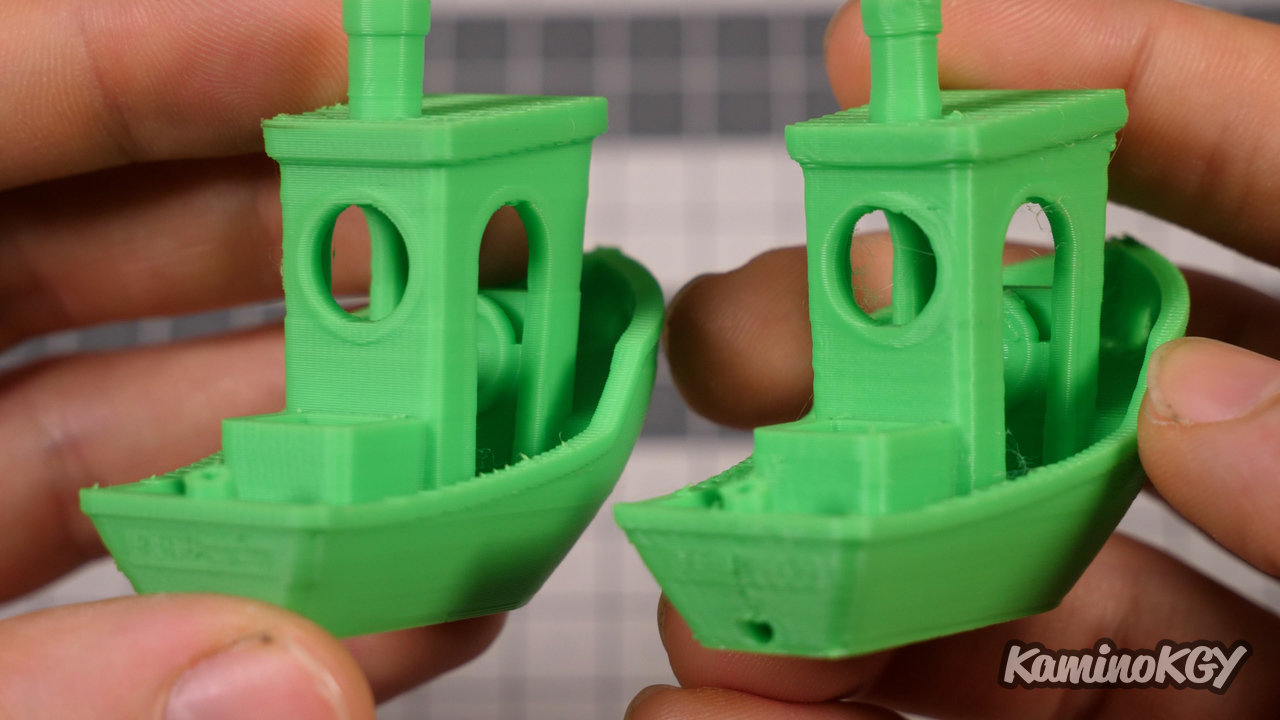
How about comparing a Benchy printed before upgrades on the left, with a Benchy printed with our new upgrades, on the right. Note that on the Prusa Slicer profile side, I kept exactly all the same identical parameters such as the layer height in 0.2 mm the speed, or the number 3 perimeters so, we have a Benchy which is more than strong there with almost 2 mm wall. I simply reduced the temperature from 220 to 205°C. The Benchy on the right has a little more stringing, and maybe a little less well finished, but let's not forget that it was printed in just minutes compared to 1:02 for the first. And that we could totally reduce the speed, increase the layer height to 0.3 mm. So as much to say that we have gained a lot in maneuvering with our upgrades.
Note that with the exception of the printed parts and the tray and fans sold separately, all the parts come from the upgrade kit offered by Hotends.fr. Do not hesitate to find it in the link in the description, in addition, it is mainly French products.
Bye bye!