Today we will test the SV01 Pro from Sovol. And I can already tell you that we will find a certain number of parts of the Ender 3 S1, that we tested on the chain. But we'll go around together to see which ones.
Unboxing
In the box, we find the assembly instructions, a small spool of filament to make some tests, a box containing the screws, tools and power cable. We have the spool support with end of filament detector, the touch screen, the post with the double Z axis, which will have to be removed gently since it is in fact attached to the base which is on the level below.
Assembly
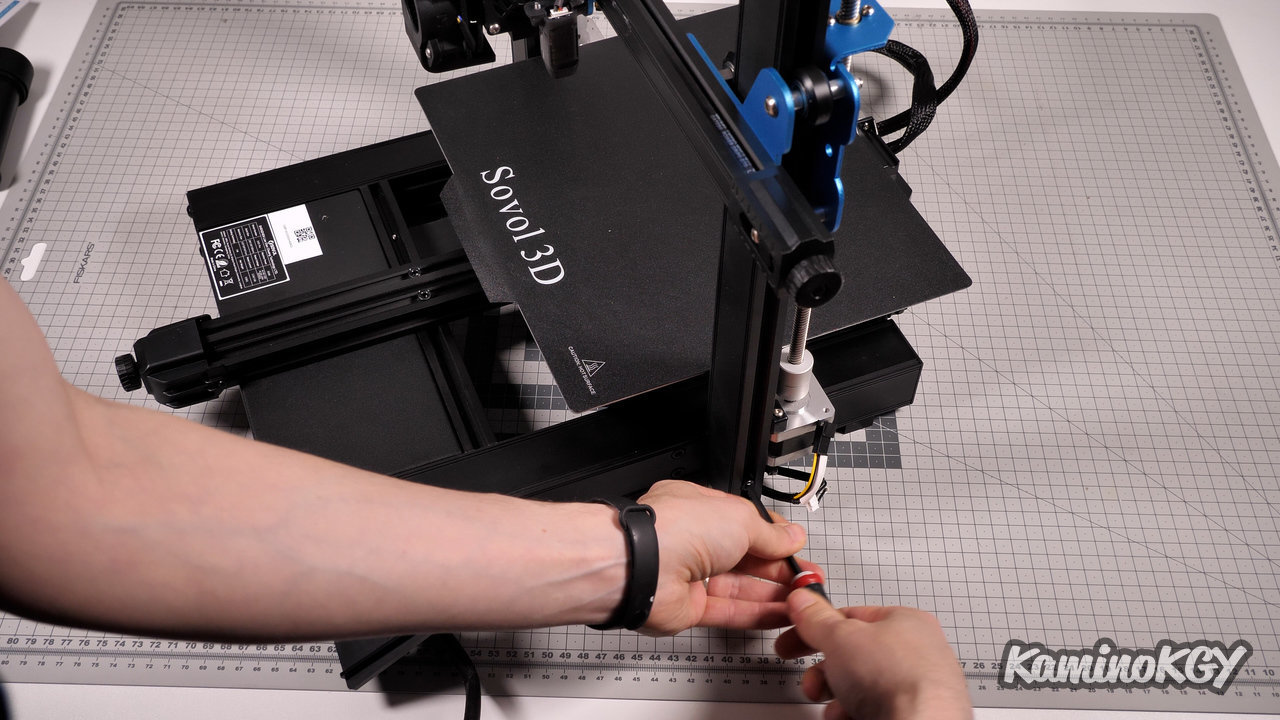

And when you see so few parts, you figure it's going to be a quick build. And it is, so that's cool. All we have to do is place the assembly on either side of the base and screw it down with 4 screws. Then we connect the different cables and the screen which is on the side with a support equivalent to that of the screen of the Ender 3 v2. On the other hand, the plastic is much more complicated to remove here, but we will come back to that later. Finally we just have to install the coil support and connect the end of filament sensor.
Features
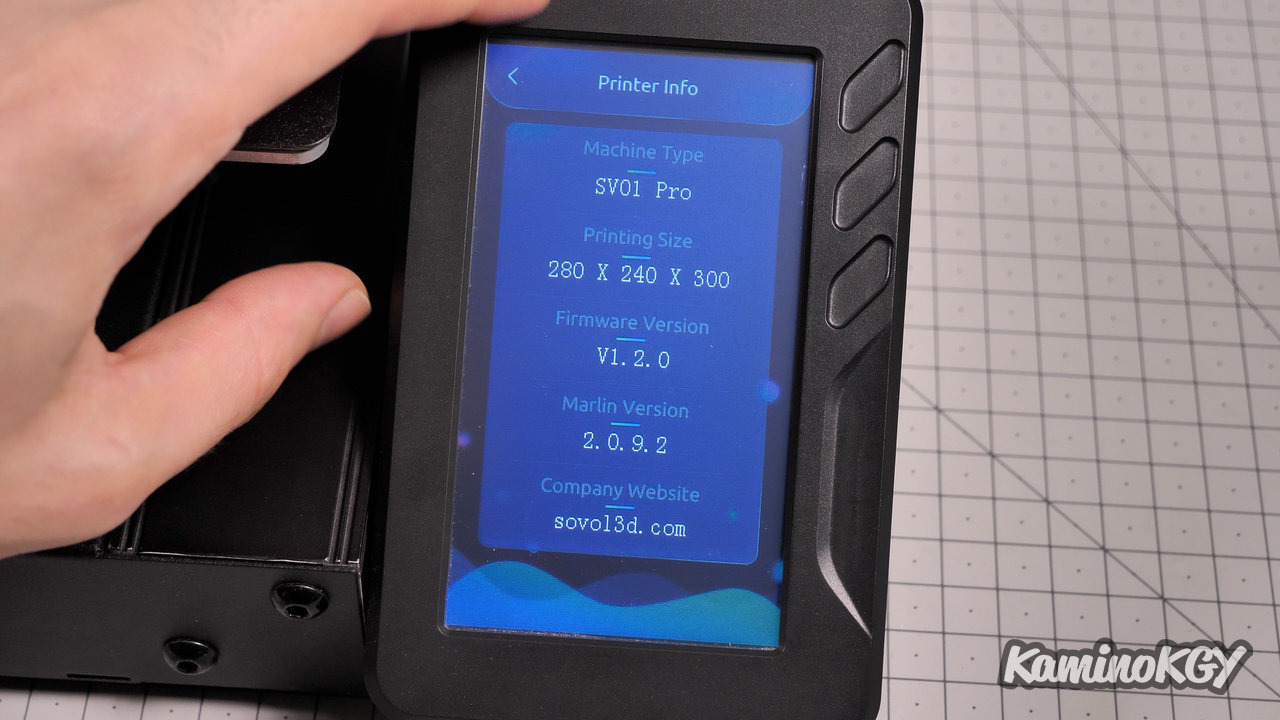
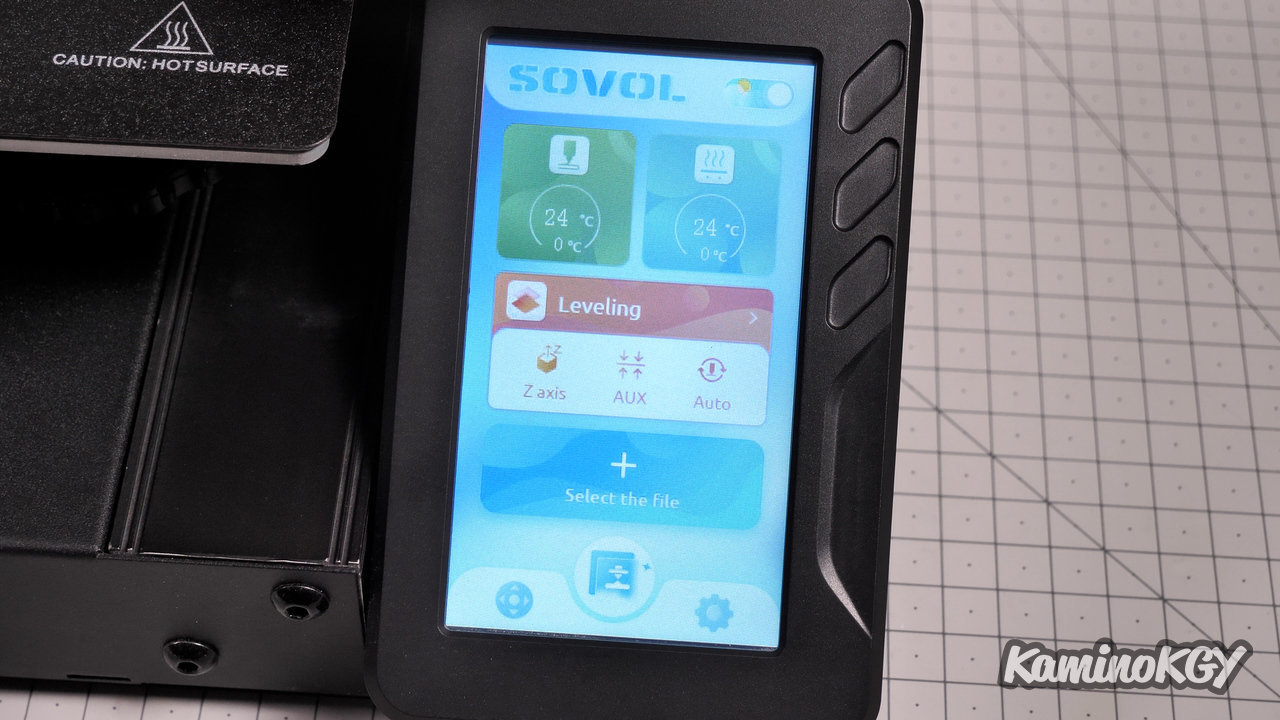
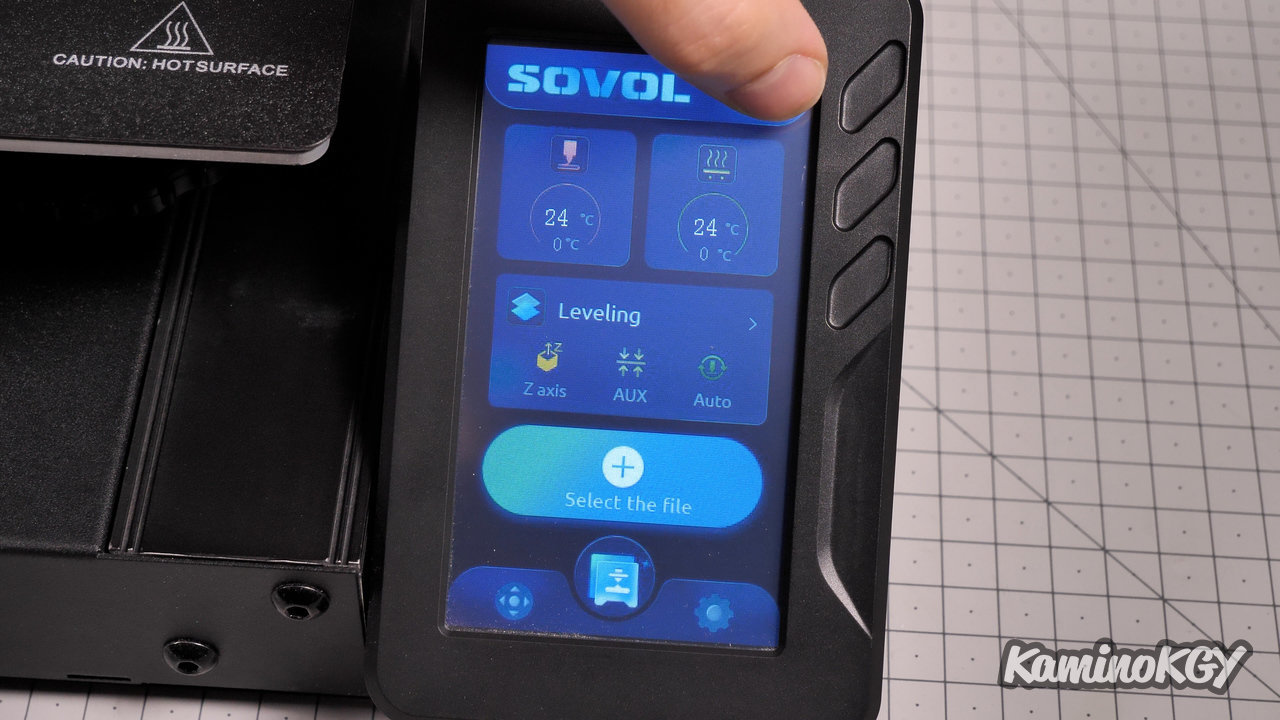
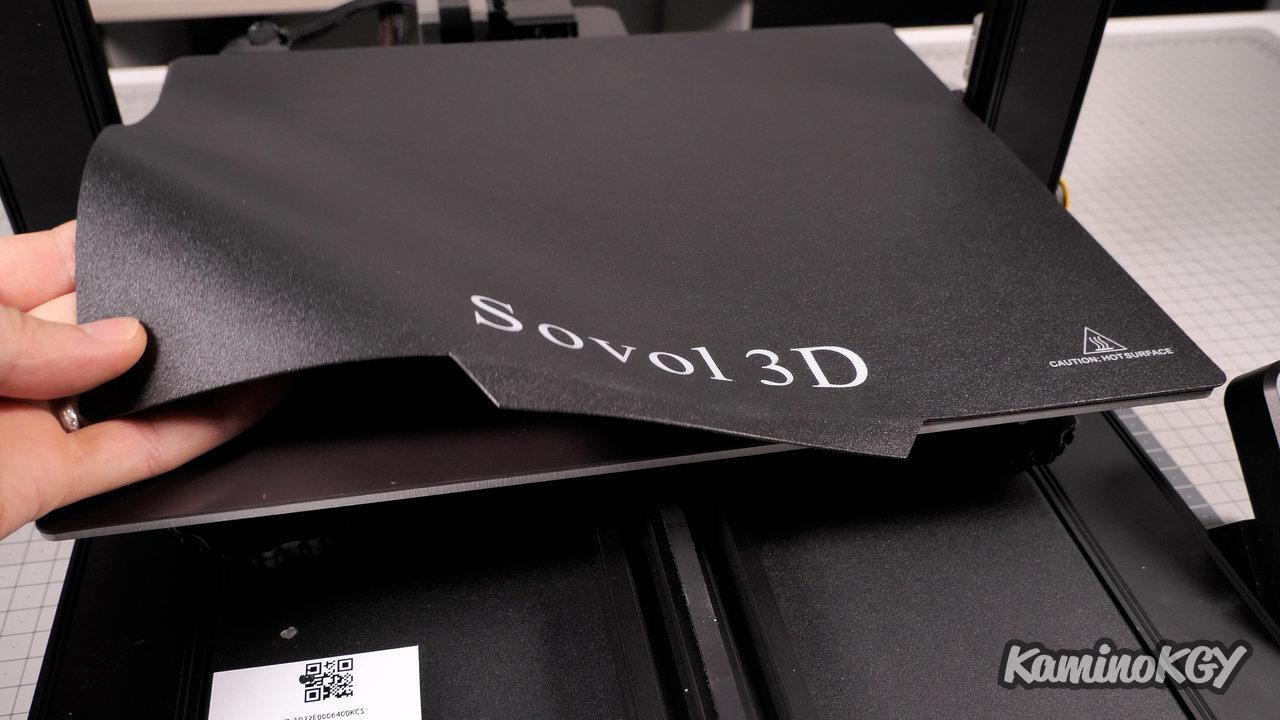
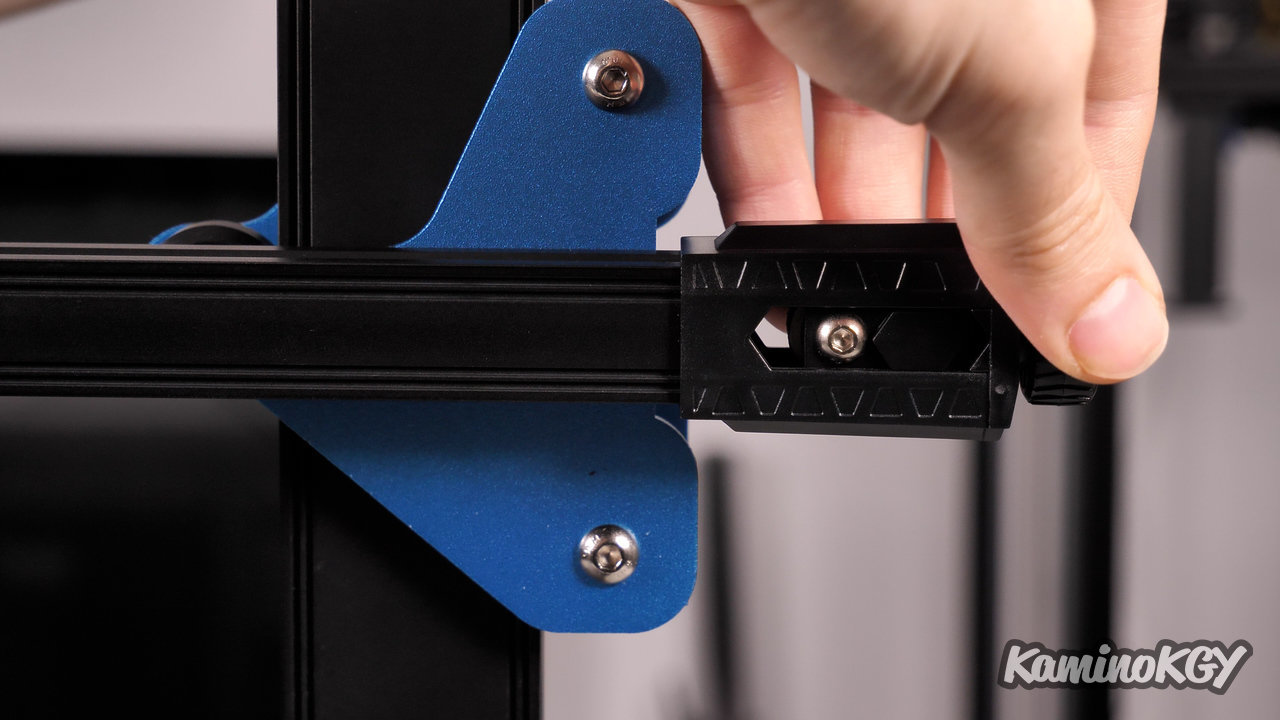
Regarding the characteristics of this Sovol SV01 Pro we have a Direct Drive with an automatic leveling of the plate, via a CR-Touch. We have a printing surface with a format a little strange compared to what we can find usually, with a printing volume that is 280 by 240 by 300 mm. We have a silent 32-bit motherboard with a micro-USB port and a slot for a microSD card, a color touch screen. There is also a flexible magnetic printing surface, a filament end sensor. We have a belt tensioning system on both X and Y axes. On the touch screen you can change the mode between day and night view. The menus are quite interesting in terms of ergonomics and are well worked compared to what can be found elsewhere, in terms of formatting. We will find the resumption of printing after a power cut. We have a double Z axis without synchronization belt.
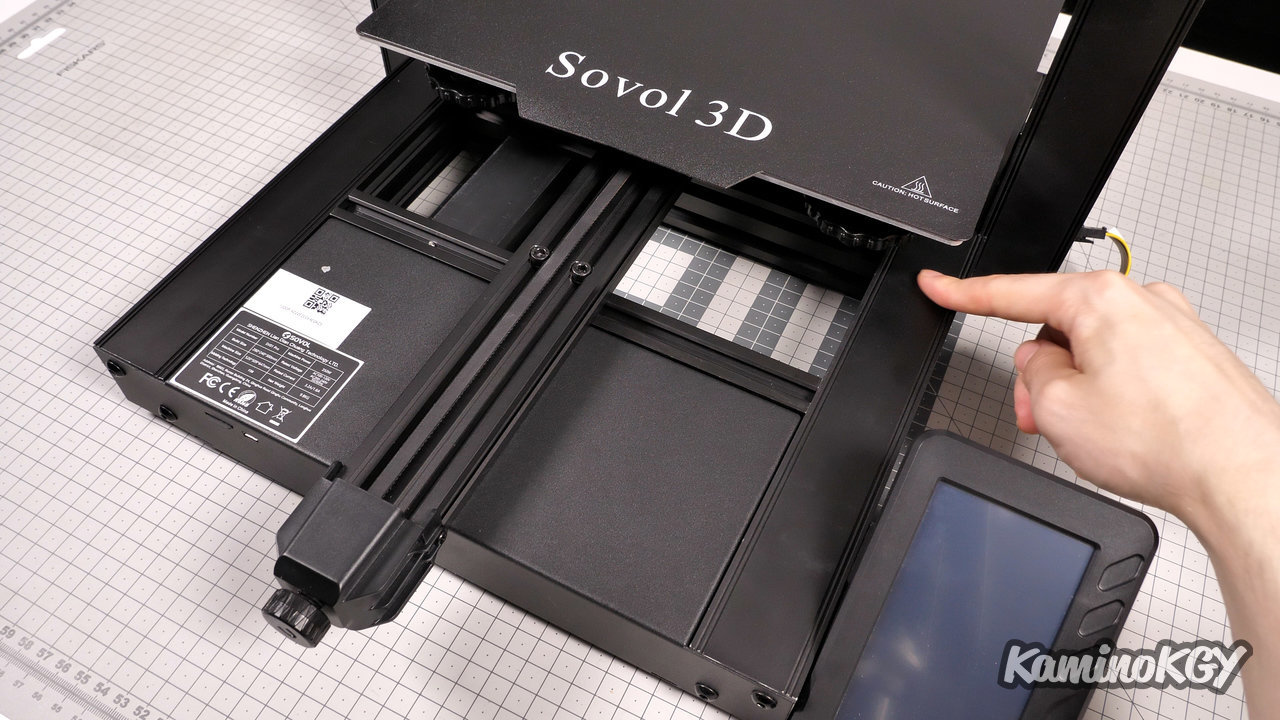
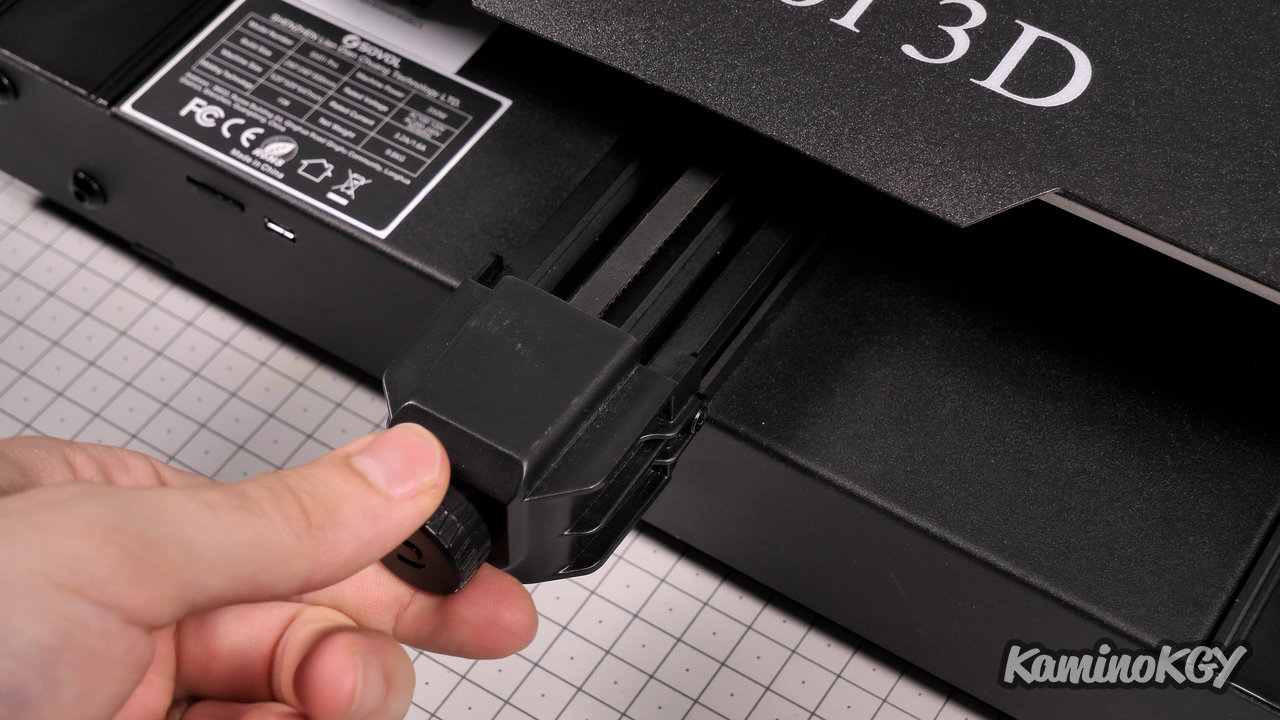
On the different parts that we could find so our ender-3 S1. We already find the CR-Touch to make the leveling. We also find the system of tension of belt which is present on the ender-3 s1 Pro on the Y axis only, with regard to its color since it is black. For the coil support with the handle that does not rotate, we find it on the ender-3 S1. On the base there are profiles on the left and on the right which are identical, but there is a different assembly with profiles on the uprights on the Z axis which is not on the profiles on the sides but outside the machine. This will obviously allow a slightly larger printing volume.
Inide
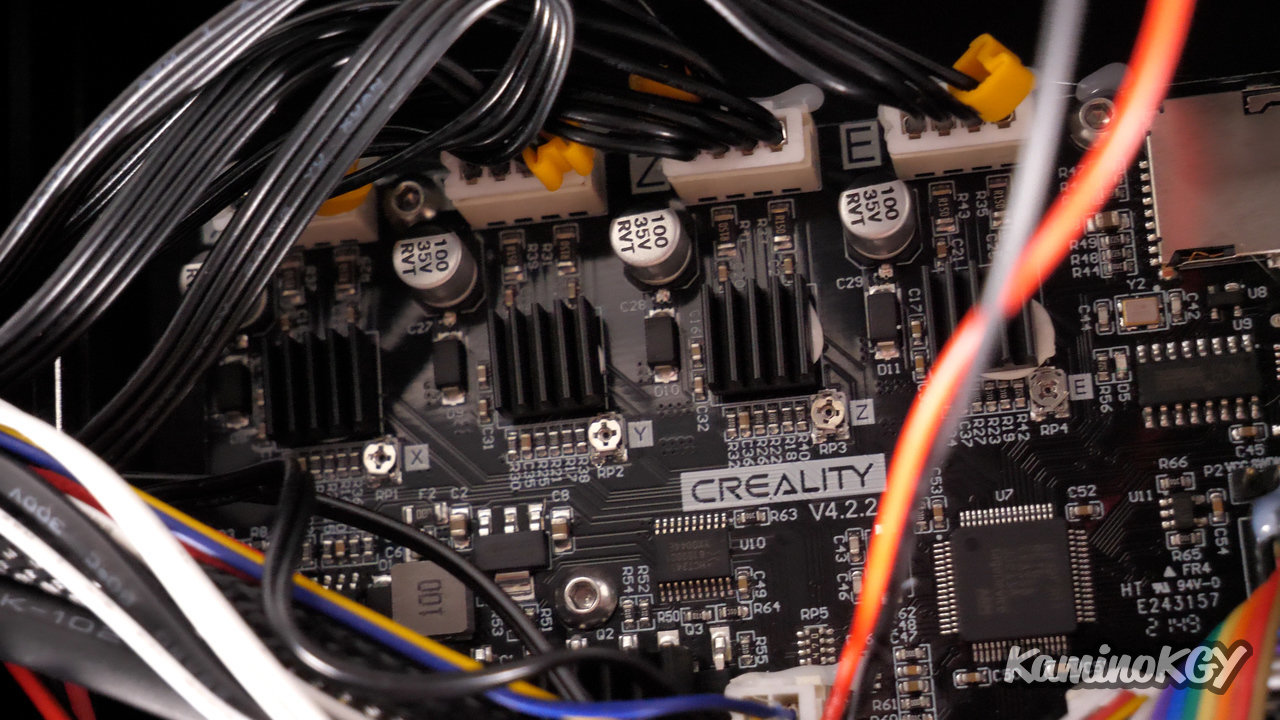
Inside the machine, we find a motherboard that we know well, since it is a Creality 4.2.2 with silent drivers TMC2208.
Temperature rise of the print bed
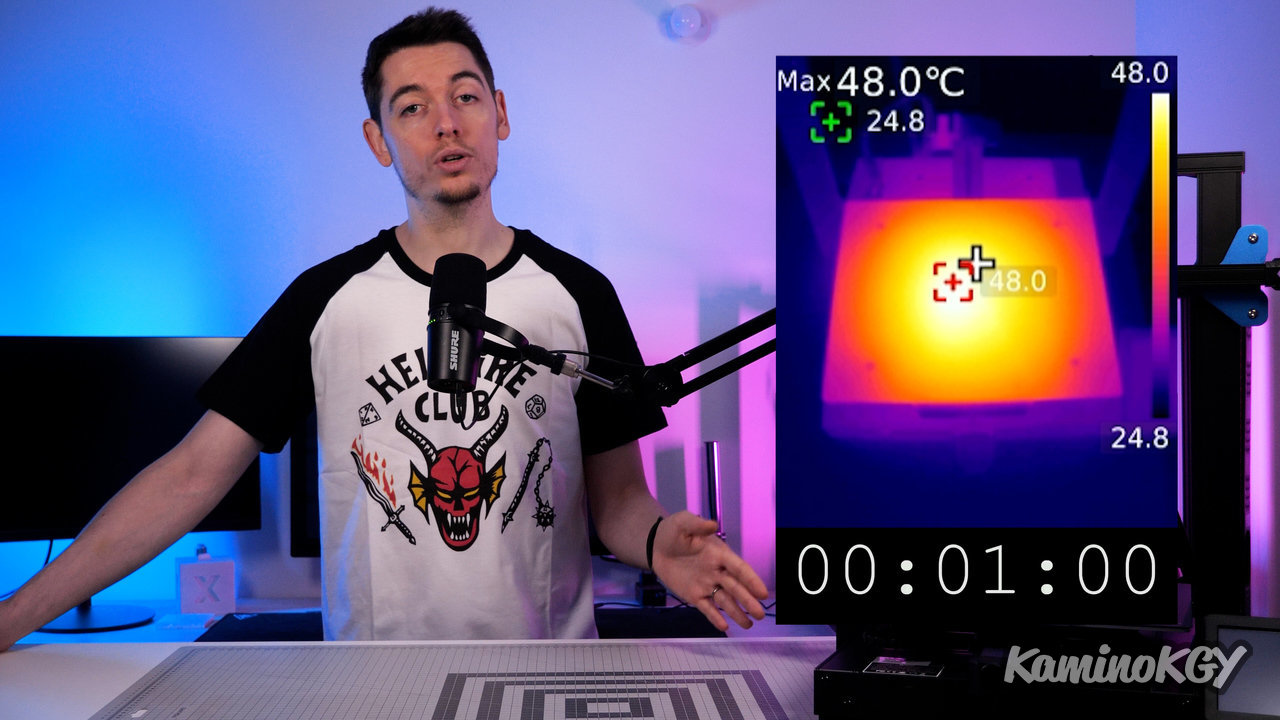
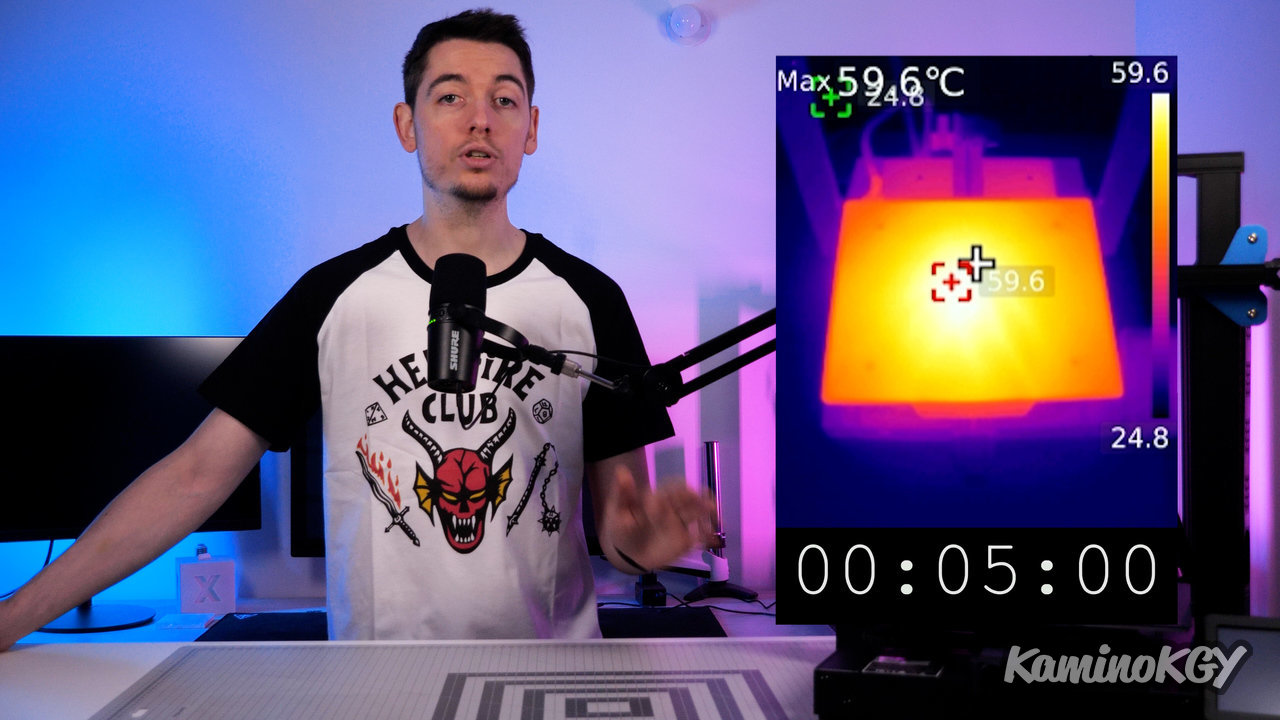

About the rise in temperature, it rises quickly on the center of the plate, on the other hand one can see that it is less the case thus on the outside. It will be necessary to wait several minutes before having a really homogeneous result on the whole surface. It will probably be preferable to launch the preheating of the plate a little before launching your impression especially if you have a part which goes in the corners of the plate.
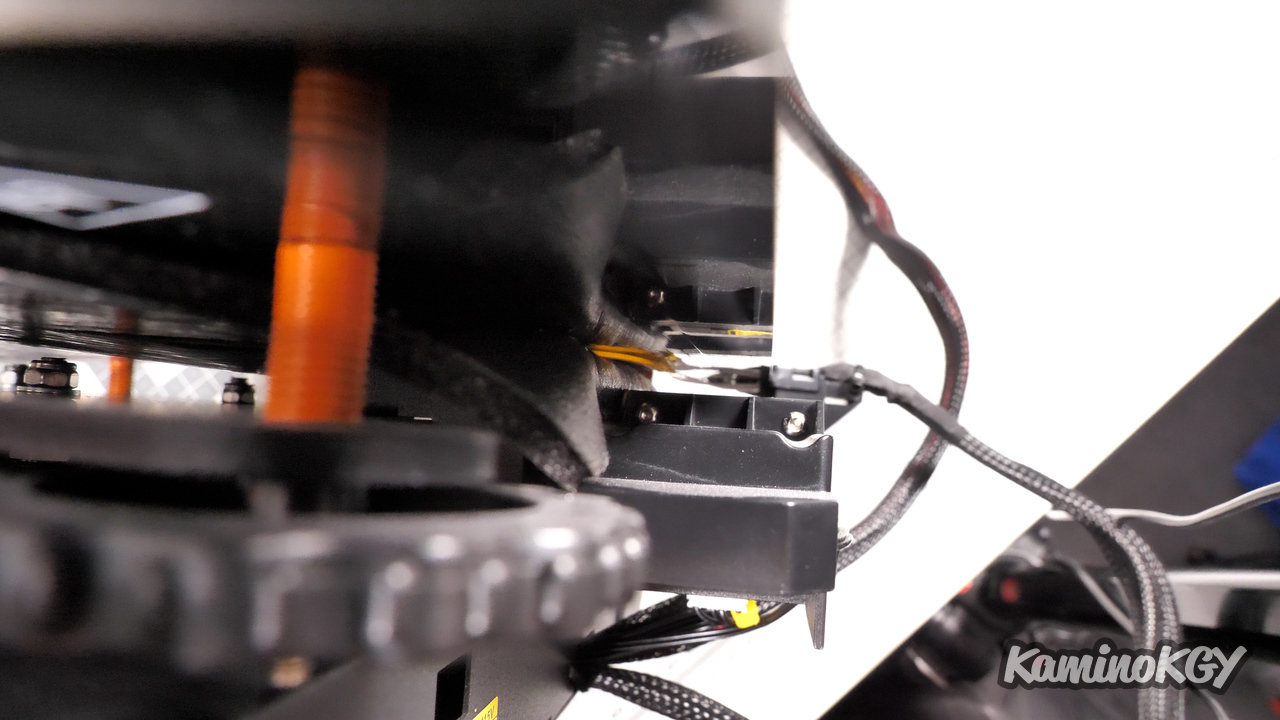
With regard to the plate always, we find insulation underneath but we have a problem because it comes off on the back when we try to make the autohome at the level of the Y axis. And once it starts to come off we can put it back by hand, but it always ends up withdrawing and comes in stop on the motor of the access y. It will probably be necessary to advance the endstop, to better glue the insulator or to reduce the height of the Y axis support, if we want to avoid this problem on the next machines.
Test prints

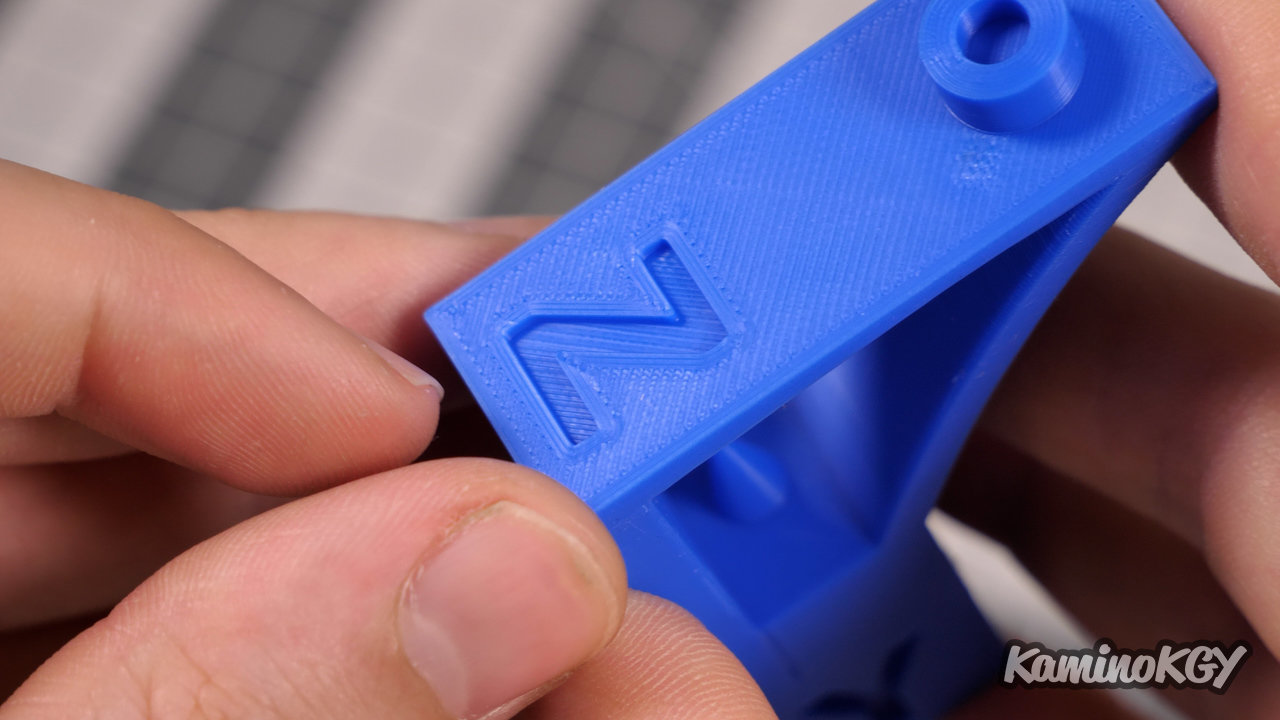
On this first calibration cube, we don't see any ghosting effects and the cooling seems to work pretty well inside the X and Y. The top is extremely smooth and the Z is extremely well designed.
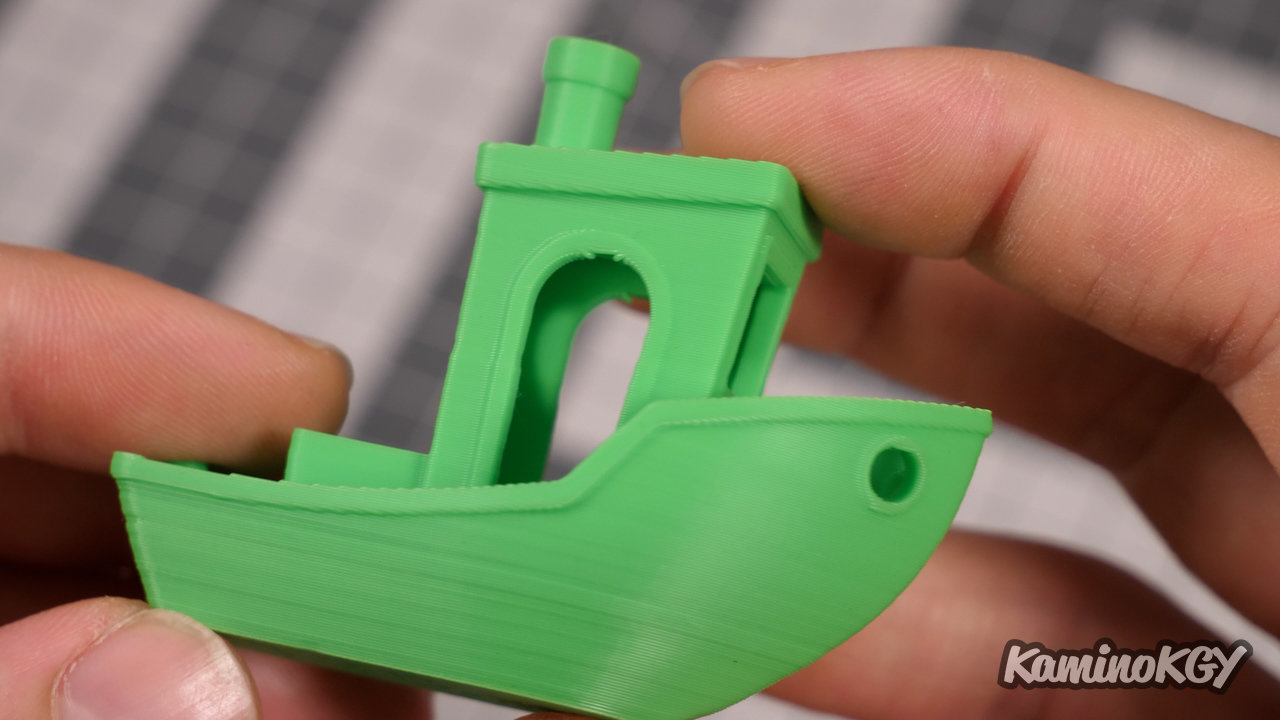
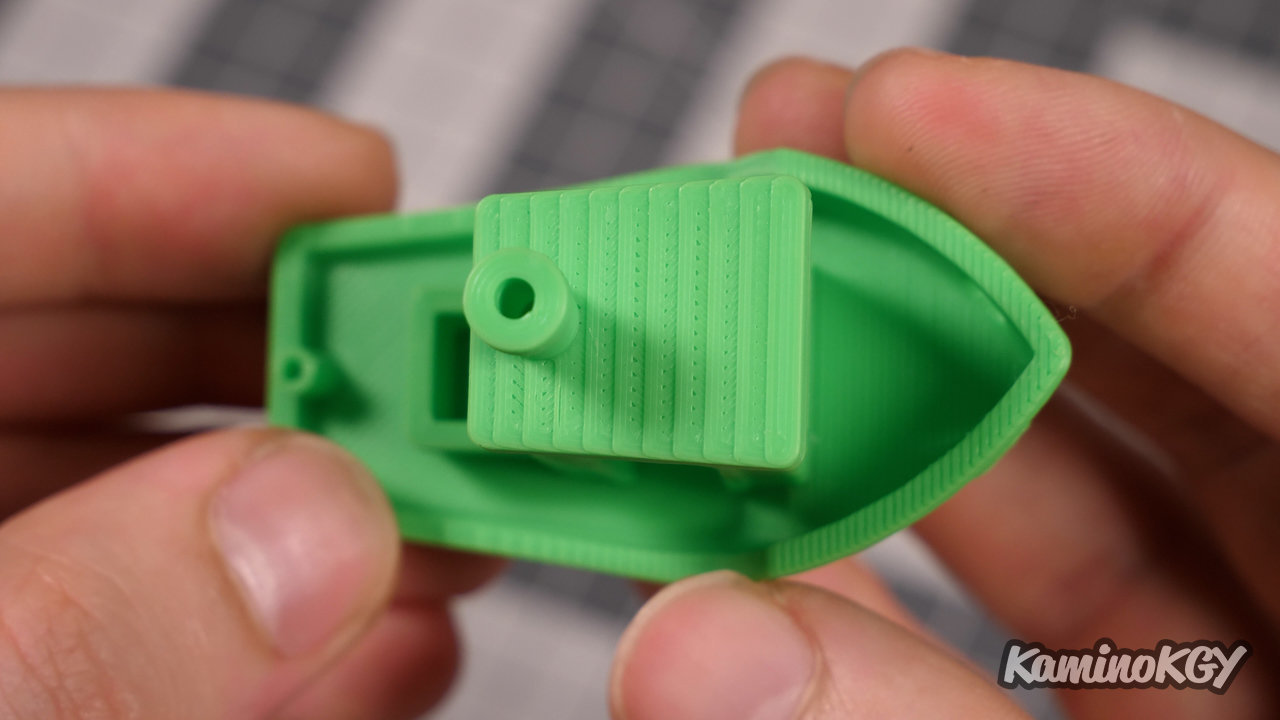
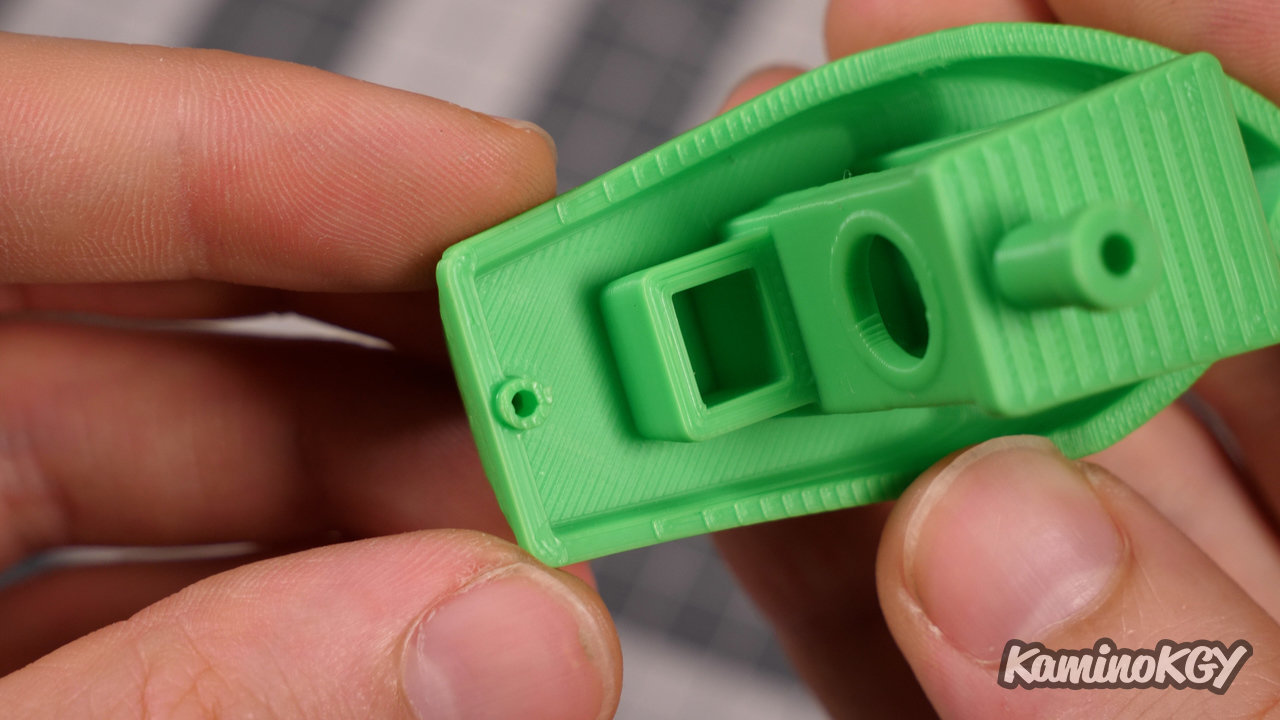
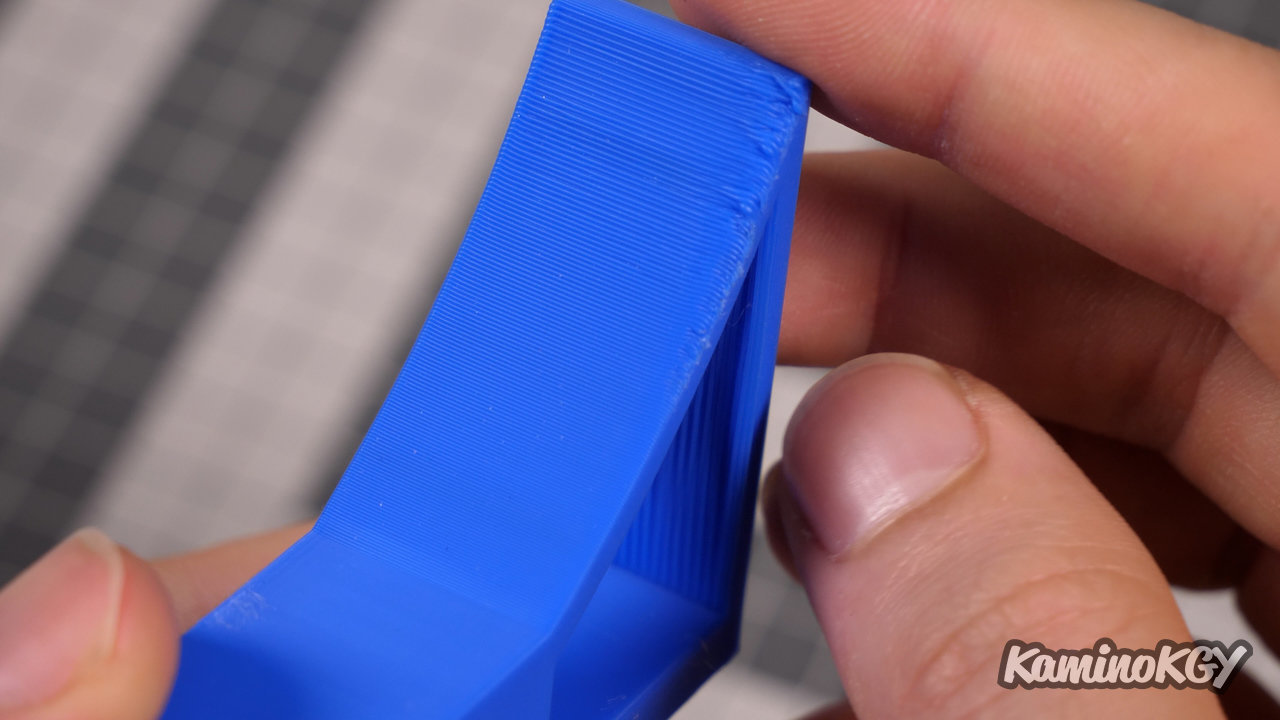
On the Benchy, the front shell is extremely well designed, you can see that the cooling works well on the top of the cabin. On the top we find this slight under extrusion but frankly the Benchy is really well printed.
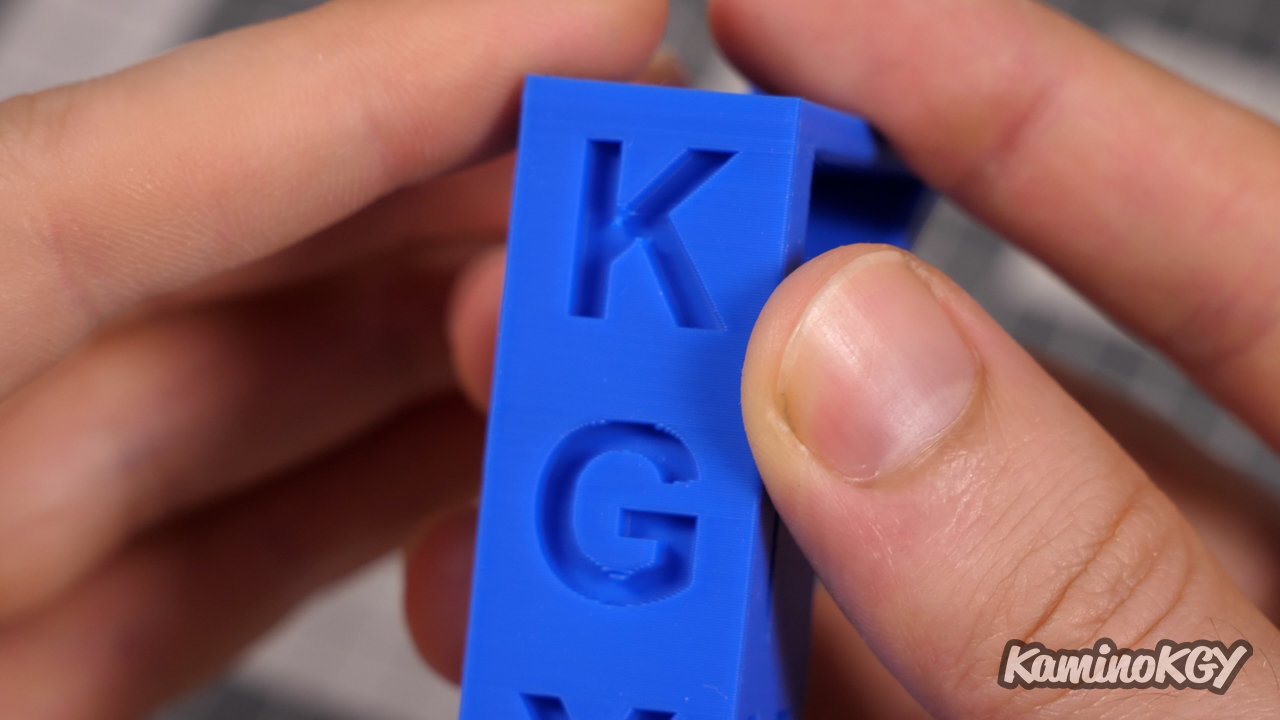
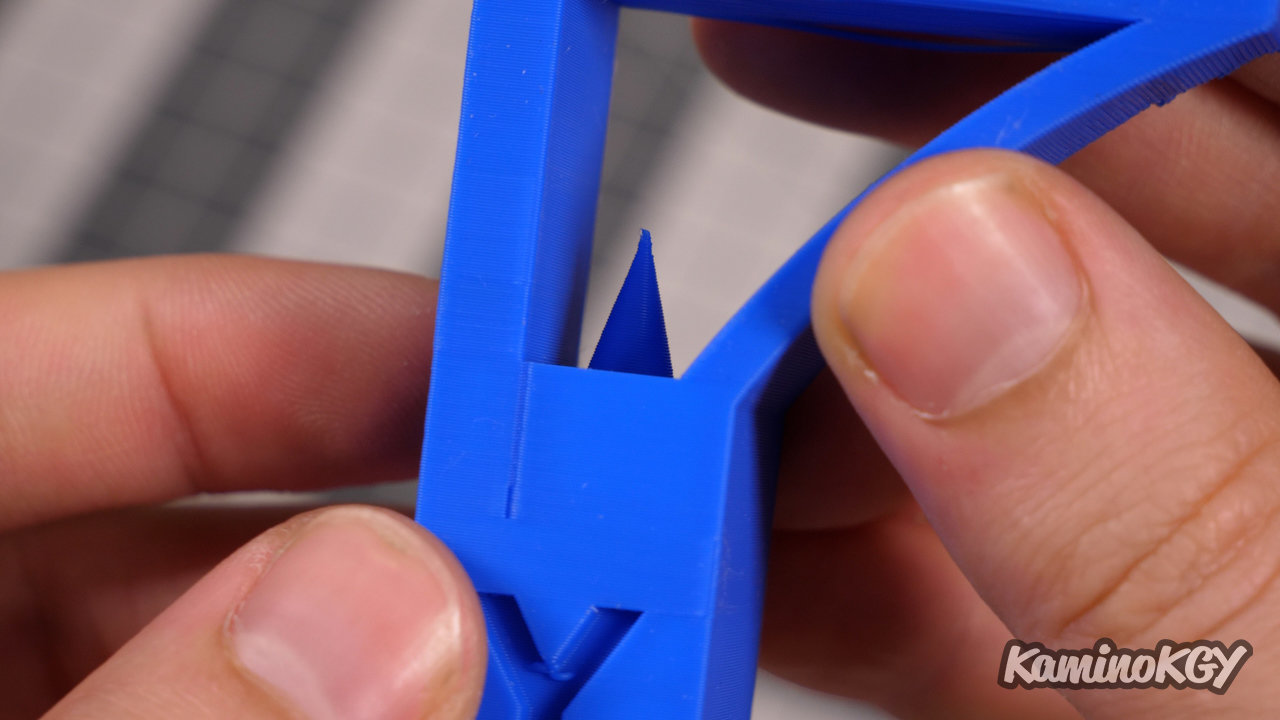
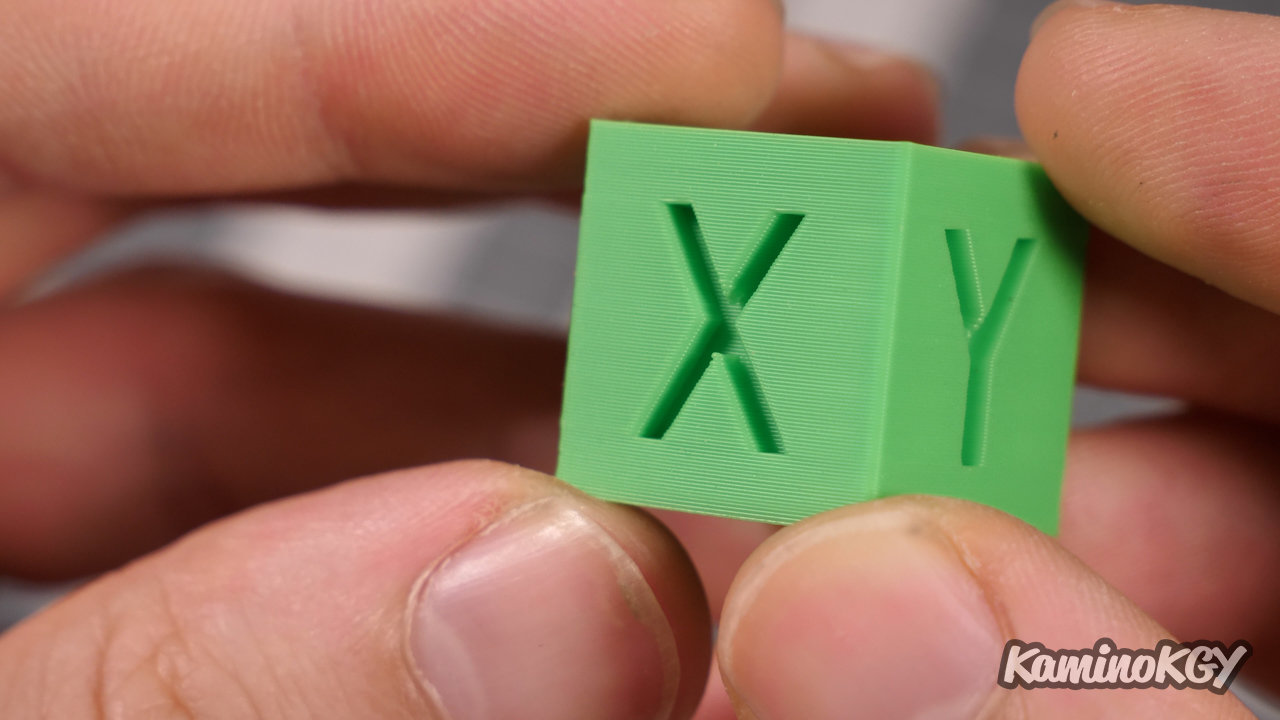
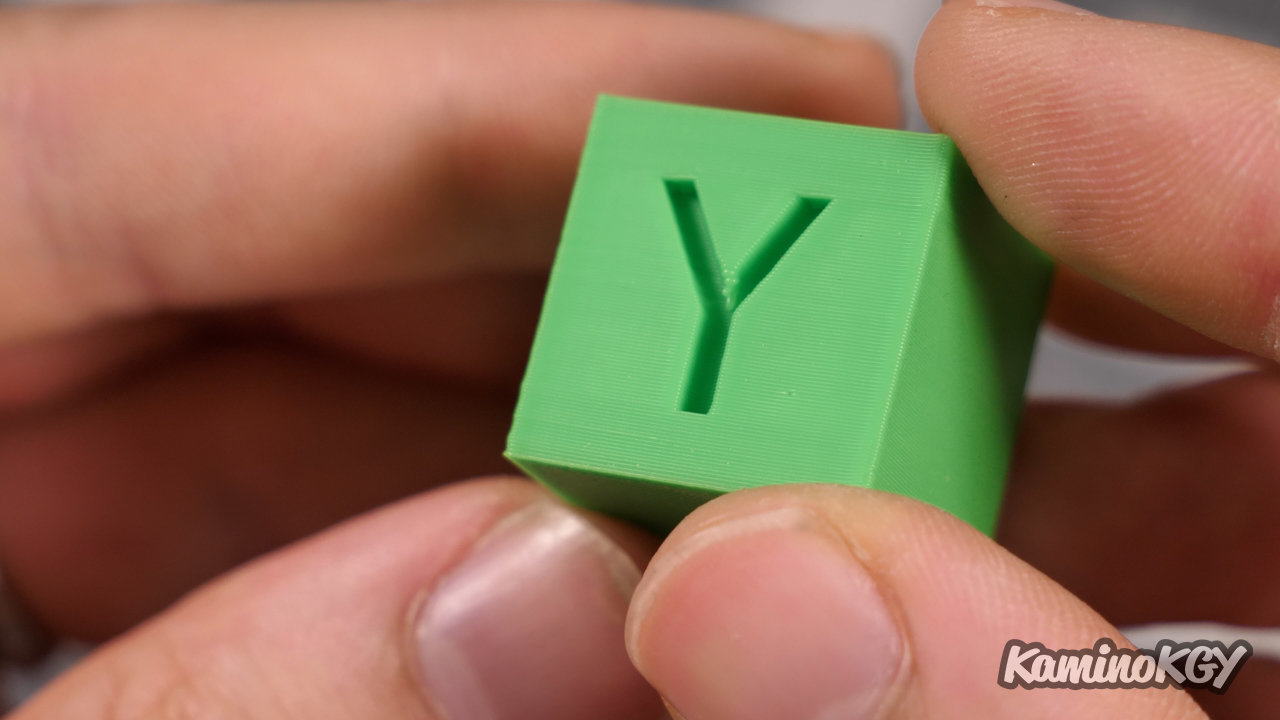
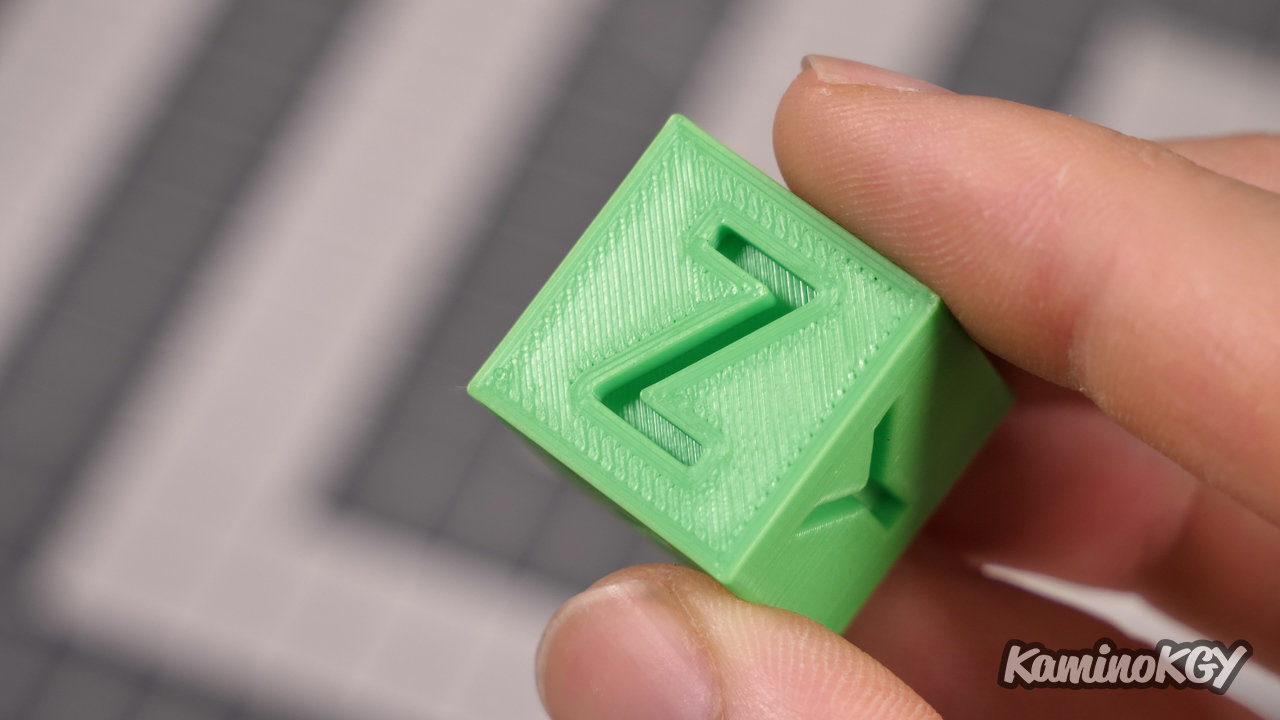
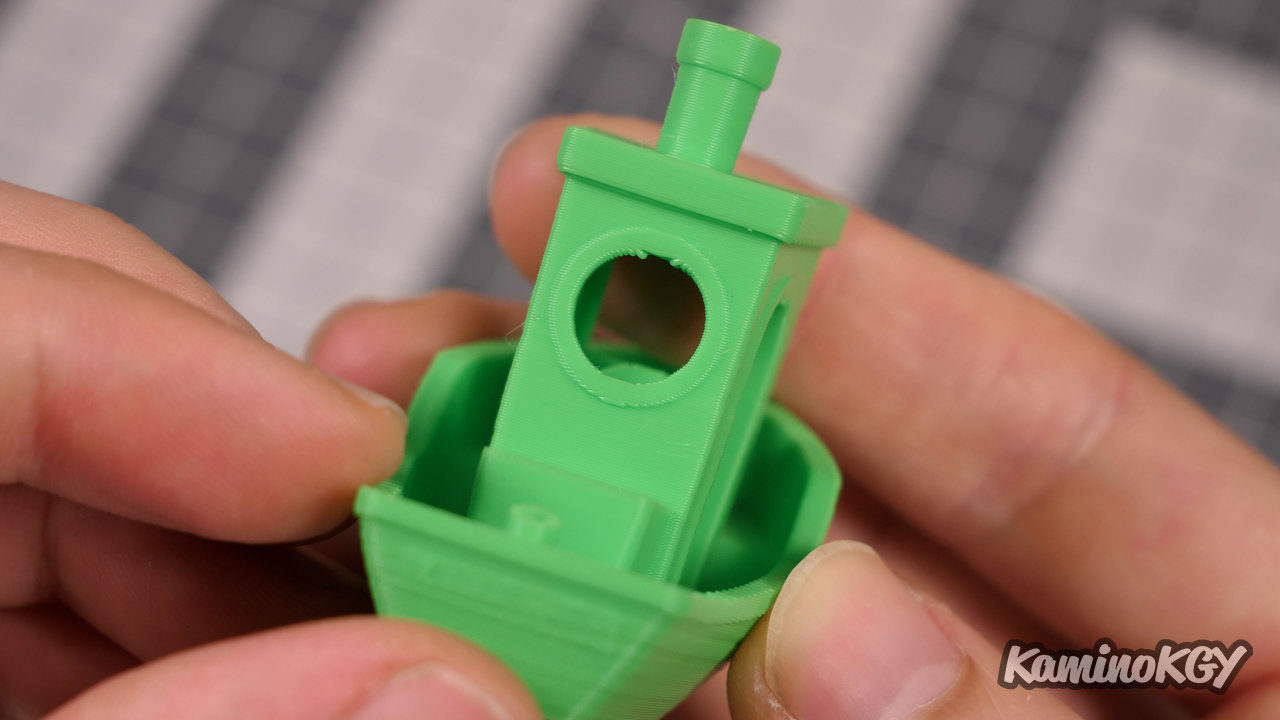
On my KGY test printout we can see that there is a slight lack of cooling inside the K but nothing really annoying. On the side we also find this lack of cooling on the top on the y even if on the calibration cube it went rather well, there we have a letter a little wider. On the top, we have a total absence of ghosting just above we can see that there is no stringing so with this part the cooling works really well on the overhang on the other hand we can notice that it is better on one side than on the other even if in reality I printed this test part from the front so the blower is supposed to work the same way on both sides. Except that in reality we have a side that is better cooled on one side probably because the fan sends the air more on one side than on the other simply because of the rotation probably of the inner propeller and the same on the top it is really very clean and smooth.
To summarize
What can be noted on this printer compared to the Ender 3 S1. It is that we have a double Z axis, but we do not have a synchronization belt between the two. You should therefore avoid touching it between your prints, if you want to avoid losing your setting.
Concerning the unboxing, to remove the protective film of the screen, it is really not obvious in fact I ended up disassembling its case to be able to remove entirely the film which comes really largely on the side, inside the case itself.
For the cooling of the filament at the exit of the nozzle, it works rather well but I would have preferred to have a double fan to be able to cool better especially that there, we can see that we have an effect where the cooling is better on the right side than on the left side. It even seems to me that the fanduct is oriented a little too high towards the nozzle, rather than towards the filament below.
As a reminder, we have a somewhat surprisingly large printing area, but it allows us to make slightly larger prints than on the Ender 3 S1 and S1 Pro.
Bye bye!