Today we are going to test 2 products from Reolink, the RLC-811A camera which has an optical zoom and the Doorbell. We're going to divert it a bit from its primary use, but don't worry, we'll see that. And we'll start with the RLC-811A.
Unboxing
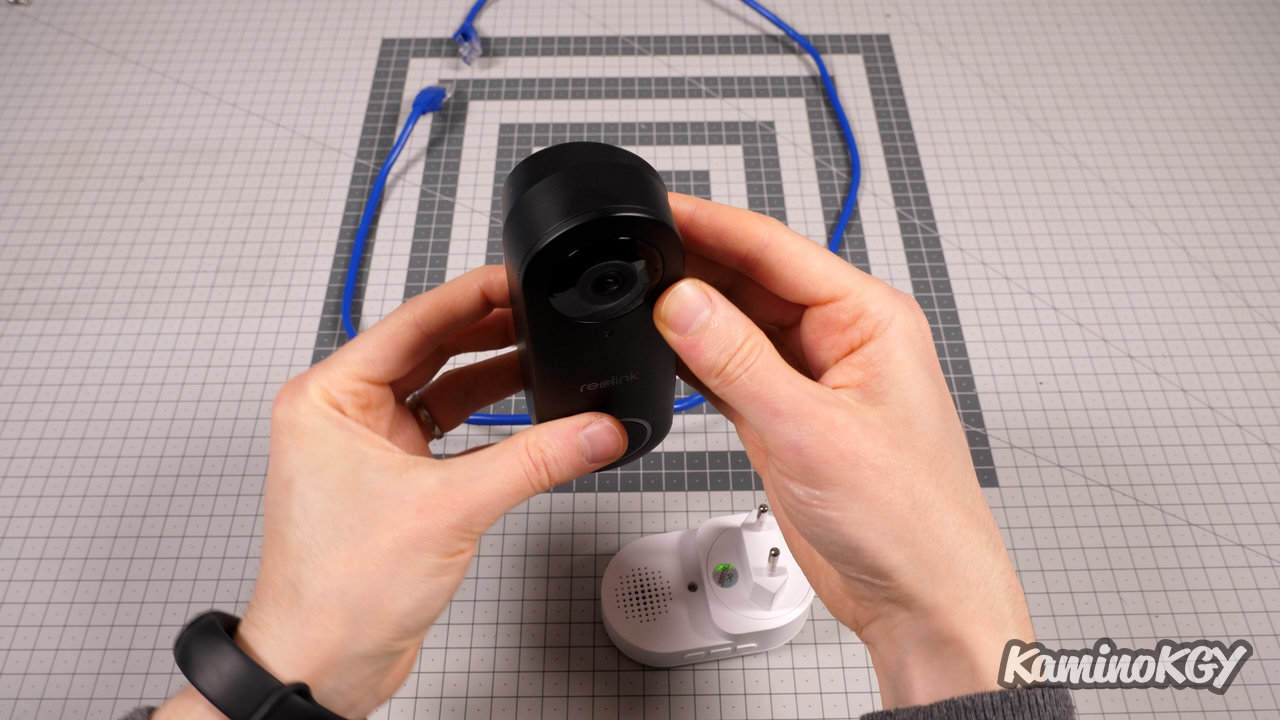
In the box, there is already a pocket with documentation, stickers, a drilling guide. Then there is an Ethernet cable, screws with dowels, cover to seal the Ethernet cable. And finally the camera, which is quite imposing compared to non-zoom models of the same type.
Features


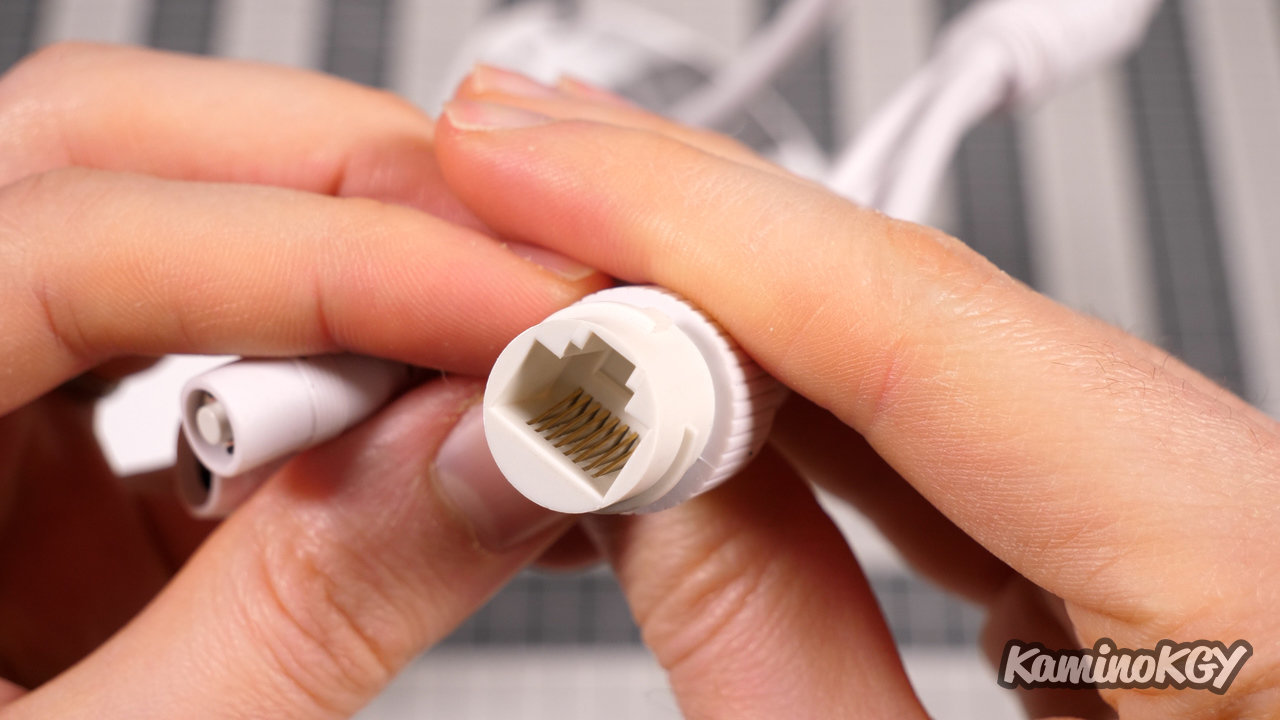
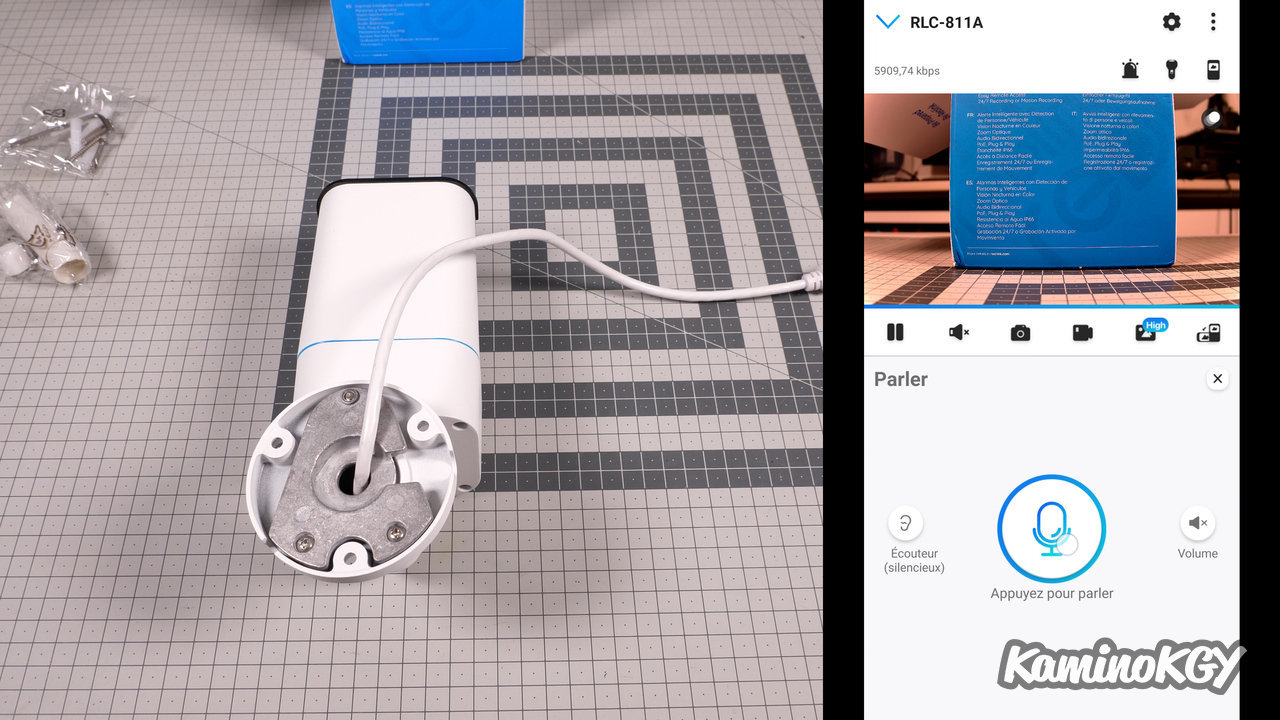
Regarding the characteristics, we film in 4K, this model is PoE, which means Power over Ethernet, so we can power the camera directly via the Ethernet cable. But there is still the cable to connect it to the mains if necessary. And a reset button is accessible, if you need to reset the camera. It may be best to have them in the wall to block access, depending on where you place the camera.


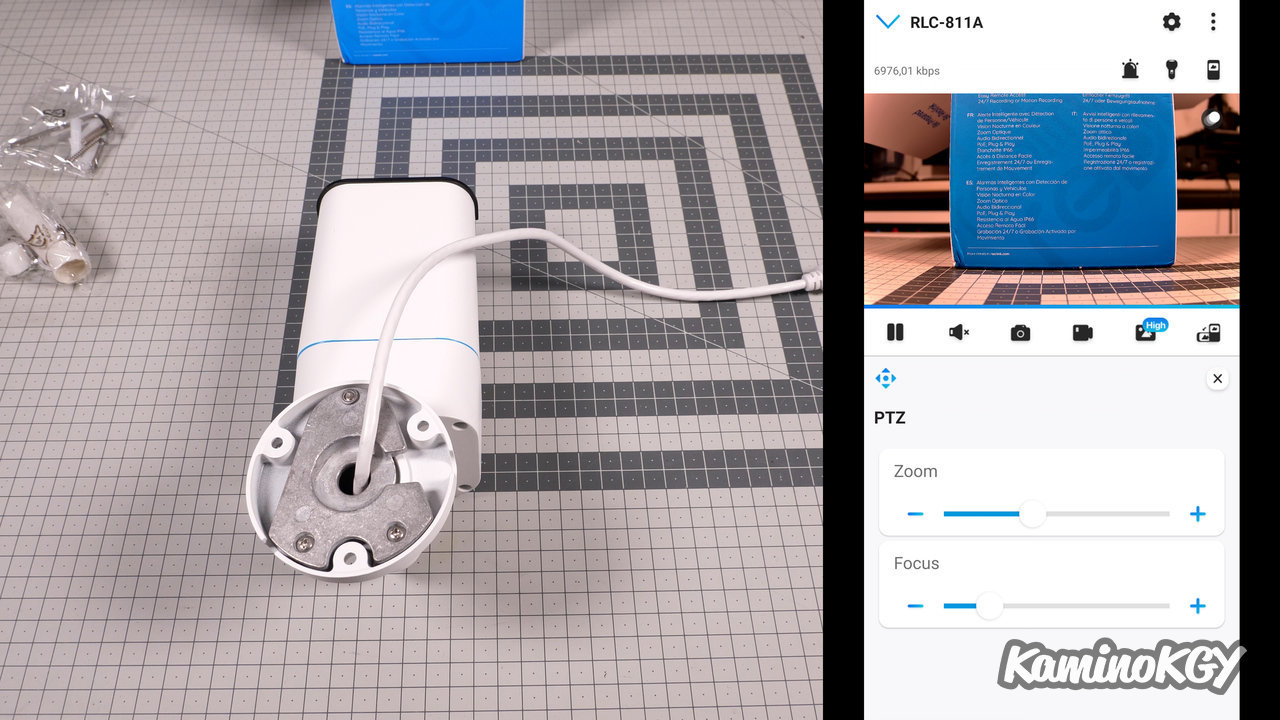
For the association on the mobile application, it's simple. It will be enough to press more, if the camera is not detected directly. We scan the QR code under the camera, we configure identifiers, a name and we can start using the camera with the video feedback.
The camera is accessible from anywhere, you do not have to be on the same local network, without having to tinker and open accesses on your box or other. And there is no subscription to access it either.
There is motion detection that will be able to tell the difference between a person or a vehicle, and soon even animals, and having been using it for some time now, it works really well on this side. On replays on PC, you will be able to search by type of detection and the icons are visible when it is on the mobile app. Replays are downloadable from the camera, to the mobile device or PC you use, in low or high resolution.
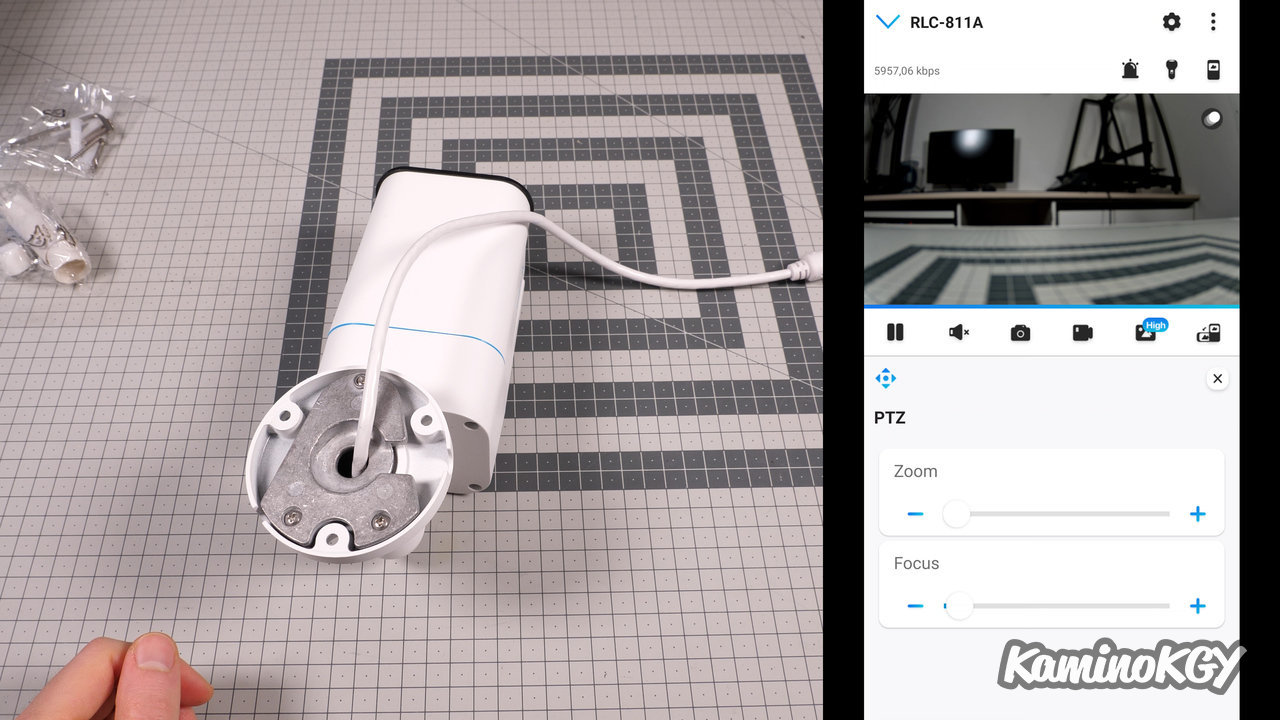
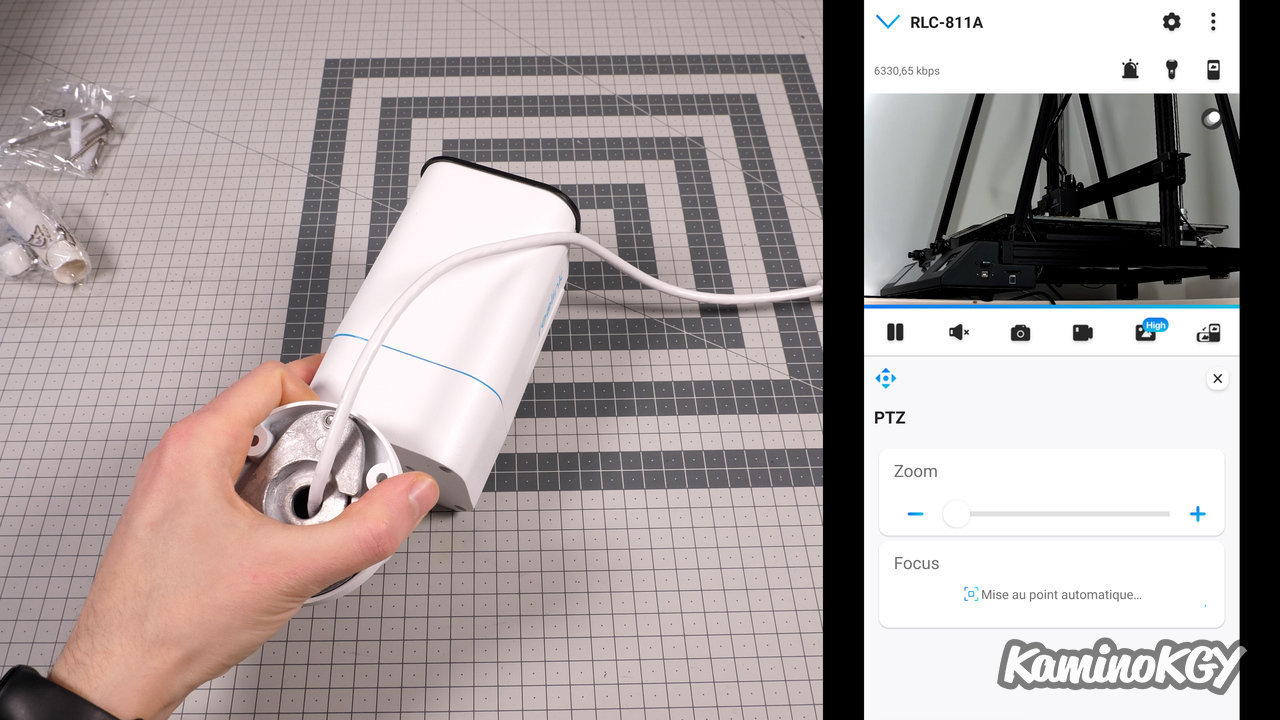
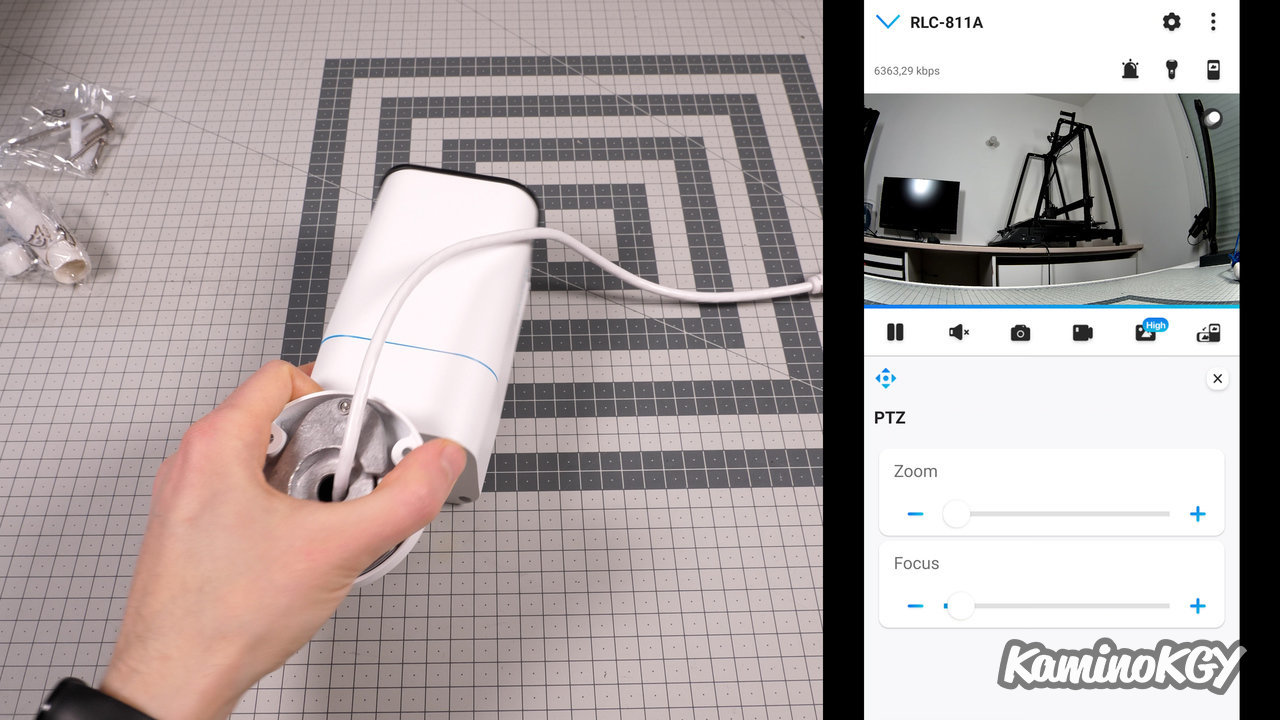
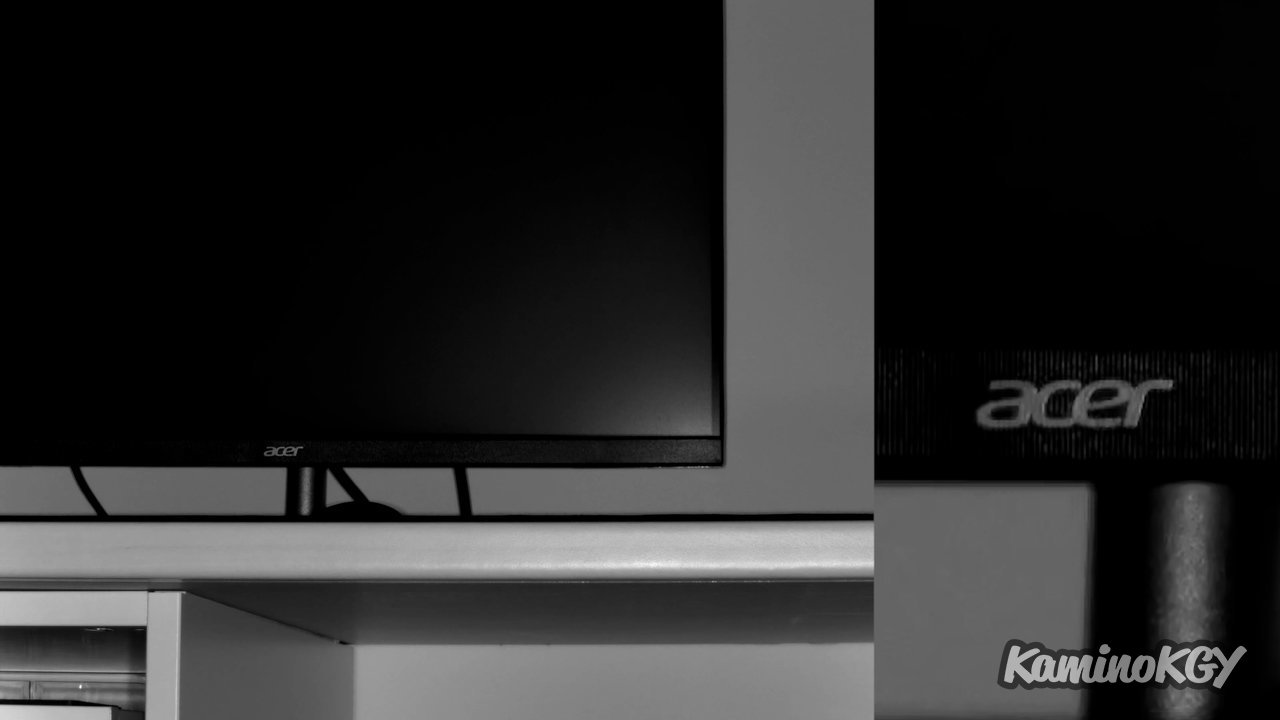
And a particularity of this model is obviously the 5x optical zoom and not digital, so there is no loss of resolution, we always take advantage of the native 4K.
Note that there is no continuous focus adjustment, but only after changing the zoom level. But on the other hand, you can adjust the focus by hand if you want to have something sharp that may not necessarily be in the center of the image.
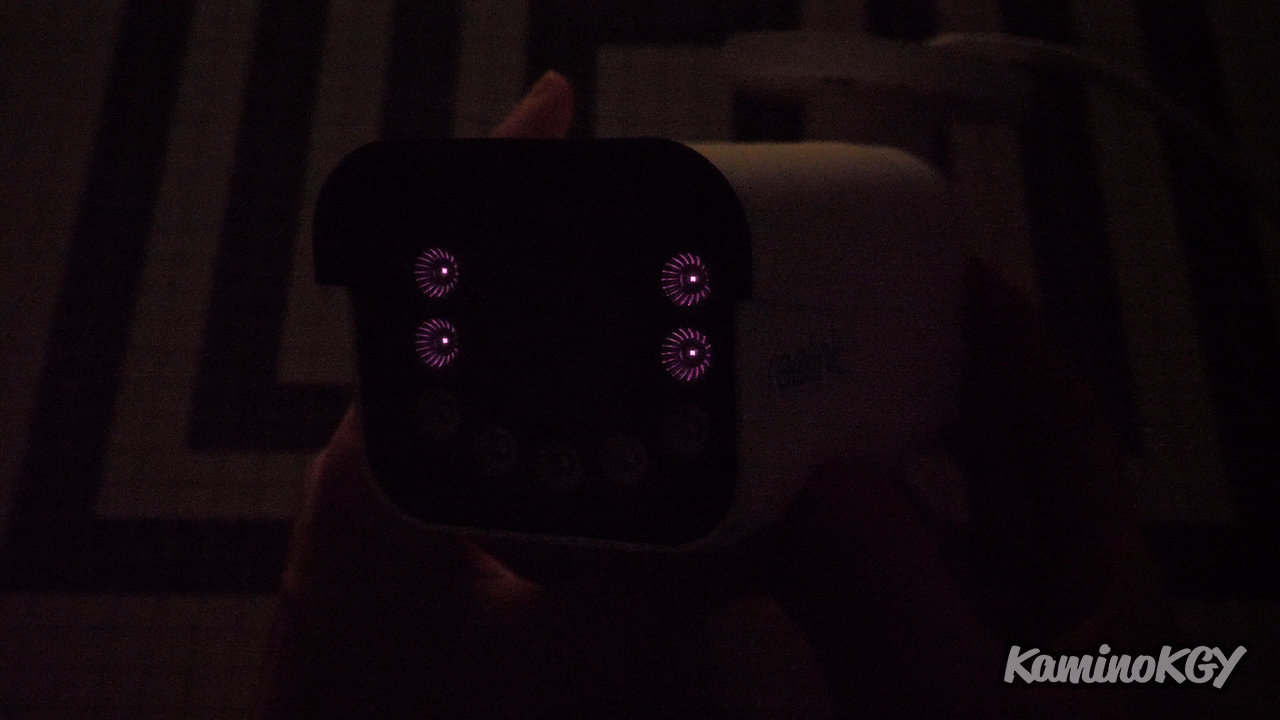
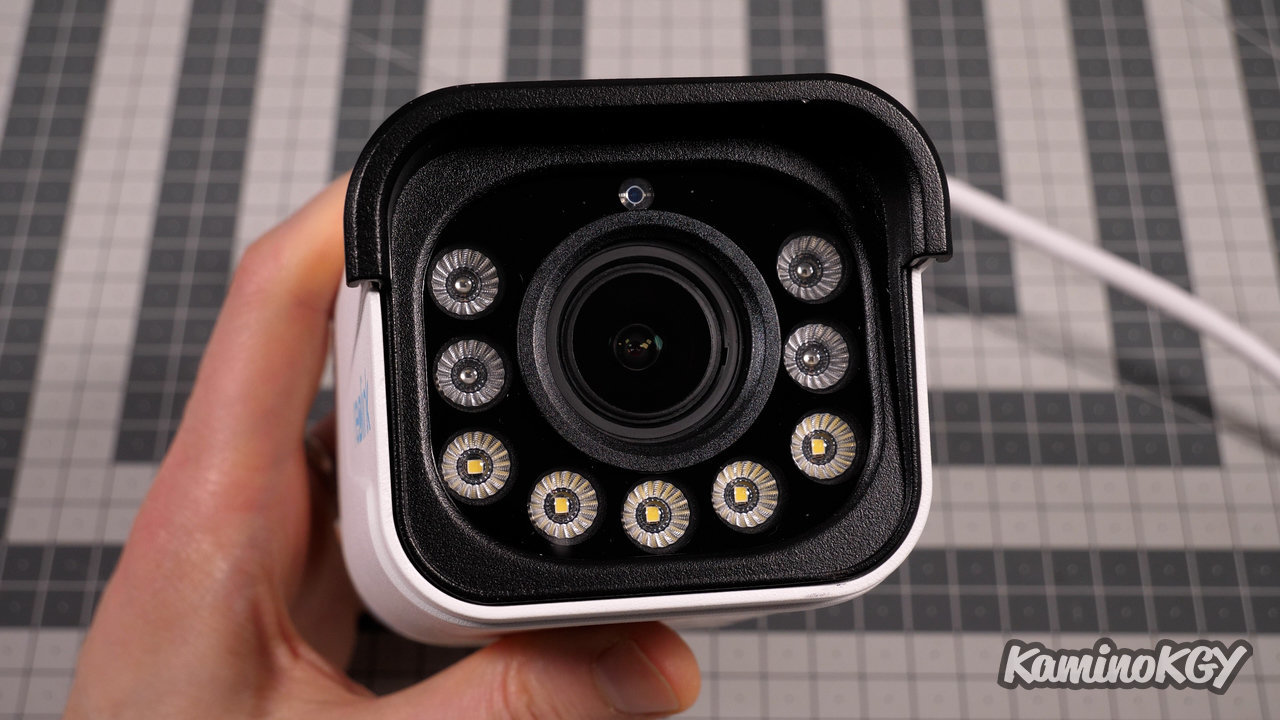
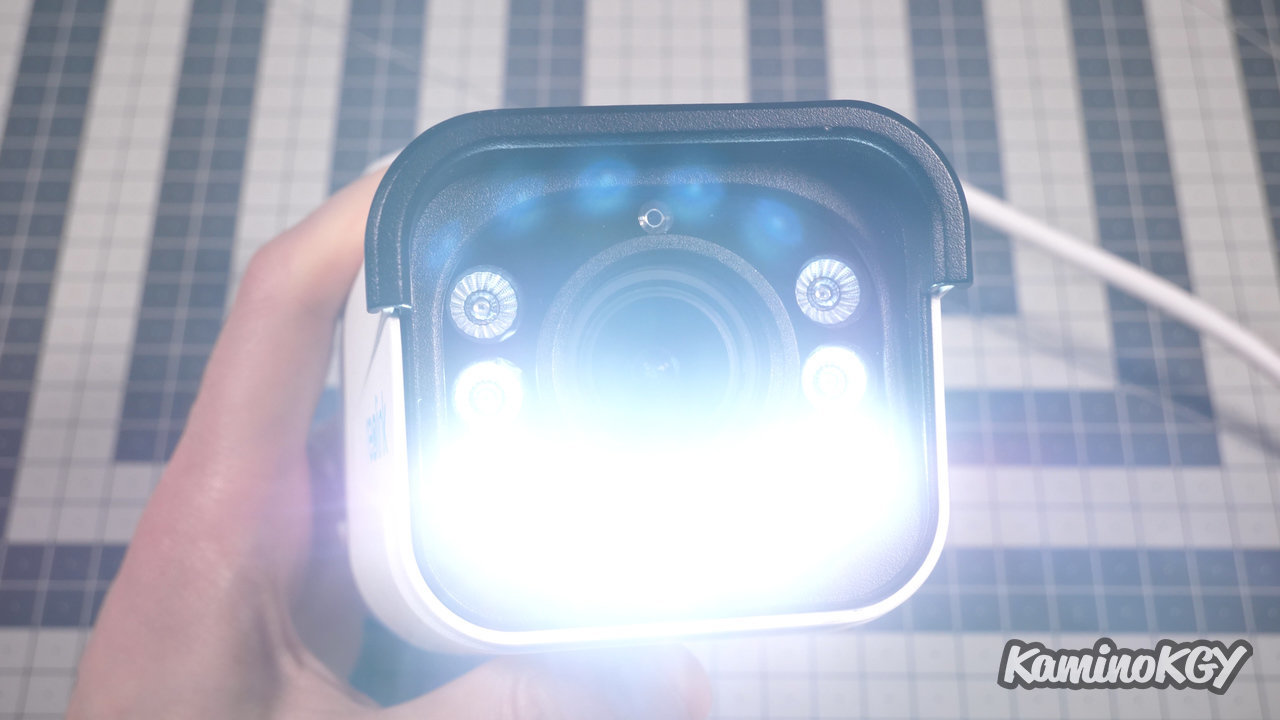

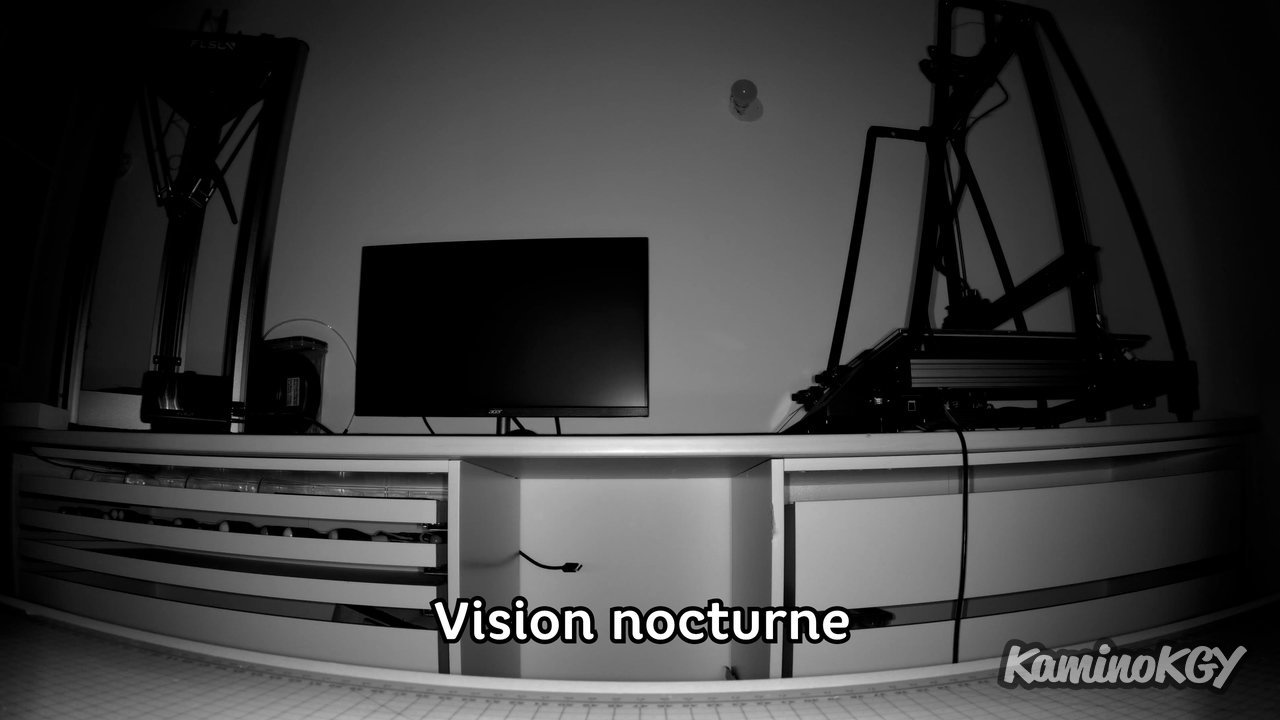
There are LEDs that allow the camera to see at night without having visible light, just small red LEDs, which allow filming in infrared. But on the other hand, we also have real projectors which light up and therefore allow you to see in color, as the sensor switches back to day mode in these cases. The spotlight is quite powerful, which should be able to illuminate a sufficient area near the camera.
For the width of the field of vision, we go from 105° at the widest to only 31° with the tightest shot and it really allows you to see precisely what is happening in front. This still gives a good margin of maneuver to adjust the width of the field.
You will only be able to record to the microSD card when there is movement. It is possible to be alerted by push notification on the phone, by email or send the captures directly to FTP. And with a maximum capacity of 256GB for the microSD card, it can record a hundred hours. Knowing that the oldest sequences are overwritten by the new ones when the card is full.
The camera is IP66 waterproof for outdoor use.
On the mobile application, you will find a lot of options to manage as you wish, it is really very complete and ergonomic. At no time was I blocked when I wanted to do something in particular.
There is a siren and the loudspeaker with the microphone allows you to have an exchange with someone who is in front of the camera. The quality on the phone side is still better than on the camera side, but the sound recording to hear the person is of good quality.
Reolink Doorbell
If we now move on to another type of camera, with the Reolink Doorbell. You may think that's it Kamino he cracked, and he tests everything and anything. Well no, not completely in any case, because even if I would like to test other types of products for which I have real use, well, I try to stay on things that can be used in a workshop so general. And that's why I'm going to present this camera to you, not to put it next to a door, but, mounted on a 3D printer. So, did I find this idea, just to have the camera, yes, completely. And so without further ado.
Unboxing
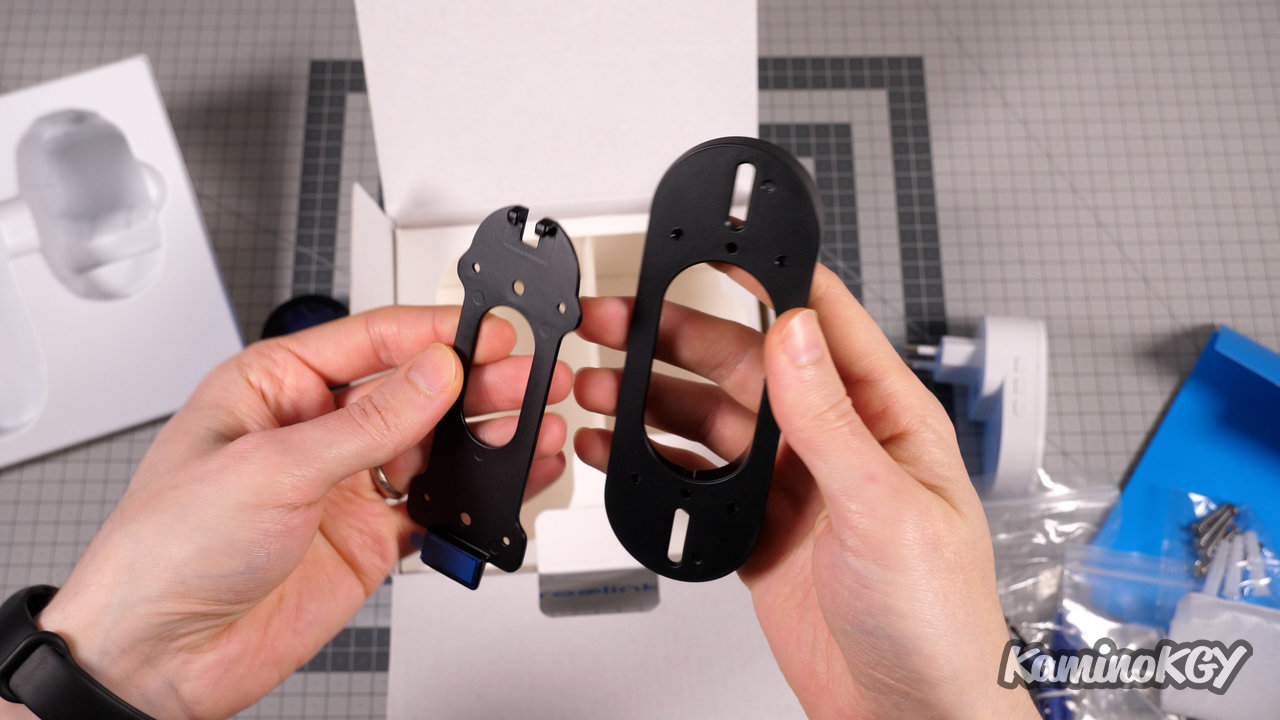
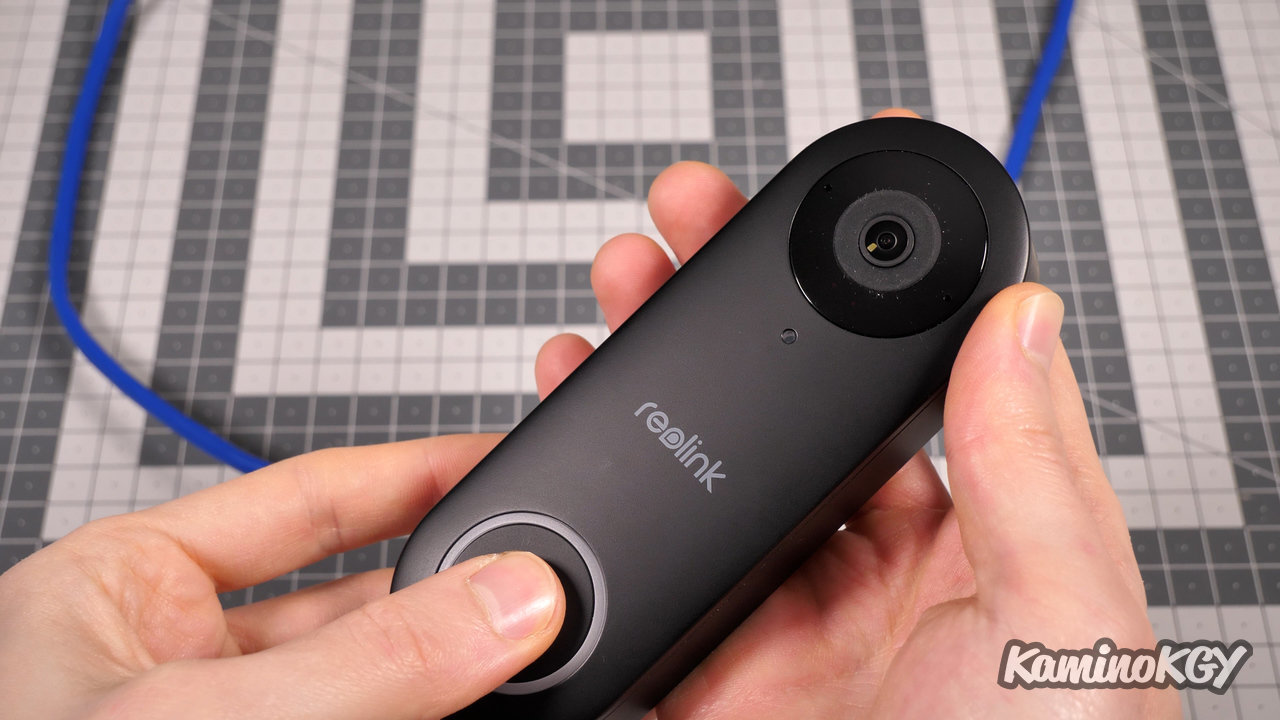
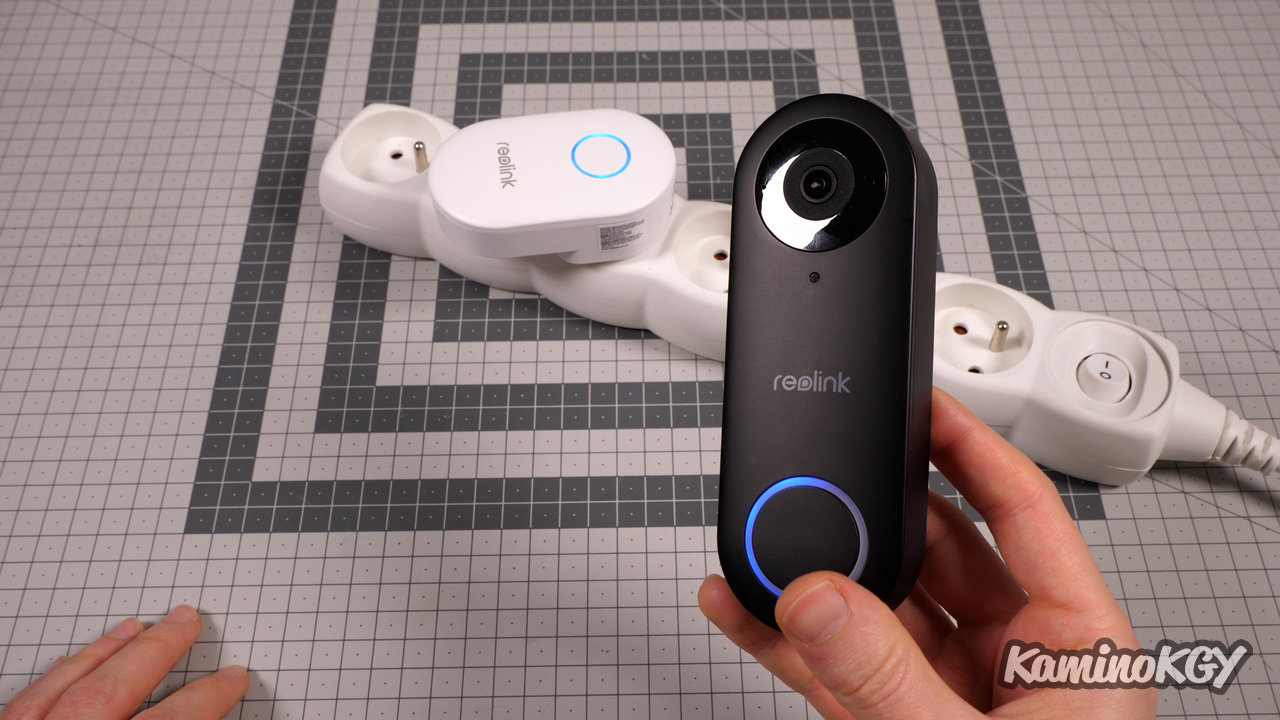
In the box, there is a pocket with documentation, the chime that plugs into an outlet inside your home. The doorbell, which is not necessarily small, even if it remains compact. It inspires confidence and is of high quality. Below, we have an ethernet cable, wires to power the camera externally. We have screws and dowels, the plate that attaches to the wall and on which we will fix the camera. And a bracket to angle the camera more to the left or right and aim at the center of the doorway where people normally stand.
Features
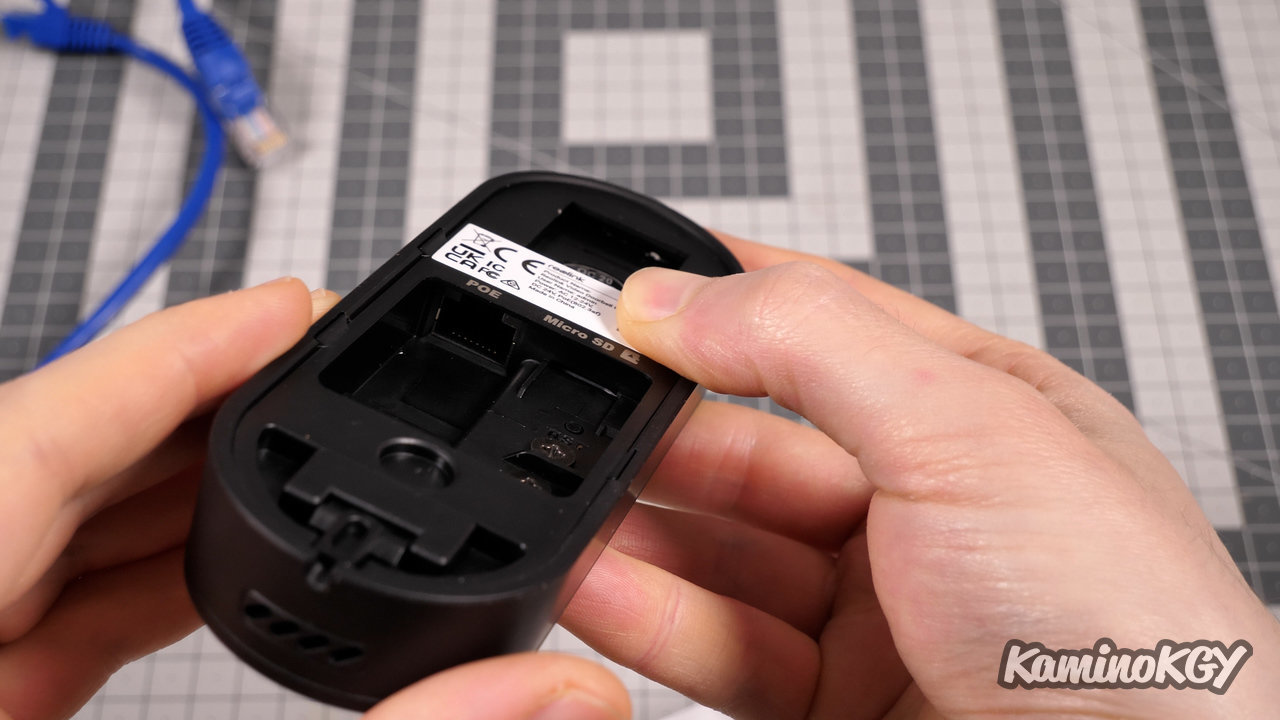
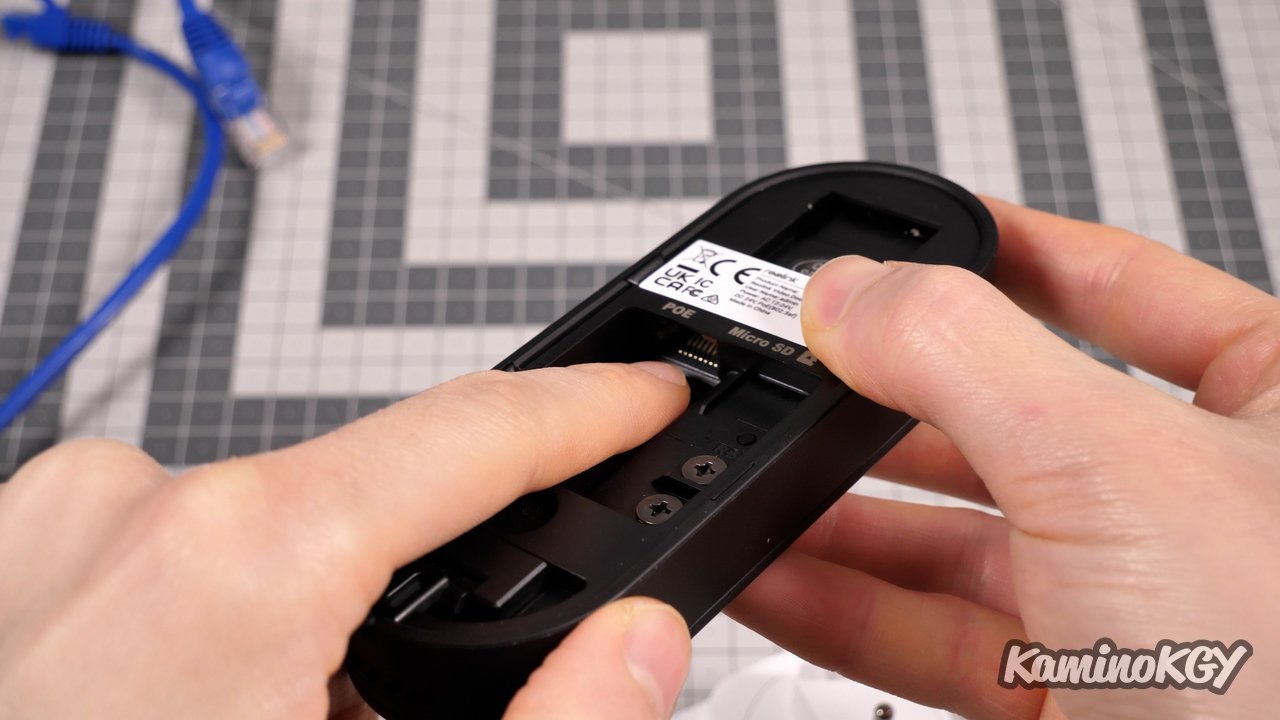
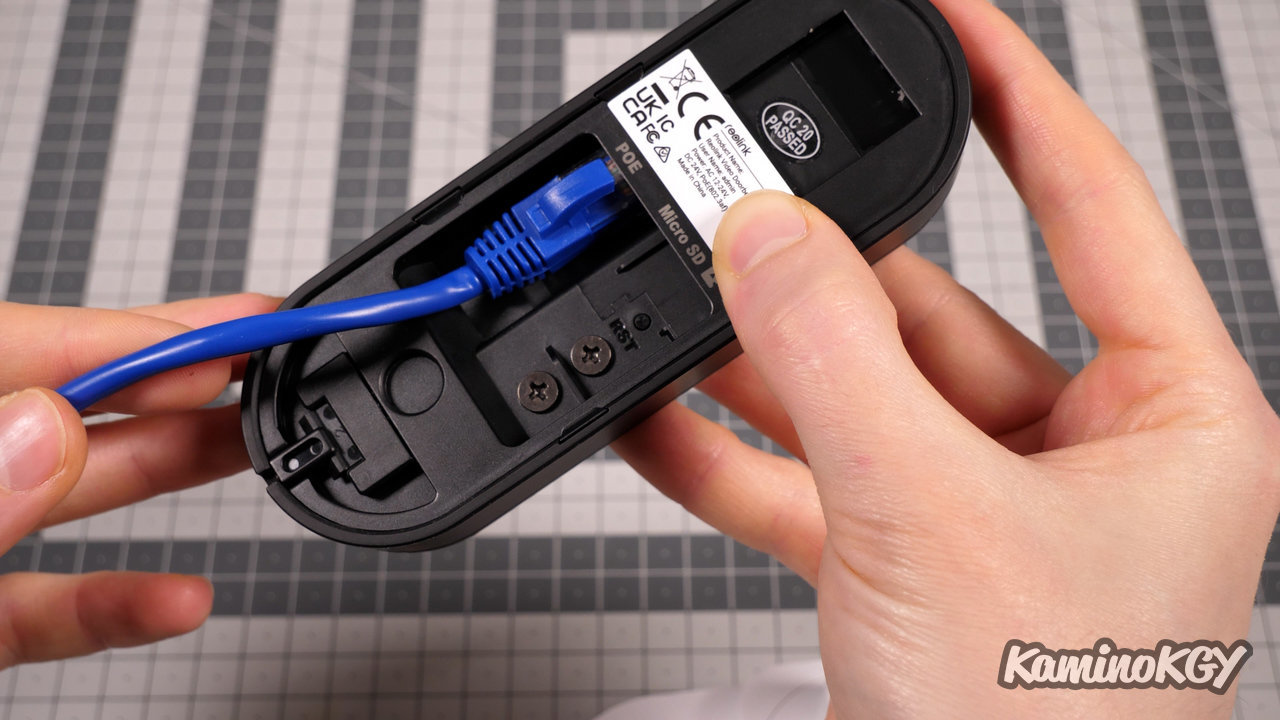

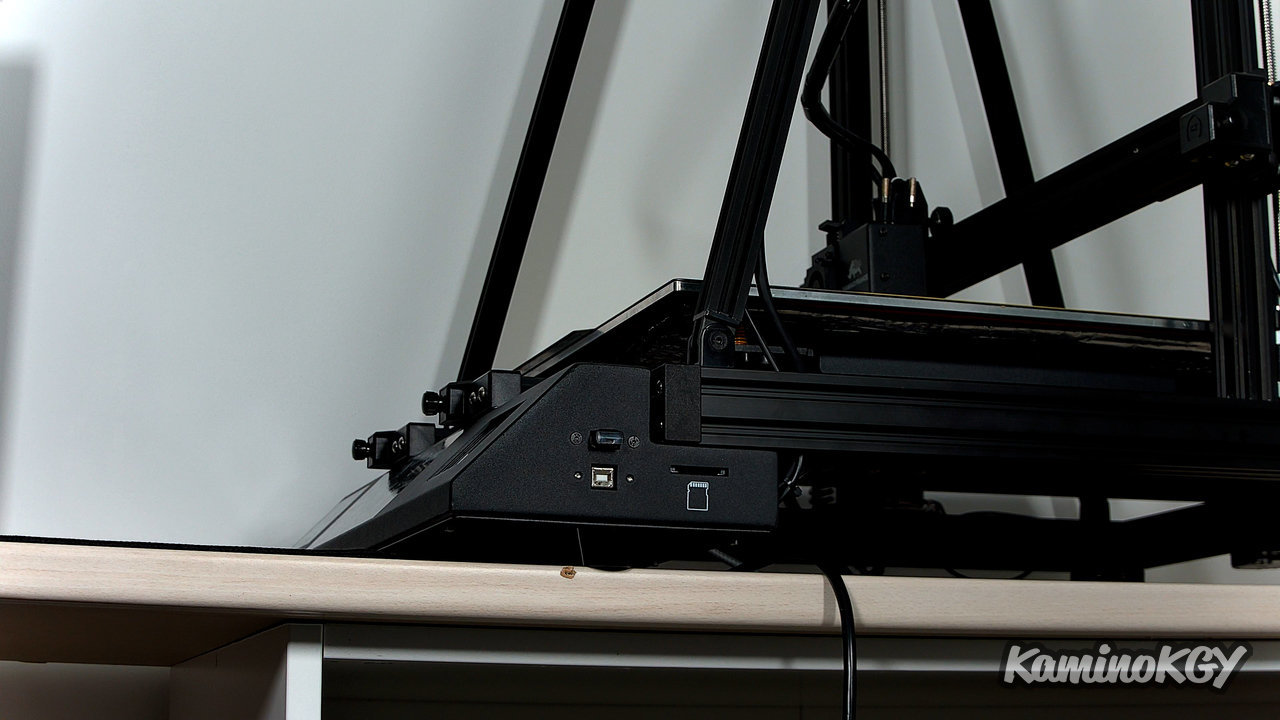
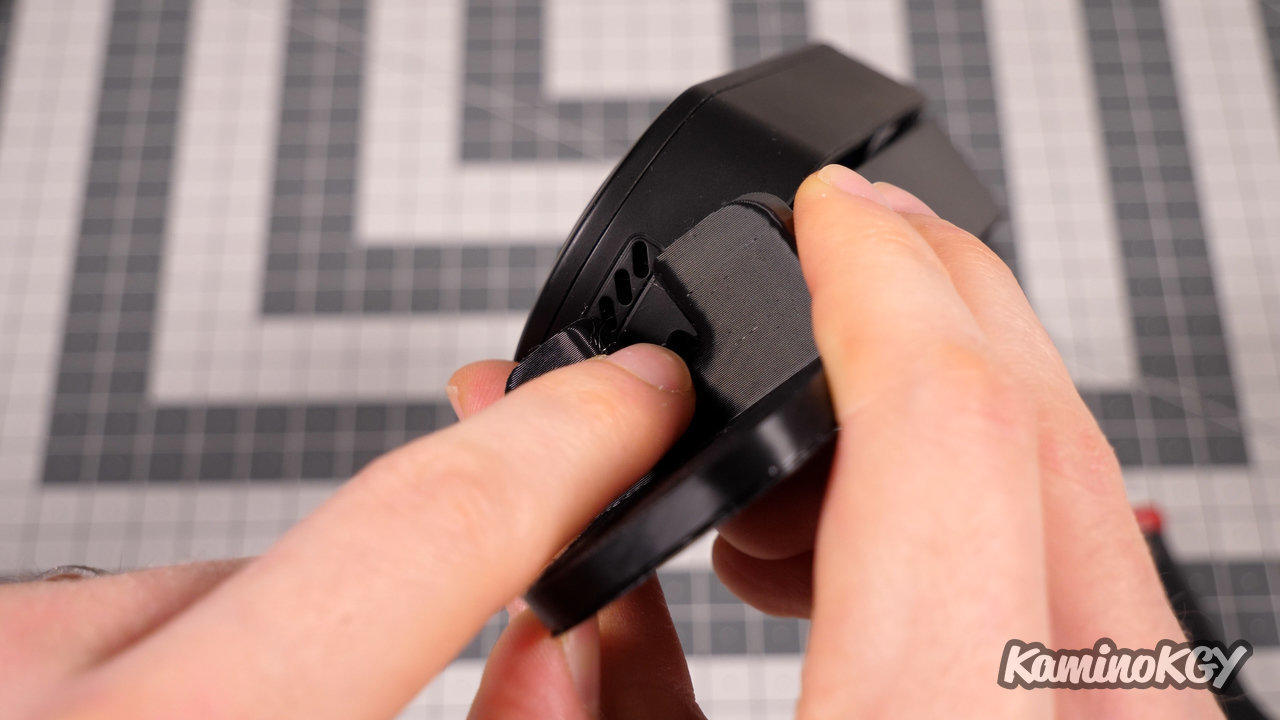
On the back there is a slot to slide a microSD card to record locally on the doorbell what is happening. Next to it, we have an ethernet port and, there we have the doorbell in PoE version, that is to say that we will power it directly by the ethernet cable, we will not need to bring a cable from additional feed. Note that the Doorbell also exists in a Wifi version. I just find that the ethernet cable is a little twisted in its location, but if it's not too twisted all over the place and stays in place, that shouldn't be a problem.
Here we see the support that allows you to orient the camera on the side. It will be up to you to see if it is useful for your case or not.
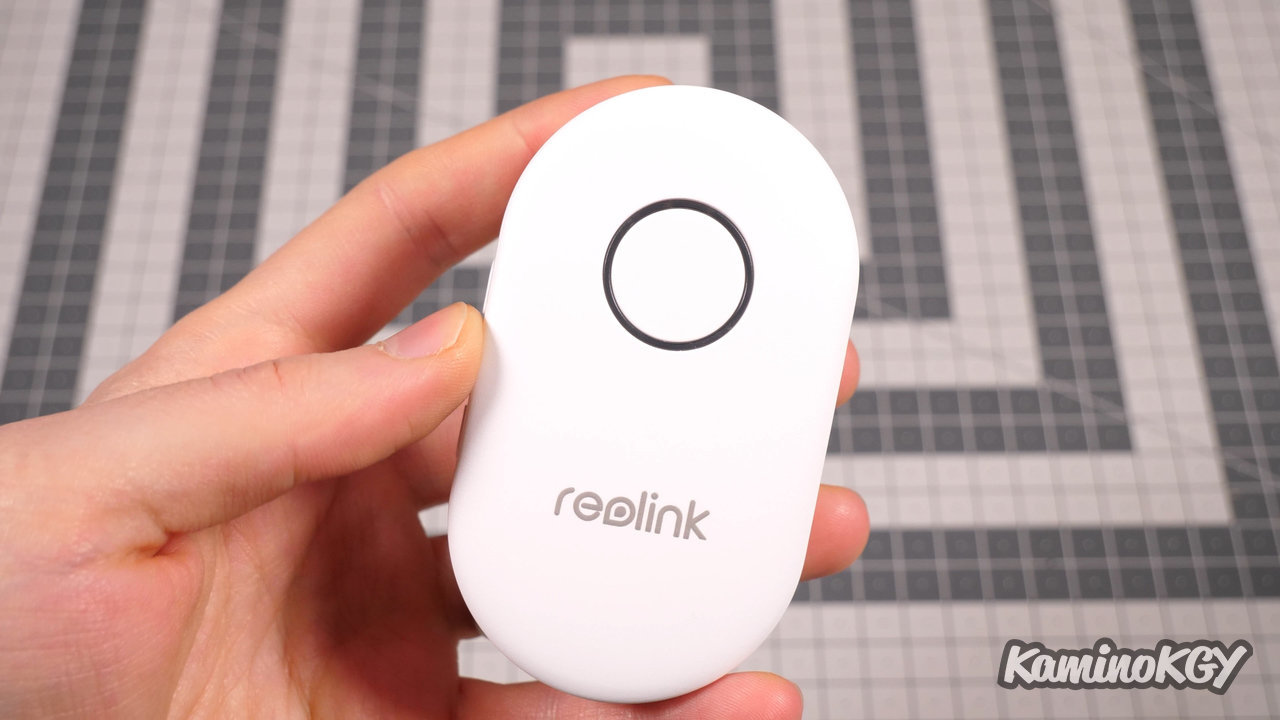
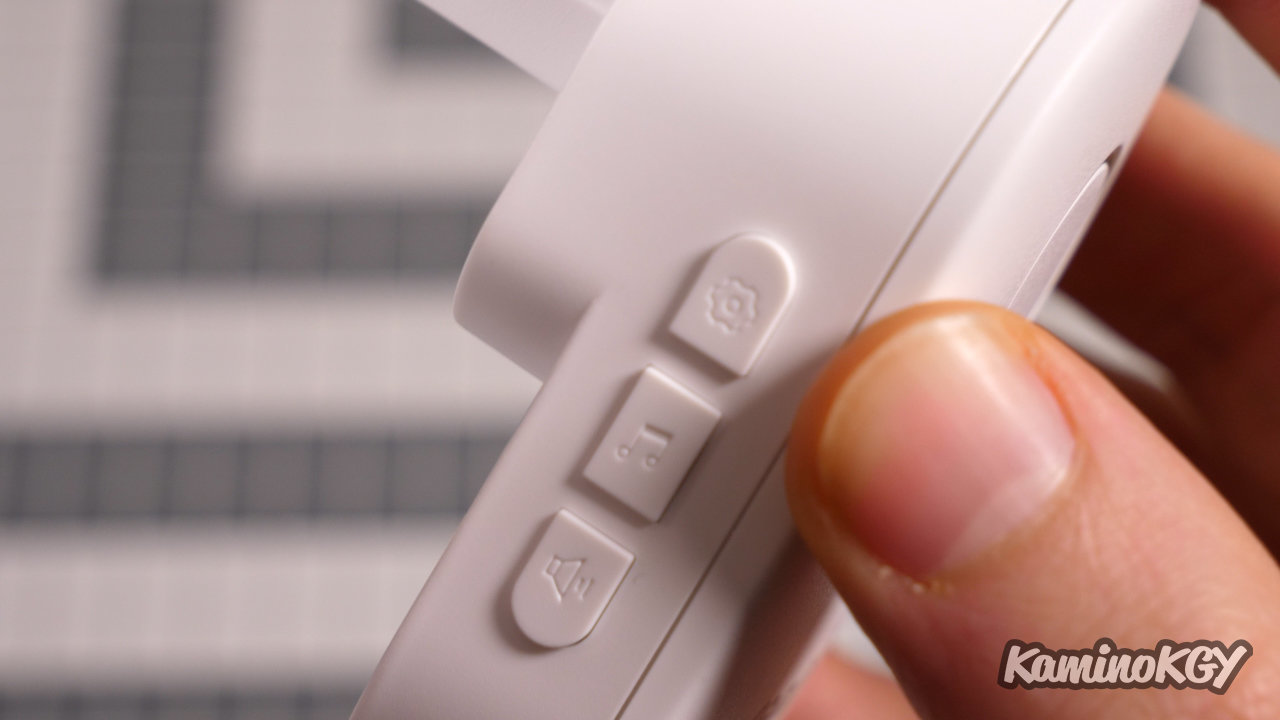
On the chime, we have a settings button, a button to choose the type of sound for the doorbell and the volume. And rather practical to avoid going around 5 times to find the max or min sound, it rings twice to indicate that we are at the loudest or weakest sound.
When you press the doorbell button, it rings, and fortunately because of course it's a camera, but it's better to know when there's a delivery. The button will turn blue when it sounds and light up blue when there is movement ahead. On the other hand, it will be necessary to validate that we can display the image on a Google Home device for example, otherwise, you will have to take out your phone to see what is happening. According to the file, it can be displayed on request, but the display is not automatic. Which causes a little delay for the answer.
And for the image it's a 2K+ resolution, it's higher than 2K they say.
Then, as the camera allows you to constantly monitor, it records a short sequence of 6 seconds before an alert which allows you to have a little context when you watch a replay.
You can put an automatic message when you can't answer or open.
And like the previous camera, you can of course chat with the person in front of the doorbell. And there, I find that the audio is really good. I have the impression that there is a double microphone on either side of the lens.
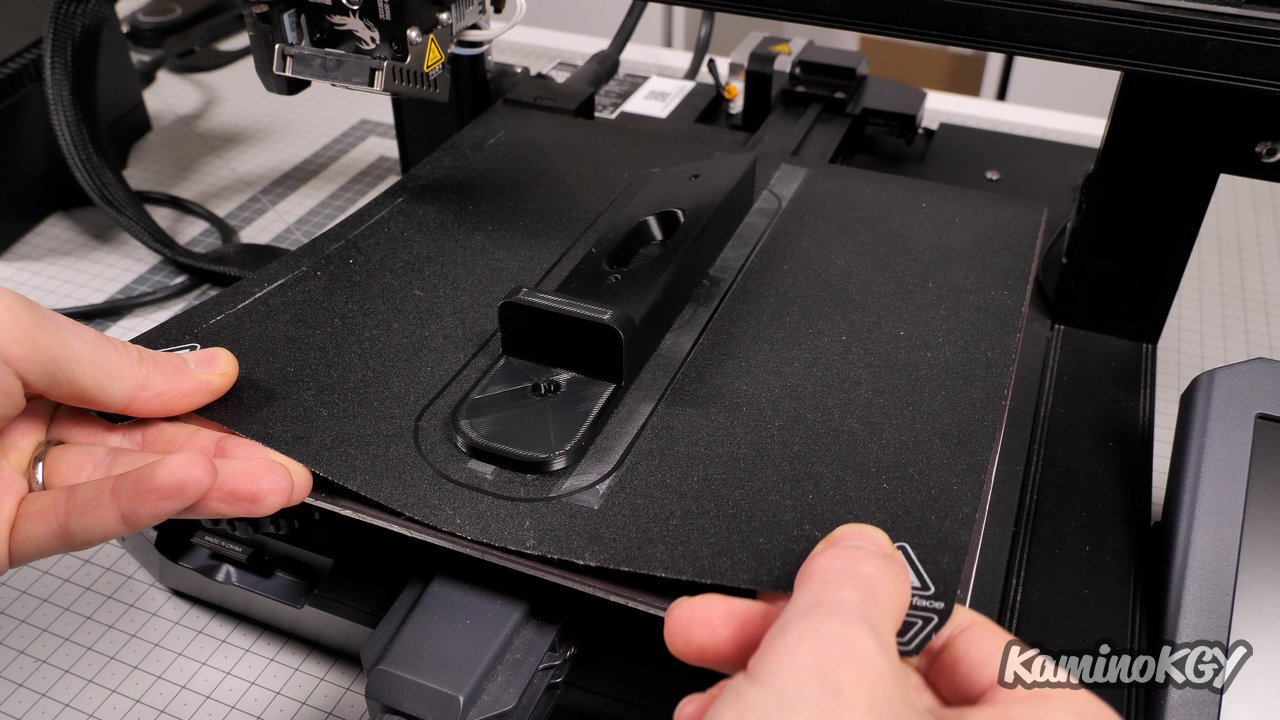
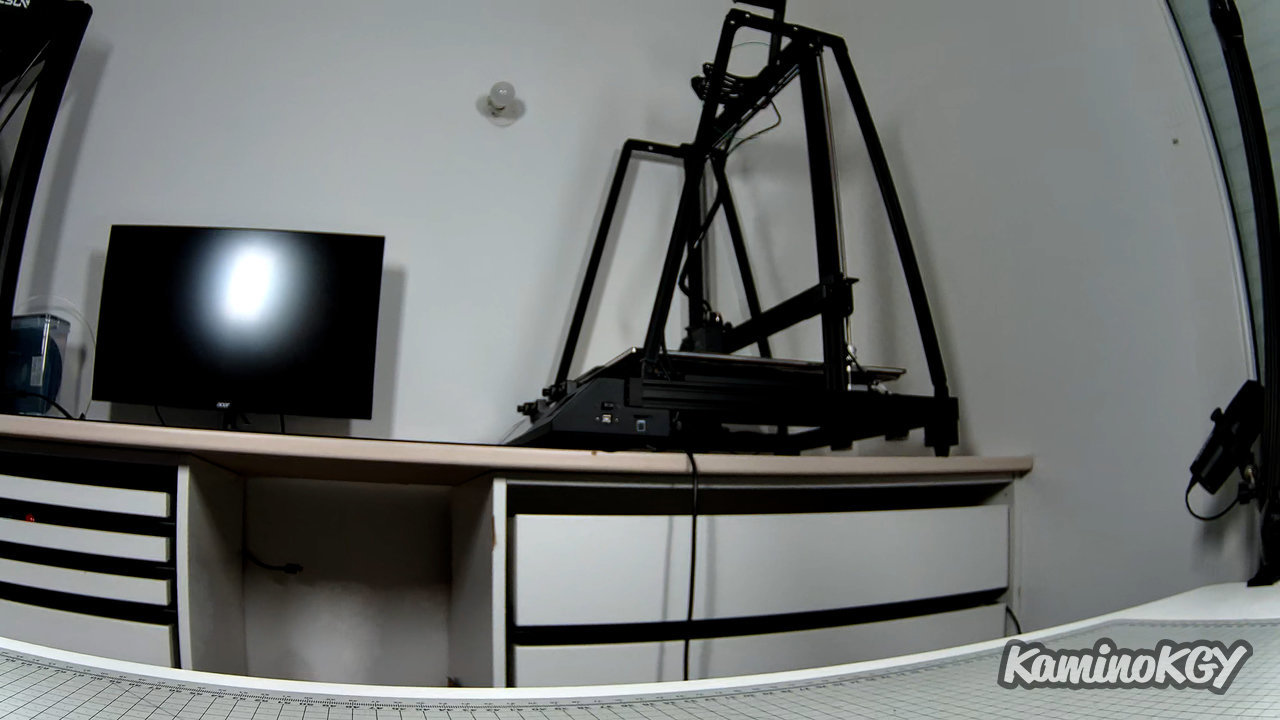
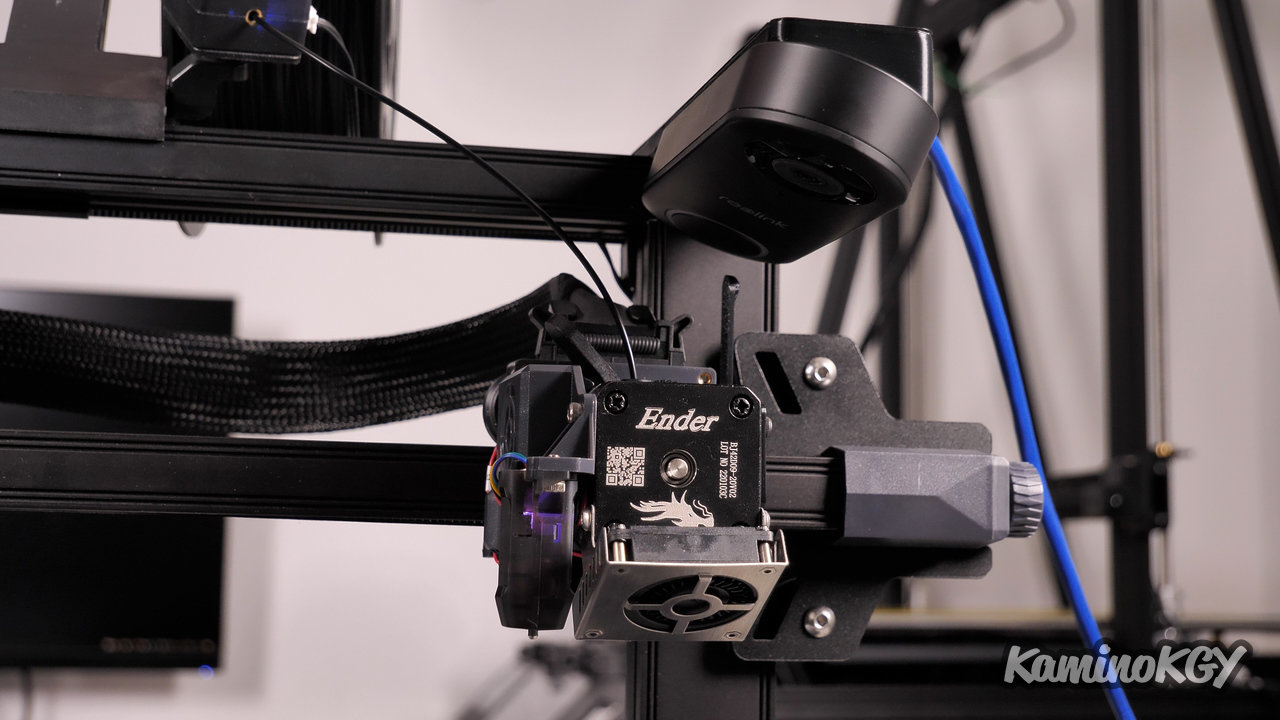
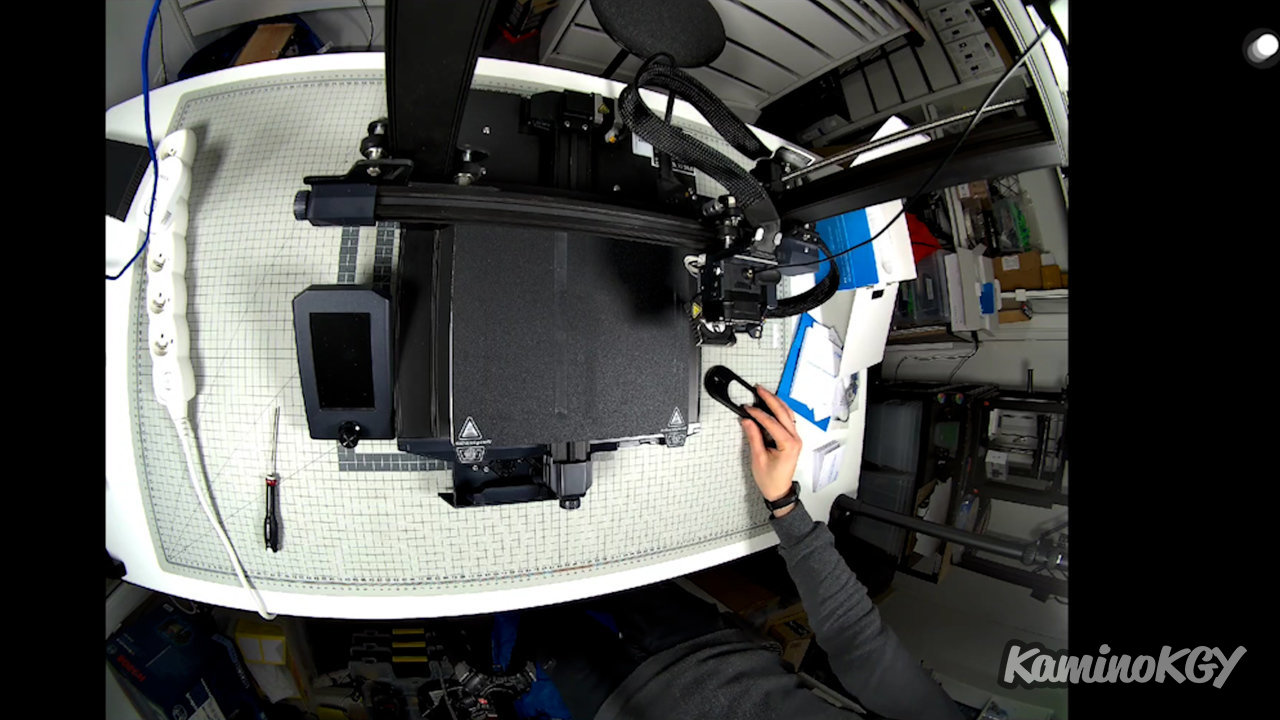
Now if we went to editing on a printer to see what the image looks like. Already, I started by making a support to attach it to the structure of the Ender 3 S1, but it fits everywhere.
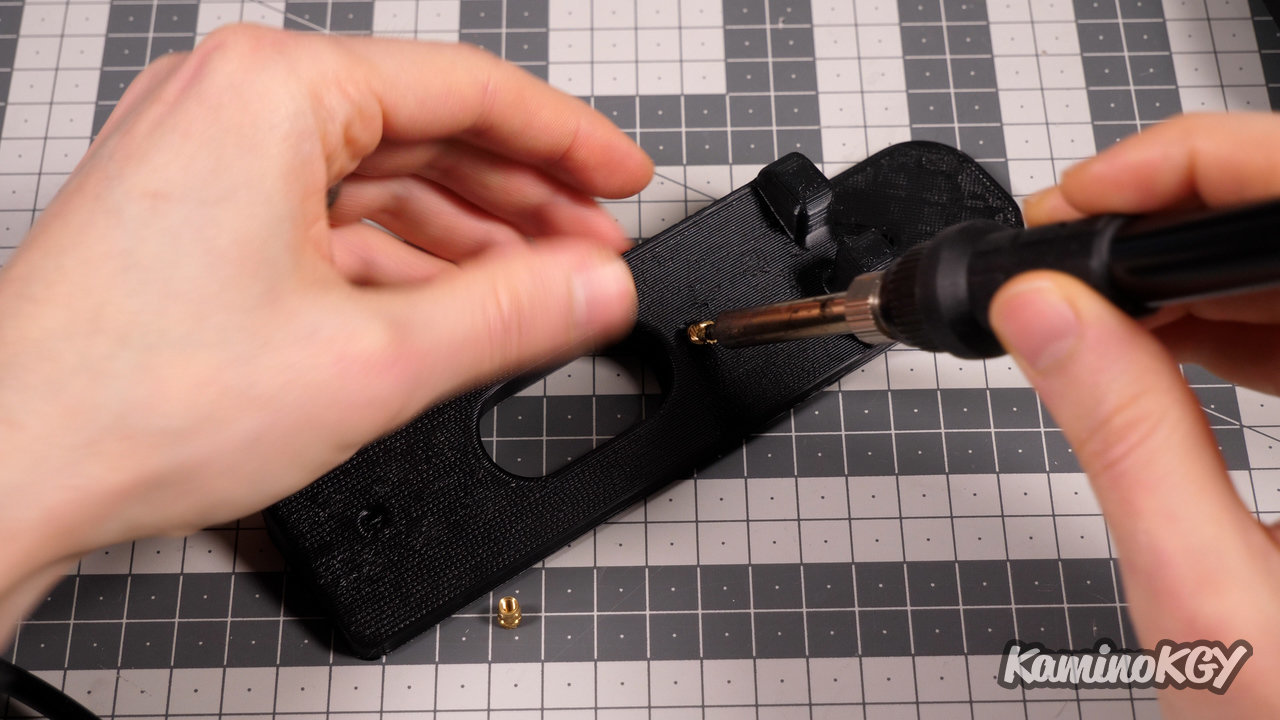
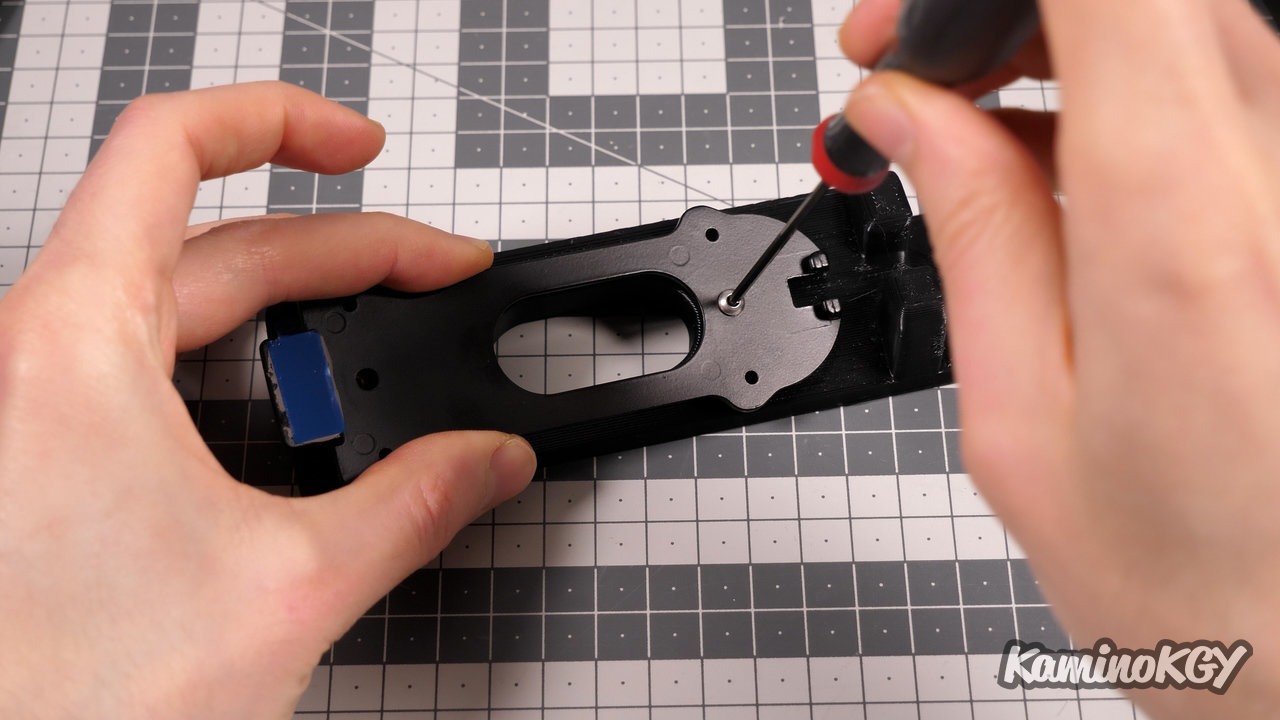
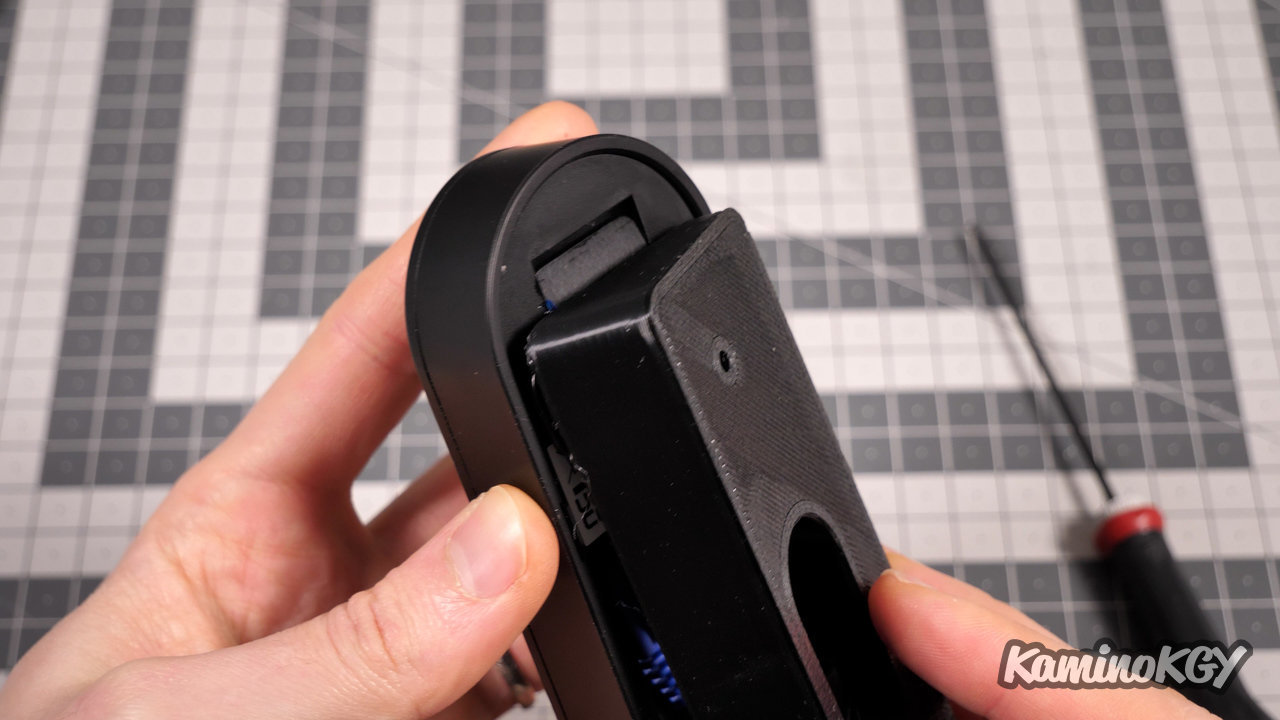
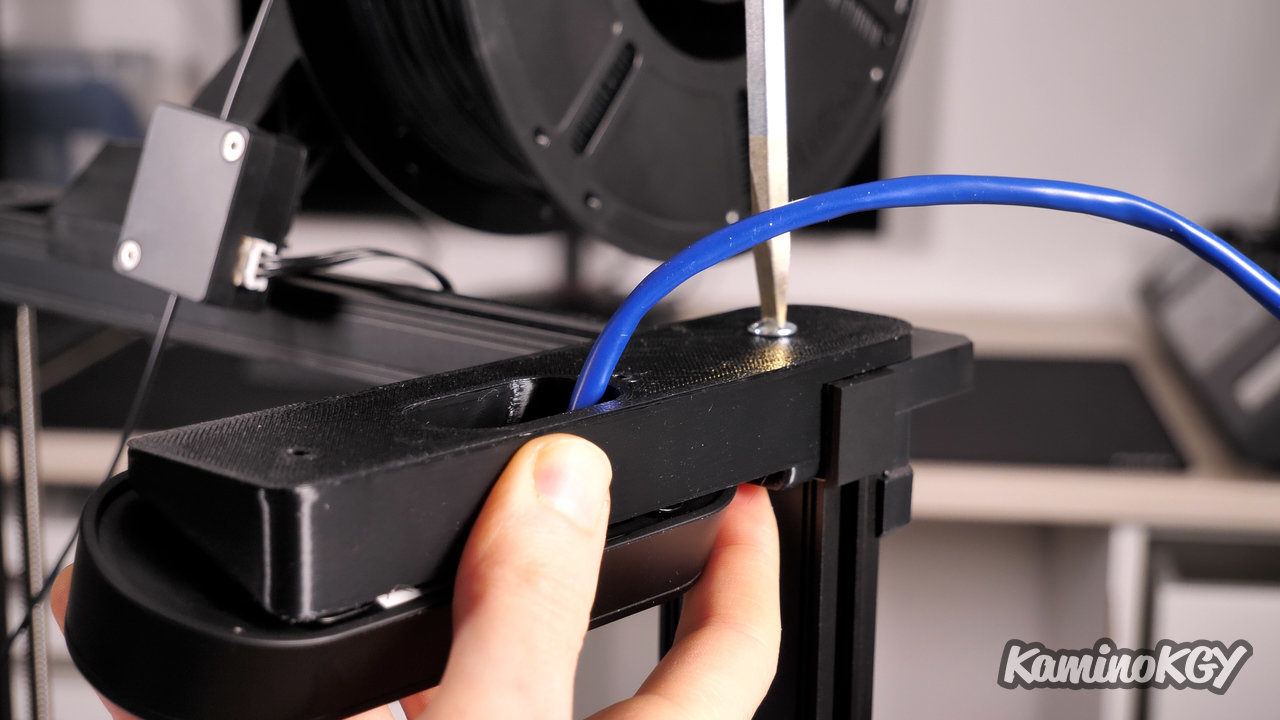
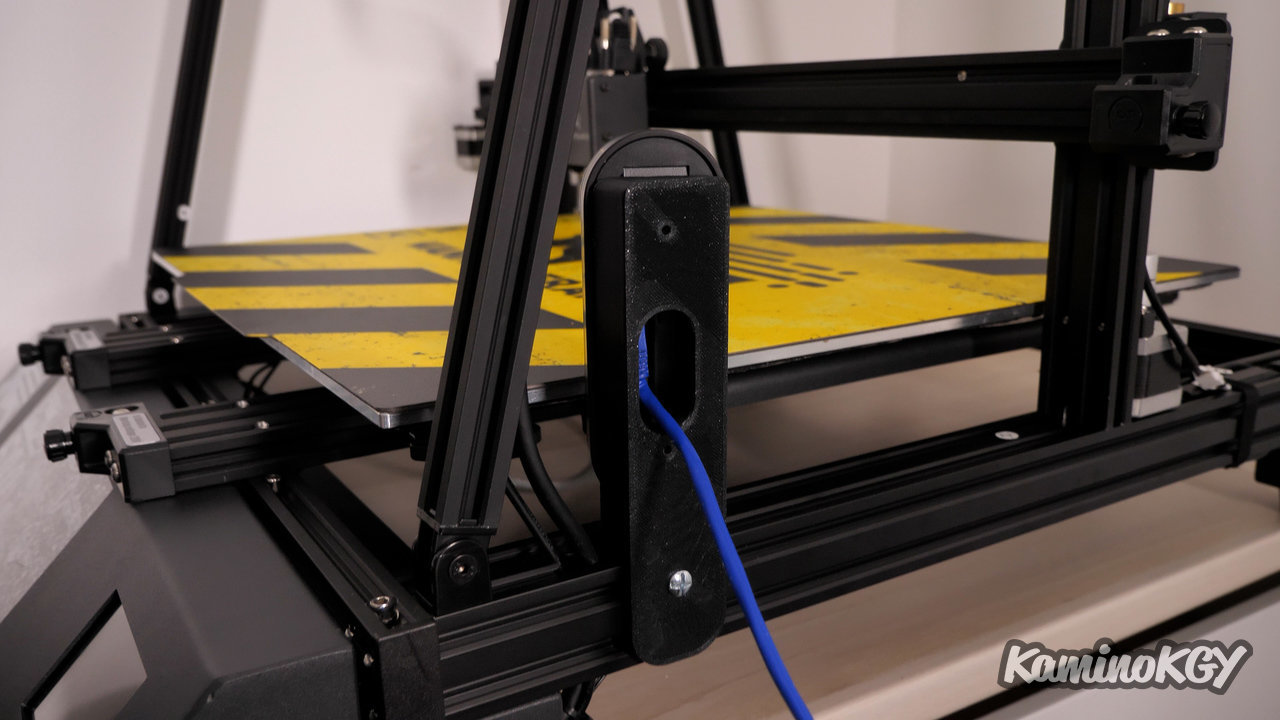
We start by putting the inserts in the plastic, then we screw on the mounting bracket for the Doorbell. We slide the ethernet cable, already installed at the back to place the camera on the support. We clip it at the bottom, where we can also see the hole to detach it. I add the screw with the mounting nut. And I just fix everything on the top of the printer.

Everything is quite discreet, with only 1 wire coming, whether it is the Wifi power supply or the Ethernet cable in PoE.
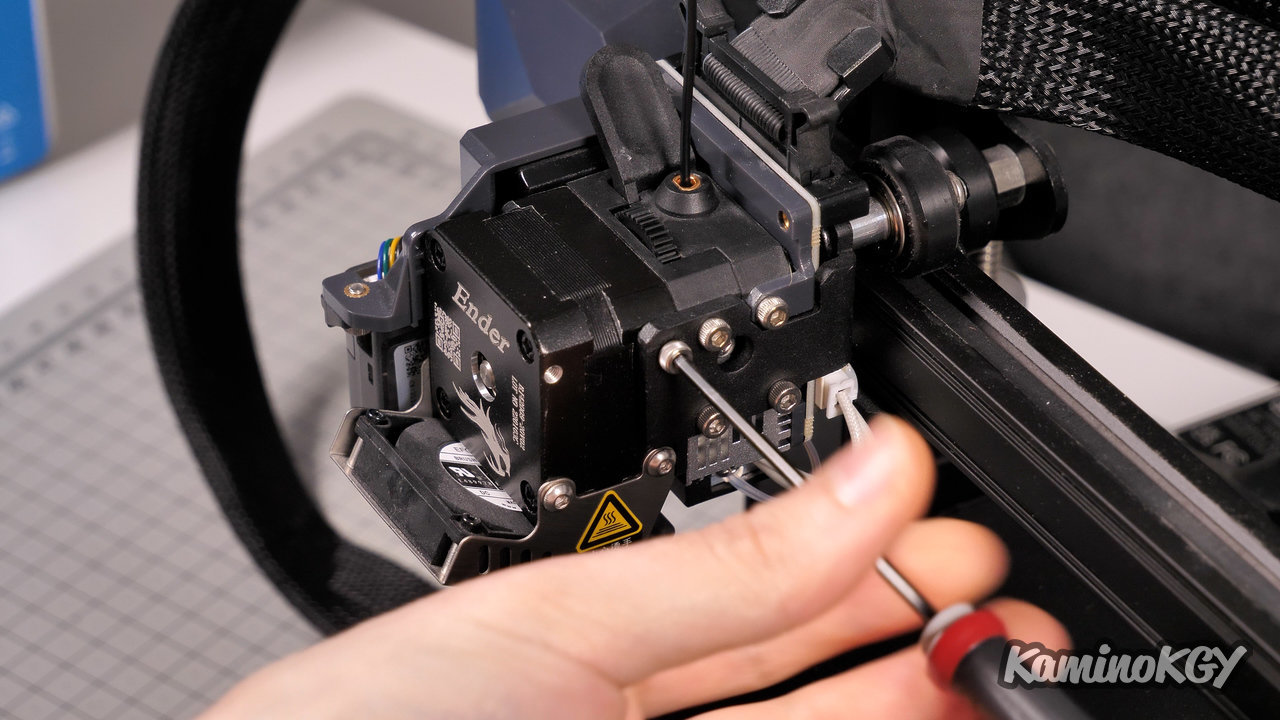
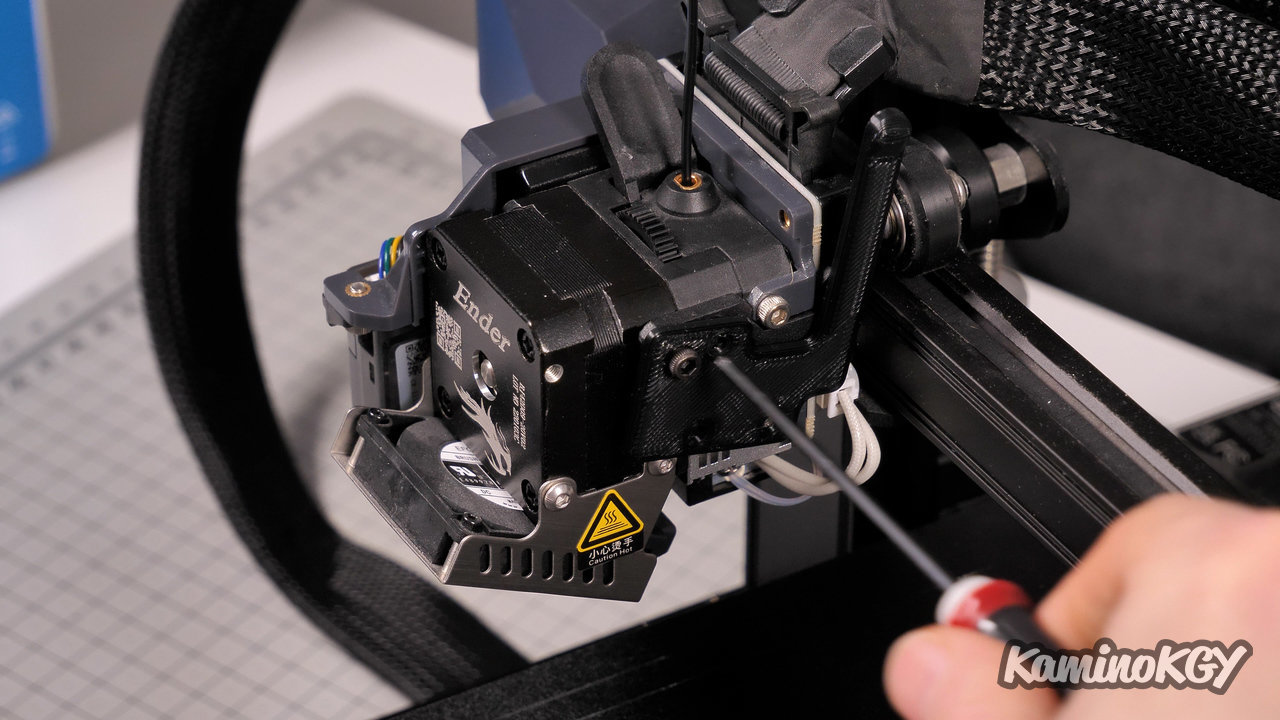
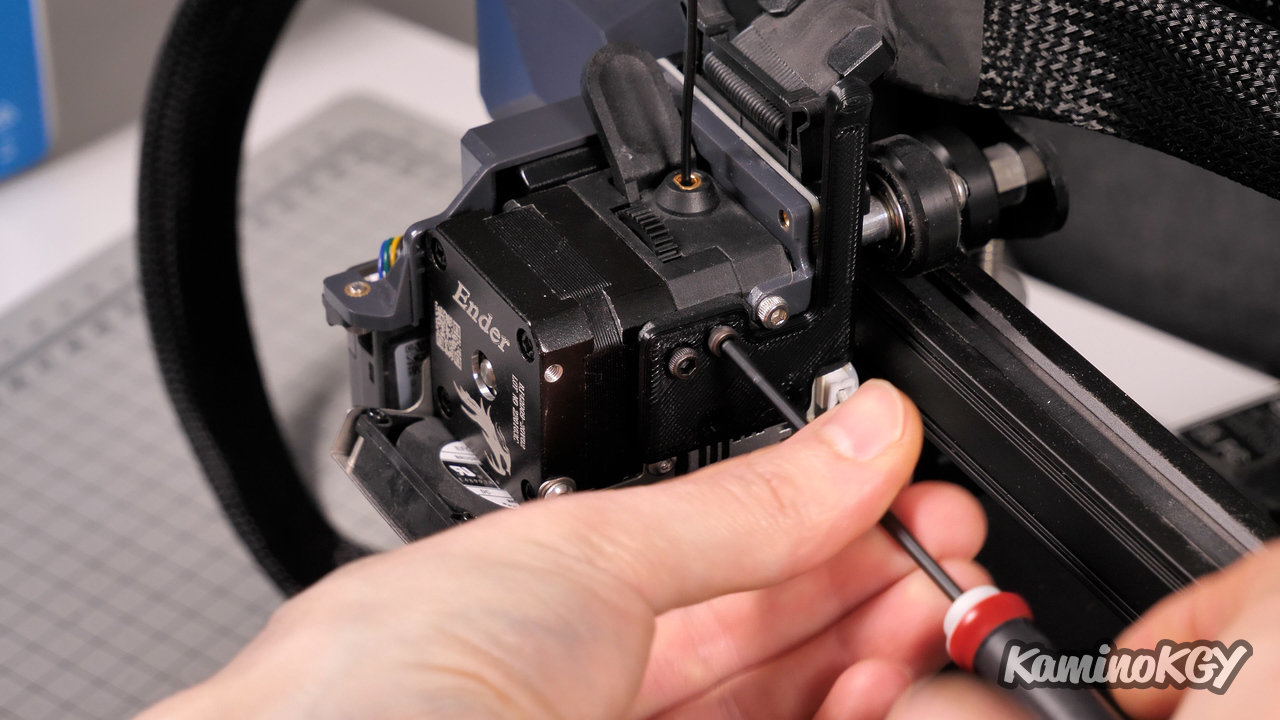

I then unscrew 4 screws on the Sprite extruder of the machine. I reassemble the part that will act as a finger to press the doorbell button with slightly longer screws to be sure. And that's it, you're done, all you have to do is test. And to use it we add the gcode that you can find on the sheet of the part, with the end of printing gcode on your Slicer.


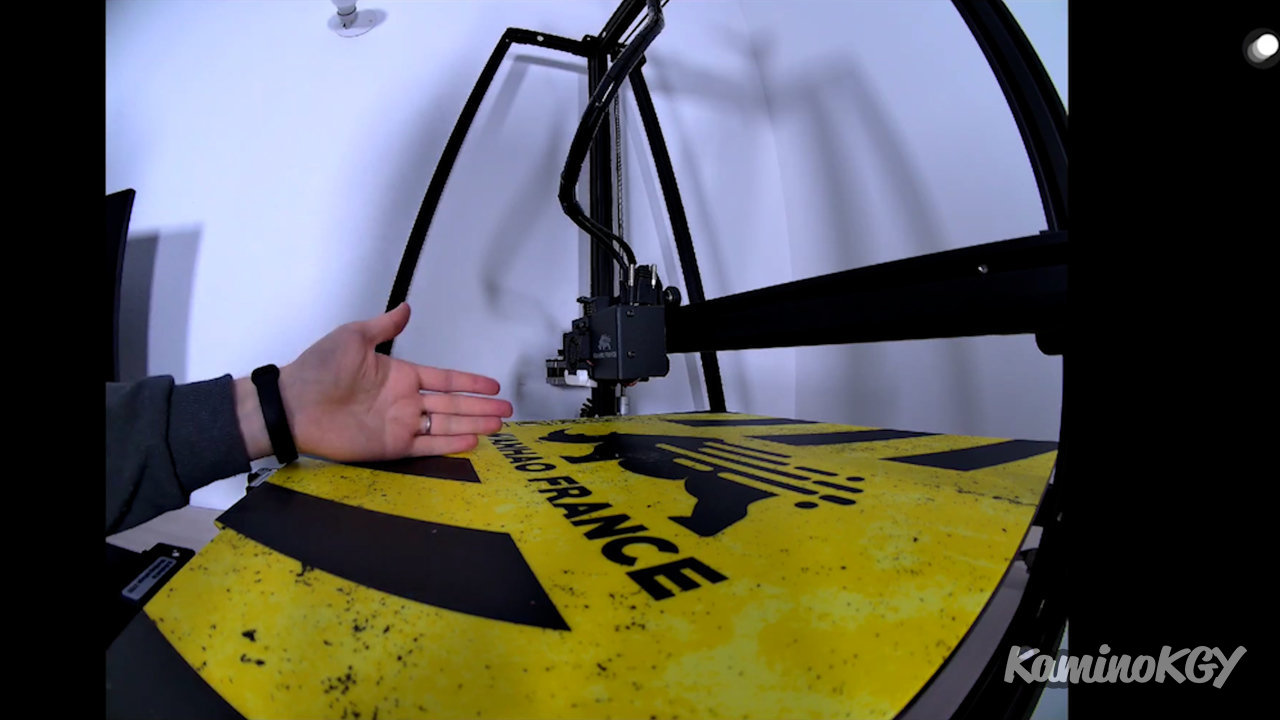
And if we now look at the image, we can see that we have a field of vision, it is huge. You can actually put several machines next to each other. We can take a closer look at what is going on. We also have night vision to avoid having to leave it on to watch with a classic webcam.
And of course, you are notified when the print is finished directly on your phone or to the sound of a soft more or less loud melody via the chime that you can place wherever you are.
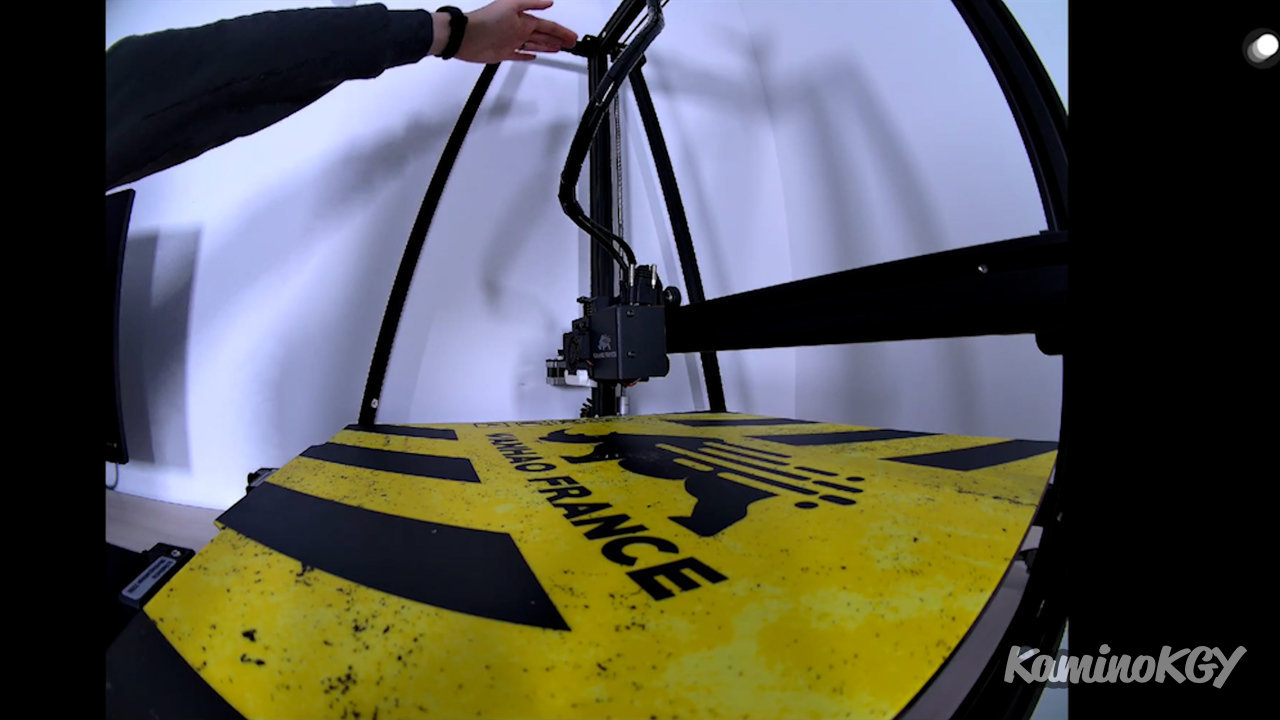
Here we can see the same support mounted on a Wanhao D12/500 which will soon arrive on the channel. And even with its massive volume, the wide angle allows you to see almost everything, even when glued to the set.
To summarize
Small report on the 2 cameras we tested in this video. I must say that I am always satisfied with the quality of Reolink products, the ease of use and the quality of the image. Admittedly, he may not have foreseen our use case for the doorbell, but in my opinion, it remains rather suitable.
Bye bye!