Today we're going to test a laser cutter engraver to change with the LE400Pro from KentokTool.
Unboxing
In the box, there is good documentation, the fairly classic laser module with a cover that is often found elsewhere. We have the power cable, a USB cable, the power supply, plywood plates to do tests, protective glasses that do not look bad. We find the motherboard with all the cables to be connected coming out of the case. We have the front, rear, side aluminum profiles and the X axis. Hidden in a small compartment, we have supports to engrave, the feet and all the hardware.
Assembly
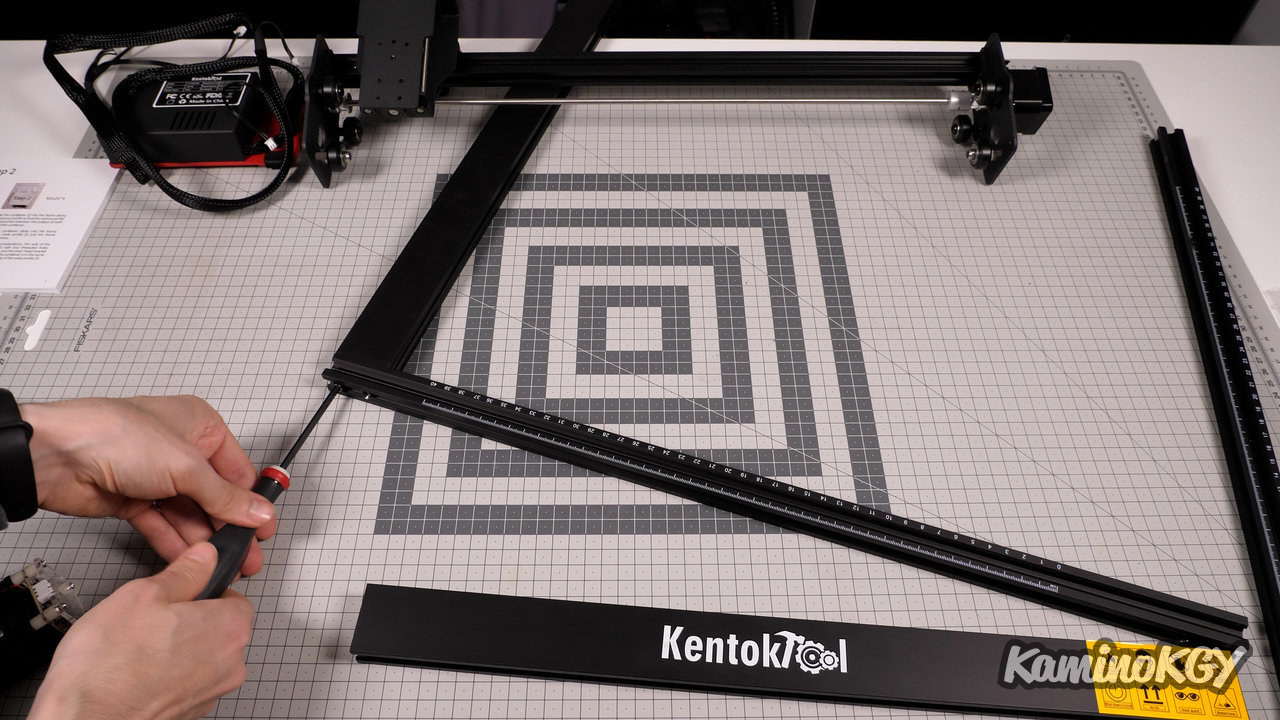
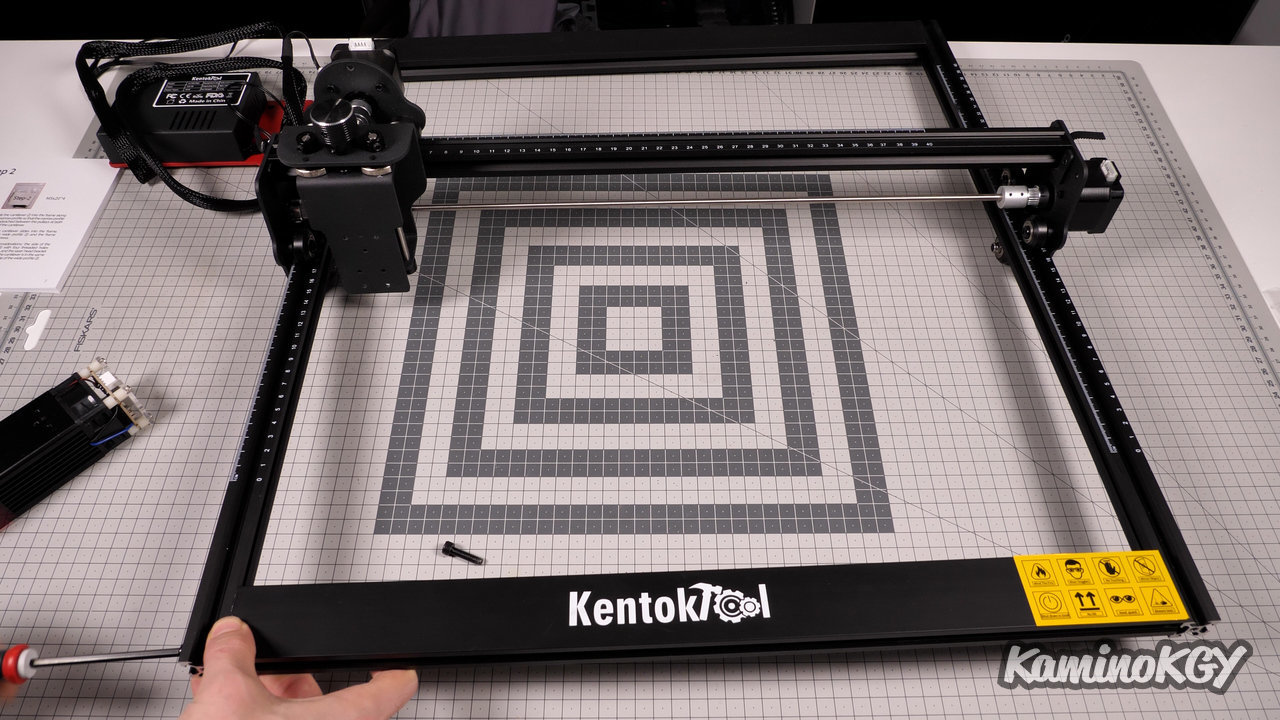
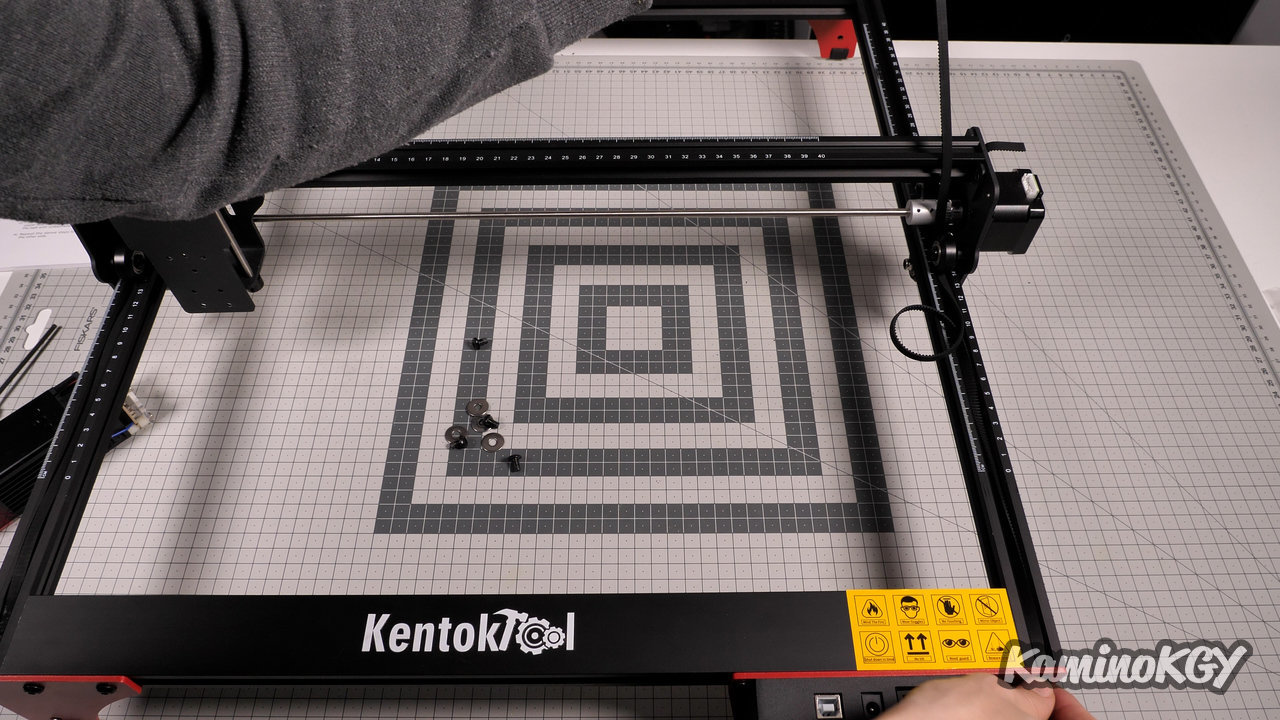
Concerning the assembly, we start by screwing 3 sides of the structure to slide the X axis, then we close with the front profile. We just put our feet and the motherboard in the corners. We slide the straps, which we stretch and fix in the corners. We install the limit switch, the laser module and we connect all the cables.
Features
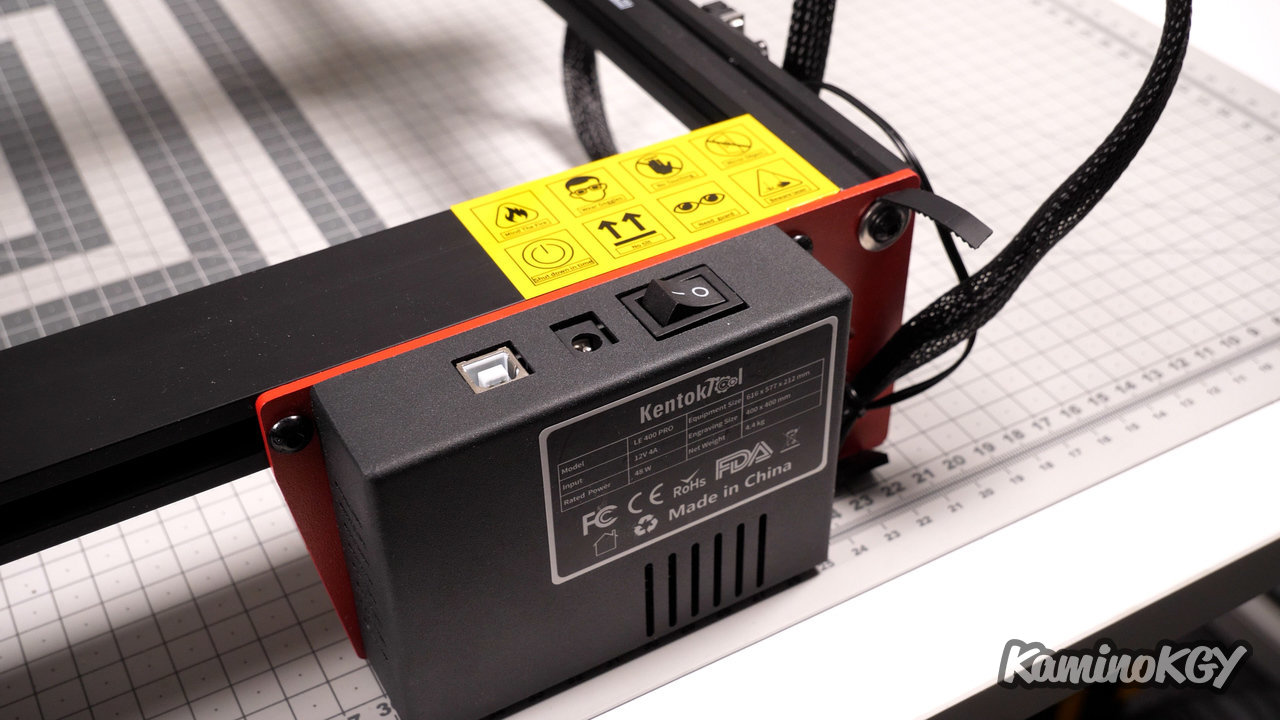

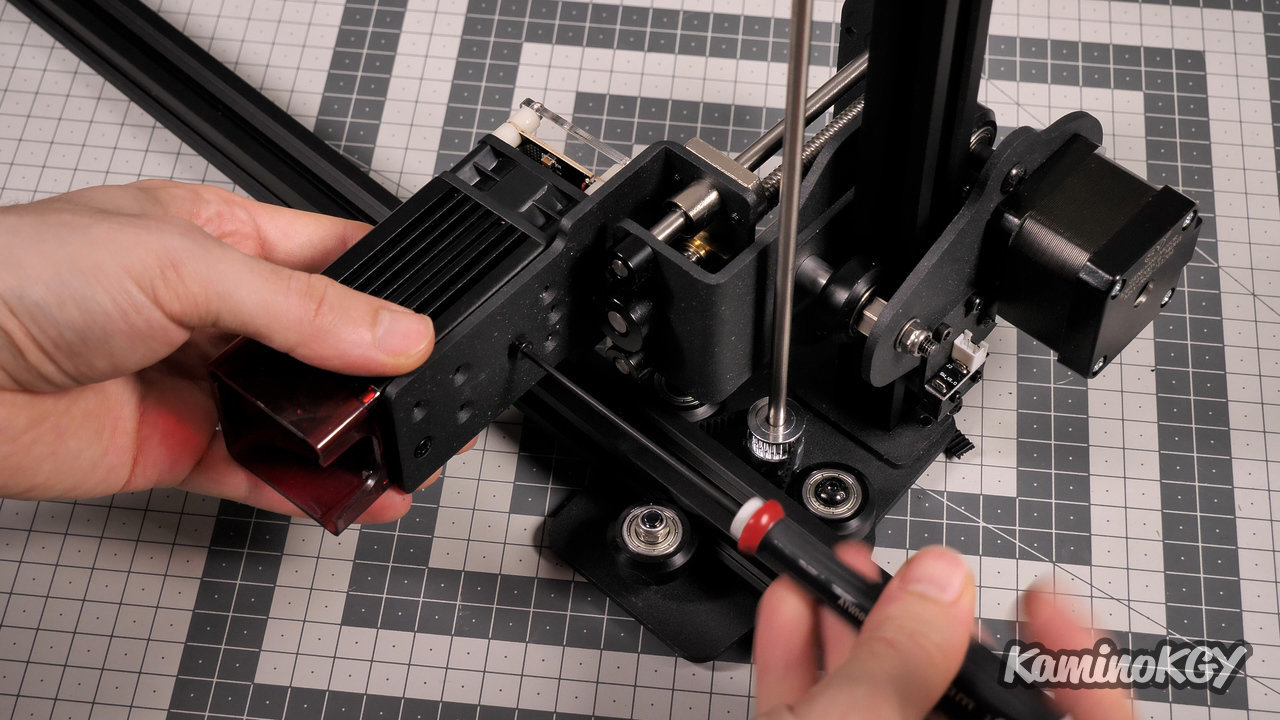
Regarding the characteristics, the working area is 400 by 400 mm. We have a laser with an optical power of 5.5 W. The protective cover can be removed for cleaning, for example. The machine can be controlled by a PC via its USB port. We have a laser focus system which is done by means of a wheel on the top. And for the rest we find what we have already seen on other machines of this style.

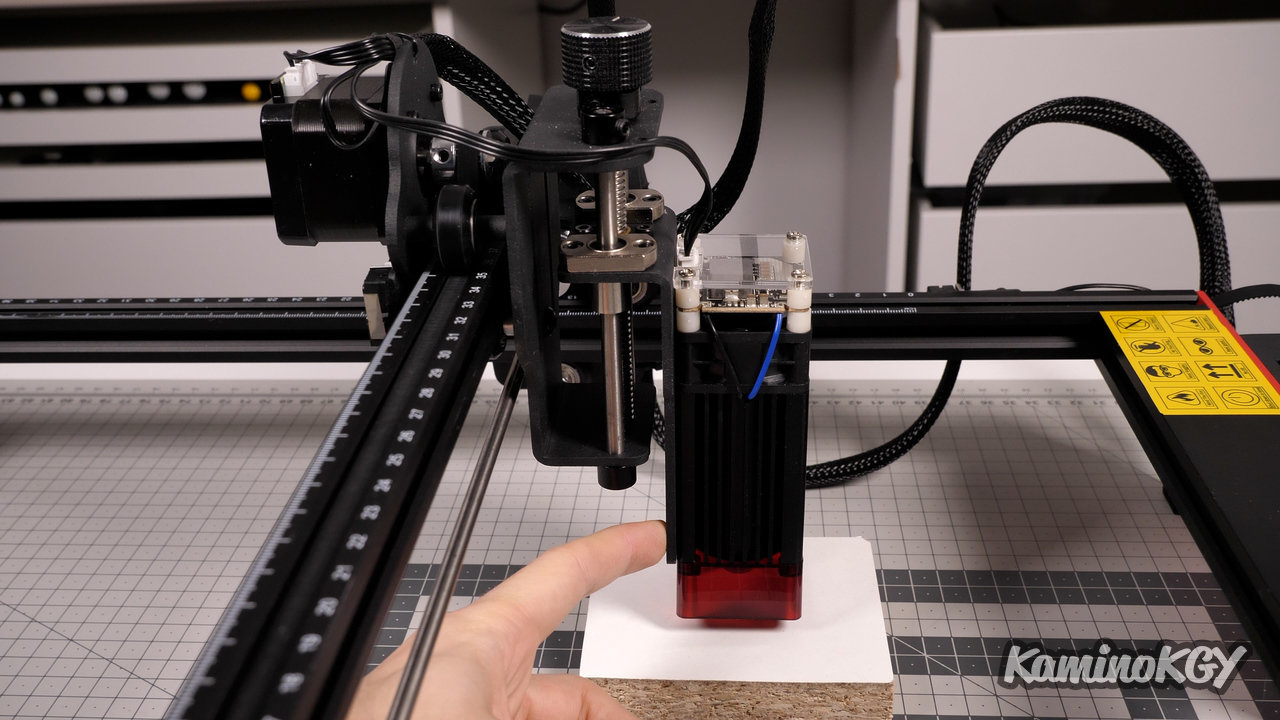
For the focus of the laser, we turn the top wheel to come and touch the wedge. I will start by saying that it is a bit of a shame that we have a laser module that is a little bent. I think it has to do with the support which is a bit massive and maybe a bit overkill. And the thing is, the further away you are from the wheels, the bigger the difference seems. On a laser upgrade video on the channel, we had installed a similar system, but much more compact and lightweight.
I must admit the laser leveling system, but it could probably be reduced in volume and probably in size. Because we have here a piece that is really massive and as it is on the trolley, all movements will therefore be impacted by the additional weight.
Engraving tests
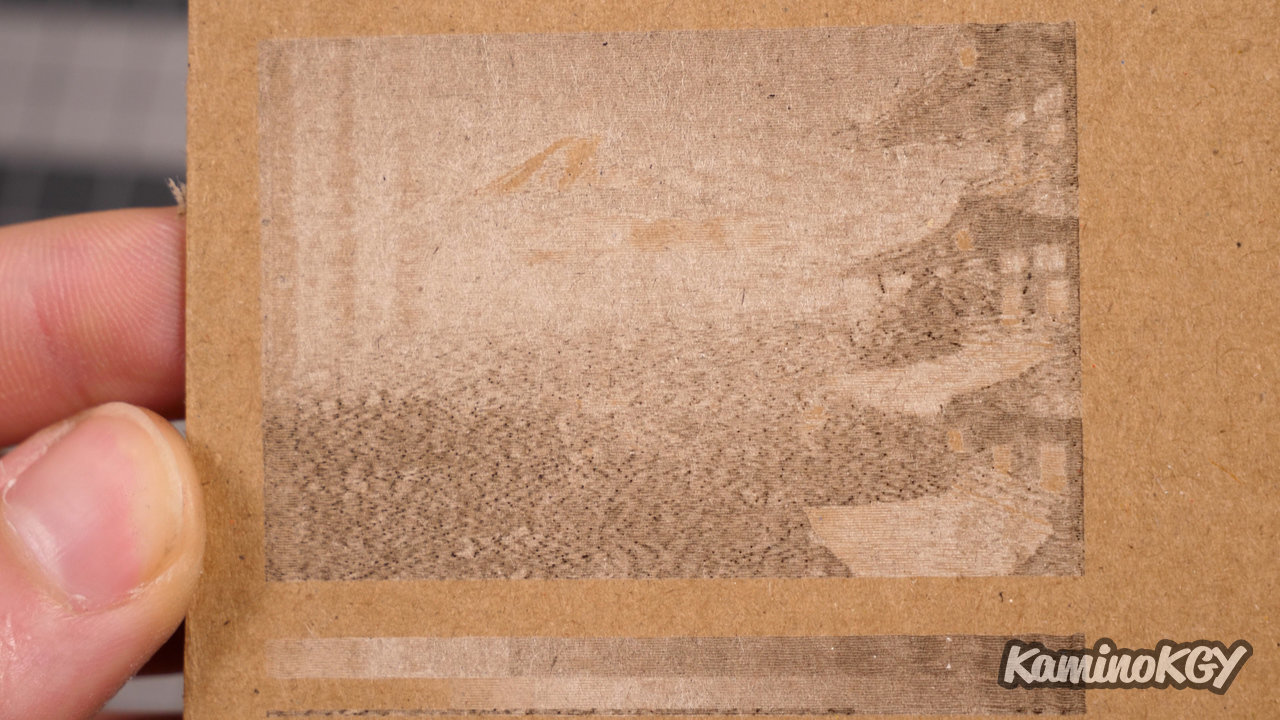
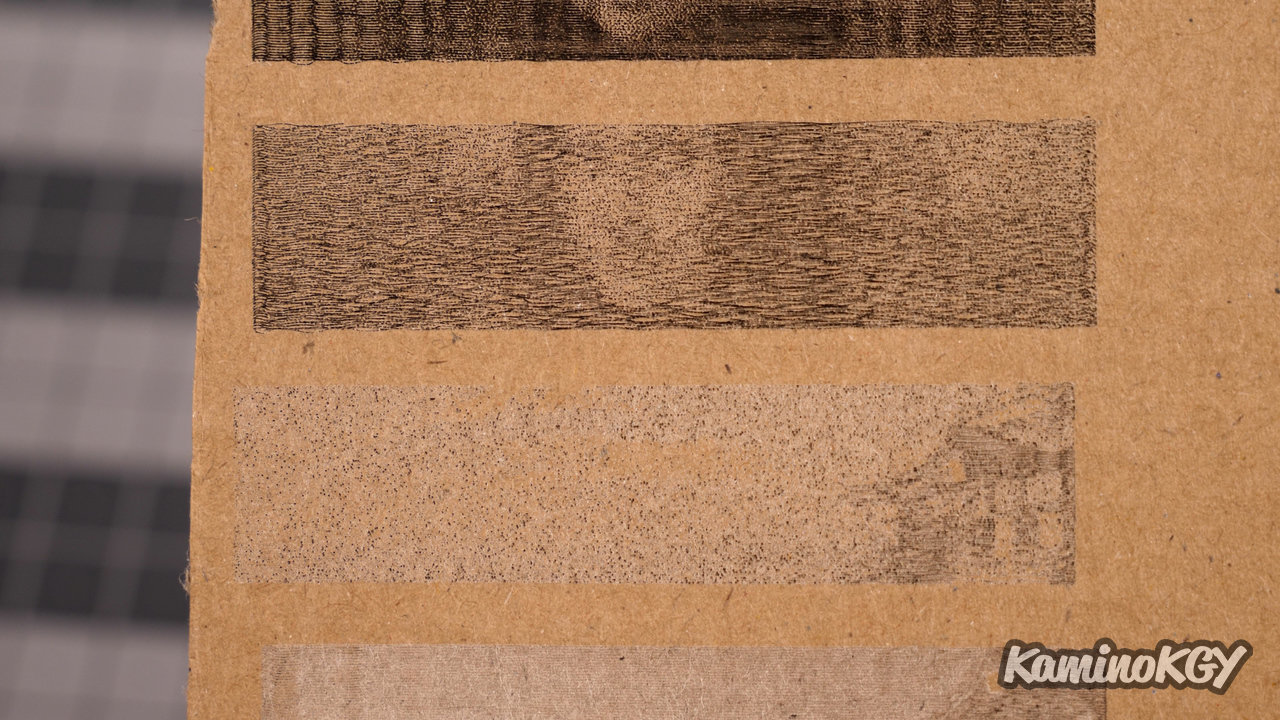
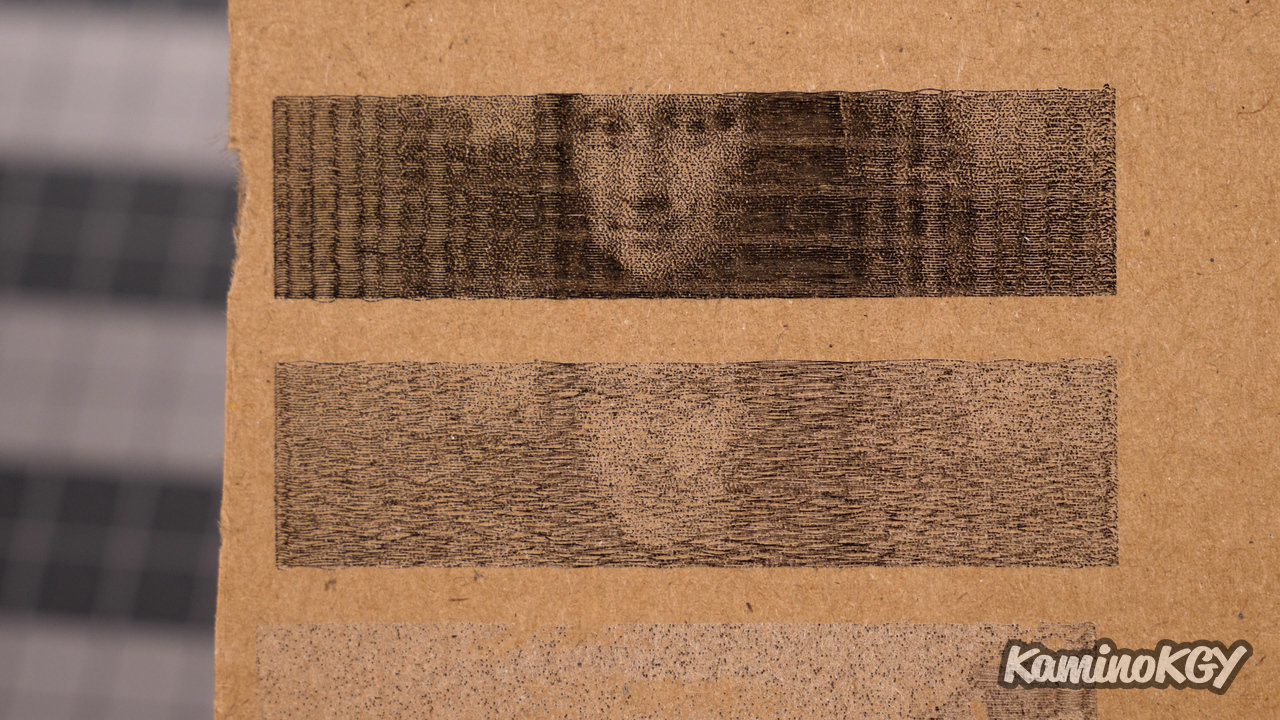
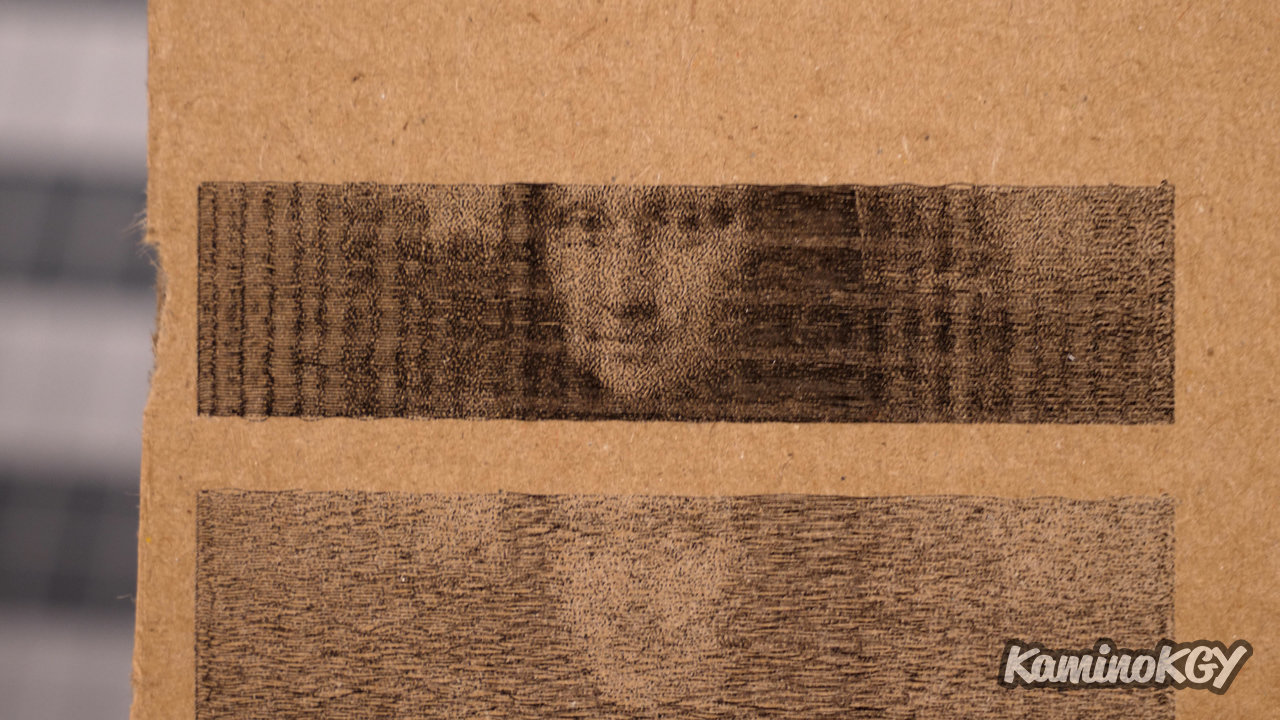
If we now look at a number of test engravings and cutouts, starting with cardboard. We can see that the first gradient was engraved much too strong, the second too. So I discounted for Mt Fuji. It is paler, but already reveals a pattern that completely eliminates details and contrasts. Whether it's cart and vibration related, hard to say for sure, but I think you'd have to look there first. On the fast second Mt Fuji and the first Mona Lisa head, the results aren't great. It's obviously the engraving speed that matters, because at the beginning we were at 5200 mm/min, then 8000 and on the last Mona Lisa, only 3000. The patterns visible on the left and on the right actually make me think of vibrations due to the carriage when it changes direction and fades on the middle.
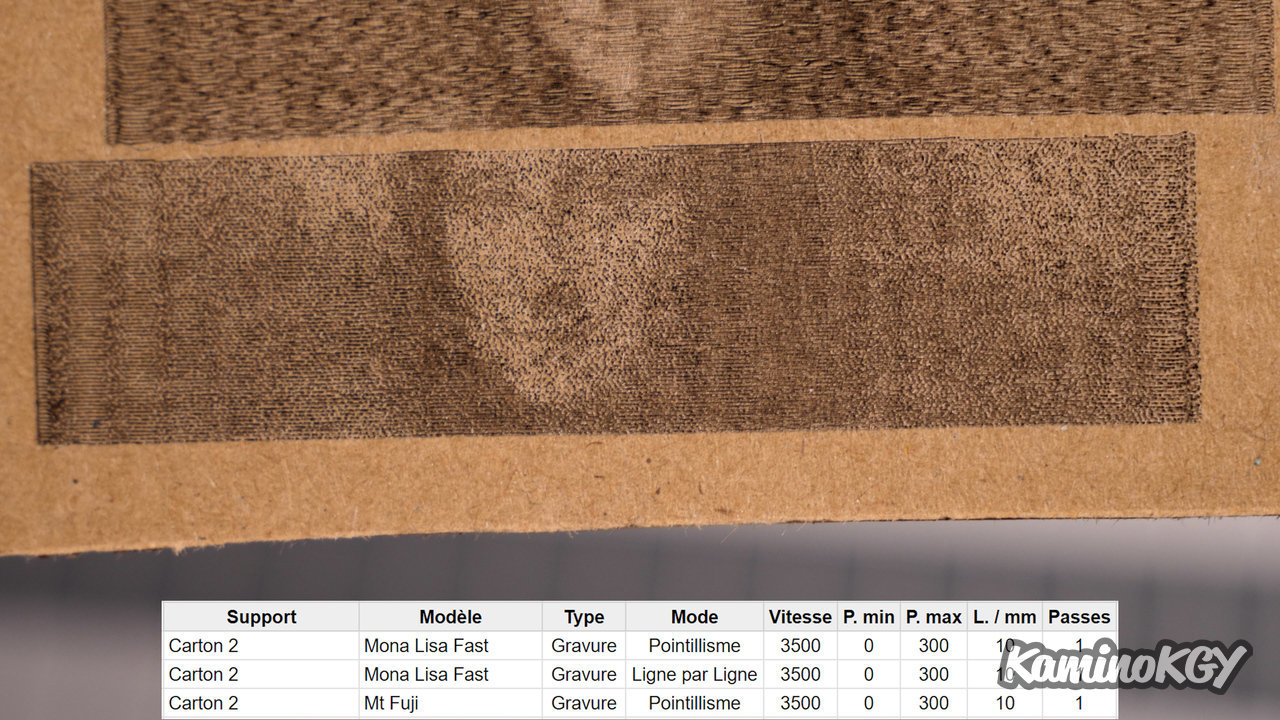
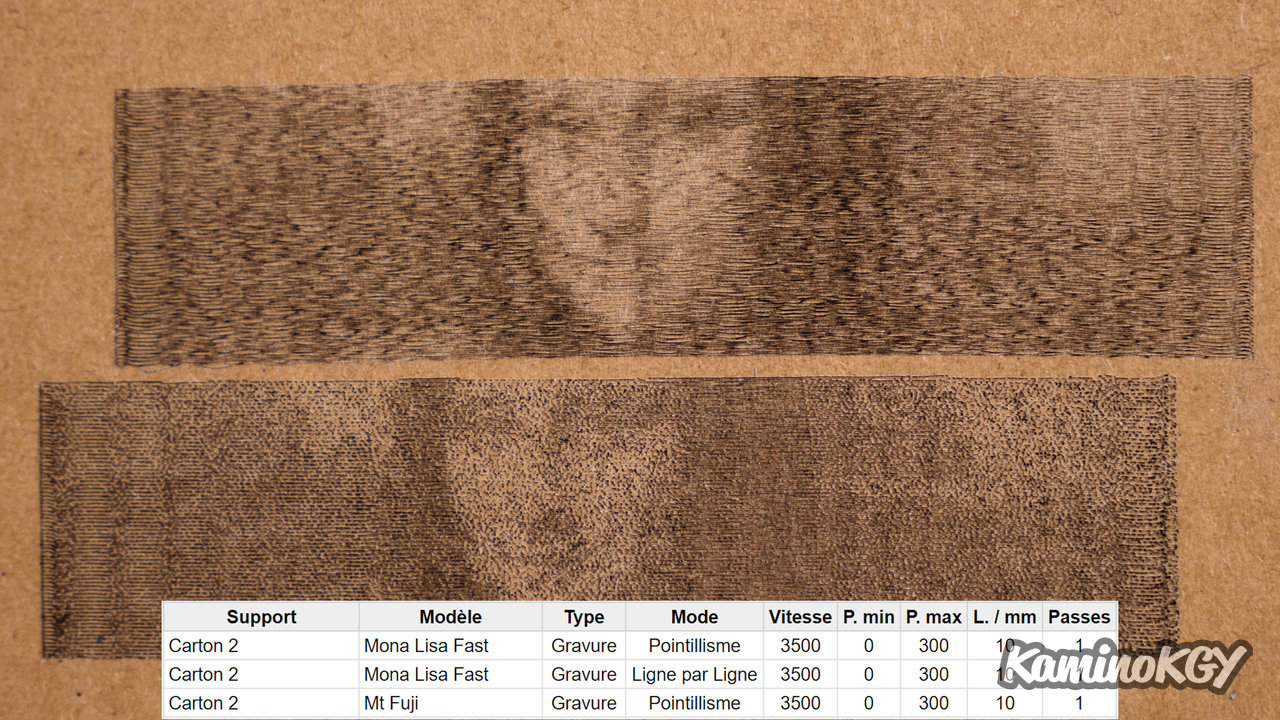
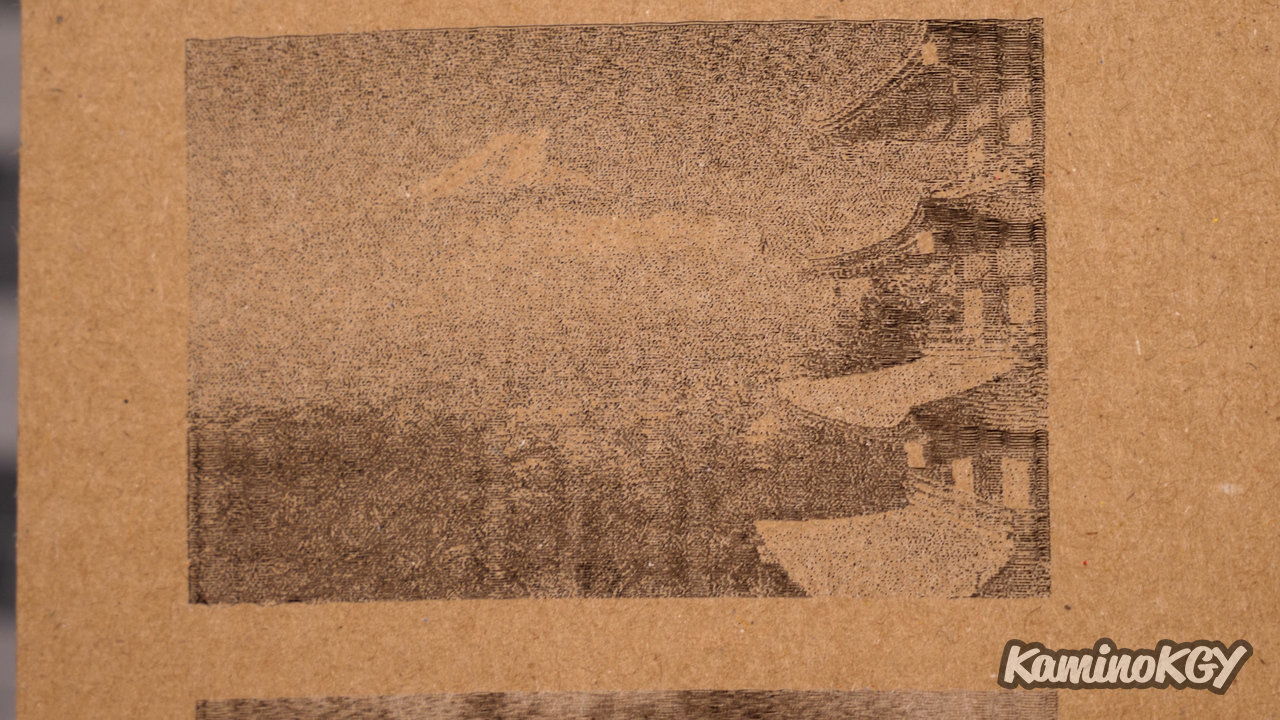
On this cardboard, the first Mona Lisa is in pointillism mode and the second in line by line mode. We can see that the pointillism mode hides well the problems of engraving visible line by line. Hence a cleaner Mt Fuji in pointillism, although we still see this pattern in the sky.
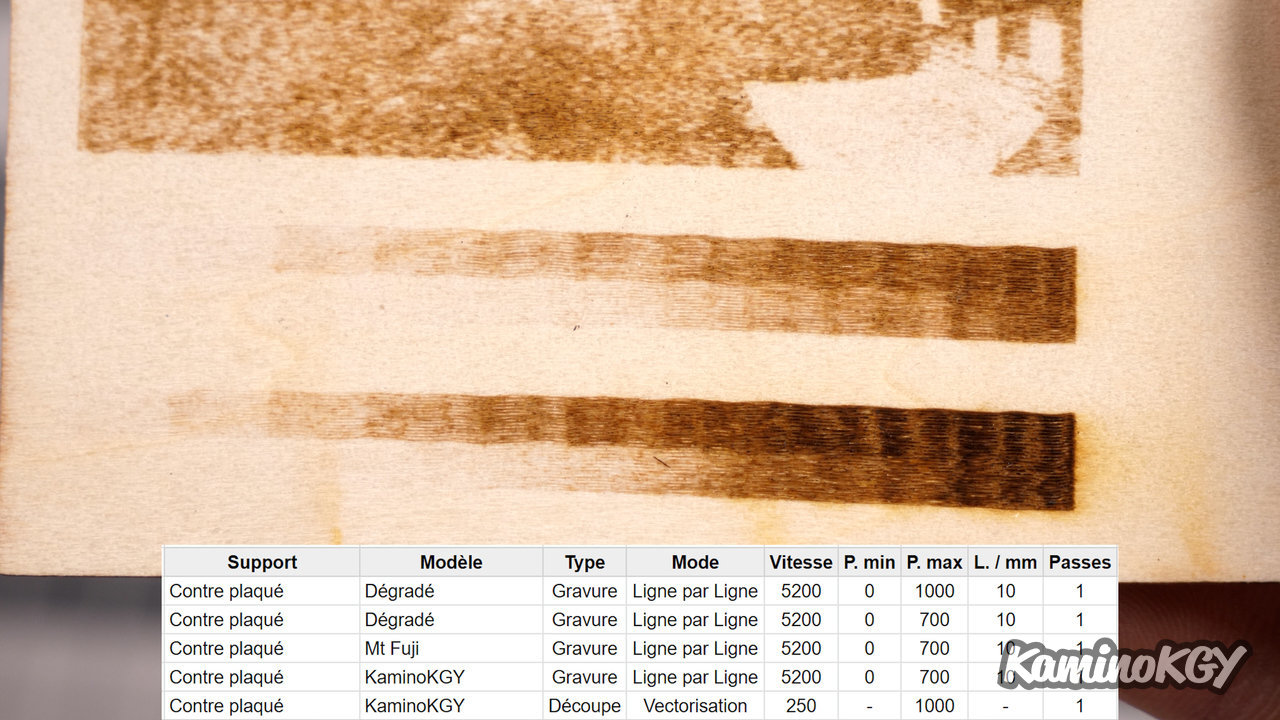
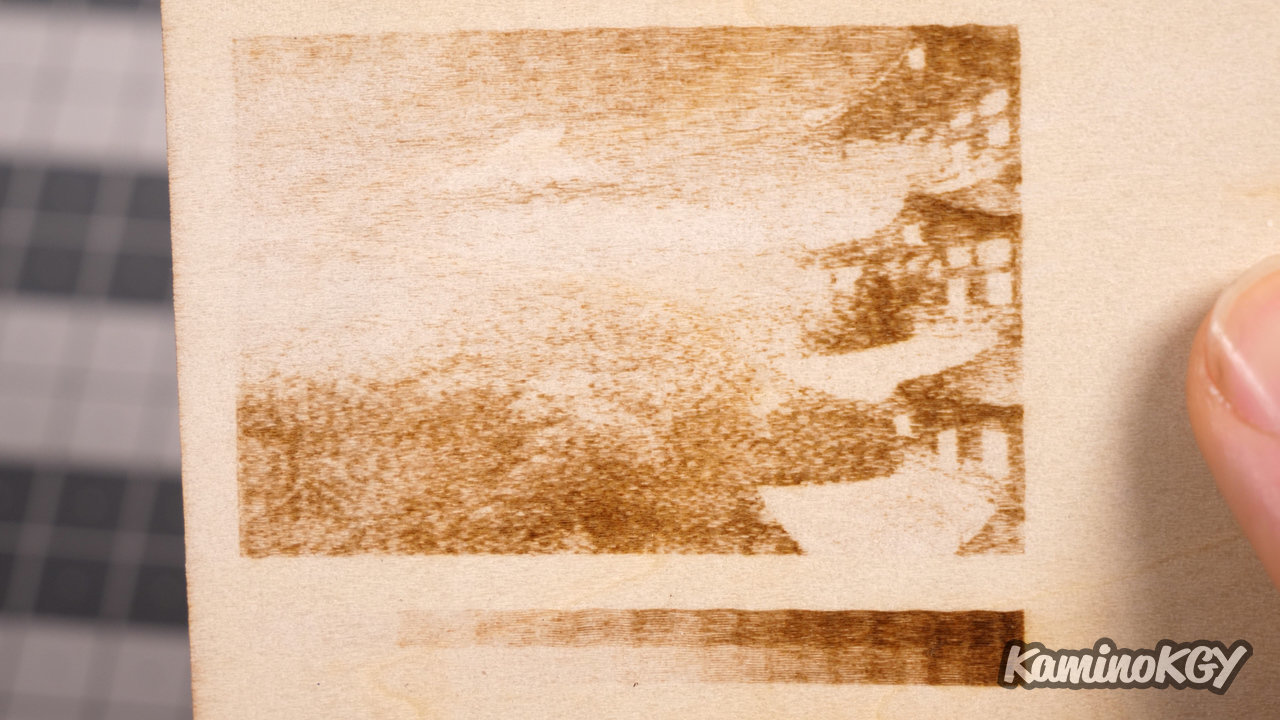

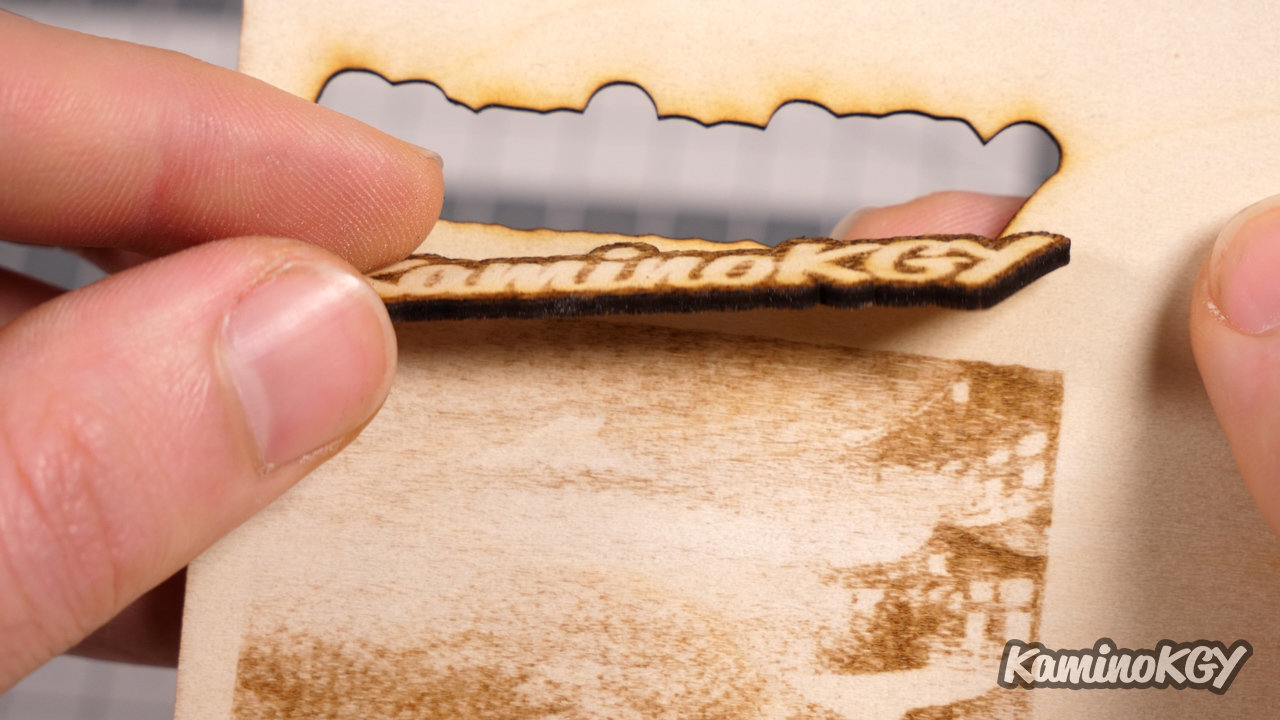
On 2mm thick plywood, I started a little hard on the gradient with maximum laser power, against only 70% on the second, while keeping the speed recommended by KentokTool. On Mt Fuji, the engraving is relatively pale and does not seem very precise, again due to too high a speed for the machine. Then, on the KaminoKGY engraving at almost constant power, the result is clean and the cutting was fast and in 1 single pass.
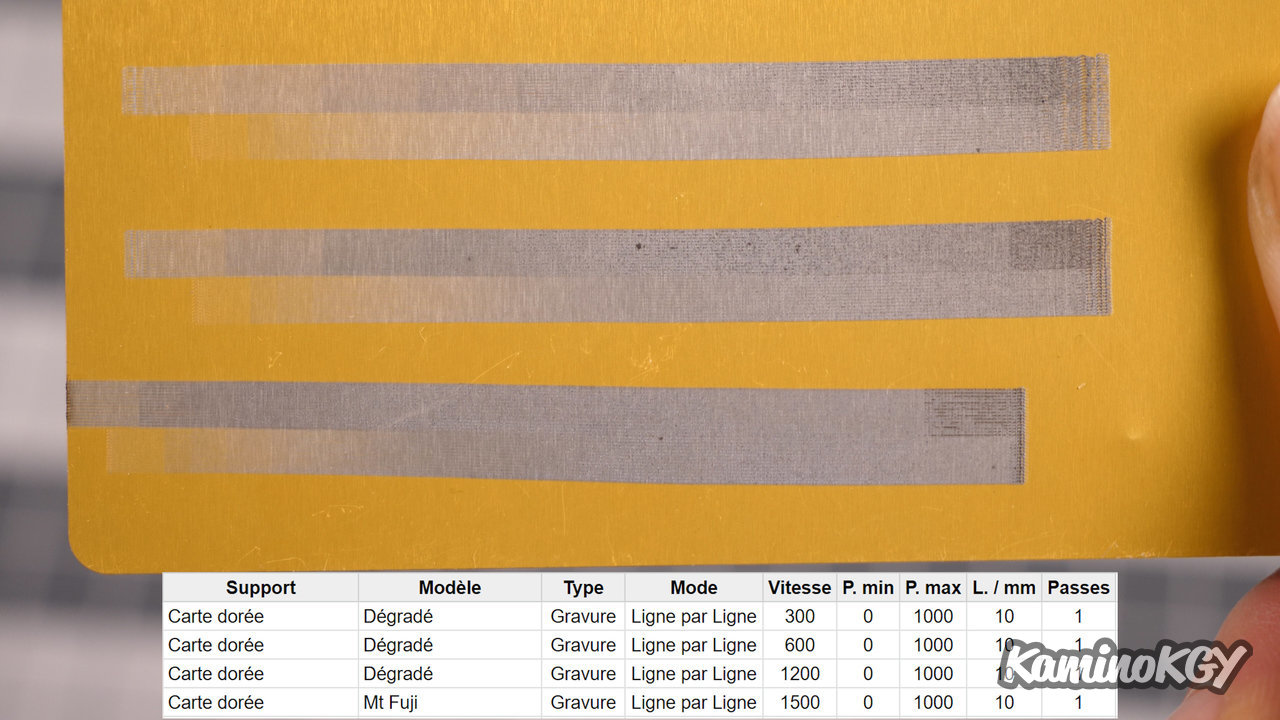
On a small card that seems to be aluminum, the engraving was a little too strong on the first 2 gradients, where I multiplied the speed by 2, then again by 2 on the 3rd to go from 300 at 1200mm/min.
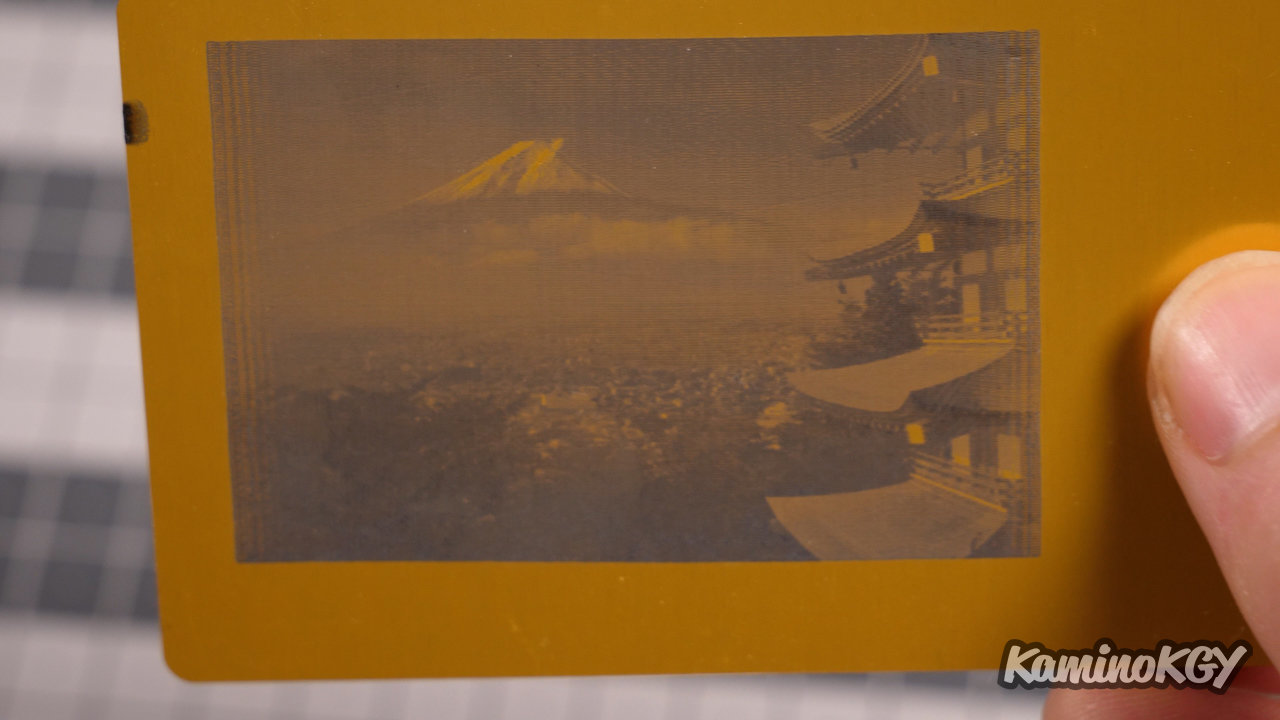
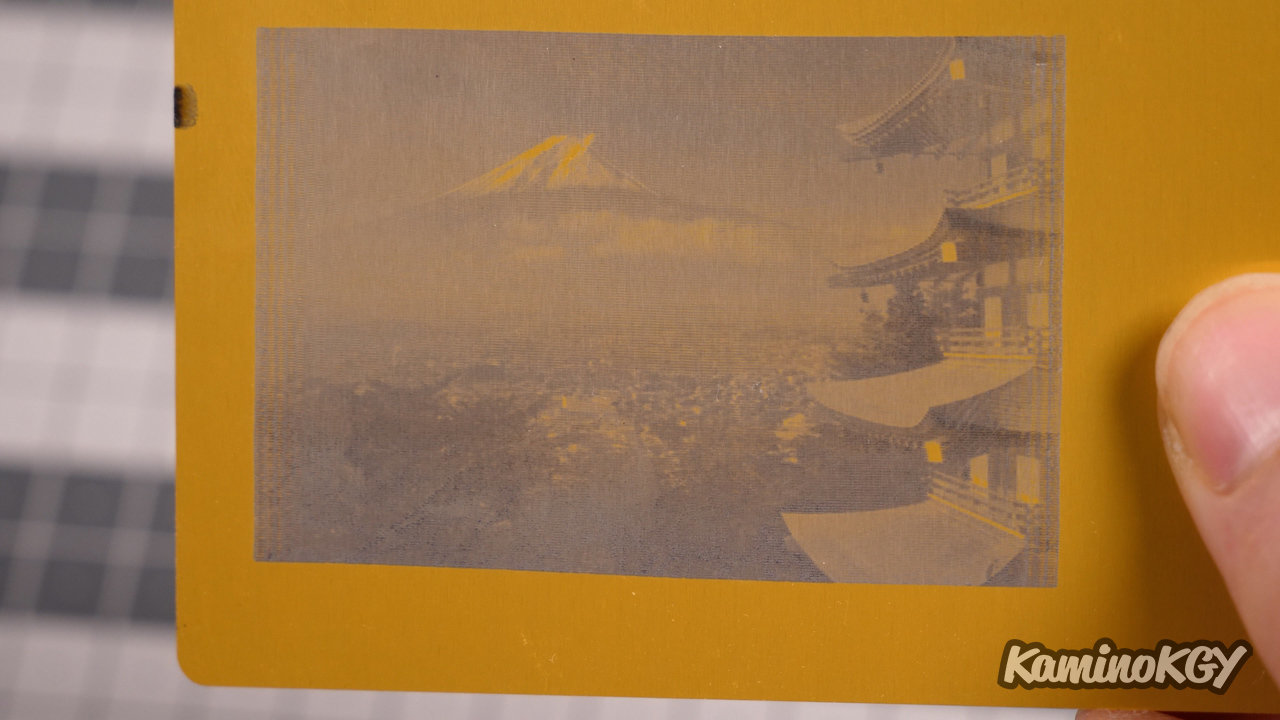
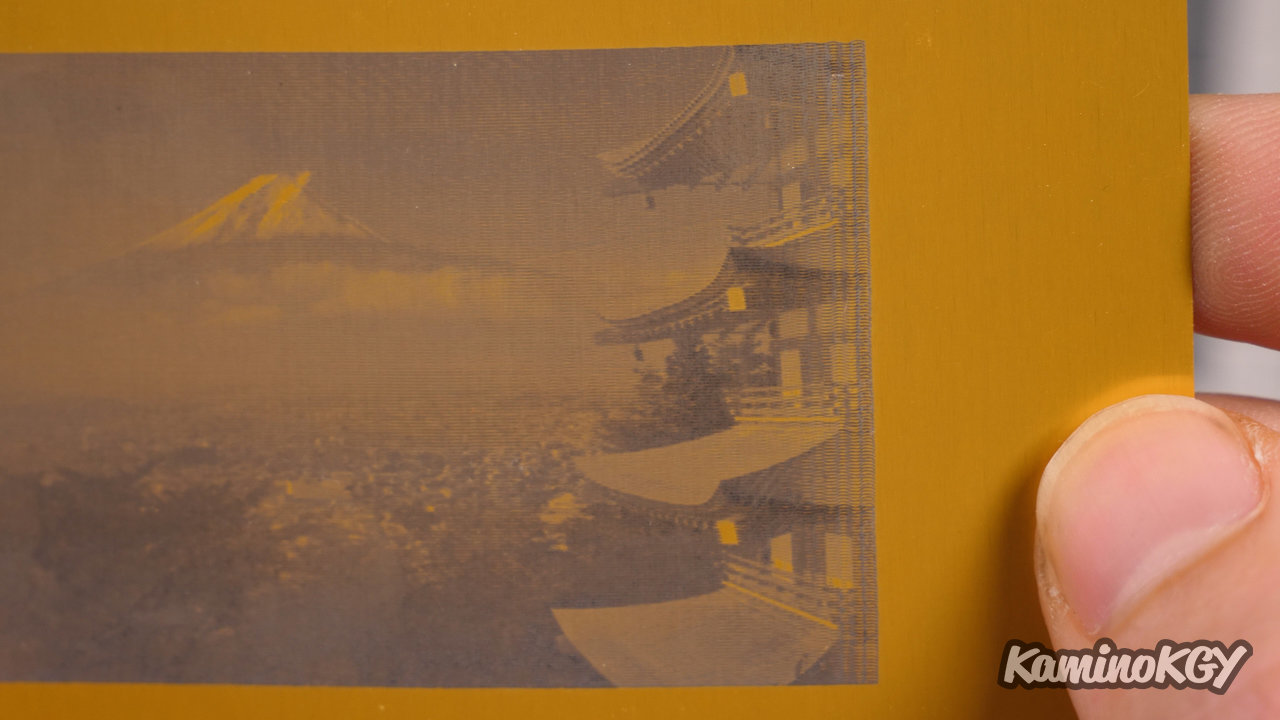
On the other side, with Mt Fuji, I increased the speed a bit more while maintaining maximum power. The result is very clean and the engraving well detailed. We find the left and right patterns as on a previous Mona Lisa, but closer. This coincides with the reduced speed and potential vibrations of the trolley.
Summary
The engraving and cutting parameters given by KentokTool are quite strong. We can see that it is mainly on the speed that they play, but from what I have been able to test, the associated power is really too important. Whereas according to my tests to have quality engravings, I found that it was necessary to reduce the speed and therefore the power with it. And why not increase the overshoot of the laser, the distance that allows it to slow down and change direction by reducing vibrations in the engraving. This is not a machine made for express engraving.
Finally considering the features and price difference with their LE400Plus model. If you want to buy from this brand, on paper, having not tested this other machine, I would perhaps advise you to turn to this model which has a screen and the possibility of working in offline mode. , without having to keep the PC on.
Bye bye!