An Ender 3 S1 Plus that isn't a full-size Ender 3 S1, S1 Pro? Today we are going to test the Ender 3 S1 Plus 3D printer from Creality.
Unboxing
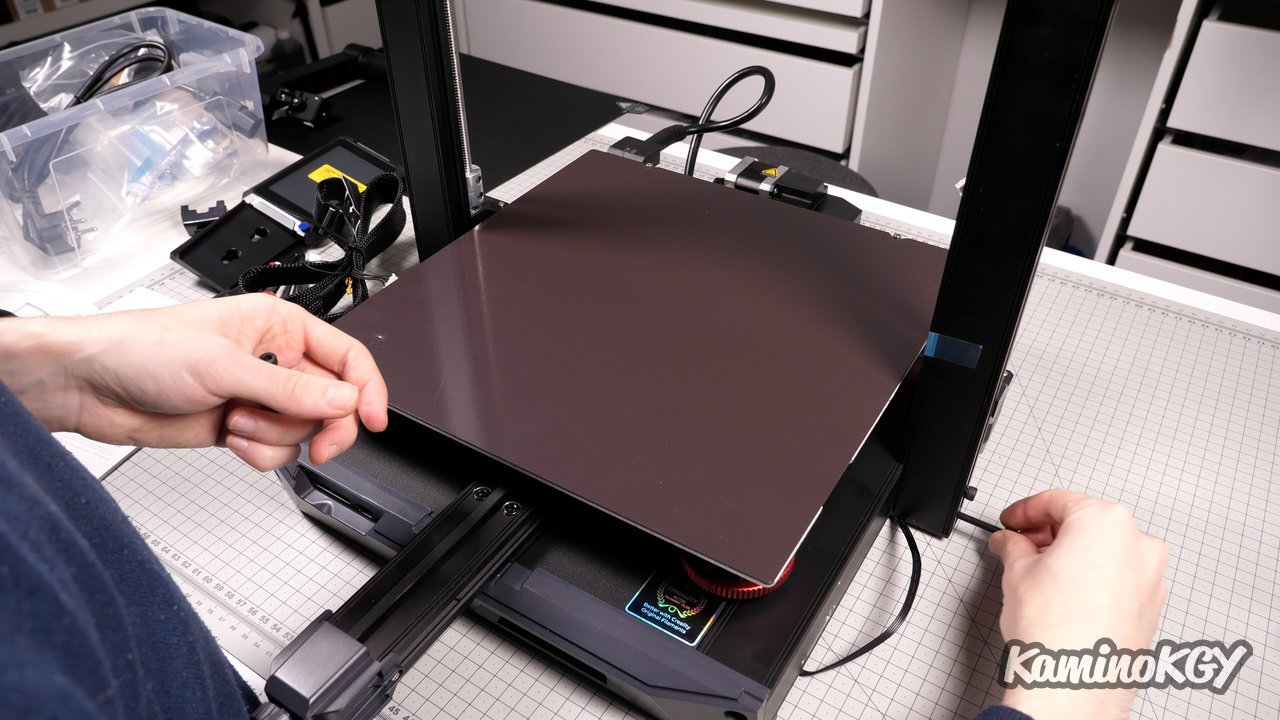
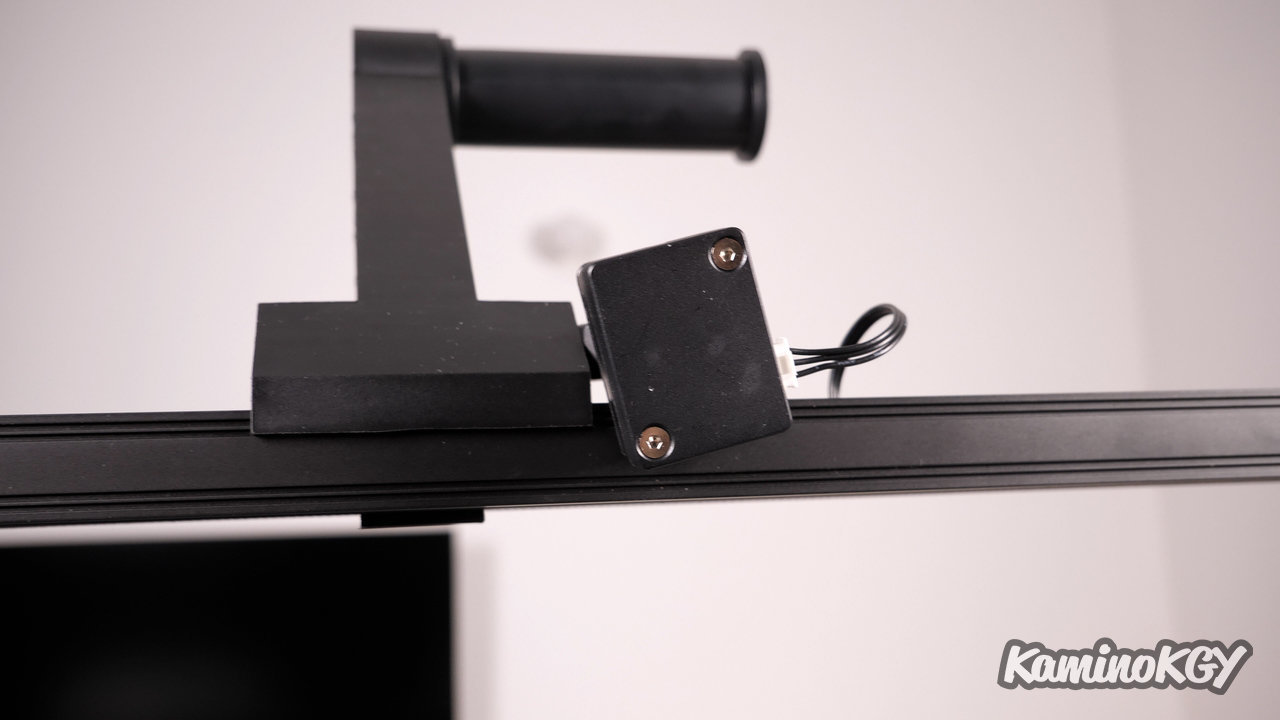
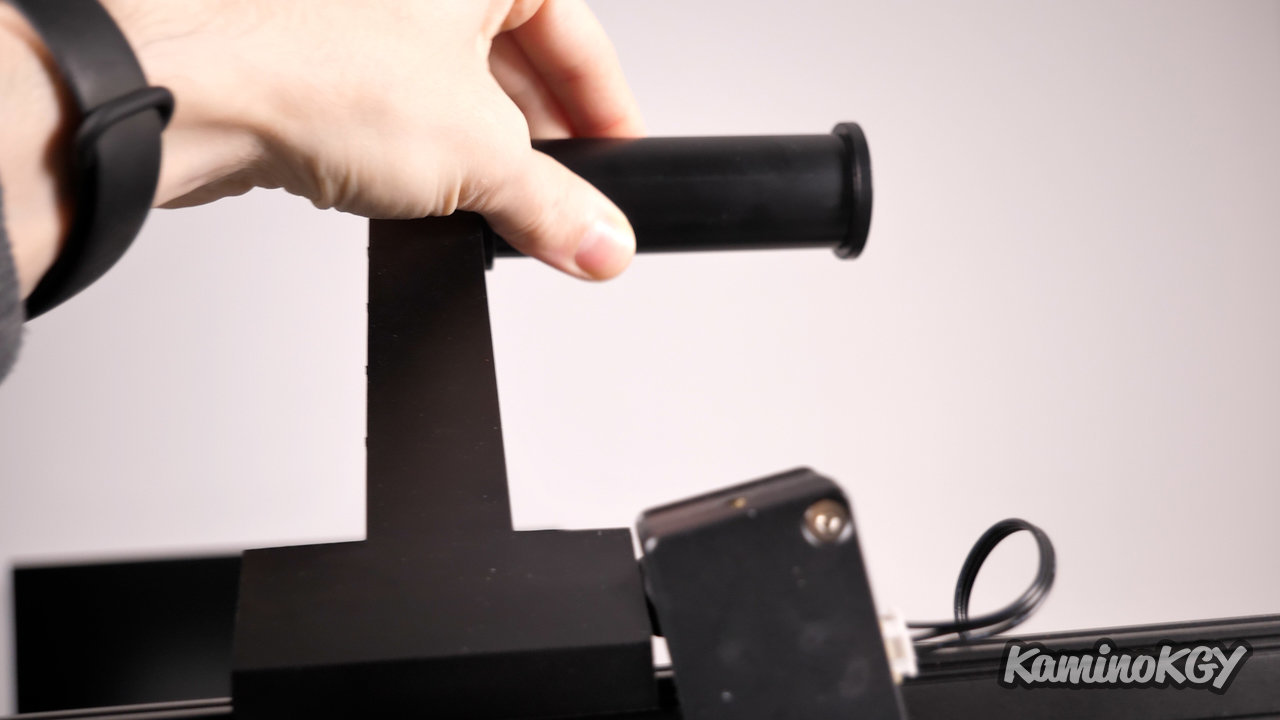
In the box, there is documentation, a bag with hardware and tools, a spool of test filament, a power cable, a spool holder with end of filament detector, the screen holder, Sprite direct drive extruder, touch screen, pre-assembled upright and below base.
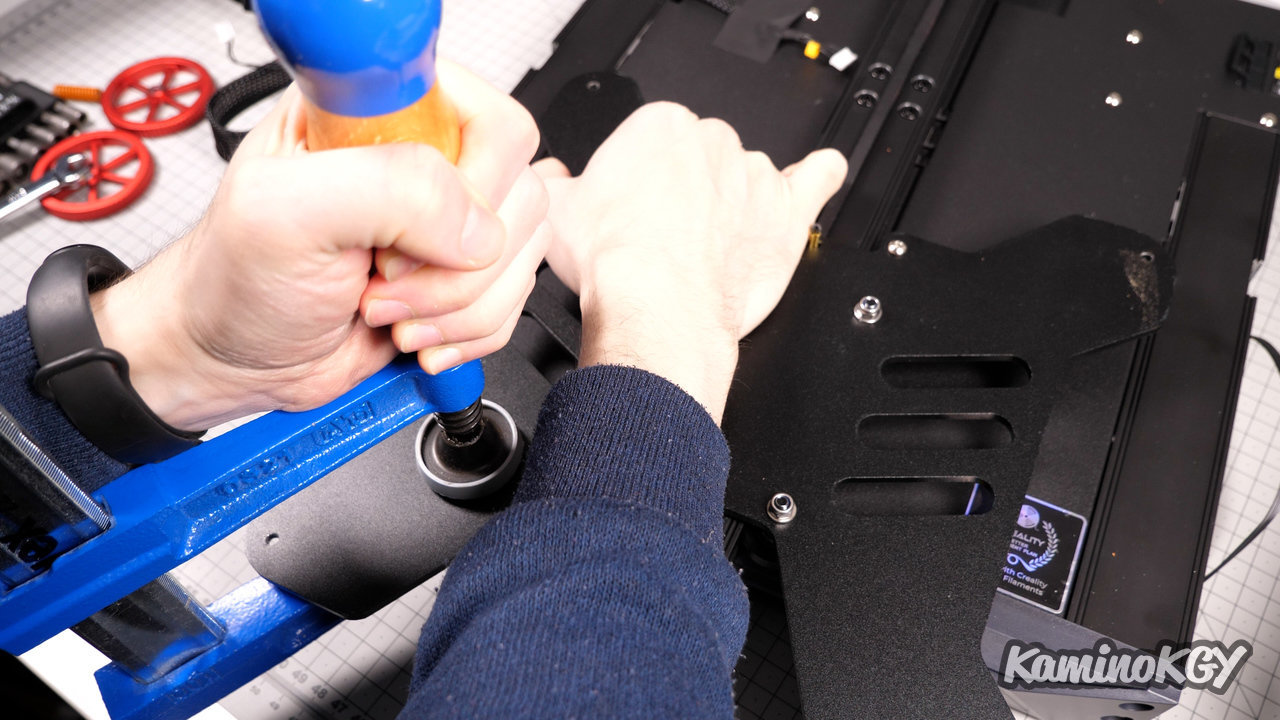
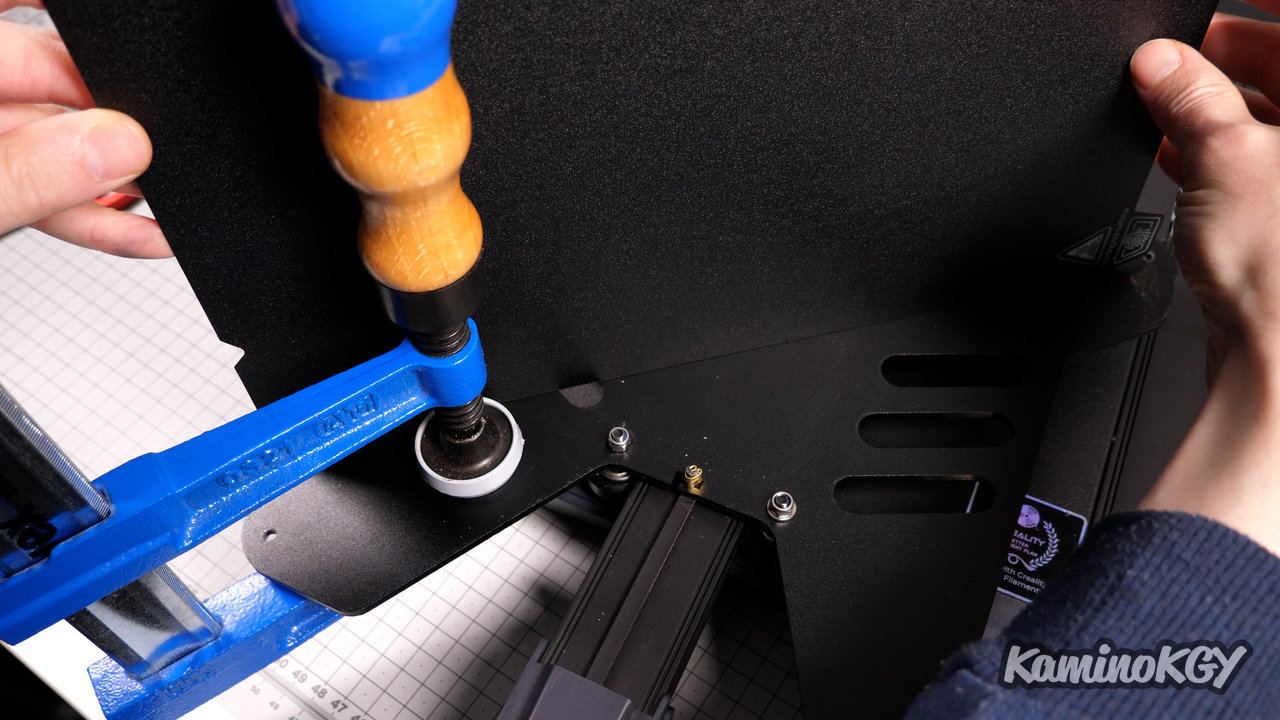
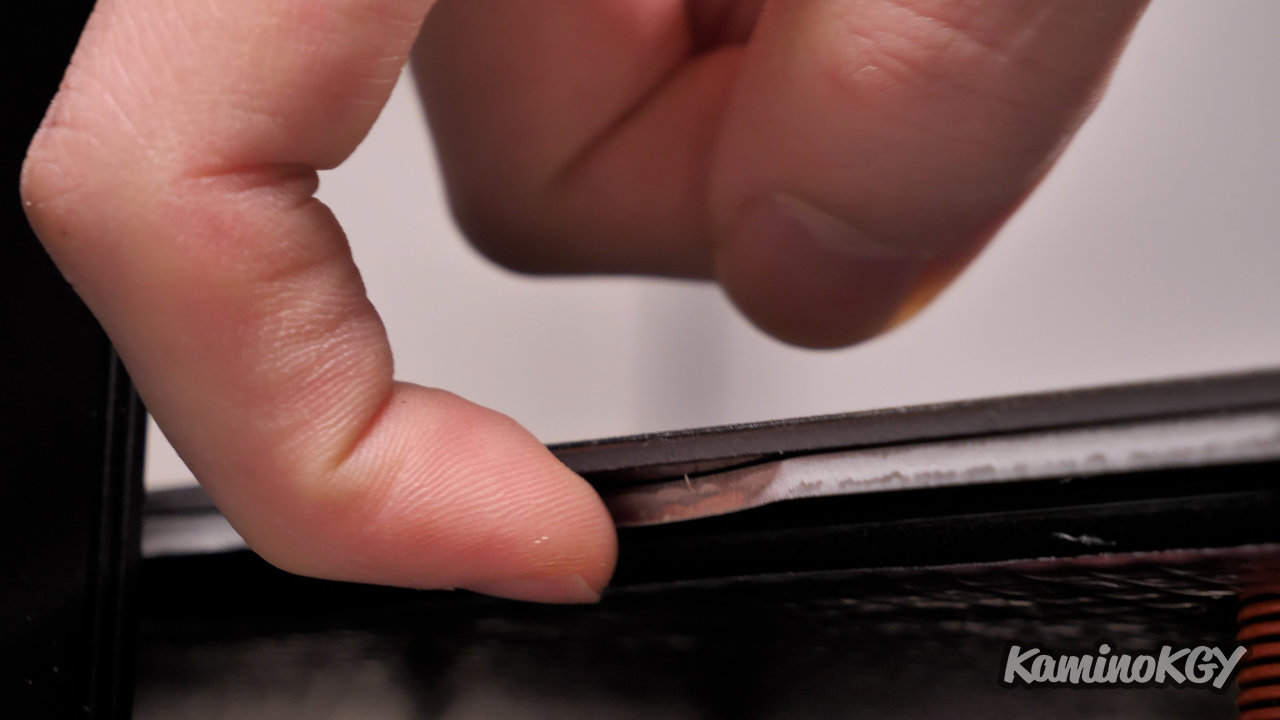
I must tell you right away that when I took it out of the box, I realized that the tray support was bent. I actually had red tuning wheels that were gone. So these are the things that happen because the boxes are really badly treated and we will be able to straighten it by hand. There I just used a clamp which allows me to control the movement a little more and avoid going too far. And we can note in passing the presence of a thermal insulator, a good point to reduce the electricity bill a little.
Assembly
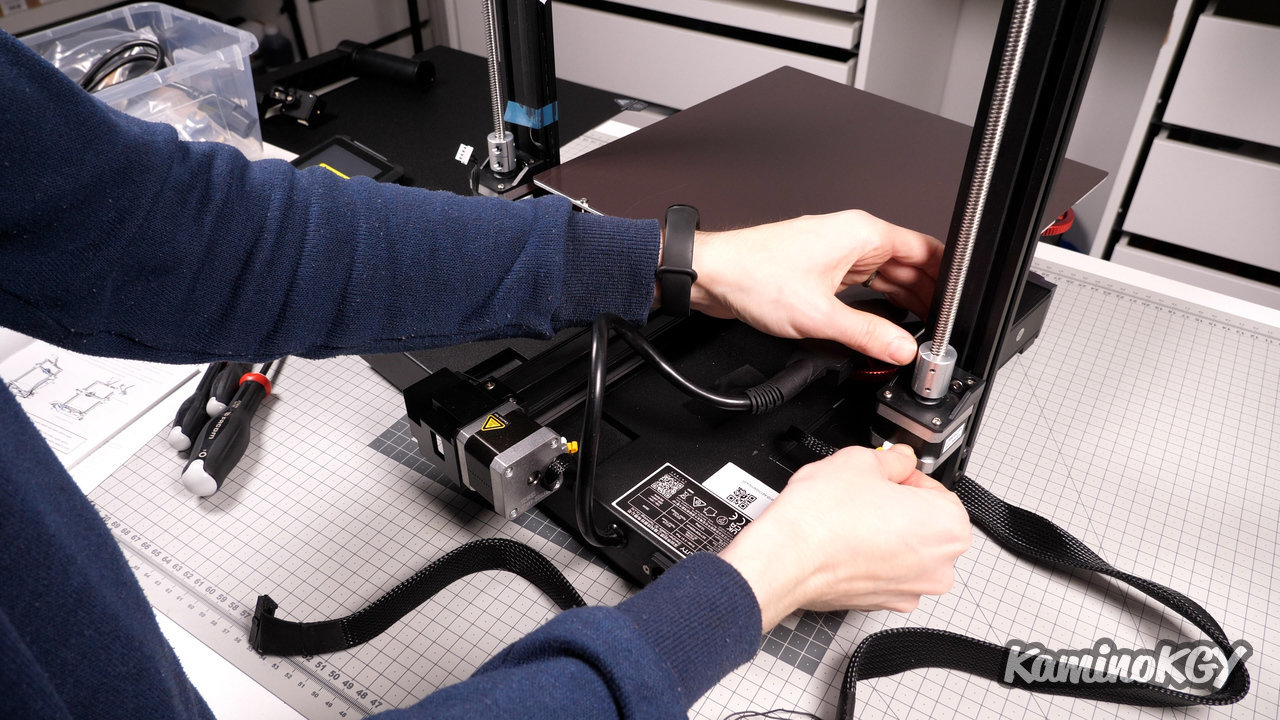
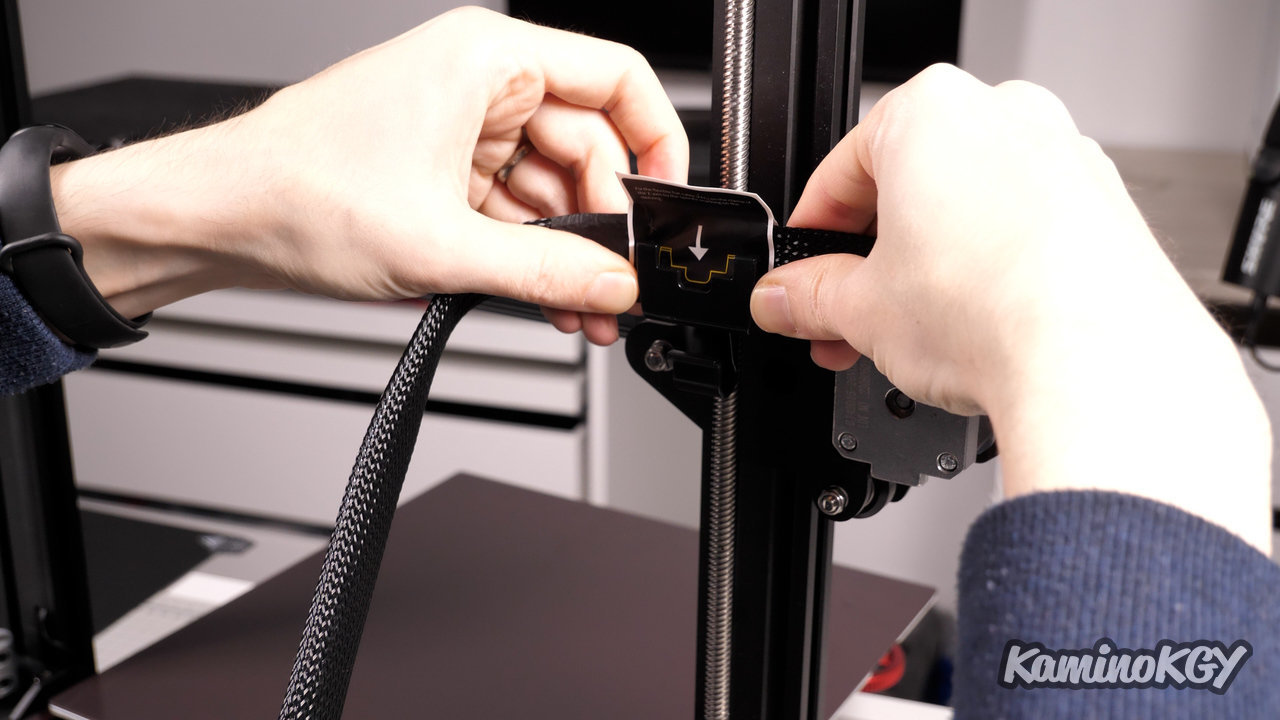
Concerning the assembly, we screw the upright from the sides, we connect the motors of the Z axes, the end of filament detector on the back of the machine, the support for the sheet for the extruder that we slide afterwards. We screw the extruder in place, we connect it, we do the same for the screen and the spool holder on the top with the end of filament detector.
Features
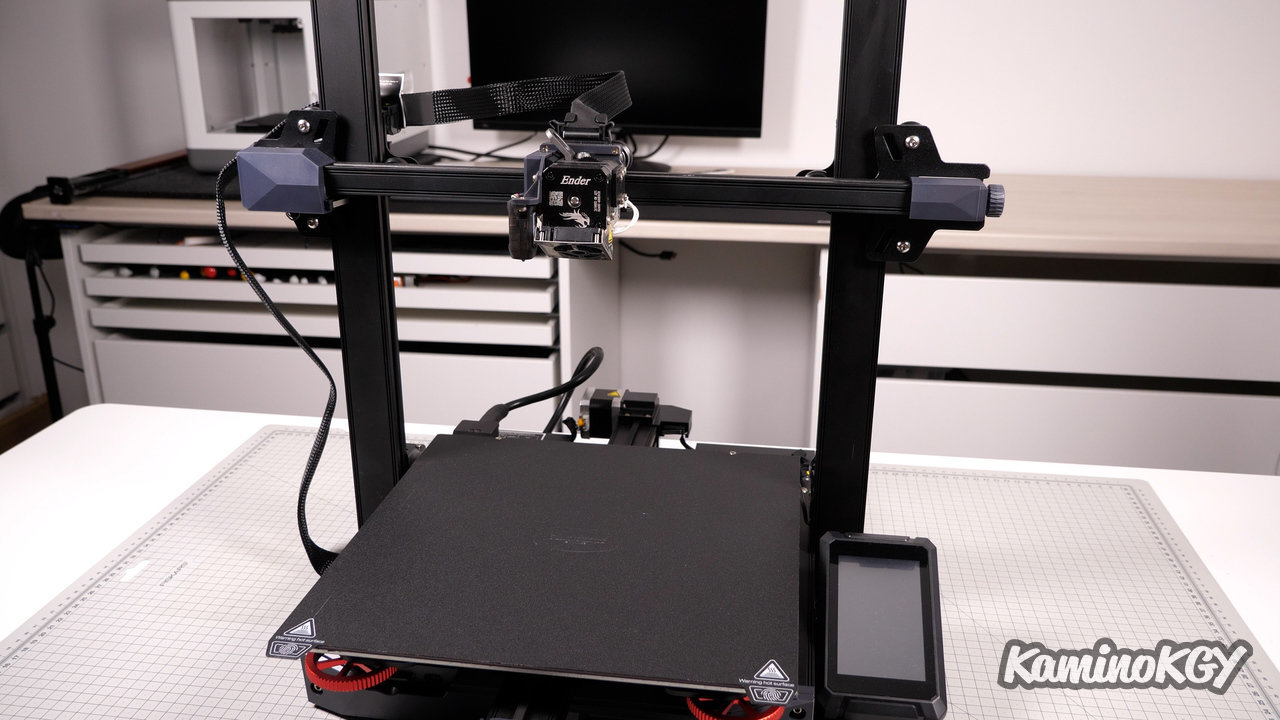
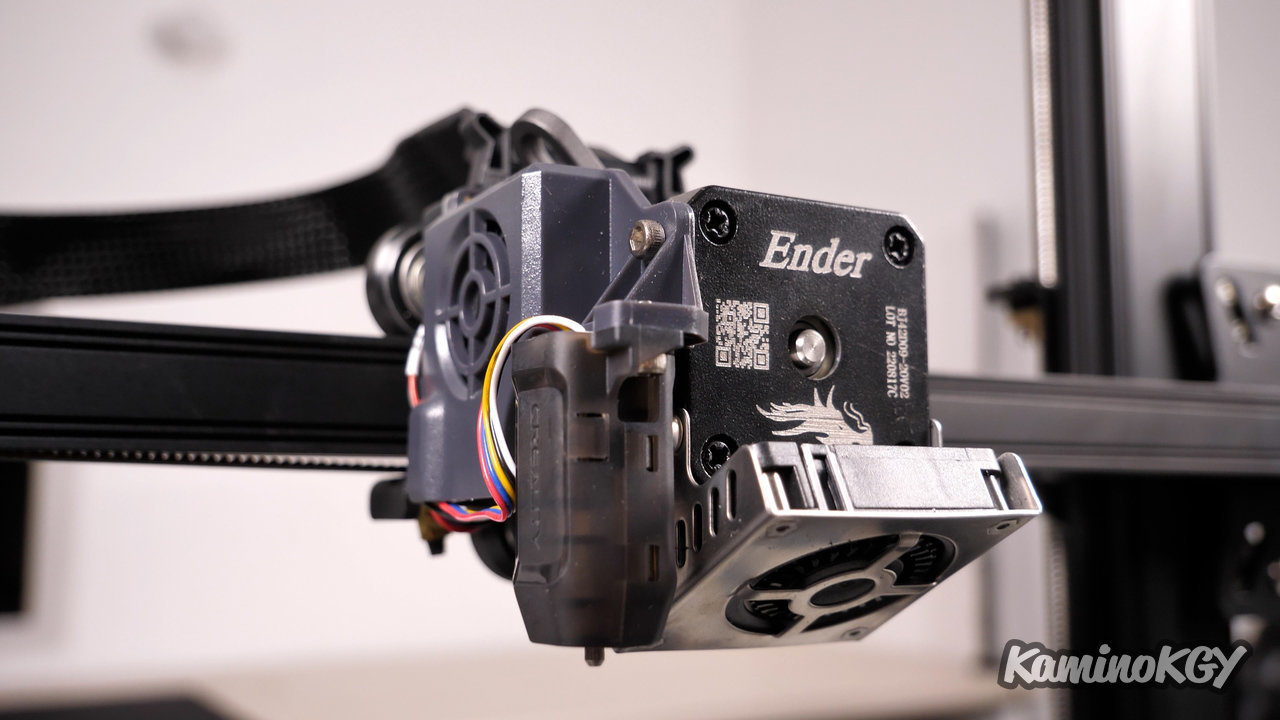

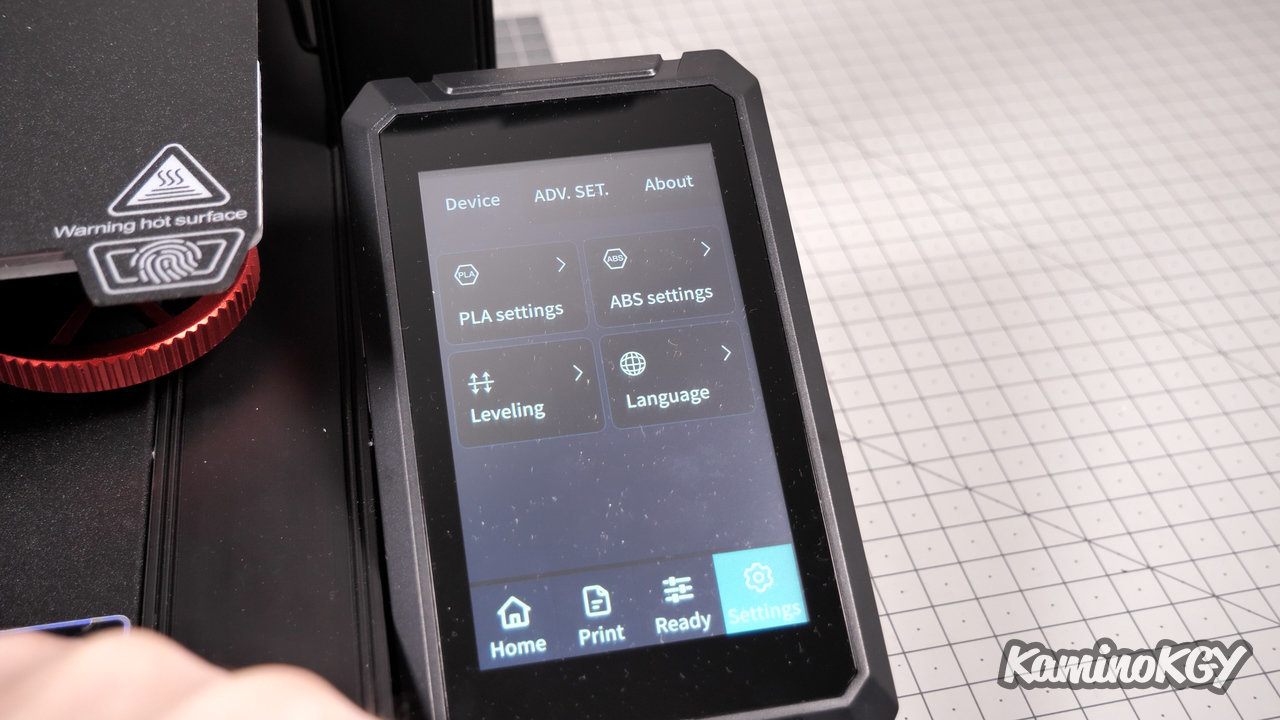
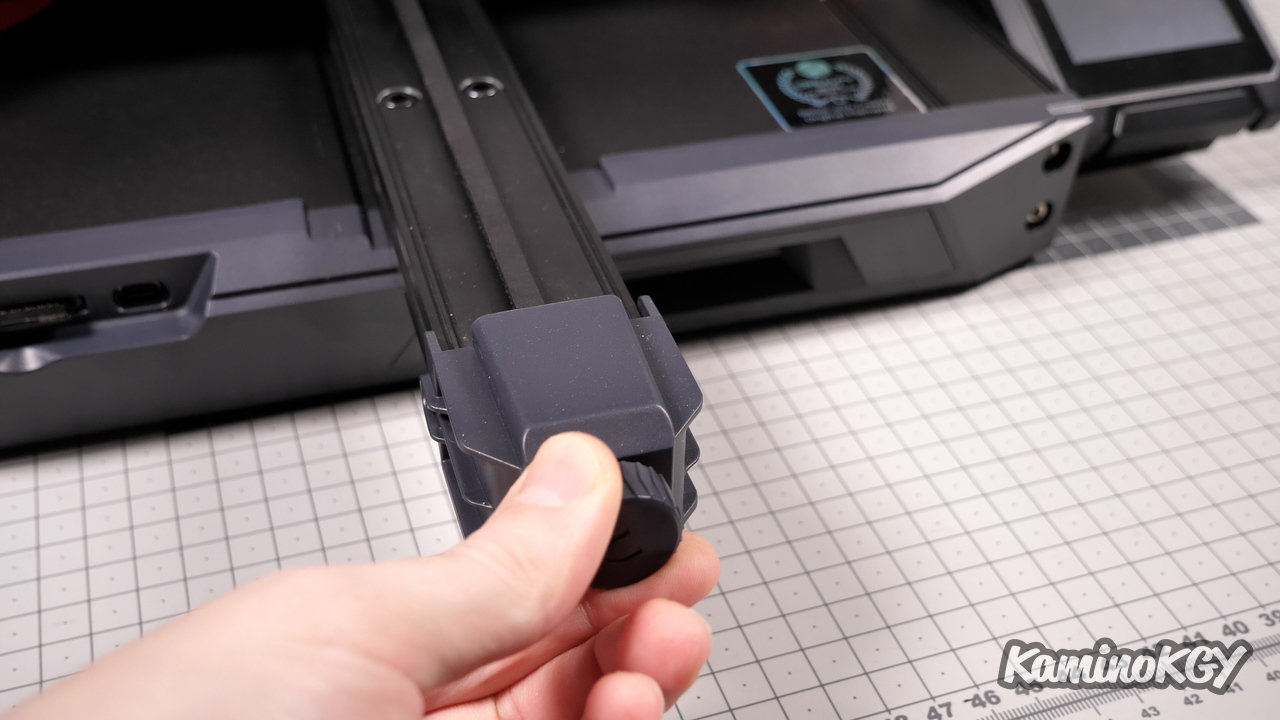
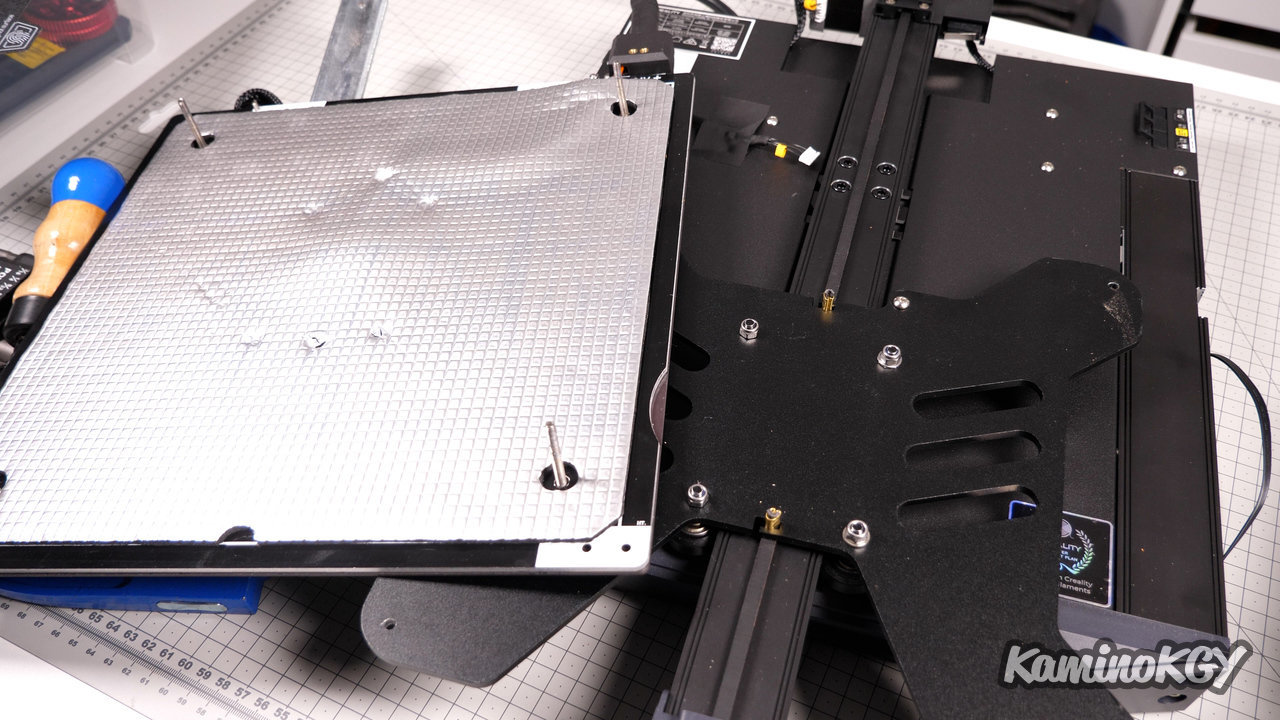
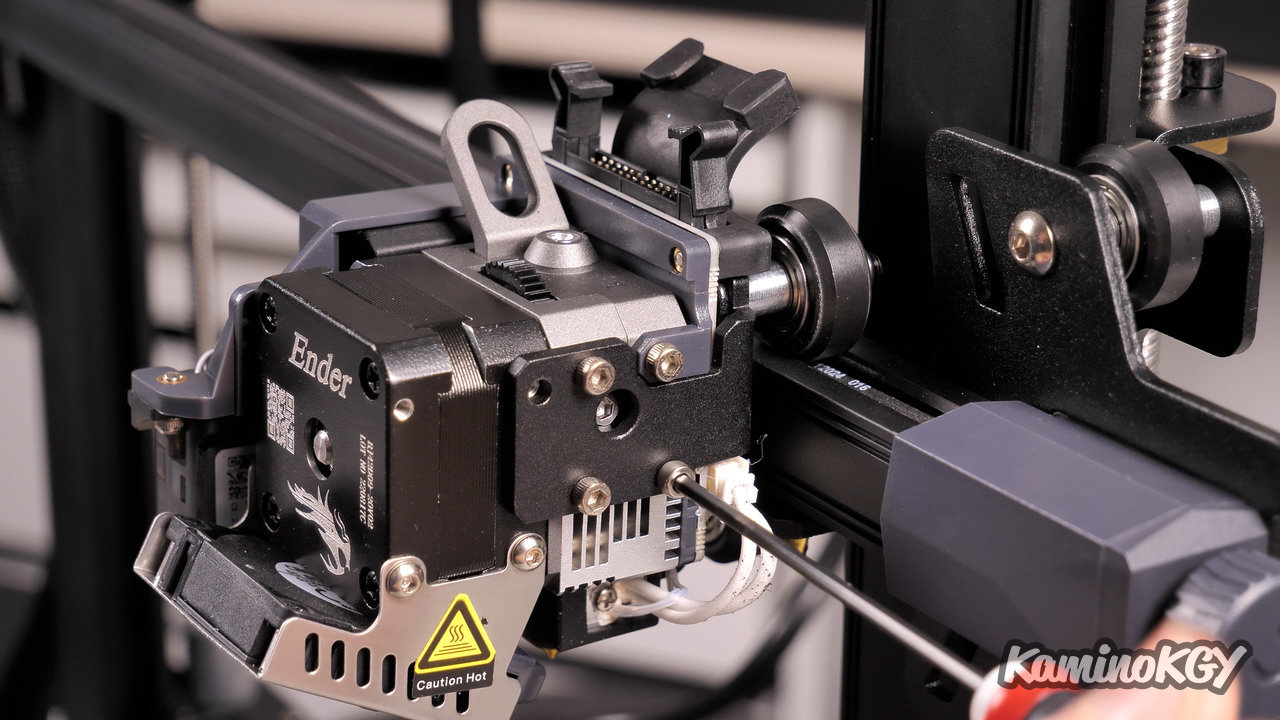
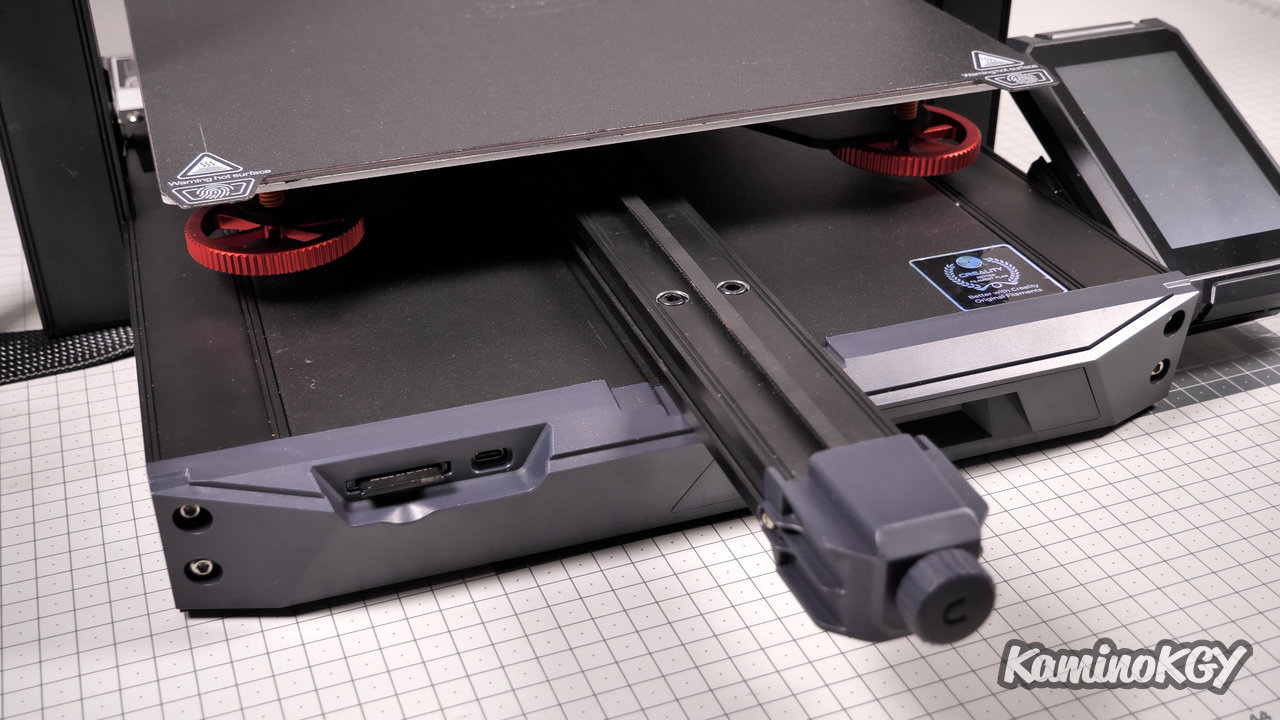
Regarding the characteristics, we have a print volume of 300 by 300 by 300 mm. We have a Sprite direct drive type extruder. There is the CRTouch self-leveling tray system. The end of filament detector is on the top of the machine. We have a double Z axis with synchronization belt. Under the tray, there are large wheels for adjusting the tray. On the back of the tray, there are notches for positioning via screws. We find the touch screen of the Ender 3 S1 Pro. There is a belt tensioning system on the Y axis and the X axis.

Concerning the style of the printer, we find the dressing of the front of the Ender 3 S1. And frankly, I think it's so much better, personally, I prefer it to that of the Ender 3 S1 Pro which is a kind of integral plastic shell.
The spool support is taken from the Ender 3 S1, we will not have ball bearings like on the S1 Pro.
Inside the printer

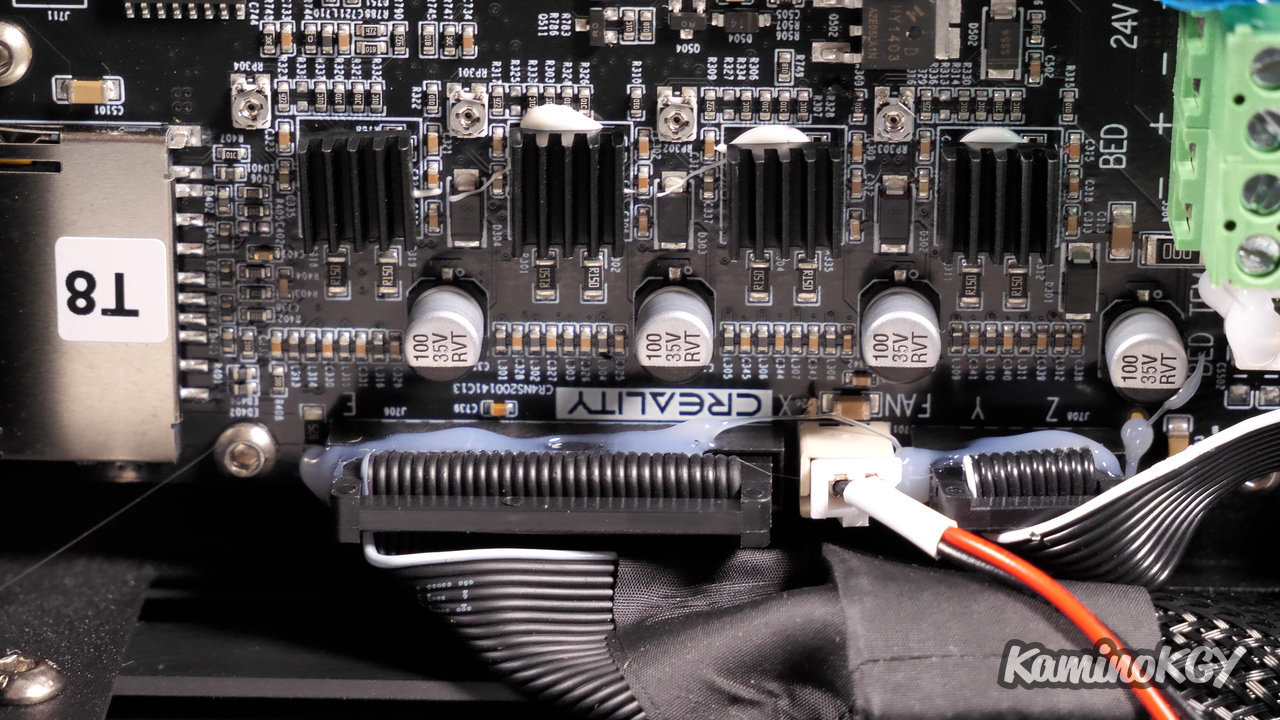
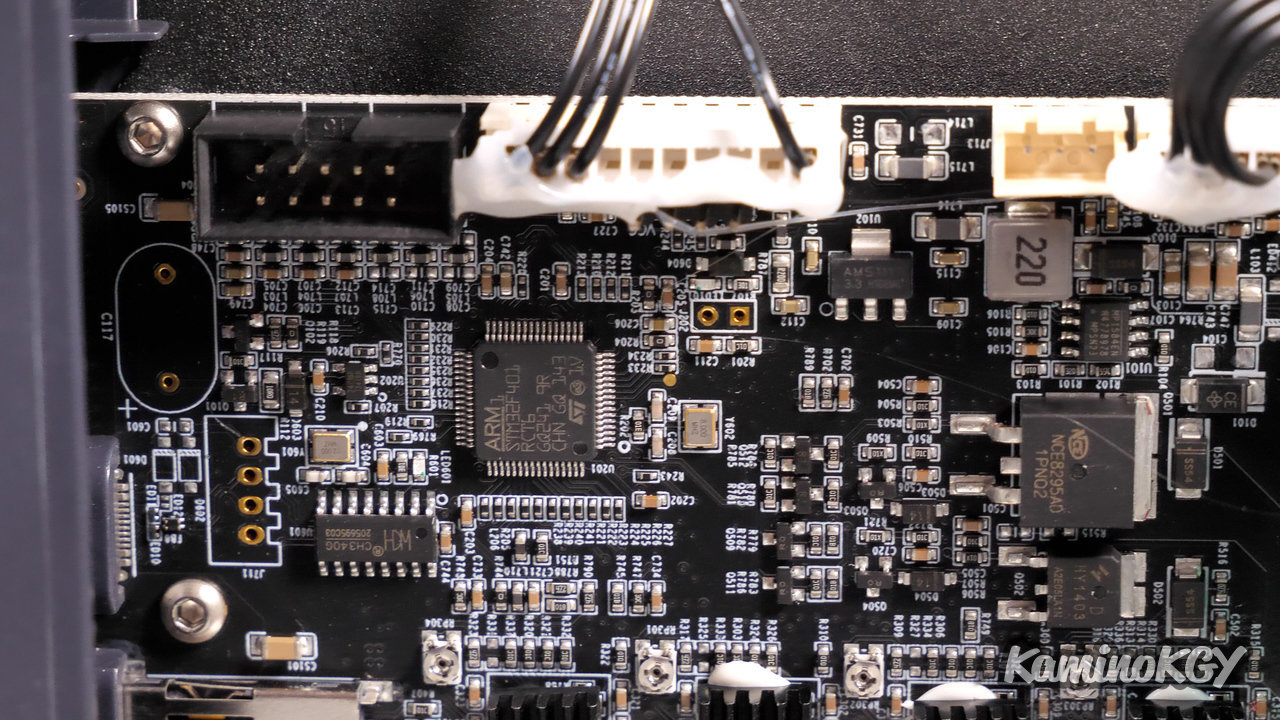
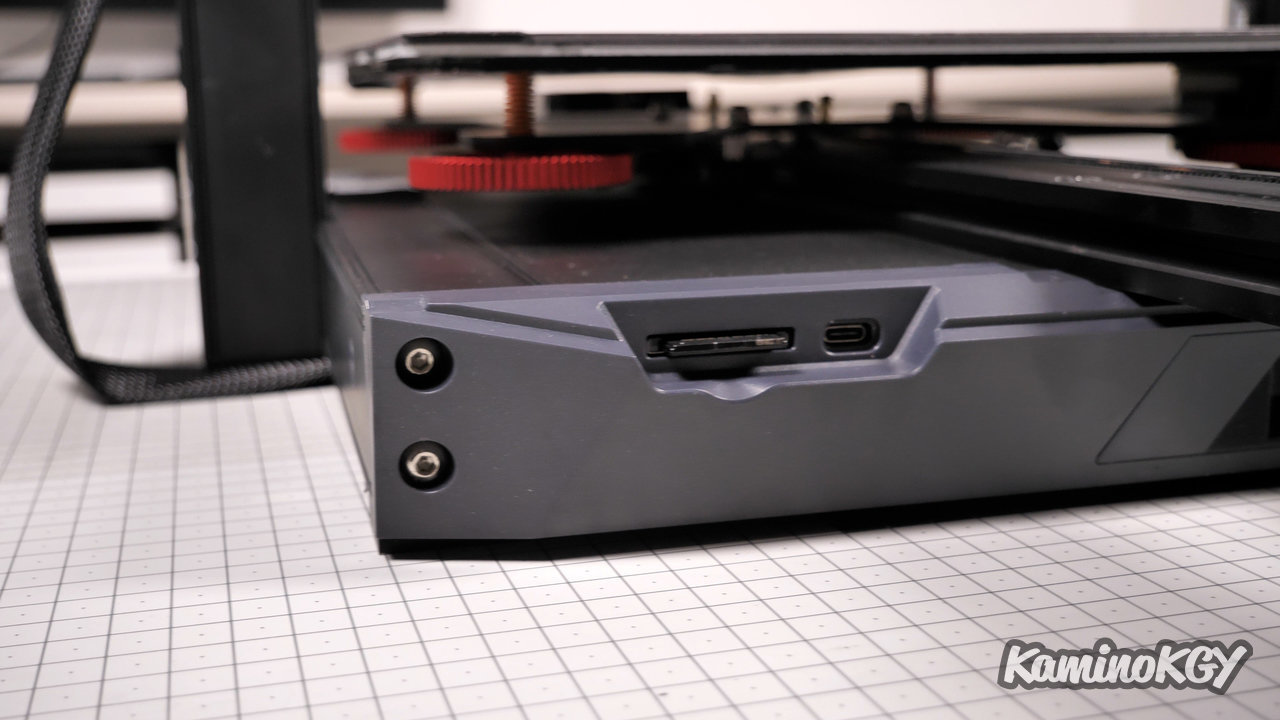
Inside the printer we find the power supply on the back of the machine and the creality 32-bit motherboard with STM32.
To be improved
Personally, I would prefer to switch to a PEI tray, knowing that we already have the magnetic base, it shouldn't be too expensive and we can do it once the original tray no longer gives us complete satisfaction.
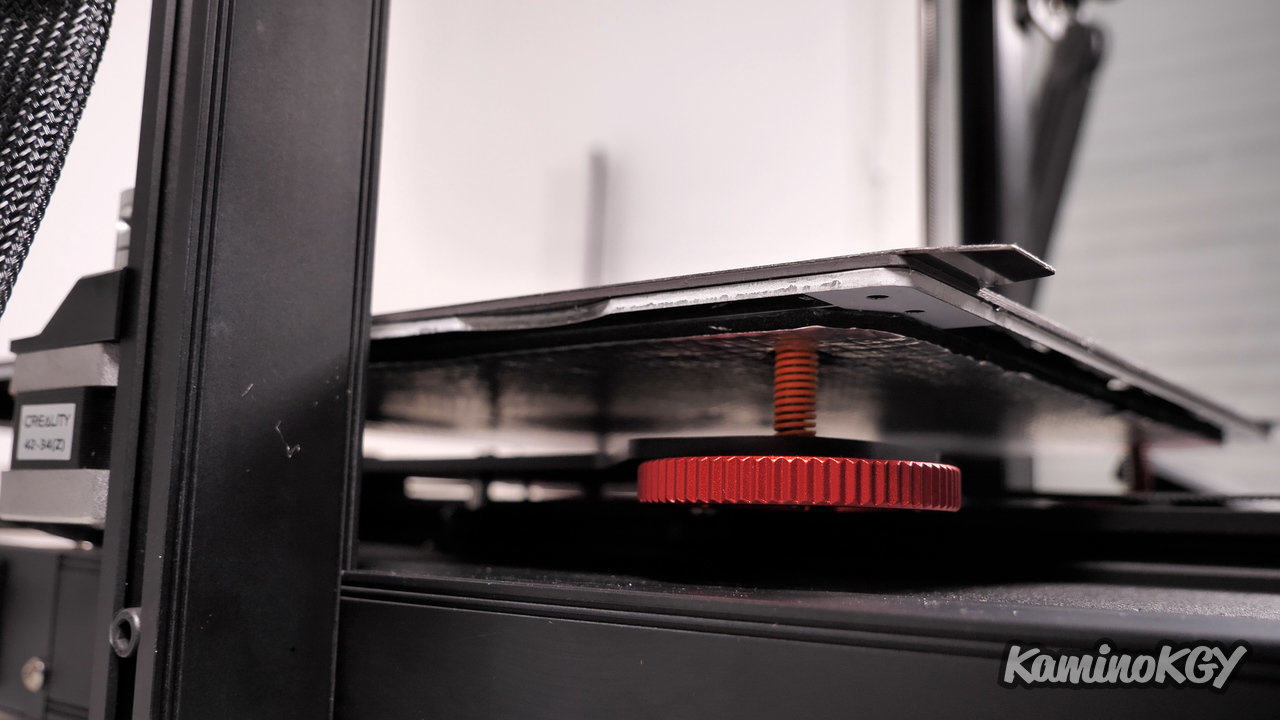
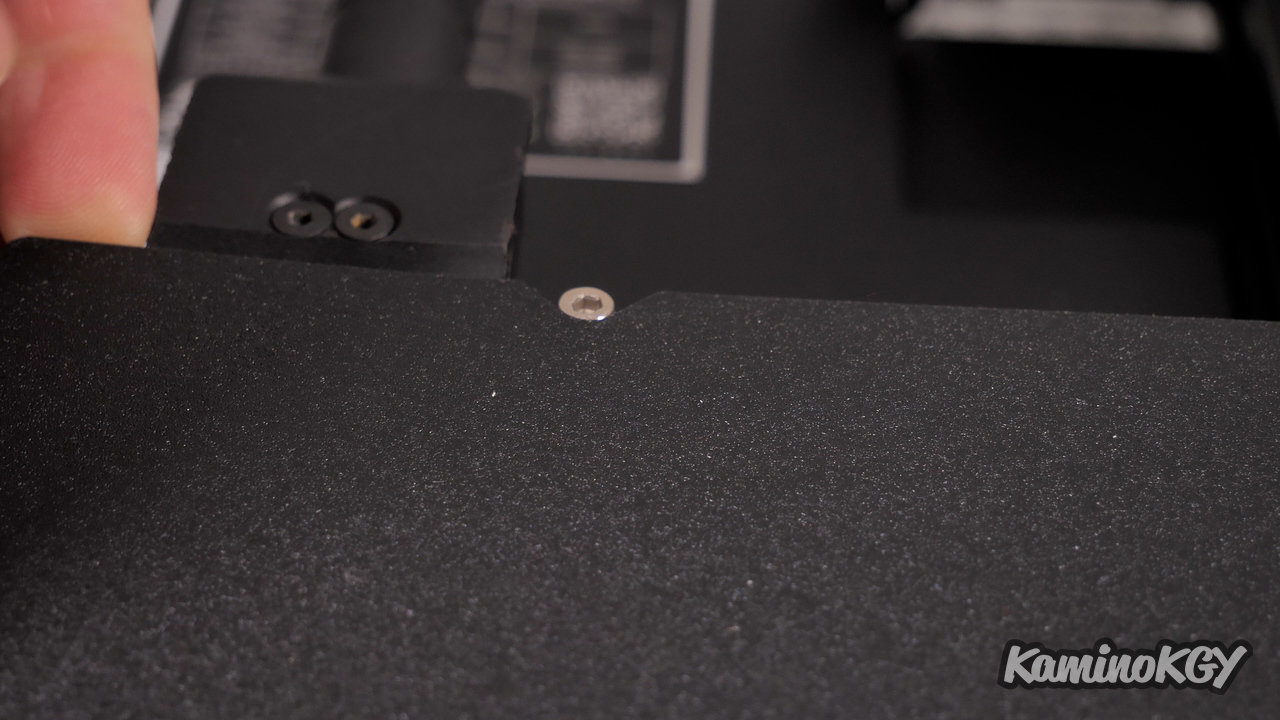
So why do we have a notch on either side of the chainring on the front. It's as if you had to be able to remove a flexible tray, except that you arrive on the magnetic base, so there is no real question of removing it. So it's probably not useful, or not in our case at least. It may be recycling parts from elsewhere.
Rise in temperature of the plate
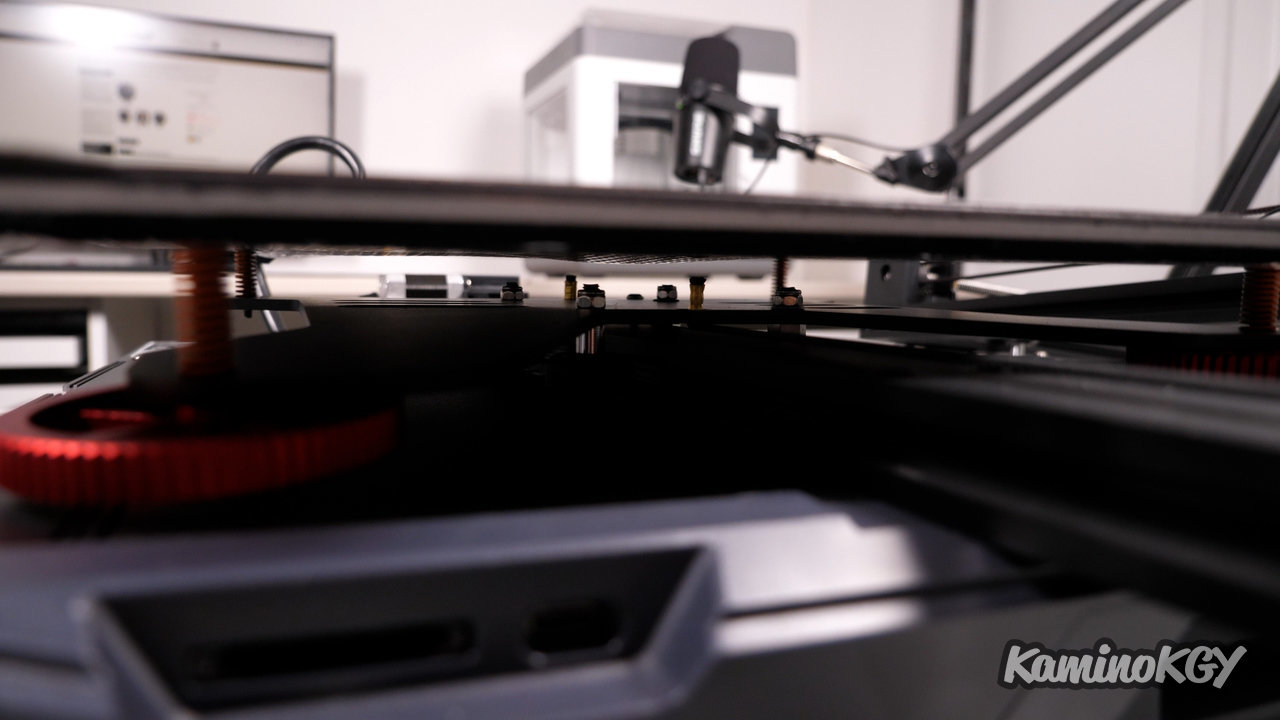
Regarding the rise in temperature of the plate, we can clearly see a grid in slightly different places under the plate, as if they were the screws that hold the plate in place, except that we only have 4 screw underneath, so I don't really know what it corresponds to and as there is a well-glued thermal insulator, I don't really want to damage it to look. After 3 minutes the differences fade and we can no longer distinguish colder zones on the back and the corners of the tray. The temperature is reached after a good 4 minutes. And the result is relatively homogeneous and should not pose a problem for the adhesion of your prints.
Test prints
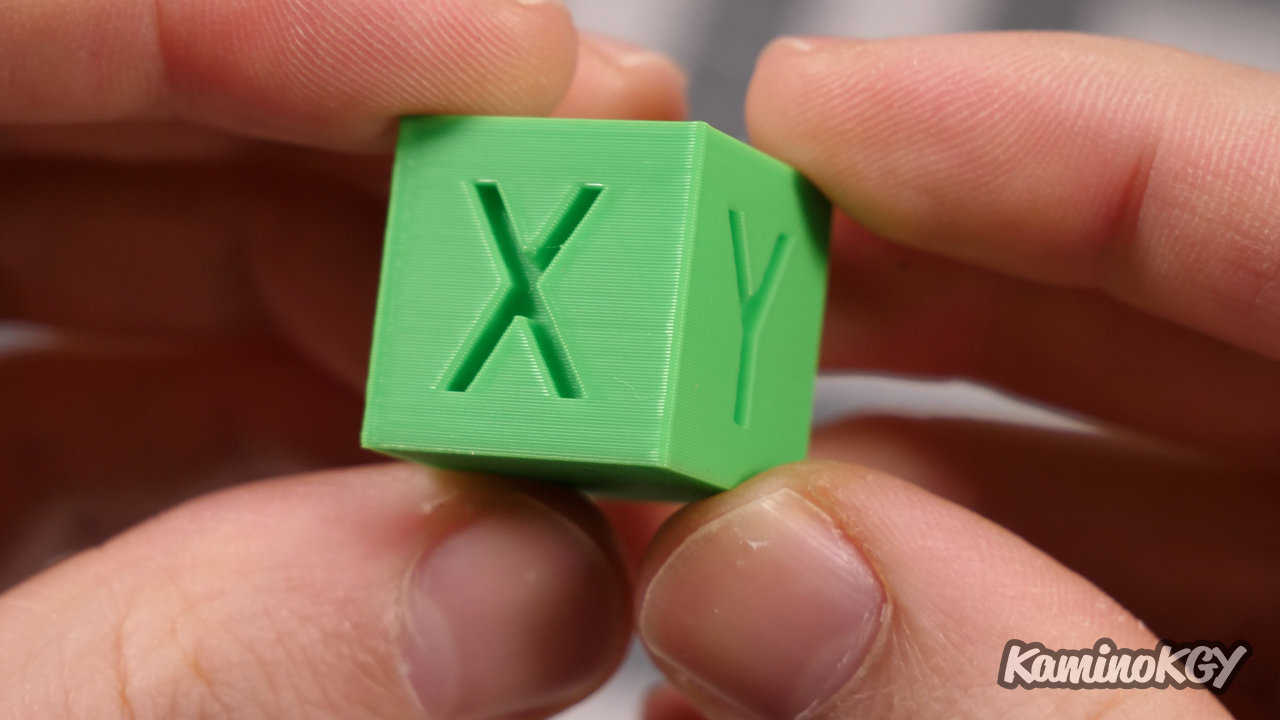

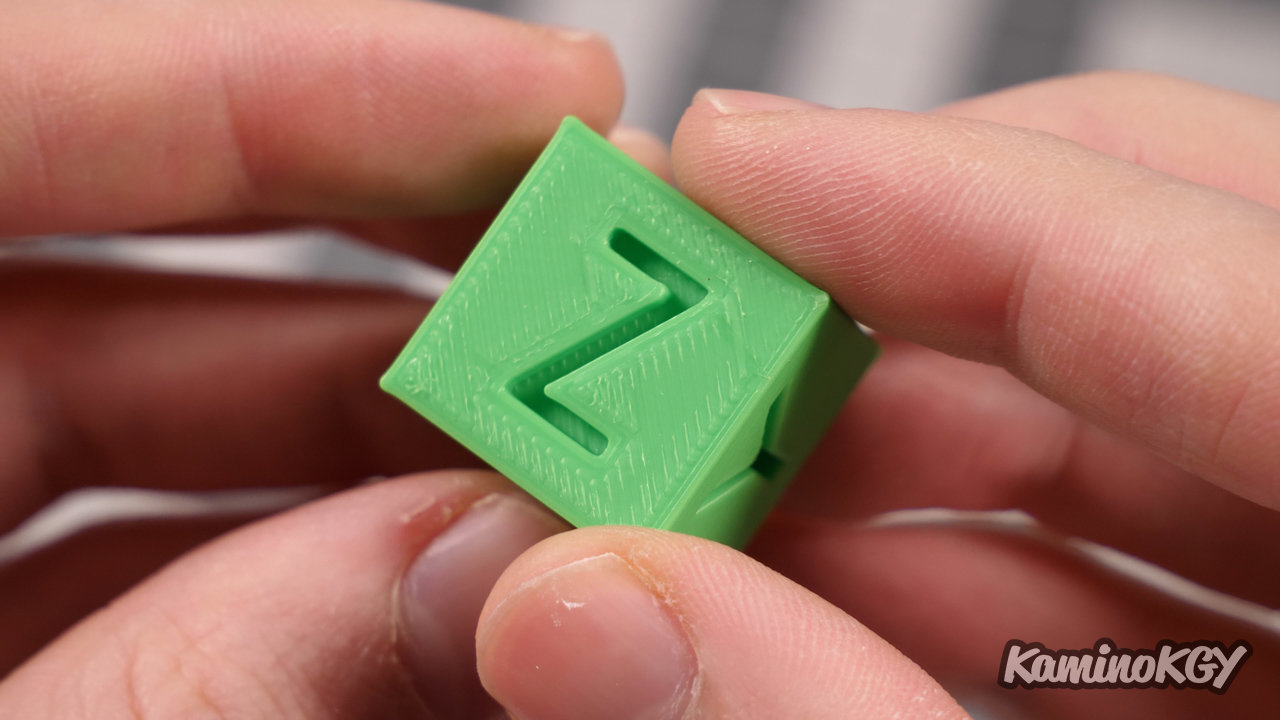
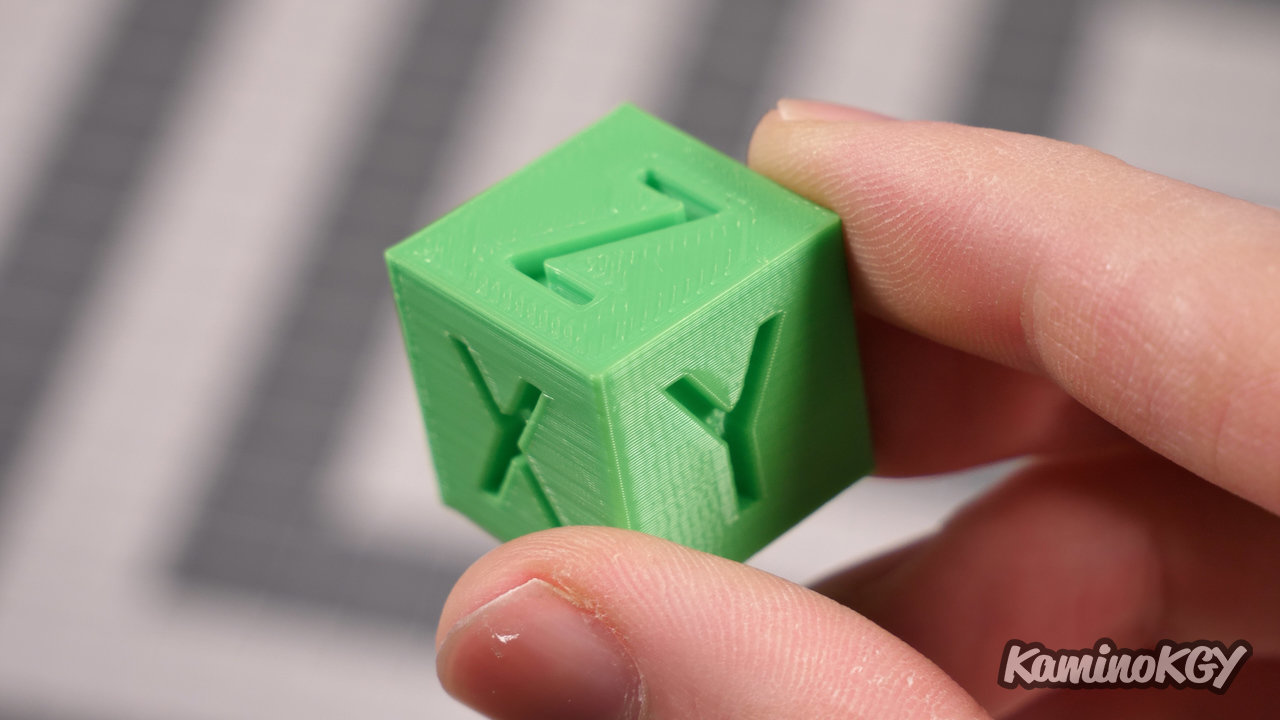
If we now look at test prints, the calibration cube is really beautiful. The rendering is perfect from the first to the last layer. The letters are well formed and well cooled inside. We could distinguish a little ghosting which is quite spread out, but with a low amplitude. Which makes it very inconspicuous. The last layer is well done. We may have a very slight over-extrusion to the touch, but nothing to complain about.
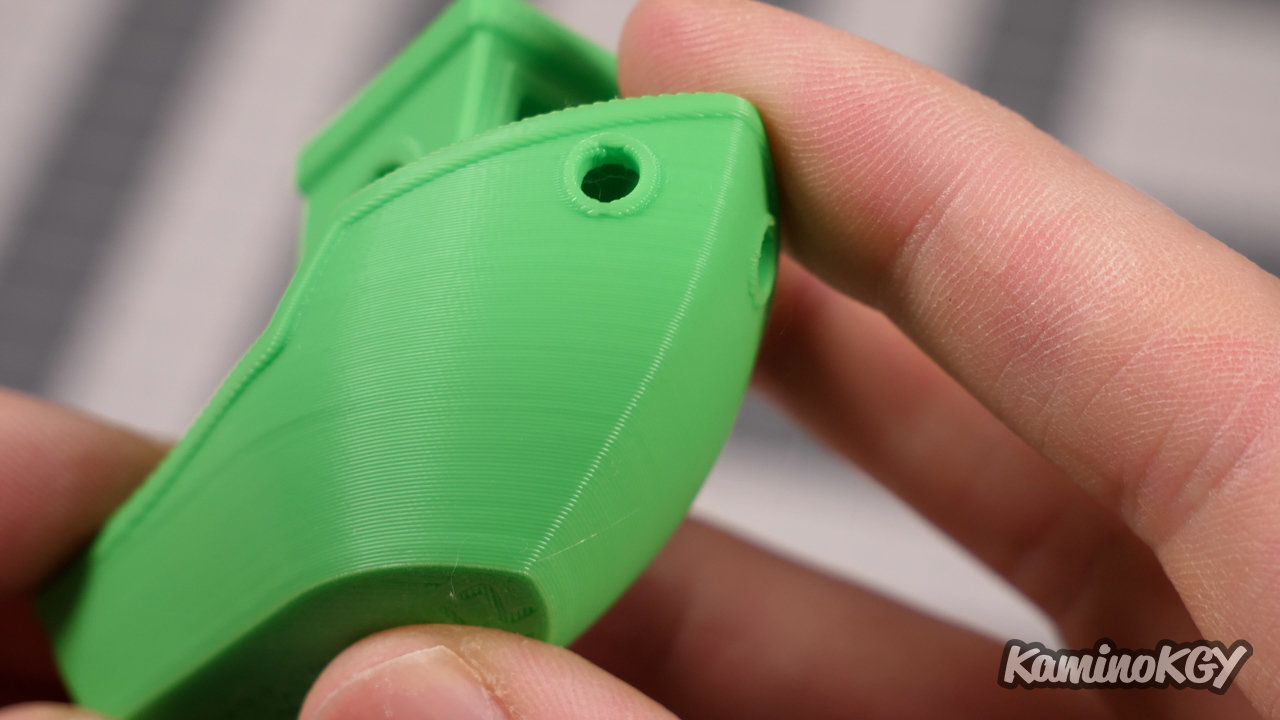

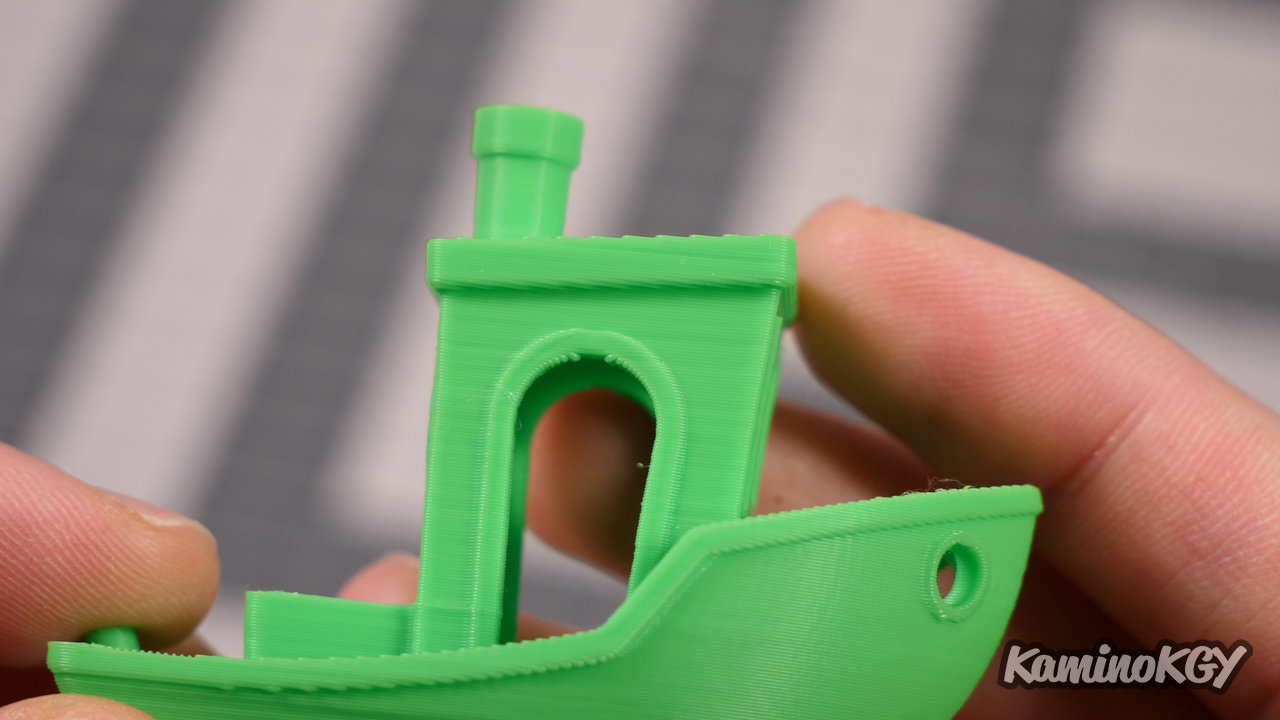
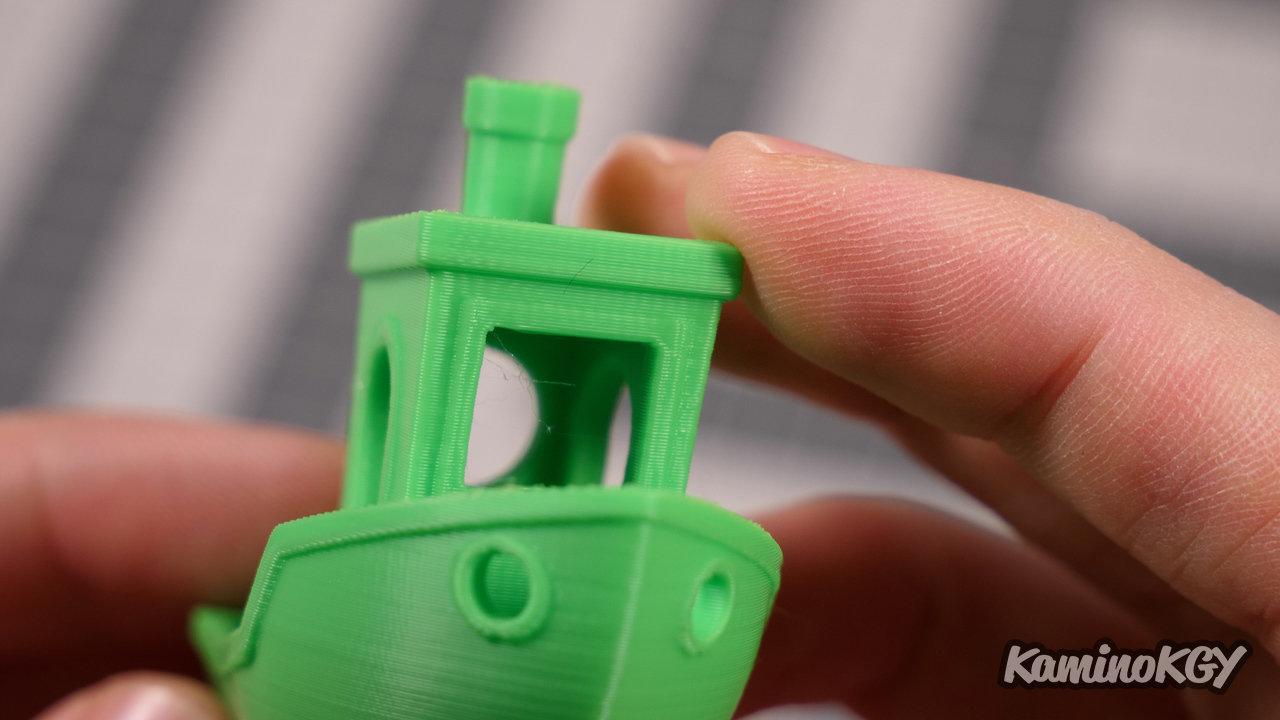
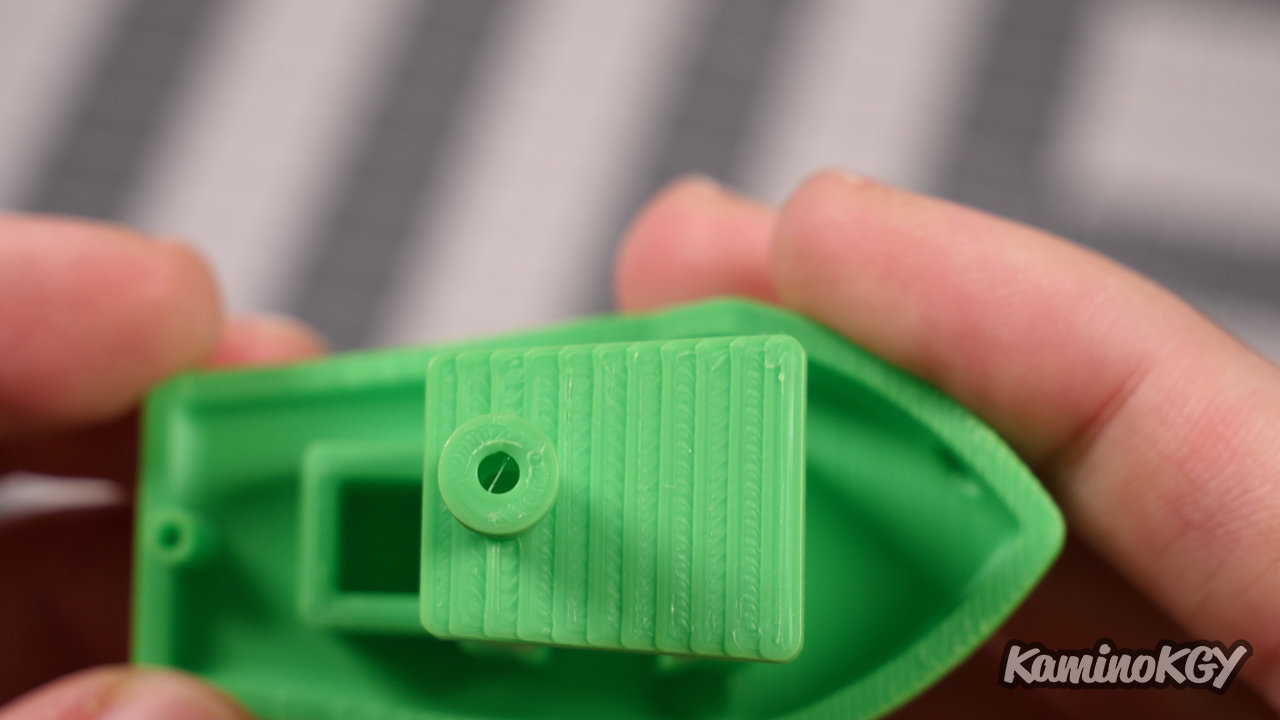
On the Benchy, the hull is really perfect. The top of the cabin is well cooled, on the side and on the front. The extrusion is well controlled on the top, although we could probably reduce the over-extrusion a little bit. And if we had to be very fussy, I don't know if you can see it, but we can see the ghosting on between the front of the hull and the deck. But there, you really have to look very closely to see it.
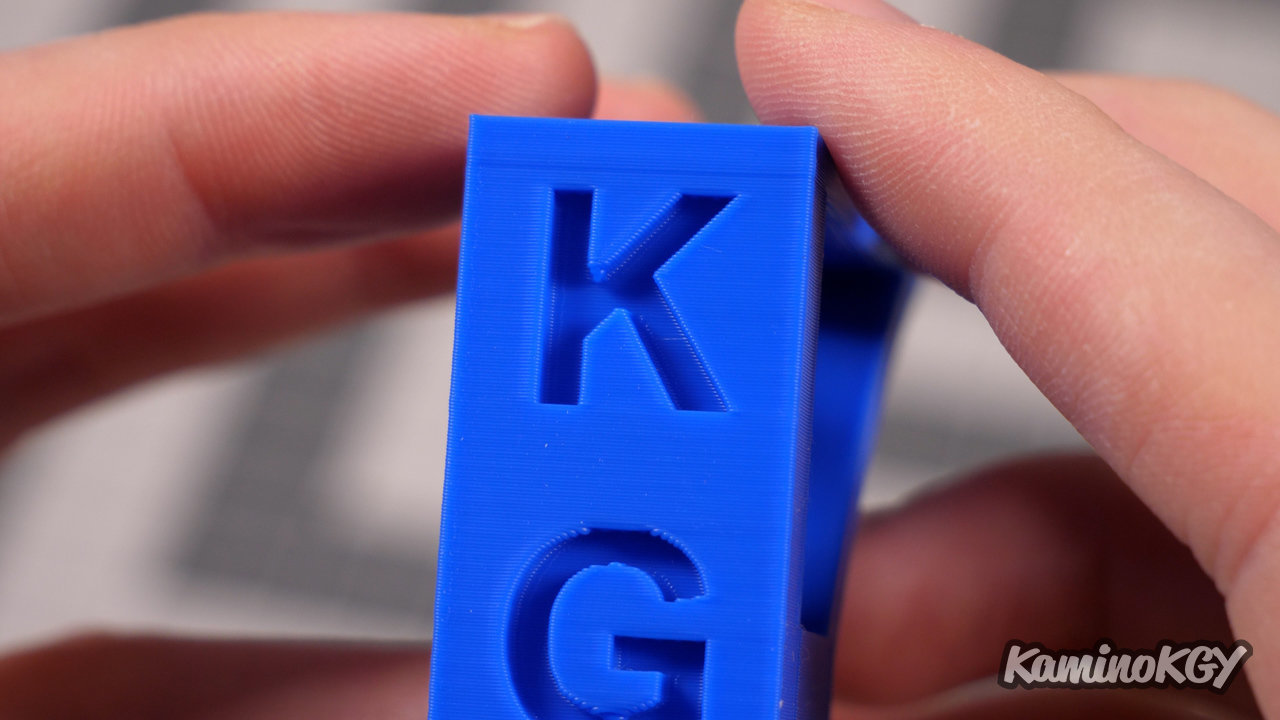
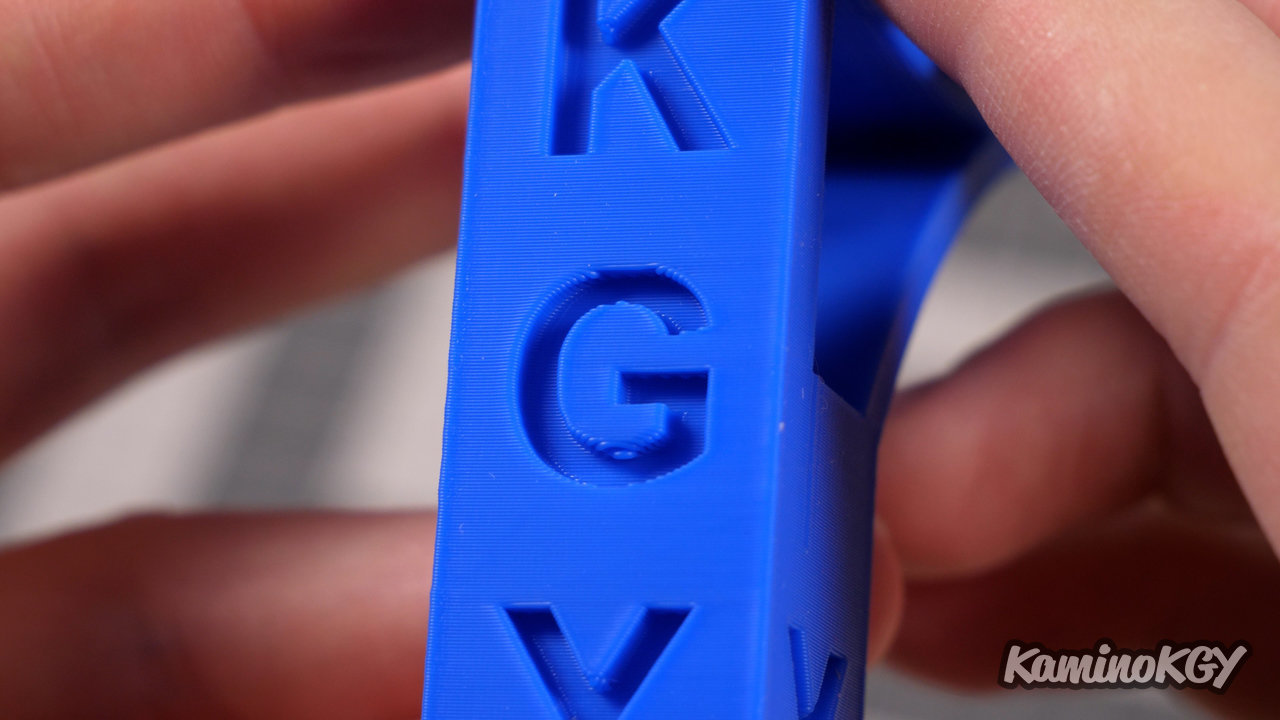
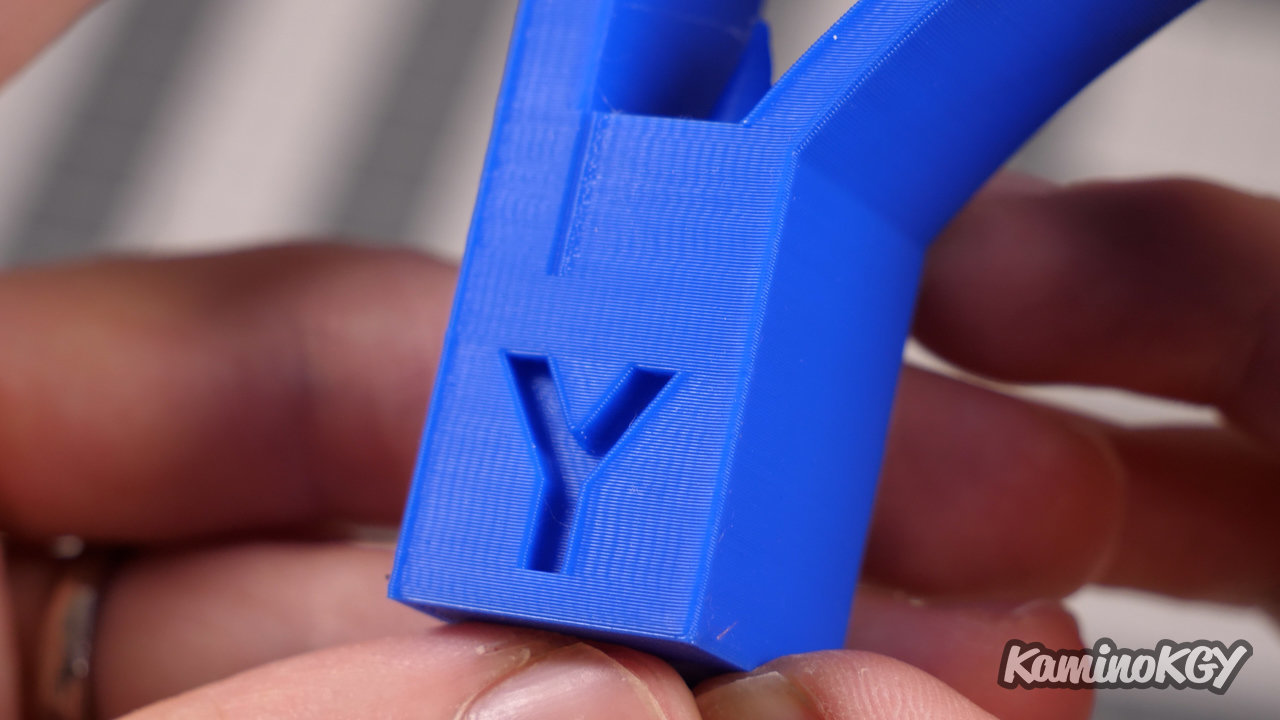
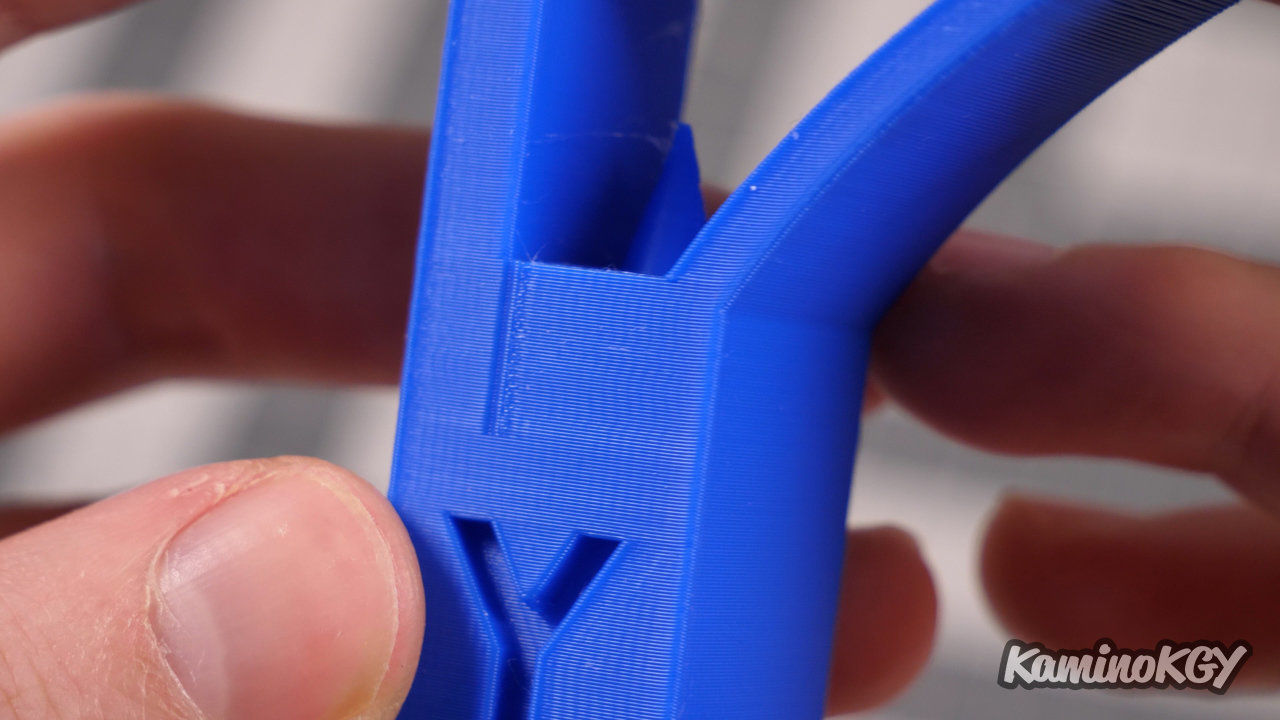
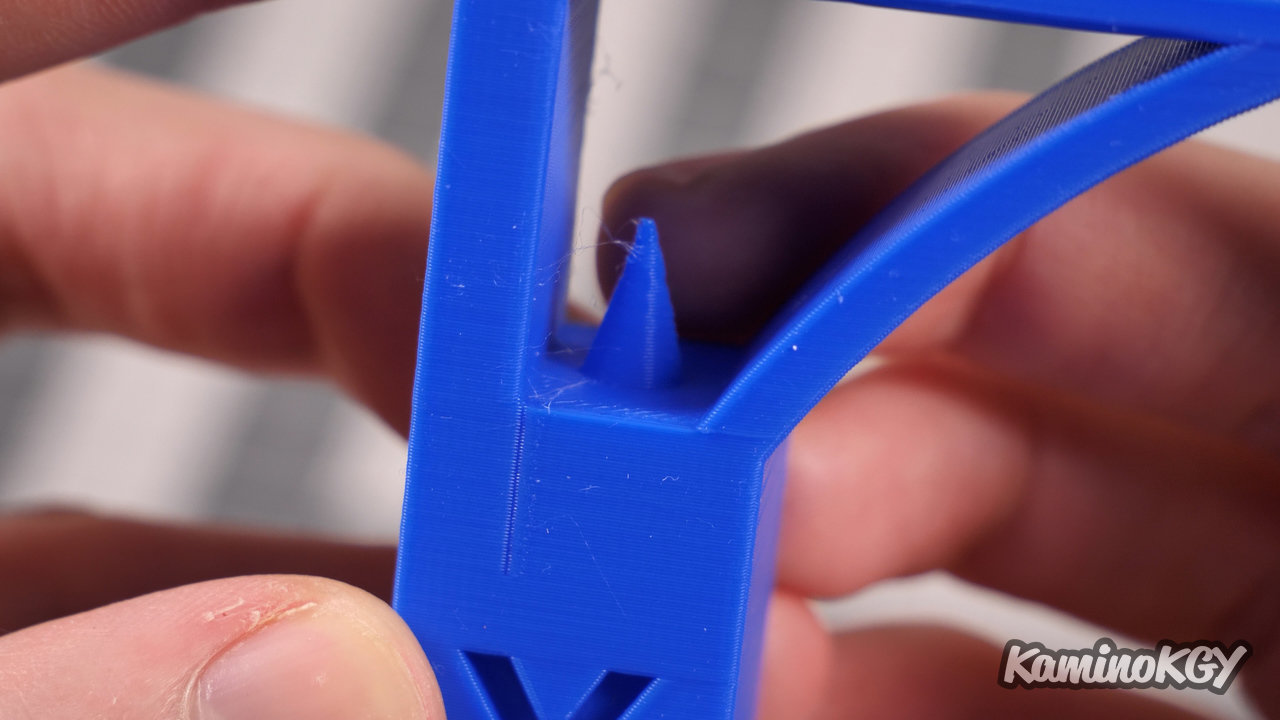

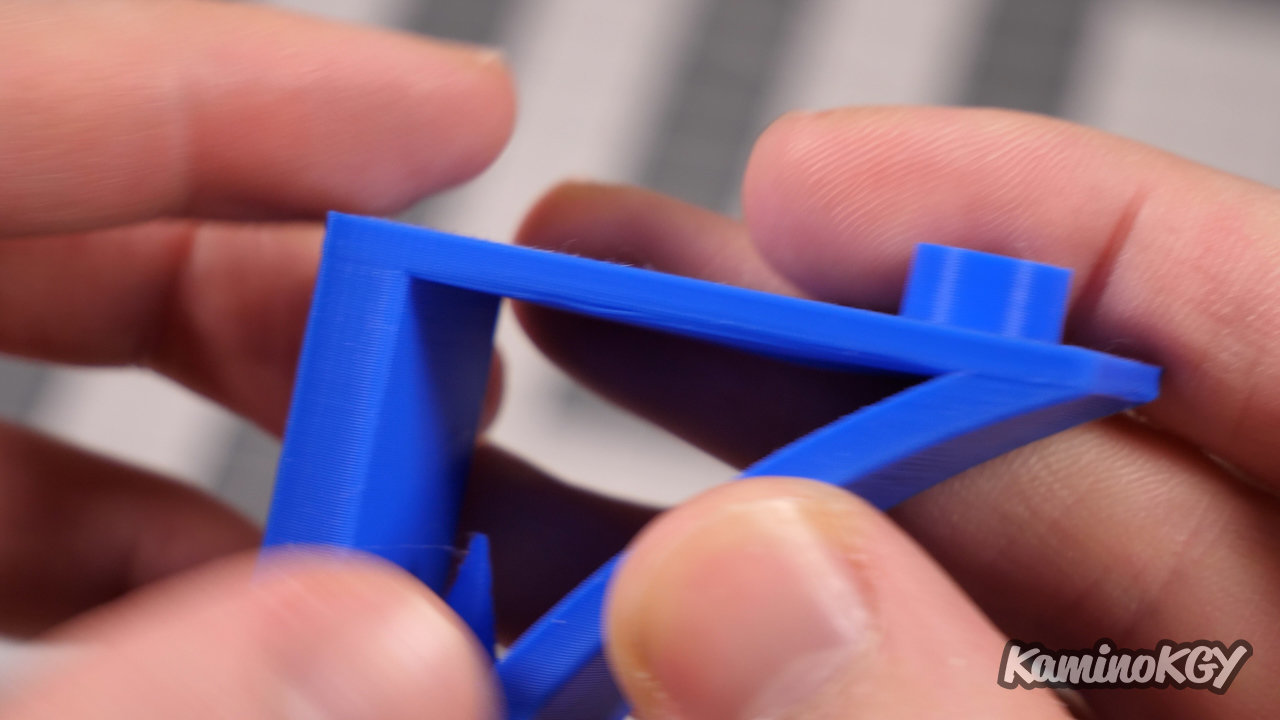

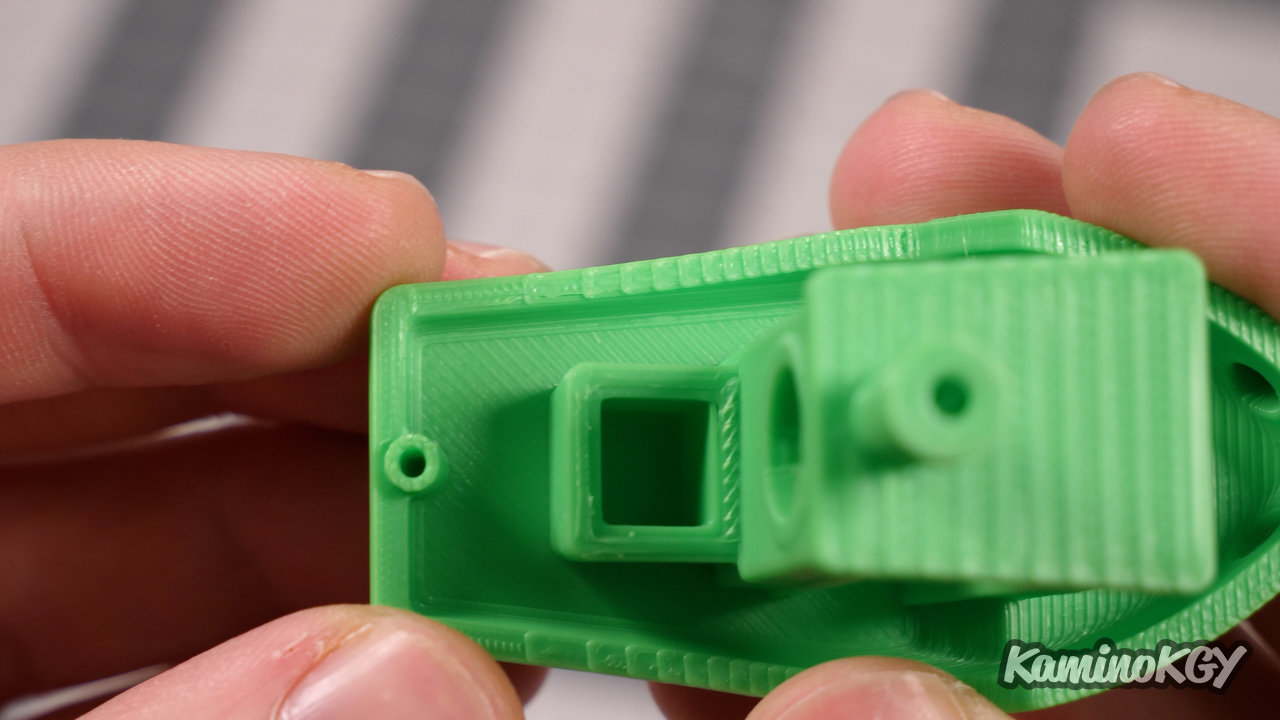
On the KGY, the letters are super well formed and cooled. it is quite impressive. The Y on the side as well. I repeat myself, but you can see the slight ghosting. The cooling inside the model is very good. The overhang is perfect, even on the most important angles. The bridge is very well cooled, it's one of the best we could get. The top is very clean, although you can see the effects of the slight over-extrusion around the letter Z.
Review
We have an Ender 3 S1 Plus which takes on the look of the Ender 3 S1 with its casing, its black plate, but many of the advantages of the Ender 3 S1 Pro with its high temperature direct drive, its touch screen.< /p>
This is a printer that works really well taking advantage of the Direct Drive Sprite on a larger Ender 3 volume. I recommend her without hesitation.
Bye bye !