Today we are going to test for the first time on the line a CNC machine, the TTC450 from TwoTrees. So I have already used industrial CNCs quite a few years ago, but this is the first for a machine that is more for the general public. So I can't wait to see what it can give.
Unboxing
In the box, there is the documentation, the power supply with the cable, a pouch with everything you will need between tools, bits, USB cable. We have a pouch with all the hardware, a pair of protective goggles, the touch screen to control the machine, a plastic plate to carry out engraving tests, the relatively compact motor, a motor to move around, the support with motor for the Z axis which looks well made, all the cables with the motherboard. Below, we find one of the sides already pre-assembled, very classy. Next is the Y axis with its threaded rod. Then we have the parts that will allow you to assemble the other side, all the profitees to make the structure, a cover and finally the plates for the work surface.
Assembly

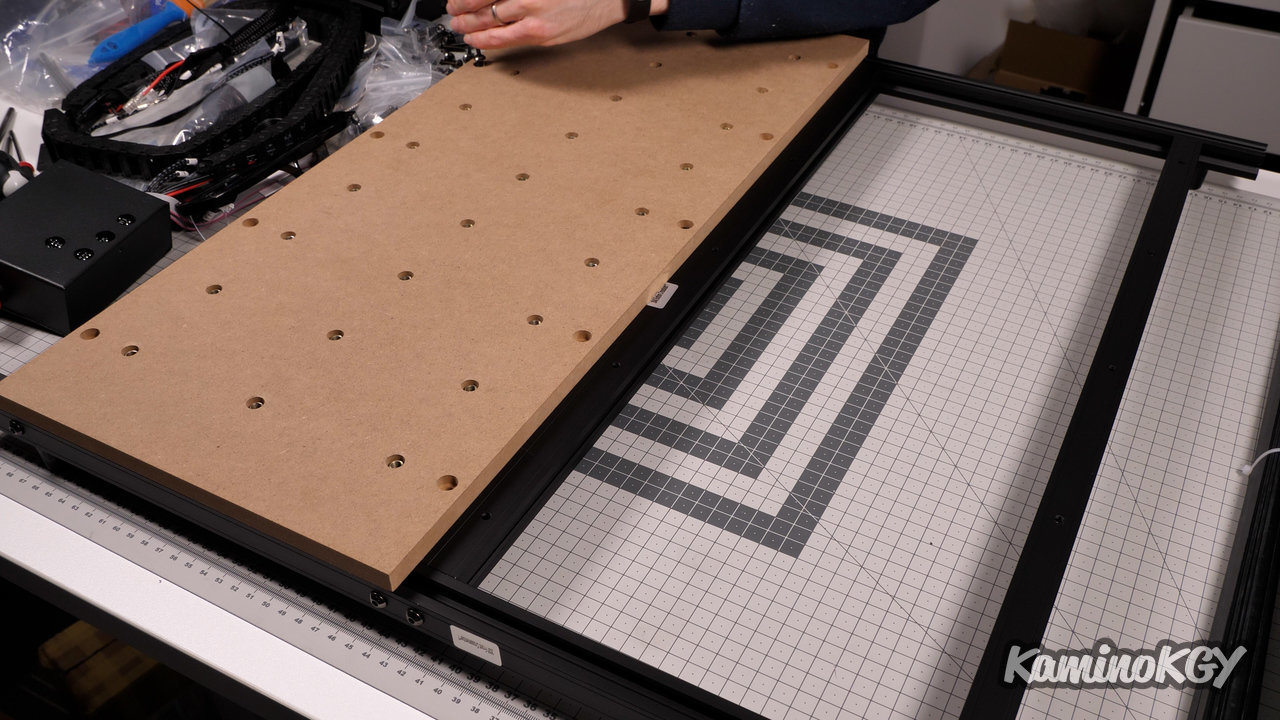
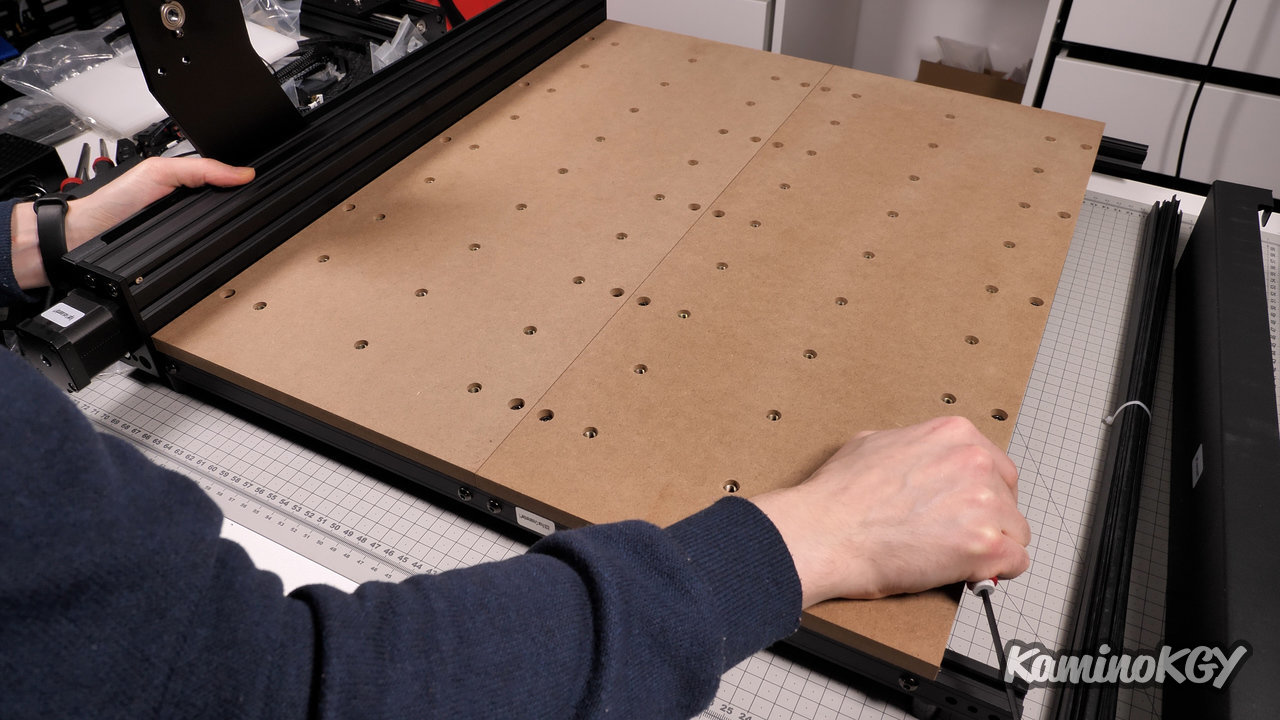
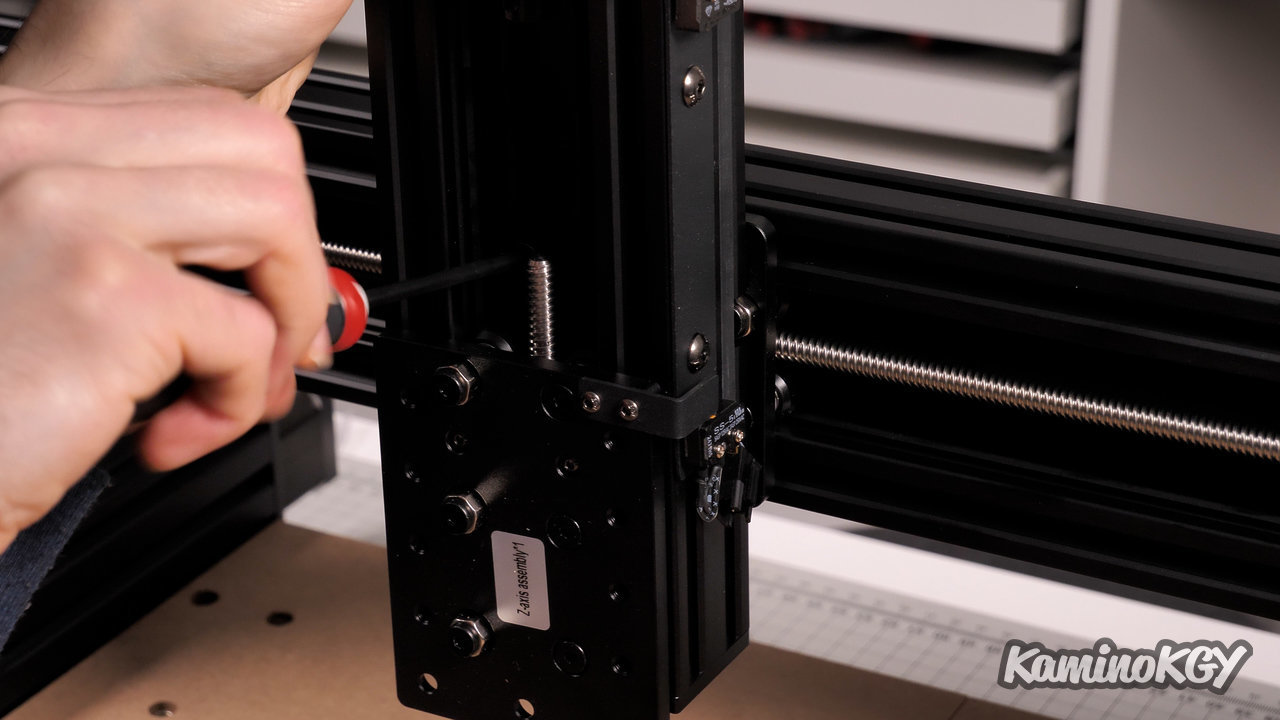
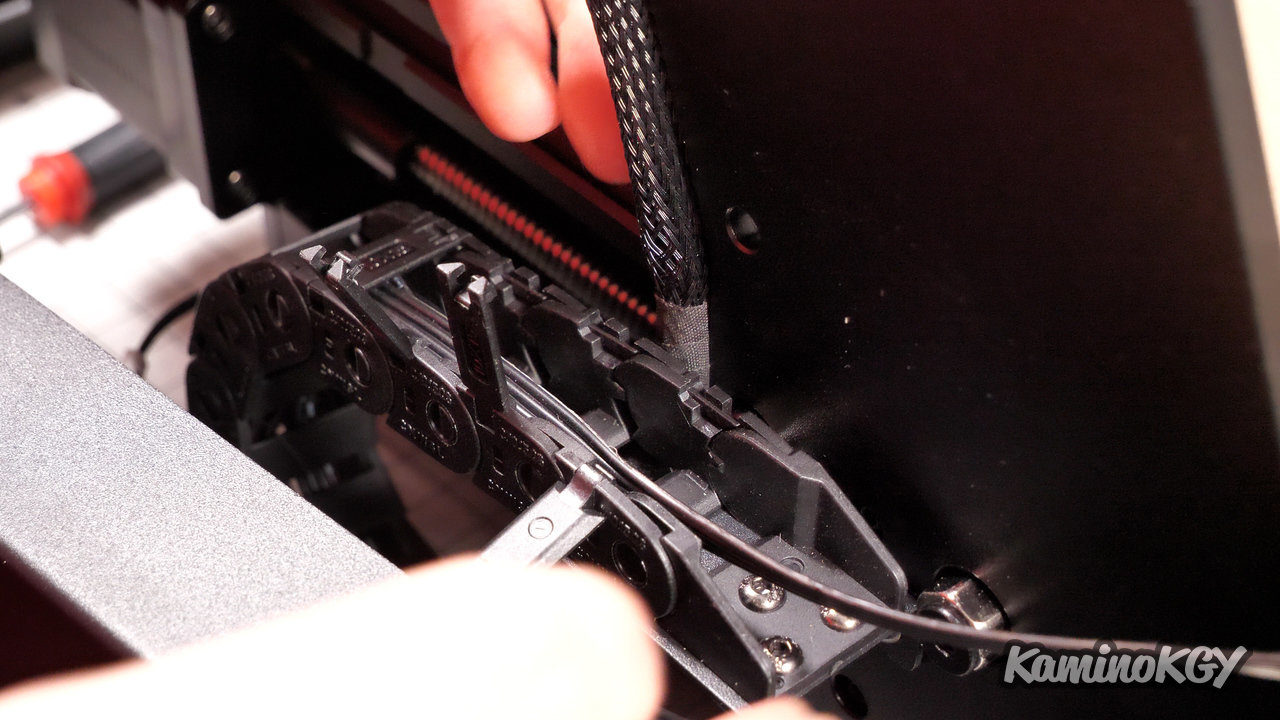

Regarding the assembly, you will have understood it with the number of pieces in the box, it will take a little time. And we start by making the basic structure by looking carefully at the direction of the profiles which are smooth on certain faces. We screw the legs and the 2 panels to make the work surface with threaded holes for the fasteners. We add the pre-assembled side, the Y-axis motor with the amount that will go on either side. We mount the carriage support for the Z axis. We fix the limit switches and the very large sheet with the wires. To pass the wires on the back, I undid a few notches to pass the wires and close, it's very practical not to have to iron all the wires. We put the wires on the back of the upright to prevent it from rubbing. We fix the cover and slide the cables for the motors with covers that make everything really clean. We install the screen, the support for the motor with the motor. And it's good we can finally start using the machine.
Features
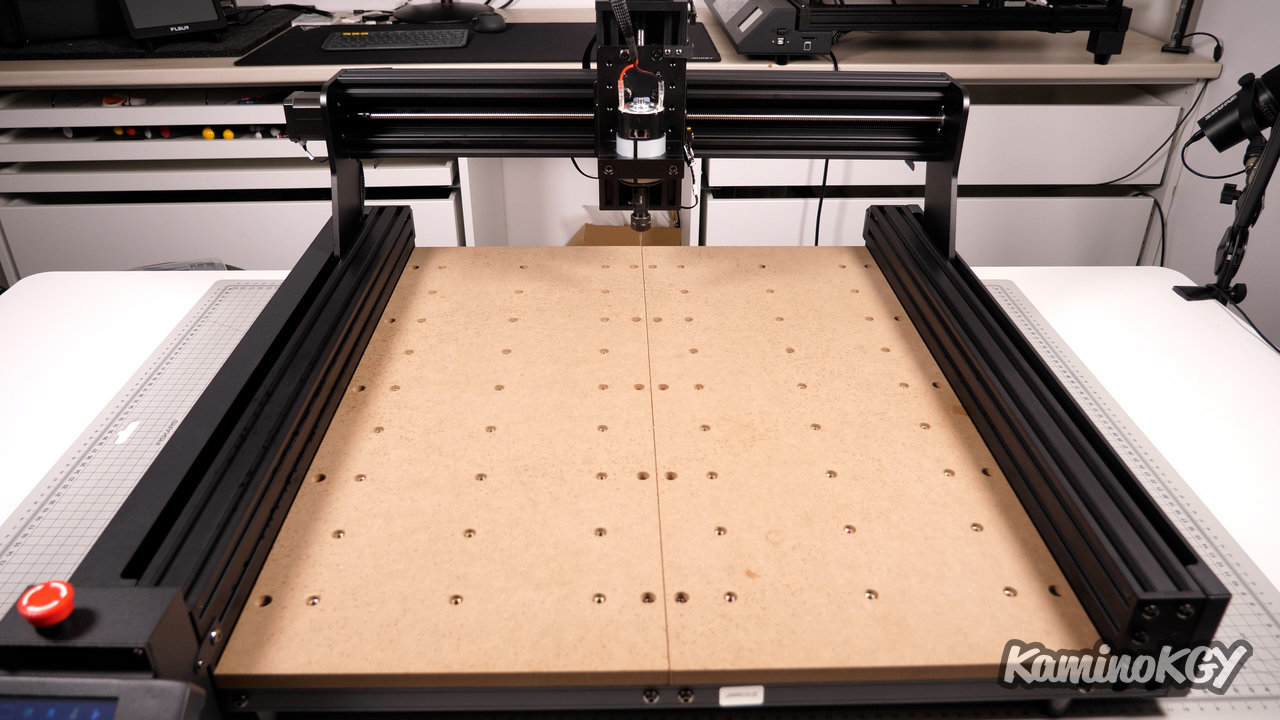
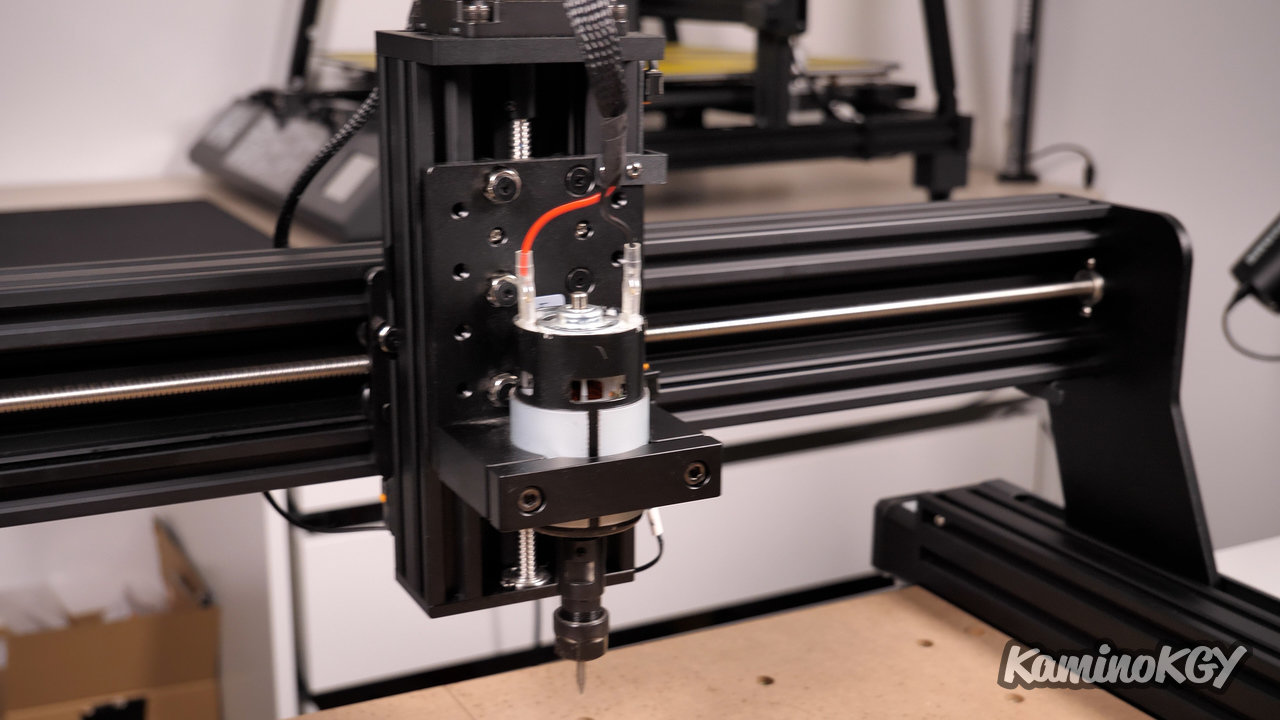
Regarding the characteristics, we have a working area of 460 by 460 by 80 mm in height, which is really comfortable. The precision is given for 0.1 mm on the X and Y axes and 0.0025 mm for the Z axis. We have an aluminum structure which is really resistant and which does not move. We have a basic motor of 120W.
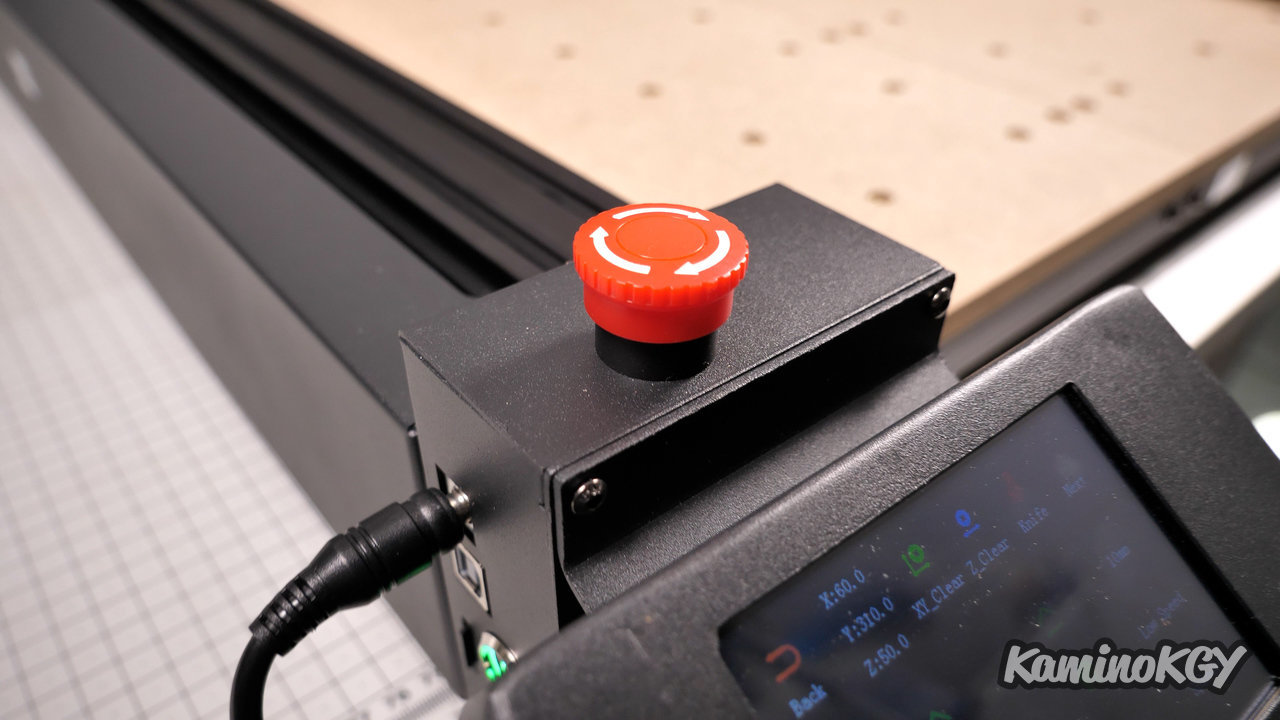
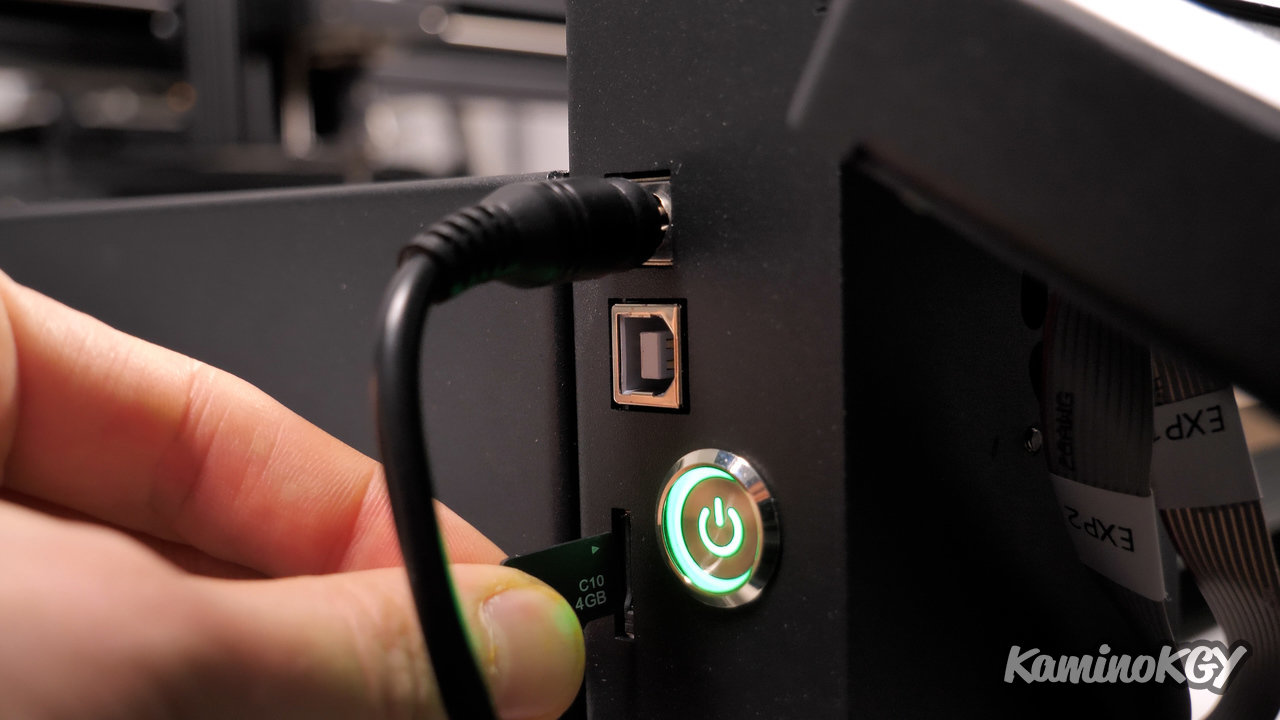
We have a touch screen that allows you to control the machine with an integrated ESP32 to use it in Wifi. Otherwise, you can always order it via the USB cable, but personally, I prefer to use the microSD card to be able to let the machine run on its own, with the PC off and without a cable that you could unplug without wanting to.
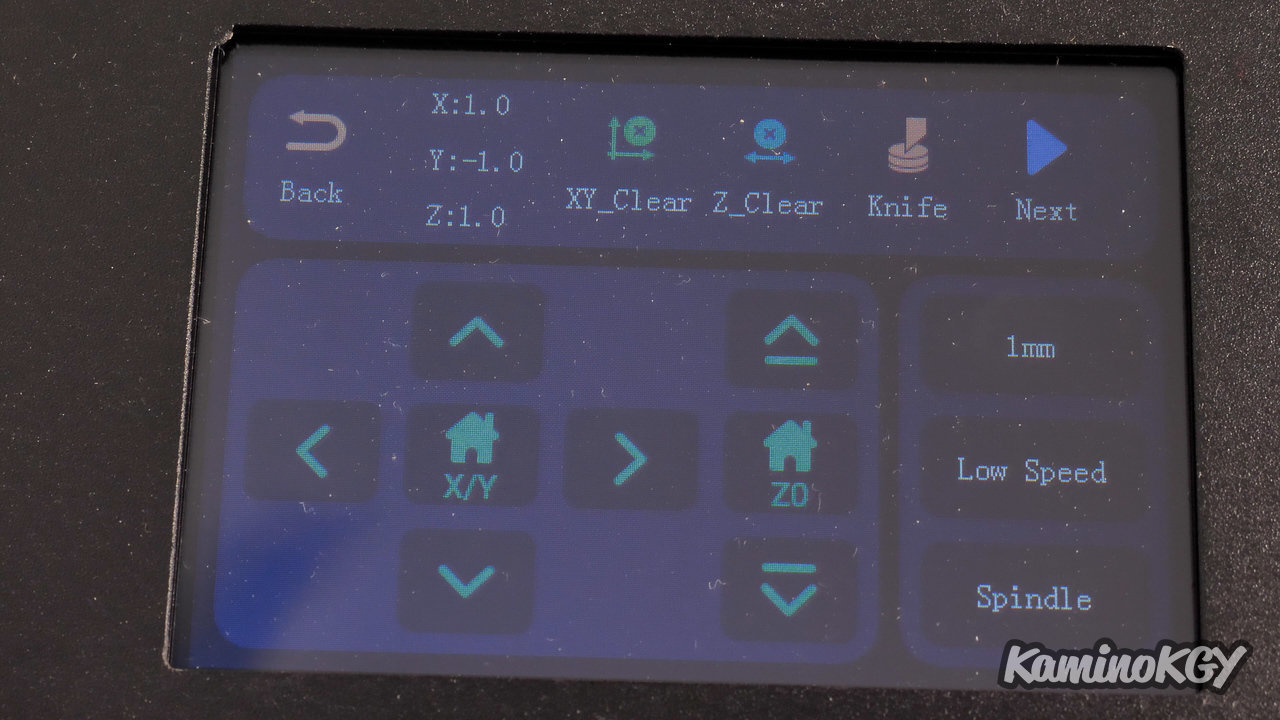
In the menus, you can move the tool, by setting the pitch you want, you can move forward, backward, up, down. We choose our speed of movement, and we turn the engine. We have the menus at the top to manage the position of the tool. Then, you can start the engravings from the microSD card. And finally, we have the information on the map.
Sound level
I find that the axes make a lot of noise when moving, as we have A4988 drivers. But in the end, when you record you don't hear them that much. So, can we really blame him, not sure, but it might save a little anyway. The simplest thing is that I let you see what happens with a sound level meter that is about 40 cm from where we are recording.
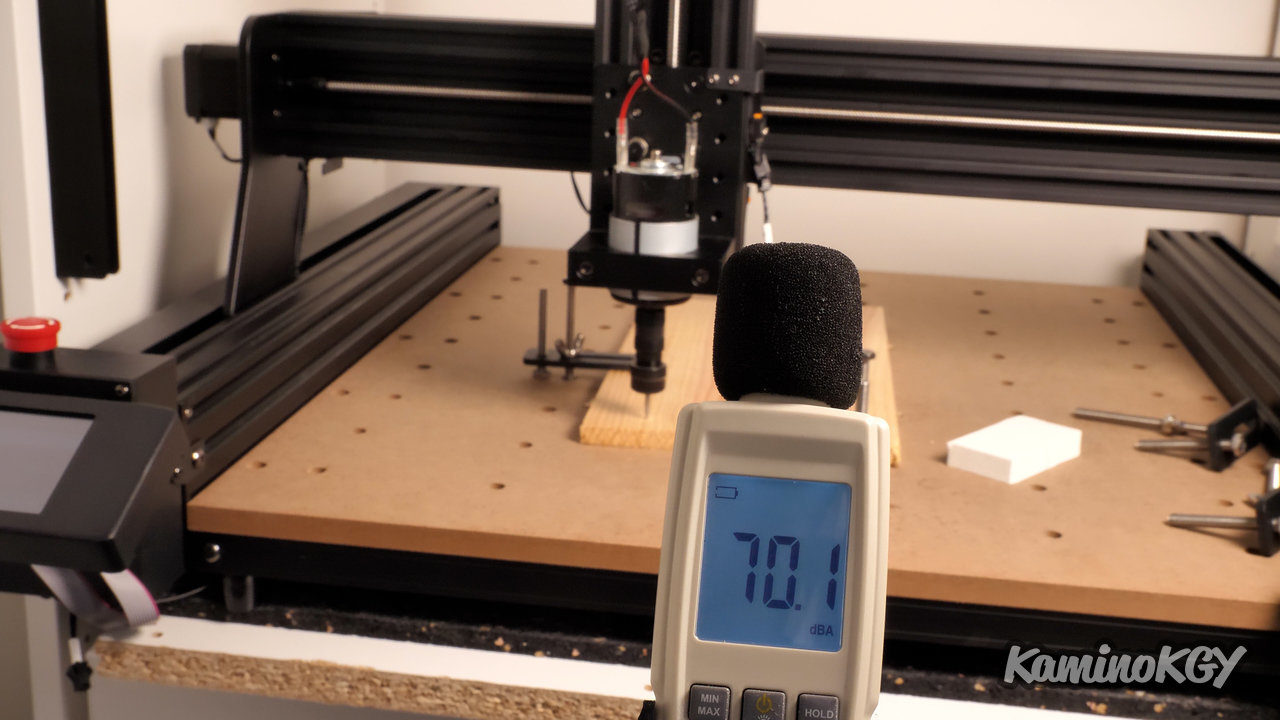
So I think you'll understand that it's going to be complicated to have this in the living room and watch TV without subtitles.
Software
On the software side, I used Easel from Inventables on its Pro version as long as it is in trial version and I will see later for the free version. Knowing that if I understood correctly, what we mainly lose is the 3D view and a little customization or saving of profiles to switch from one machine to another. So if it's to use the machine from time to time, it shouldn't impact you much.
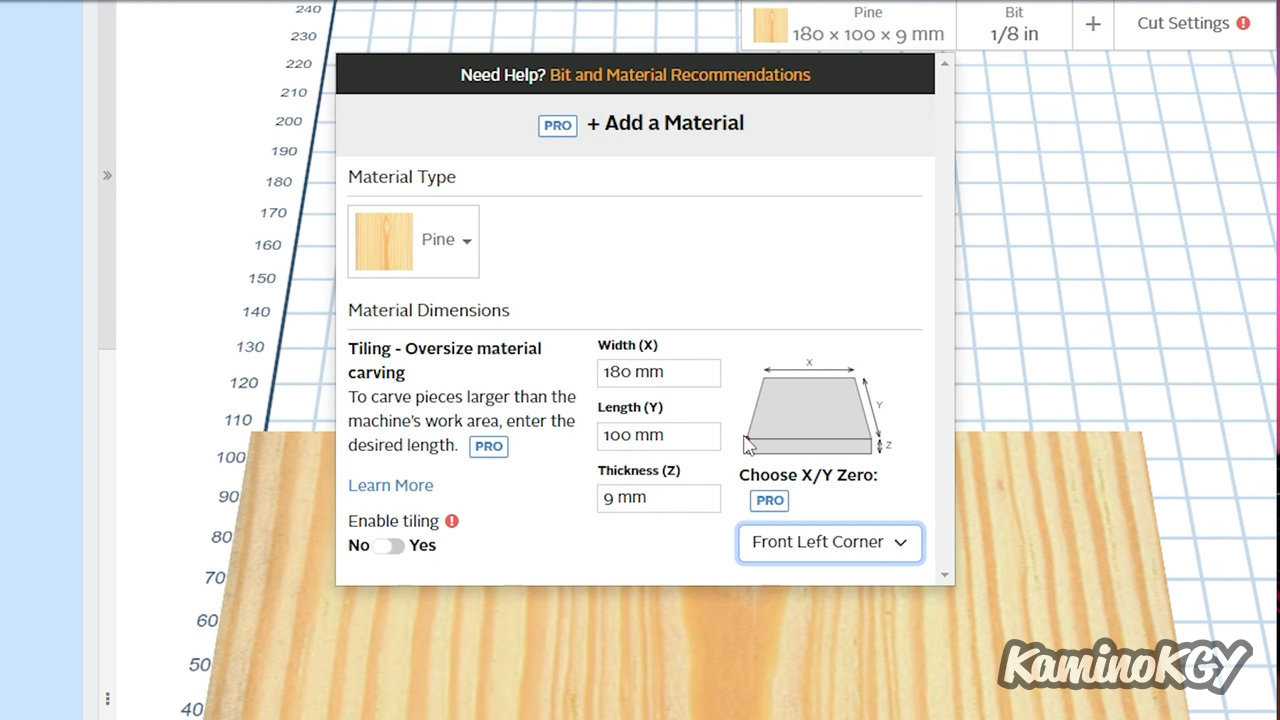
And to use the software with our TTC450, we start by entering the parameters of the materials we are going to work with. I leave the default wood here, we enter the dimensions. For information, you can switch to mm at the bottom left of the screen.

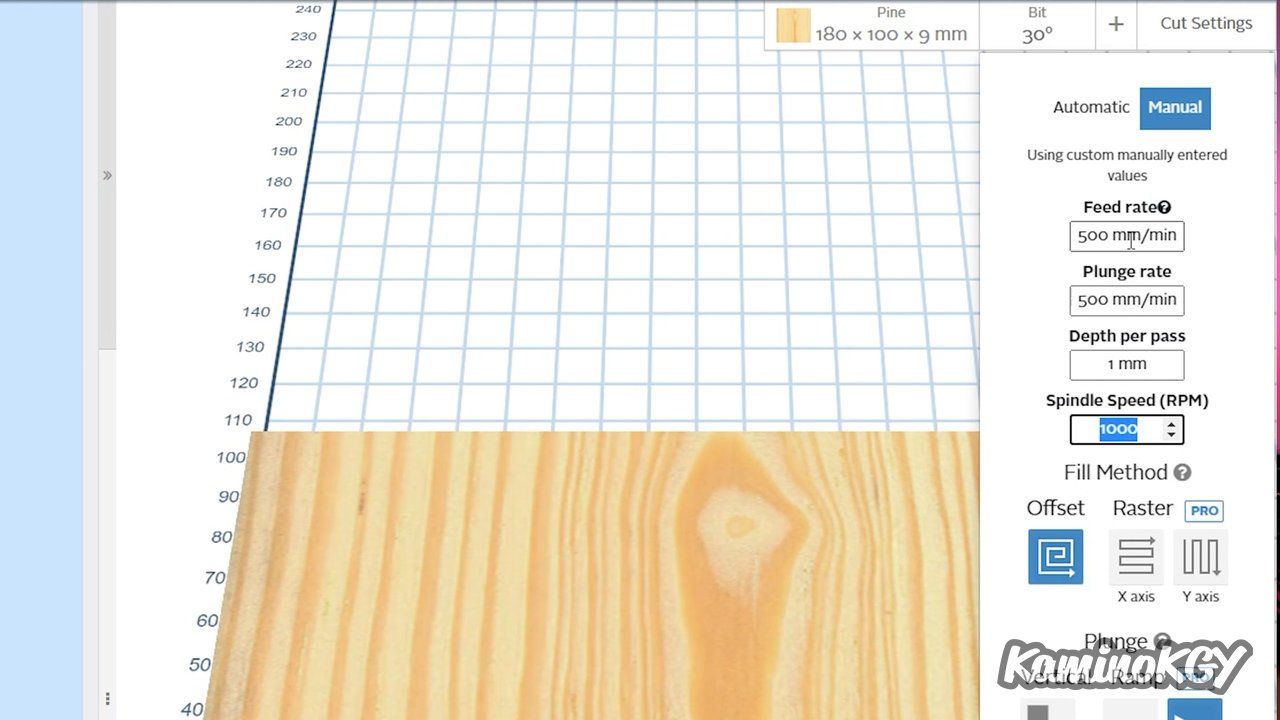
We choose the type of bit we will use, here it is the V Bits at 30°, we have 10 with the machine. And finally in the cutting parameters, we enter manually, 500 mm/min on the first 2 fields, 1 mm per deep pass and 1000 RPM. No need to change the rest.
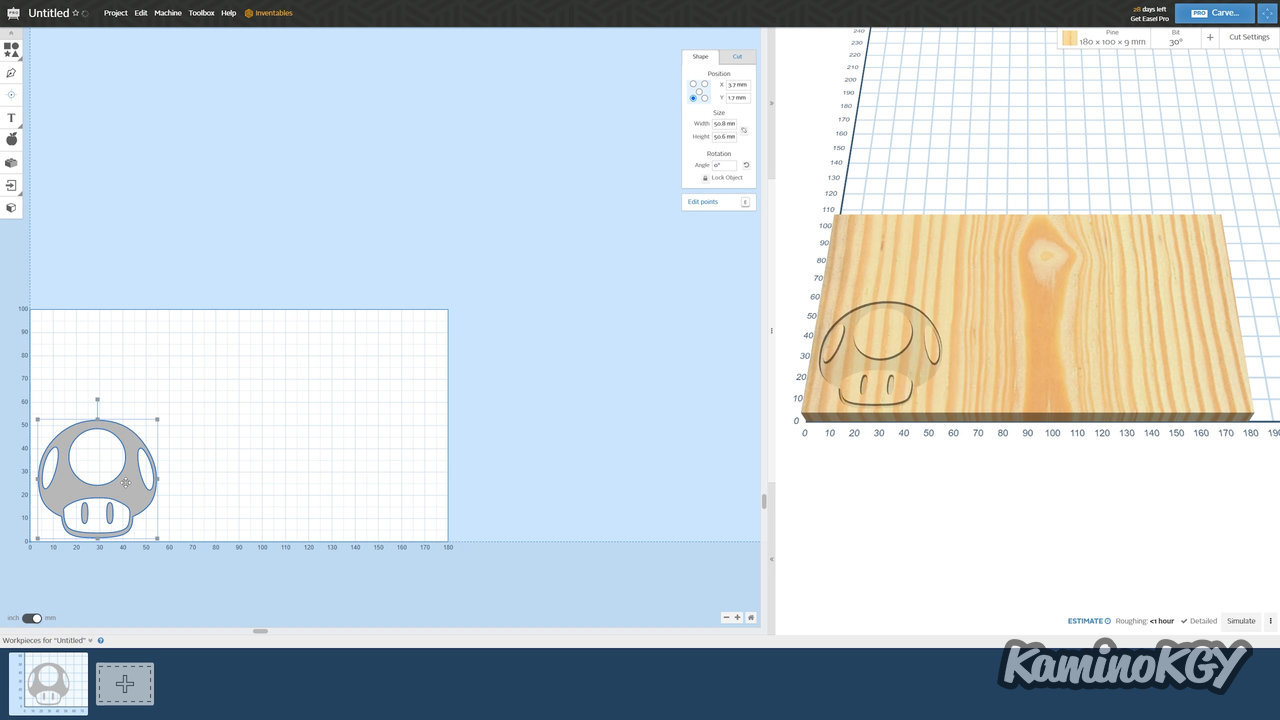
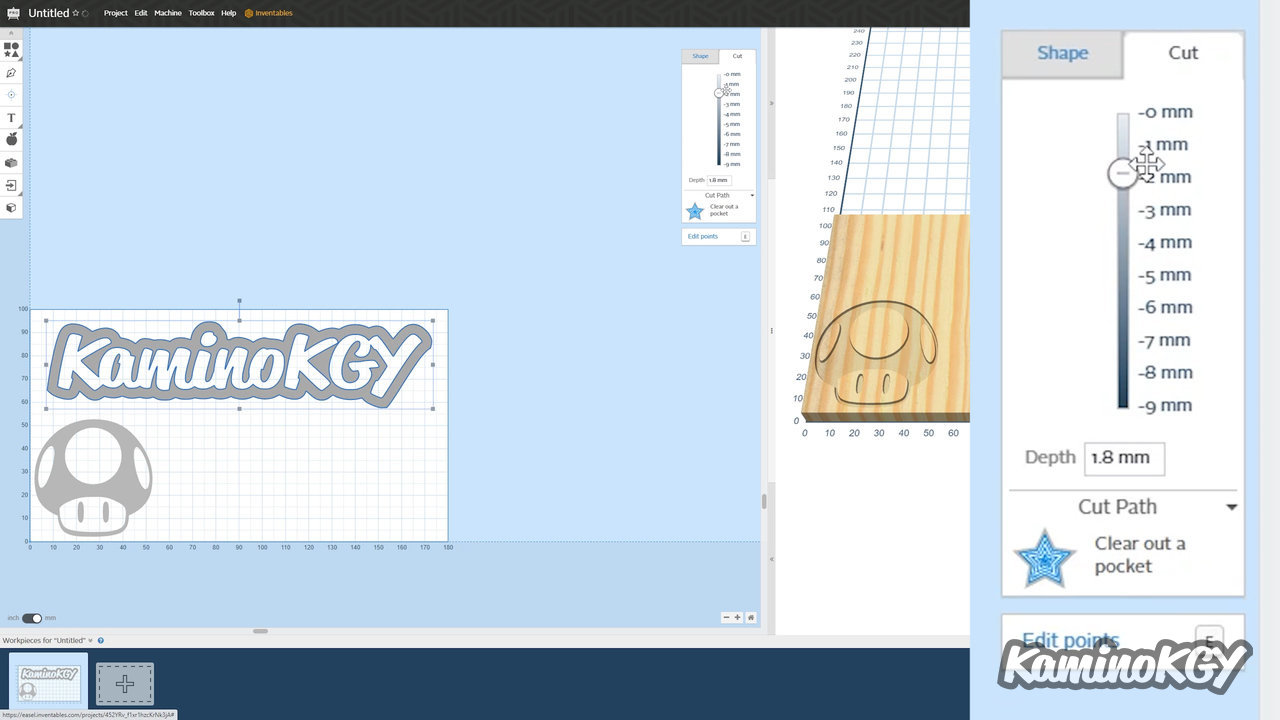
You can start adding images from the available library. There are loads of pictures if you want to have fun with what they have to offer. I will add my nickname in SVG. We can see that the outline is black, not compared to the default depth. I resize it and move it where I want. I reduce the engraving depth from 9 to 1.3 mm.
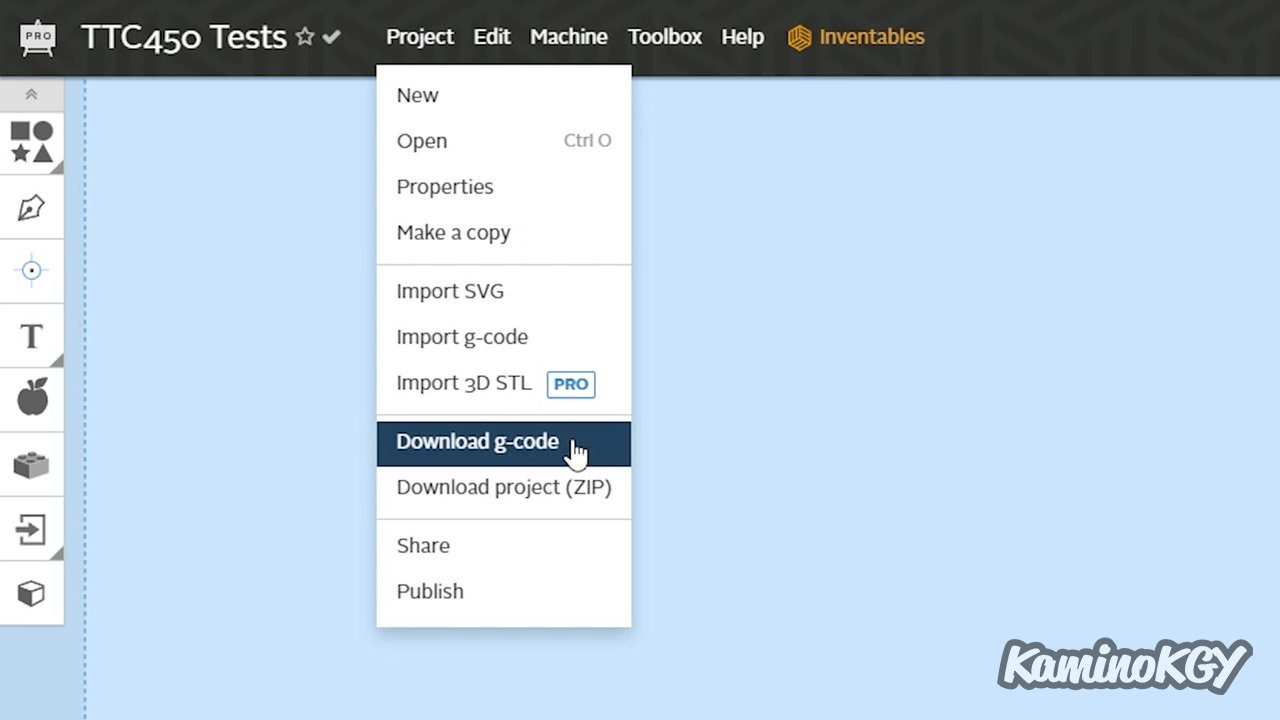
I add a square to test if the engraved plane is smooth or not. I also put another little panda image, because it's fun. And we just have to export everything in gcode on the microSD card that I will insert in the burner.
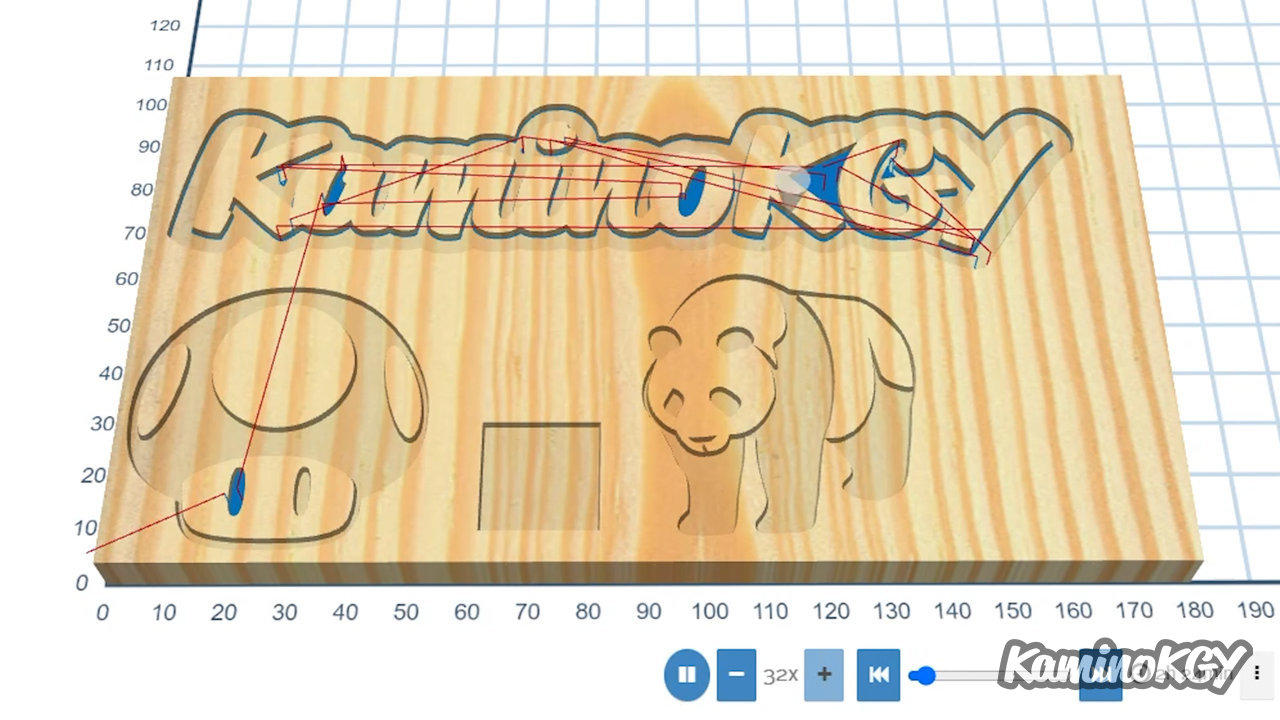
With the 3D view, you can preview the engraving sequence. The estimated time is indicated just below with 2h24 here.
Test prints
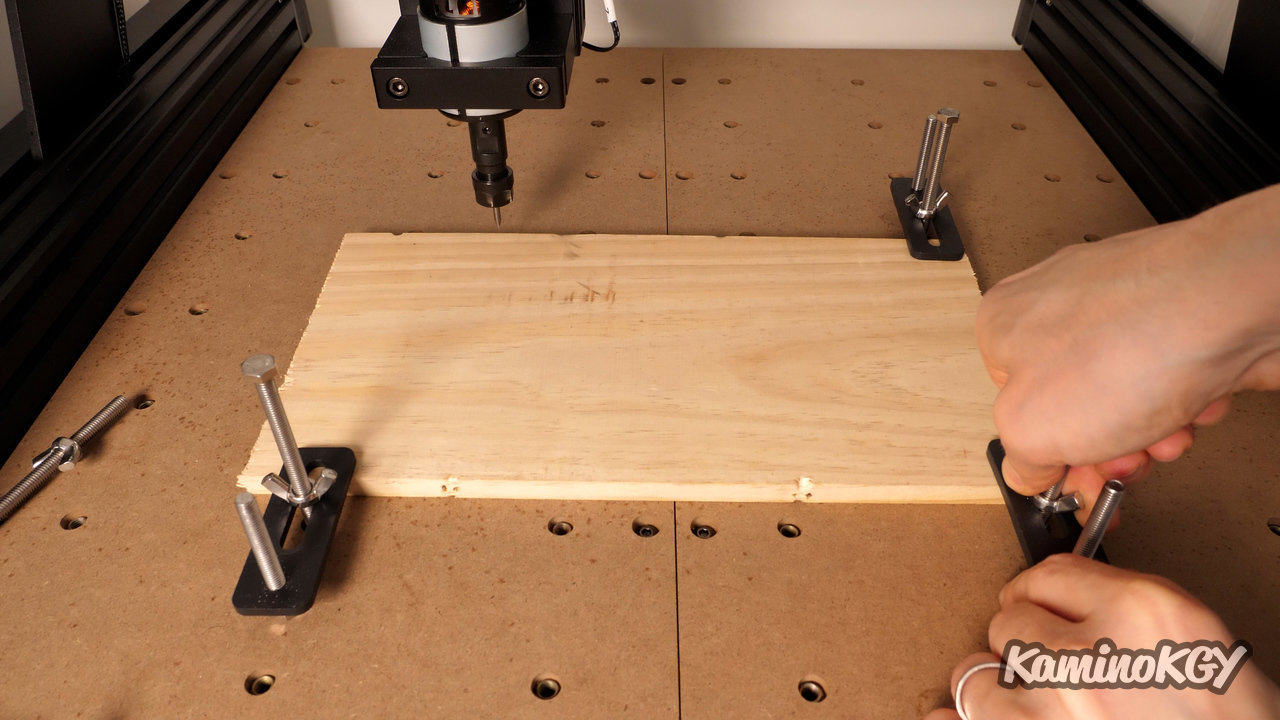
We are now going to install the wooden board that we are going to engrave. To hold it in place, we have what I will call clamps. The top of the wood is adjusted on the fixed screw. The mobile screw is screwed into the support and the wing nut is tightened. We only put several to be sure and there, frankly, it will not move. It's really very practical as a fastening system.
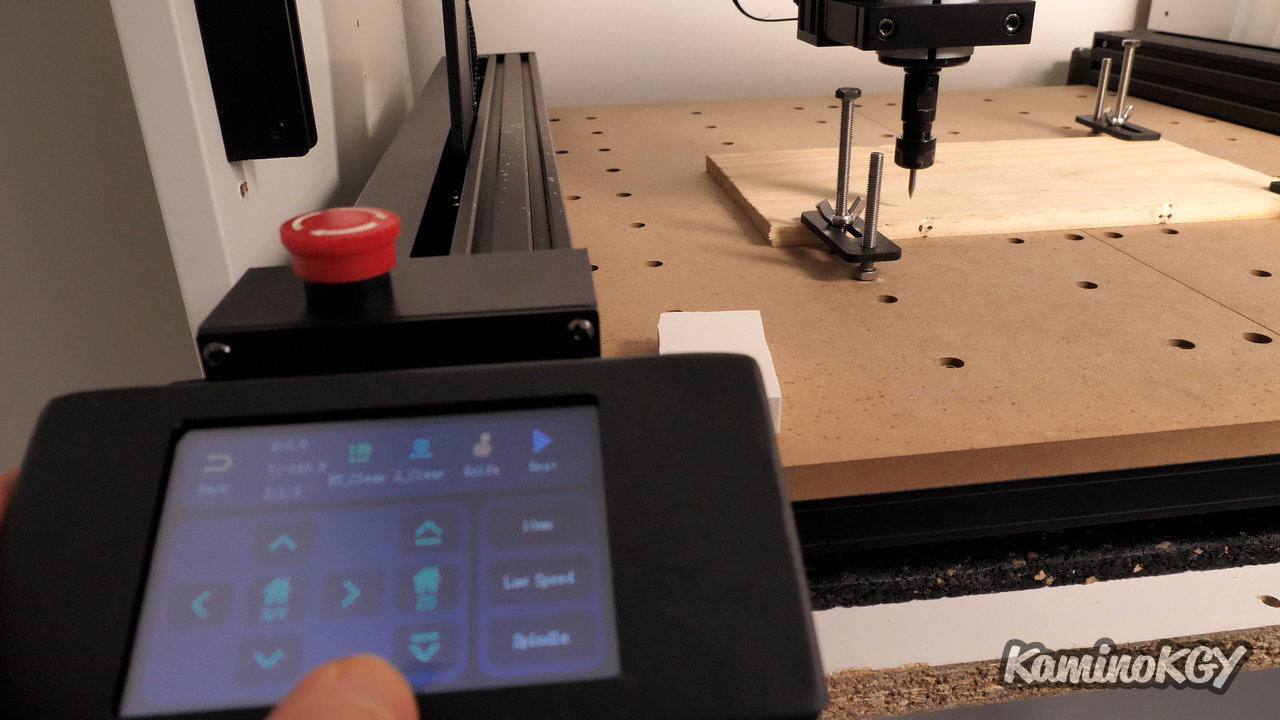
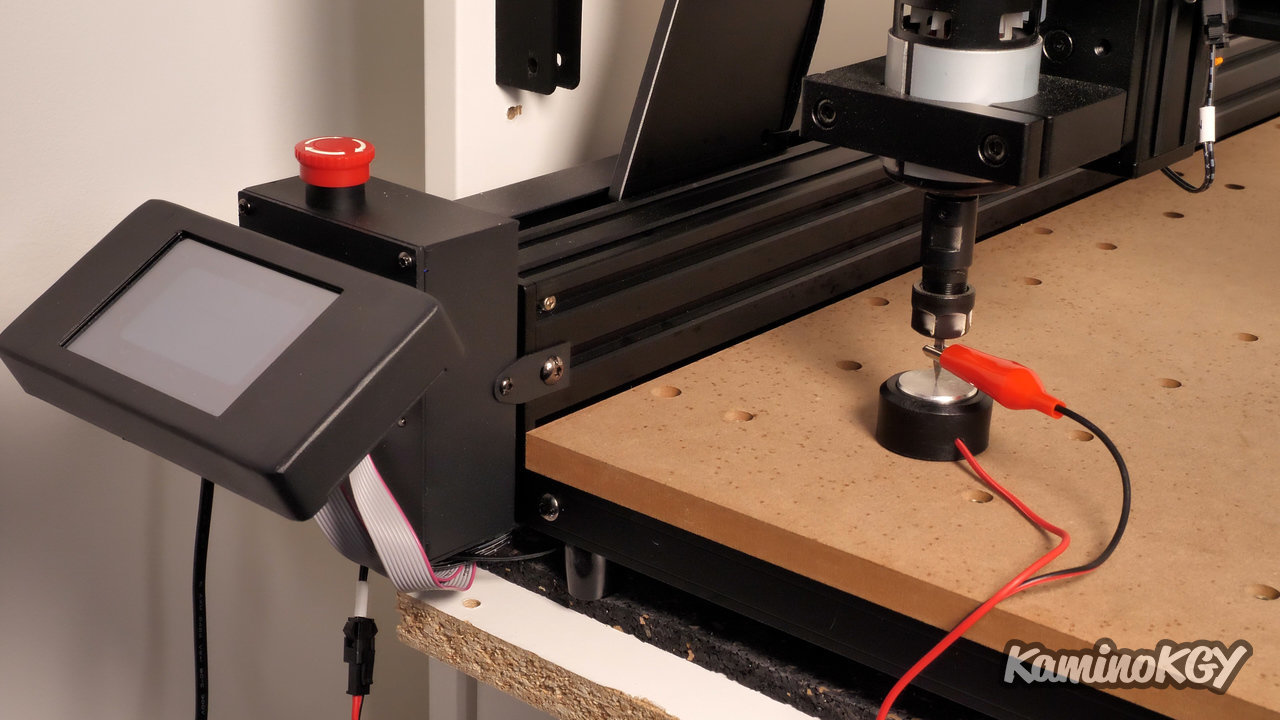
Then, we come to adjust the position of the tool using the touch screen, no need for a PC, we go down to come just above the wood and we save this position as a starting point. And if you wish, there is a tool to do the upgrade automatically. We plug it into the cable under the motherboard, we attach the clamp to the tool. We go to the Knife menu and wait for it to be finished.
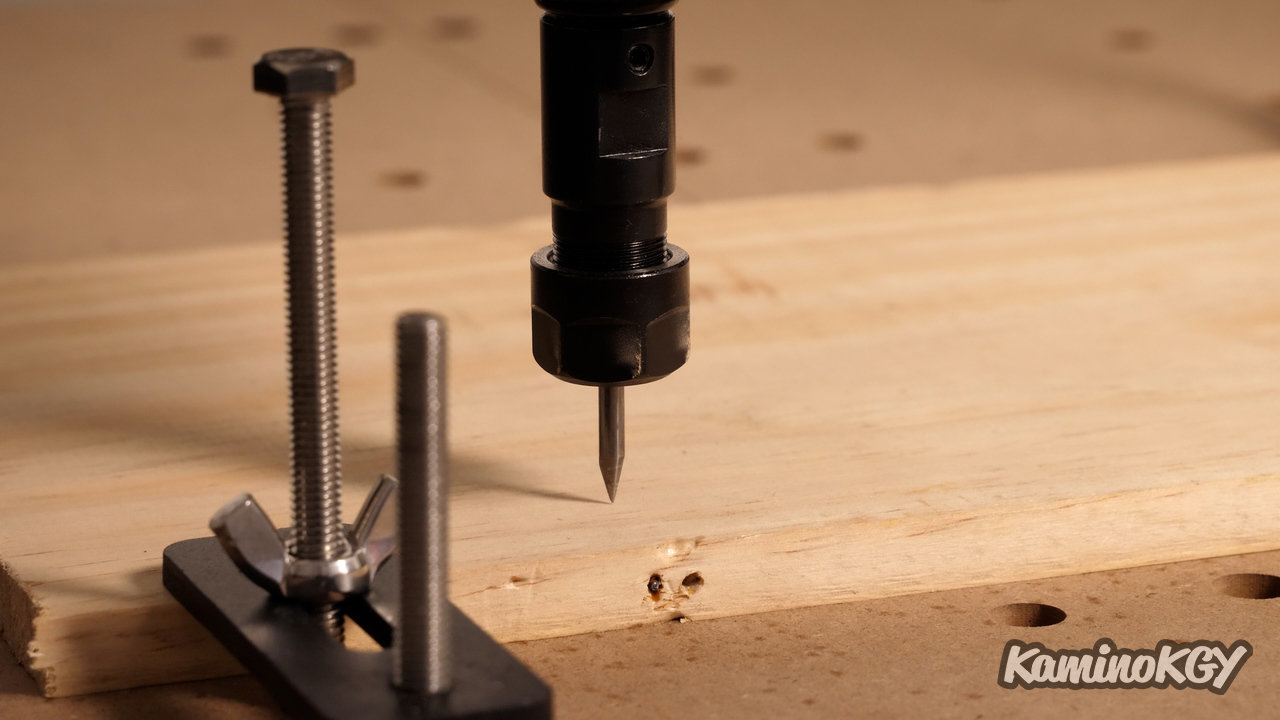
And you will have to check that your tool goes with the retaining screws. And when in doubt, there is always a way to tighten them further. As the machine is raised, there is a lot of leeway.
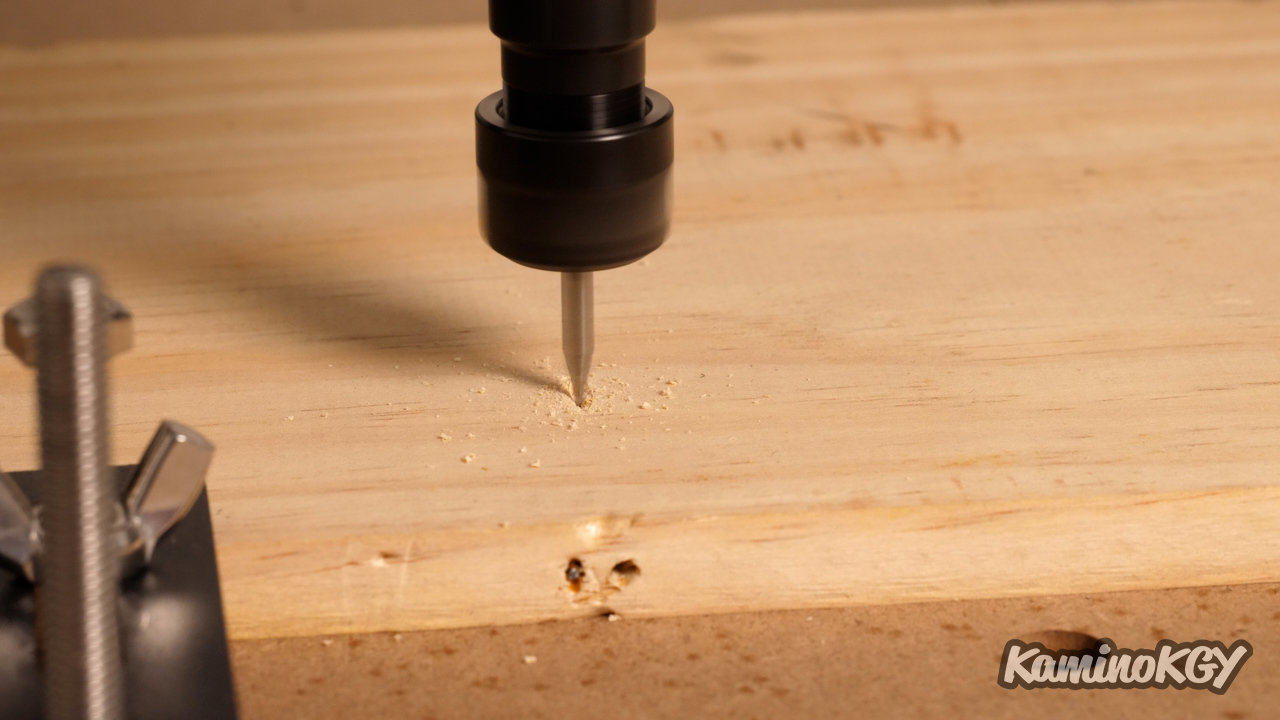
We can now start burning from the screen. And after checking the space you have, do not hesitate to protect yourself from possible projections. By obviously wearing glasses, especially when you come to watch the progress closely.
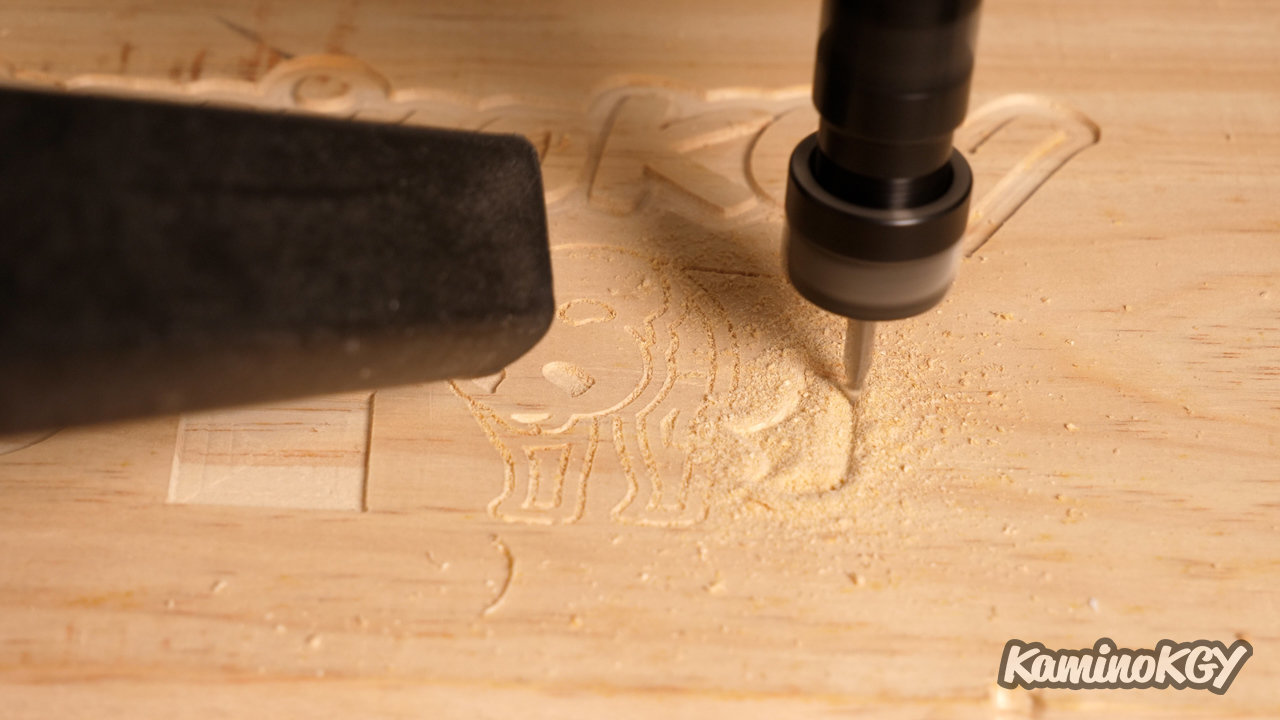
I advise you to vacuum a little from time to time so that the tool can work more quietly and see the result.
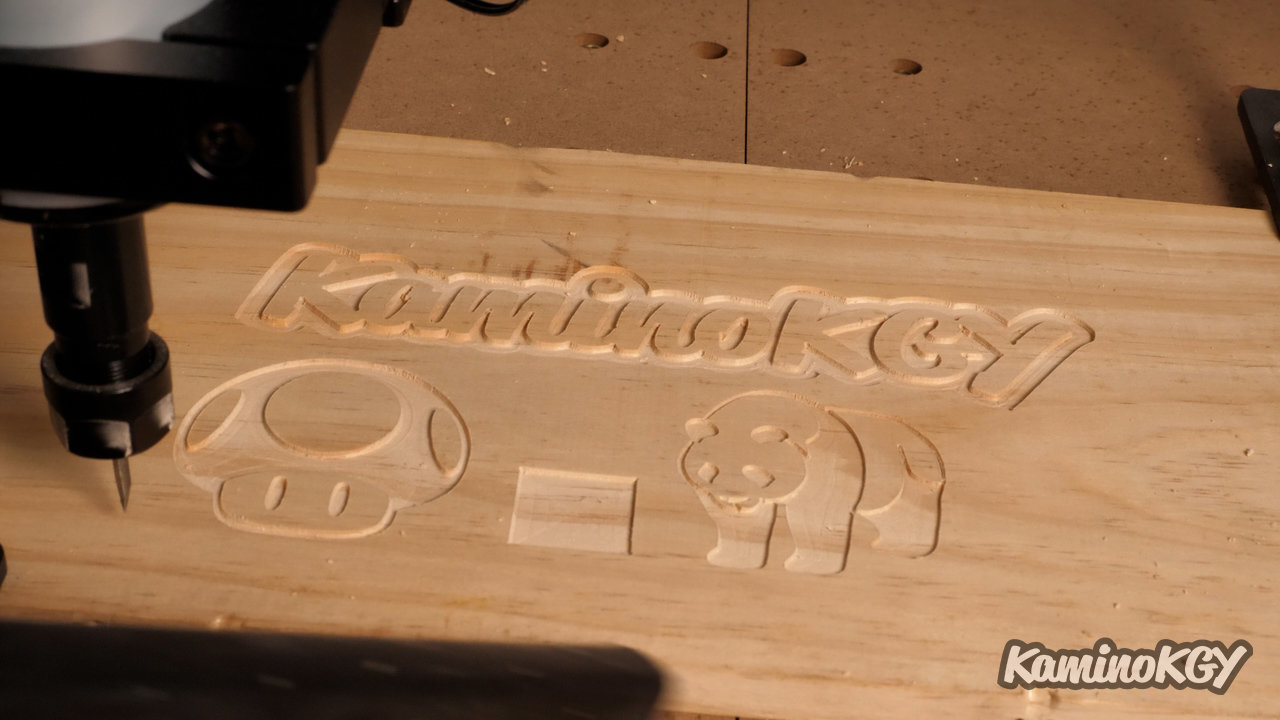
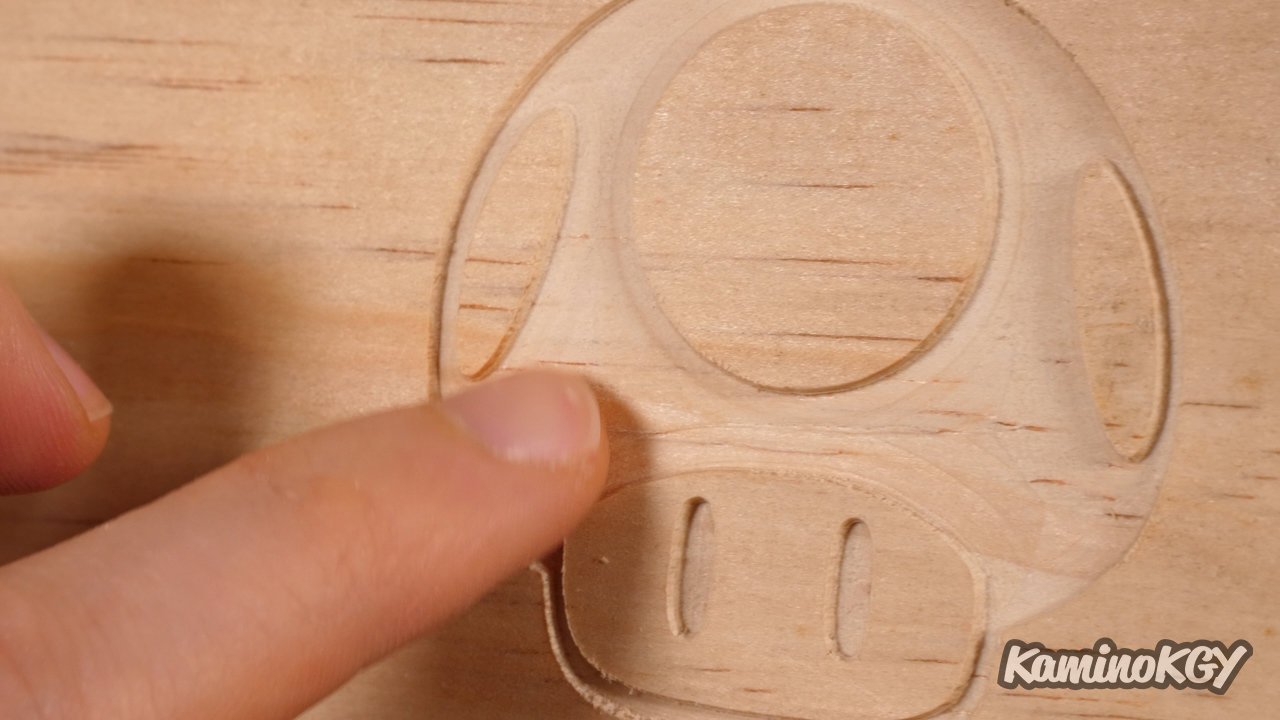
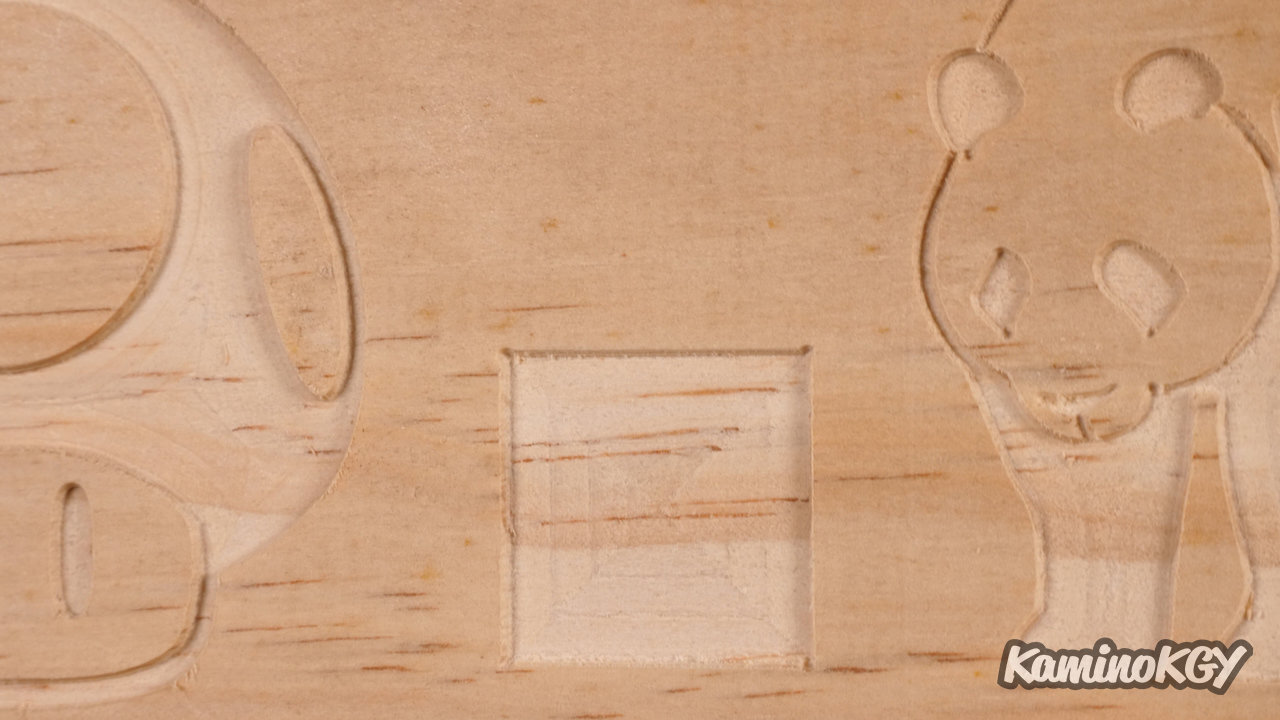
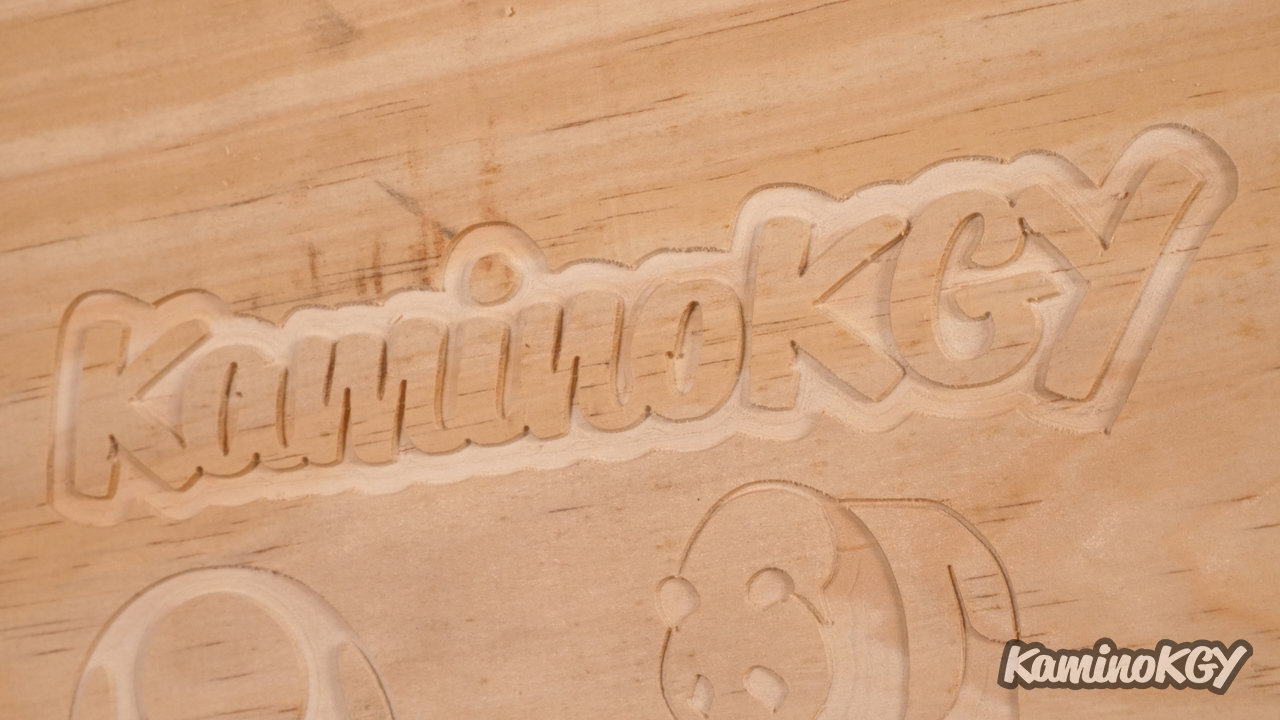
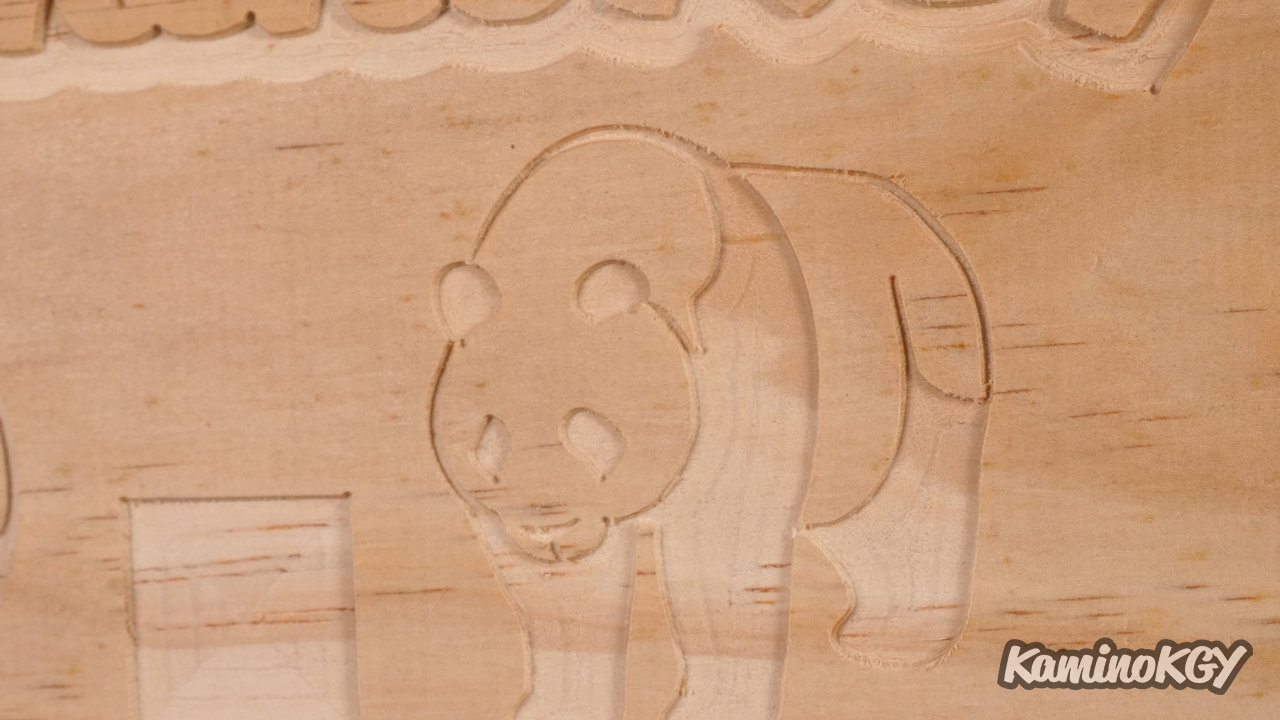
And frankly the result is really good. I don't necessarily have many elements of comparison with other machines at the moment, but I must say that I am satisfied with the result. You can see a few lines on the smoother areas and some chips on some edges, especially where there were a priori few passages, but I still find it really good. Especially when you think you are making a flat surface with a pointed tool. The KaminoKGY looks good. We might get even better results with a flat tip tool on the end, on those areas or maybe even just re-passing, even if that would mean blowing a lot of air before we get to those some dust sticking out.
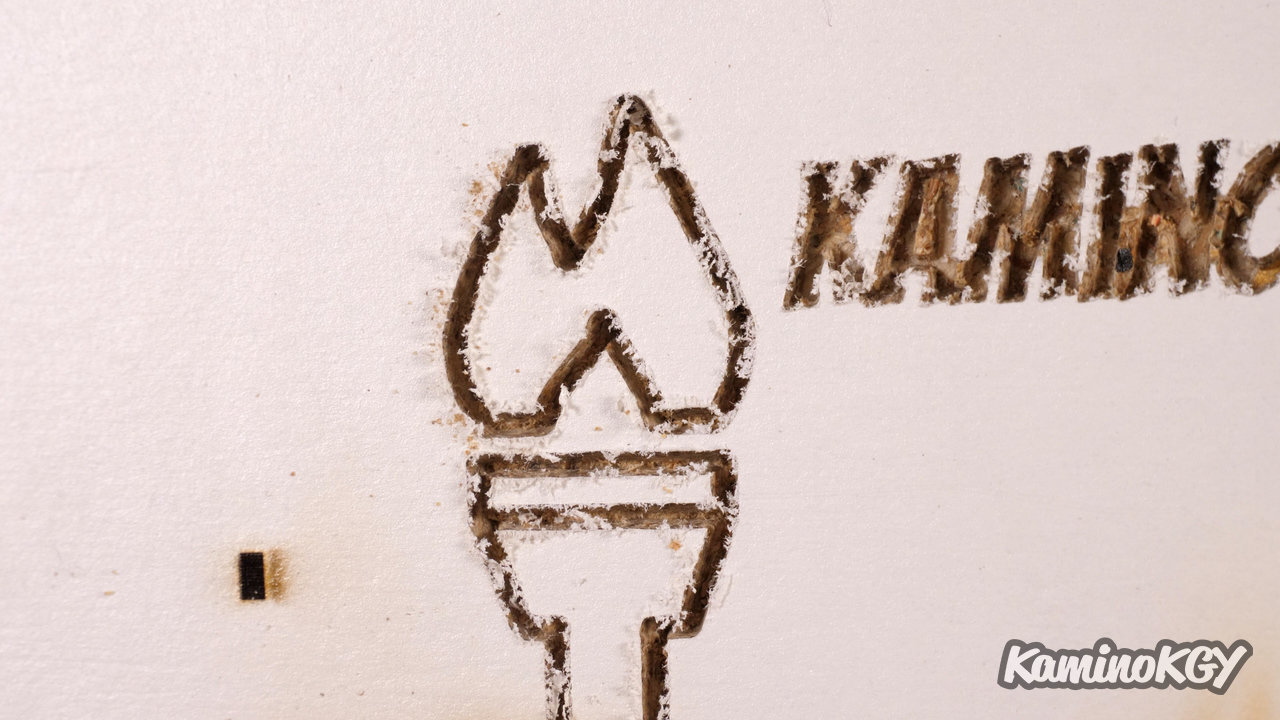
For information, I had tested on chipboard. The engraving in the wood is quite good, but it is rather on the outer surface where we have the paper which tears and remains in pieces attached. I think it would be more work to clean it afterwards, it's better to stay on raw wood, even if it means painting it according to what you want to do.
On the tests, I stayed on fairly simple things for the moment with rather flat results and digging on plans. And later I will see to make relief engravings with bumps, hollows.
To summarize
This is clearly something that I will explore, I still have a little trouble seeing which types of bits are best for which types of work and that for some projects, it will take several to function of the phase we are in, to rough or do the finishing touches.
I'll see if there's a way to get them back, but I'll do another video to show the accessories available for the machine, such as the 500W motor.
Salut salut !