Today we're going to test the A5 M50 Pro laser engraver from Atomstack & Geekcreit.
Unboxing
In the box, there is immediately a very practical metal plate to protect the support on which the machine is placed, to avoid damaging its coating, or to provide additional protection. Then, there is a well-stocked documentation. We have the feet that will be screwed into the corners, the screws, some supports to engrave, an HDMI cable for the touch screen, a USB cable, the touch screen, the power supply and the laser module, very good workmanship, which consumes a maximum of 36W, for an optical power of at least 5 W. Then, we have the aluminum profile of the bottom, of the front, the X axis with the carriage, the graduated side profiles, and finally the motherboard .
Assembly
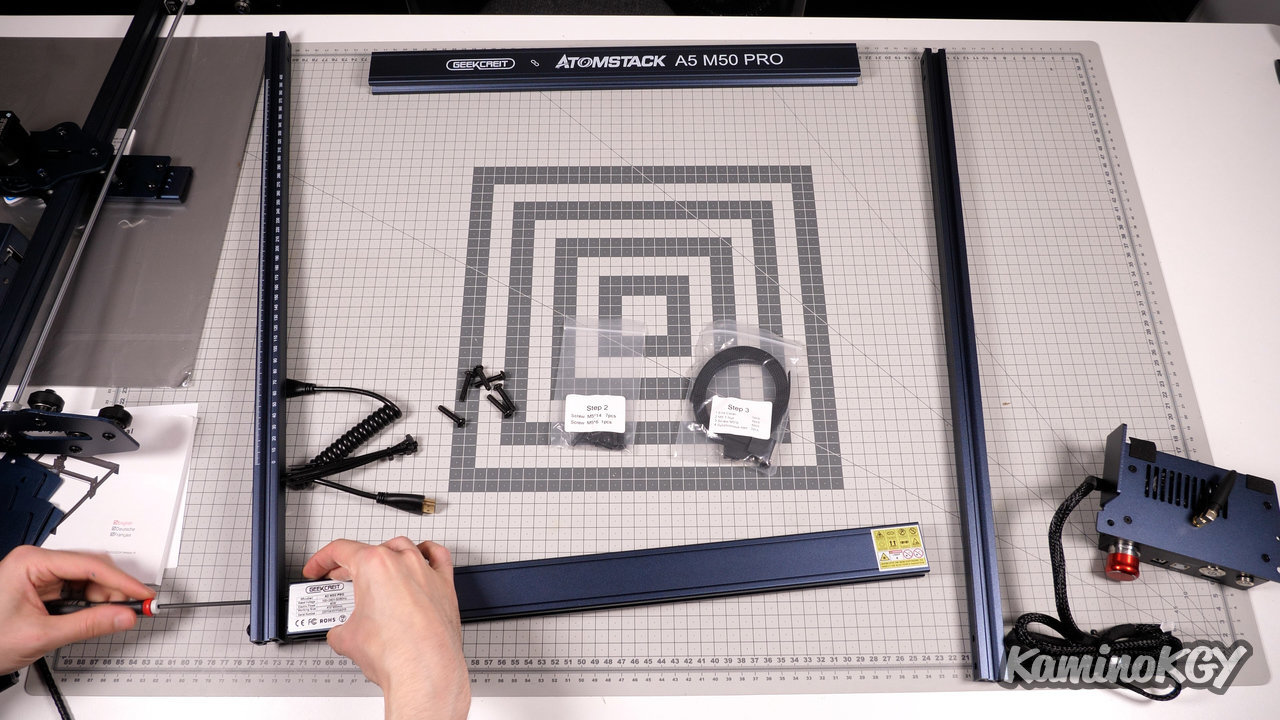
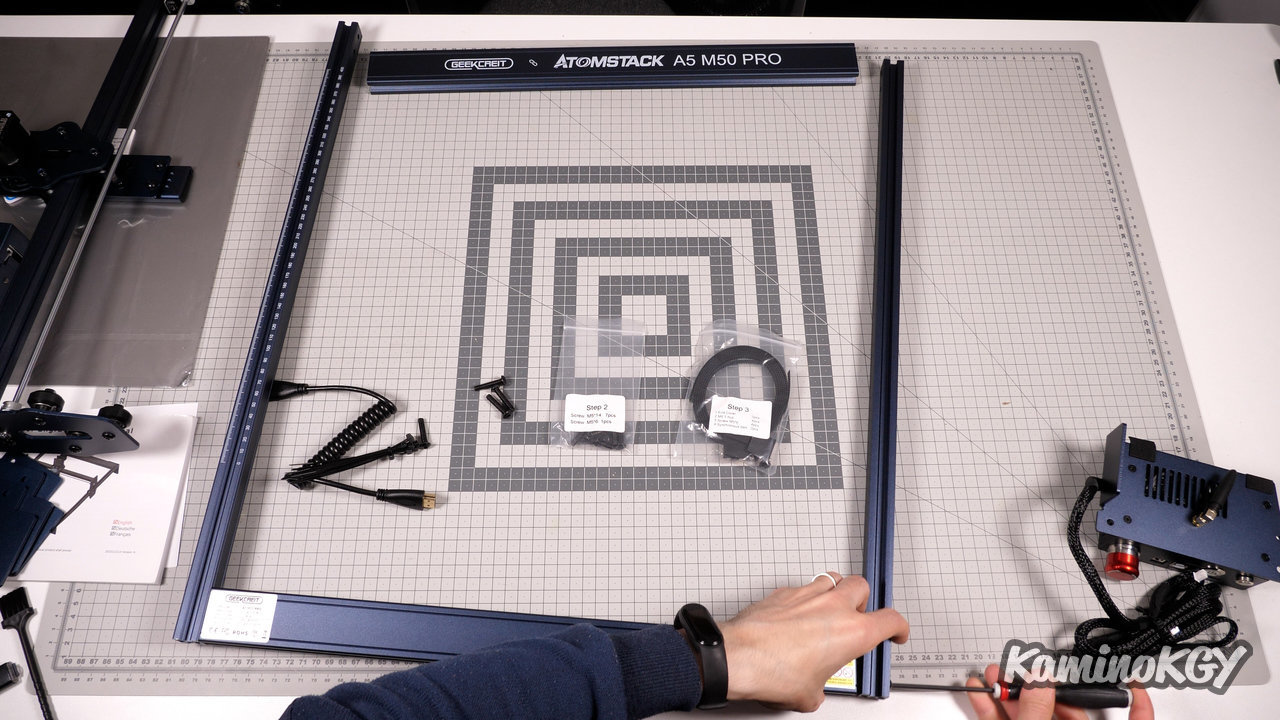
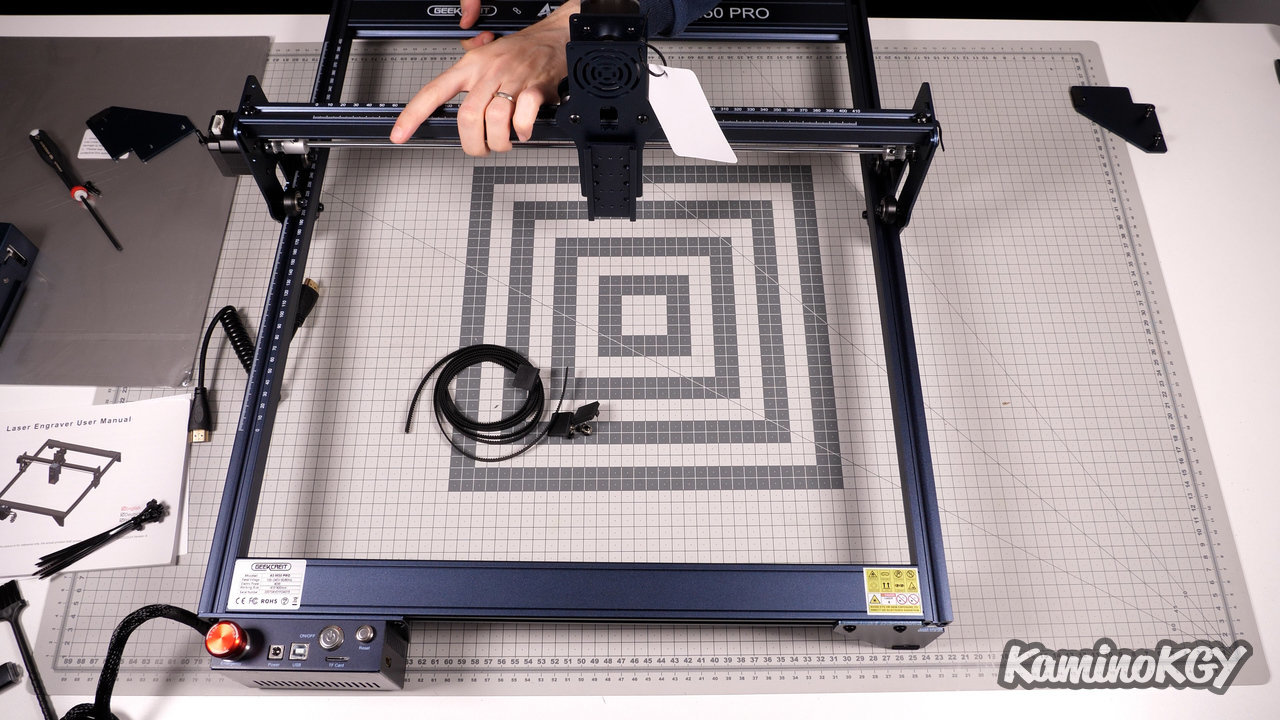

Concerning the assembly, all the bags are numbered step by step, with the assembly manual. We start by screwing the 4 corners of the machine to make the frame. We just slide the X axis. We screw the feet, as well as the motherboard. Slide the straps on each side, stretch them, and hold them in place with a screw at each end. We install the cables, and it's good, we can start using the machine.
Features
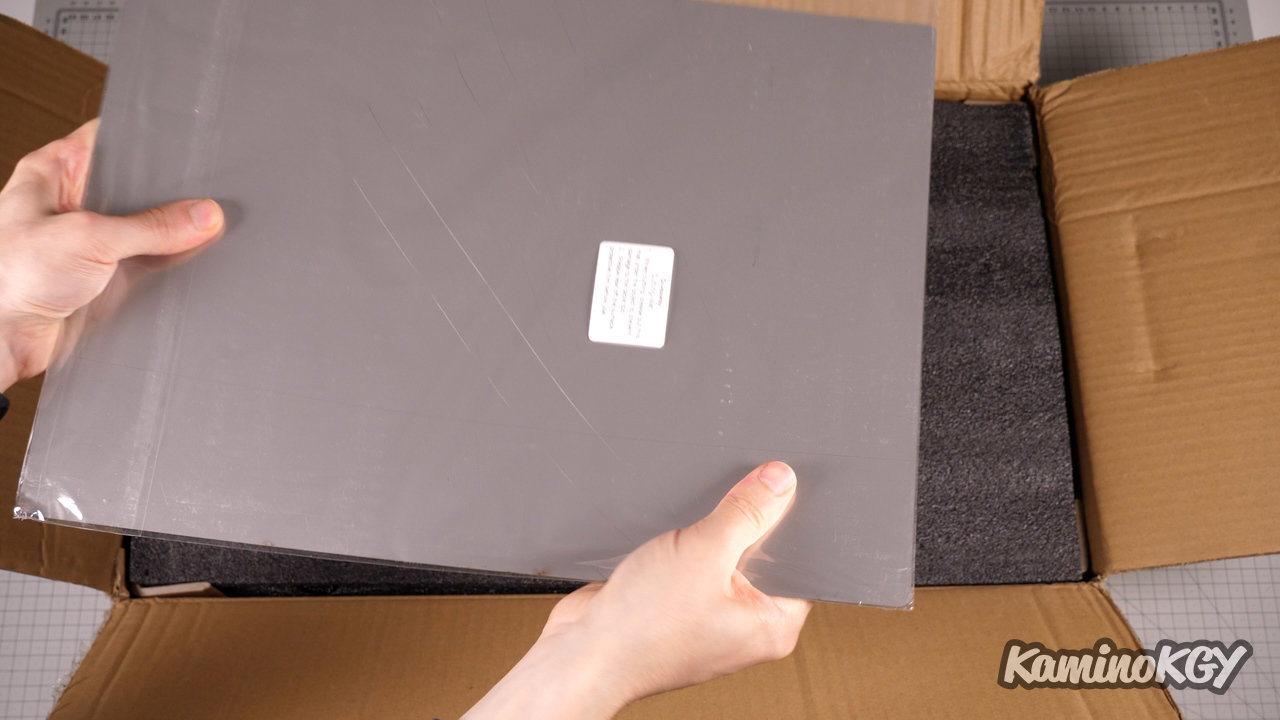
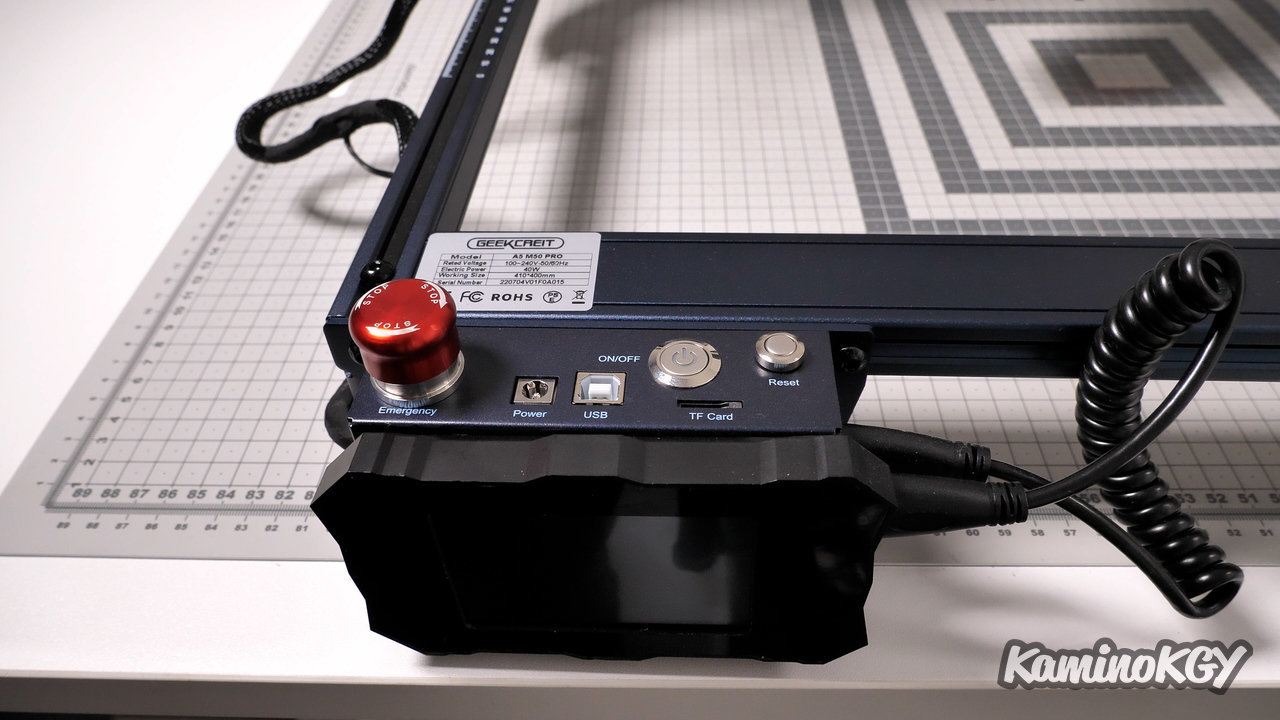
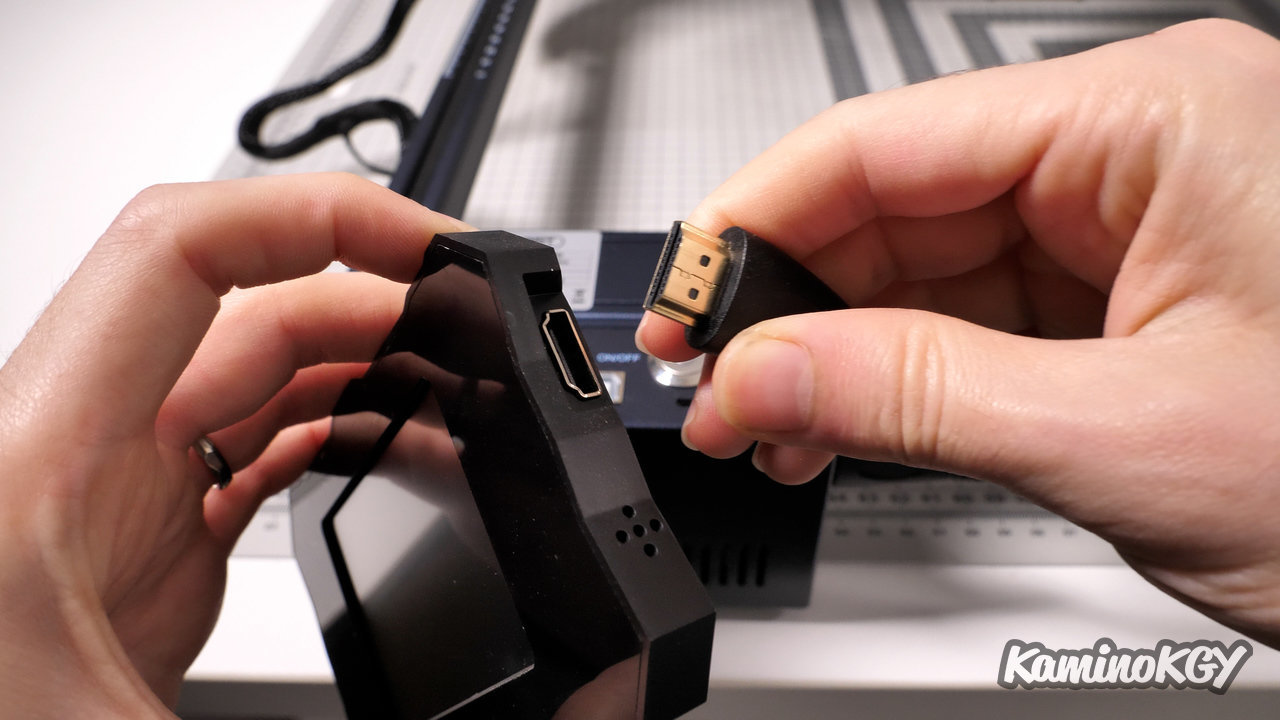
Regarding the characteristics, the working area is 400 by 410 mm. We have a 32-bit motherboard. The laser module has an optical power between 5 and 5.5W. The touch screen, which will allow the machine to be used without a PC, using a microSD card which is inserted on the top, has a diagonal of 3.2 inches, it is connected by an hdmi type cable , and sticks magnetically to the front of the motherboard. We have a USB port to precisely control the machine via a PC. And for safety, we have a clearly visible and accessible emergency stop button. We have a protective plate to put under our work area and that's really good because we almost never have one delivered with the machine. The Autohome possible to always have the same starting point from one job to another. Which is not bad when you want to launch several jobs in a row.
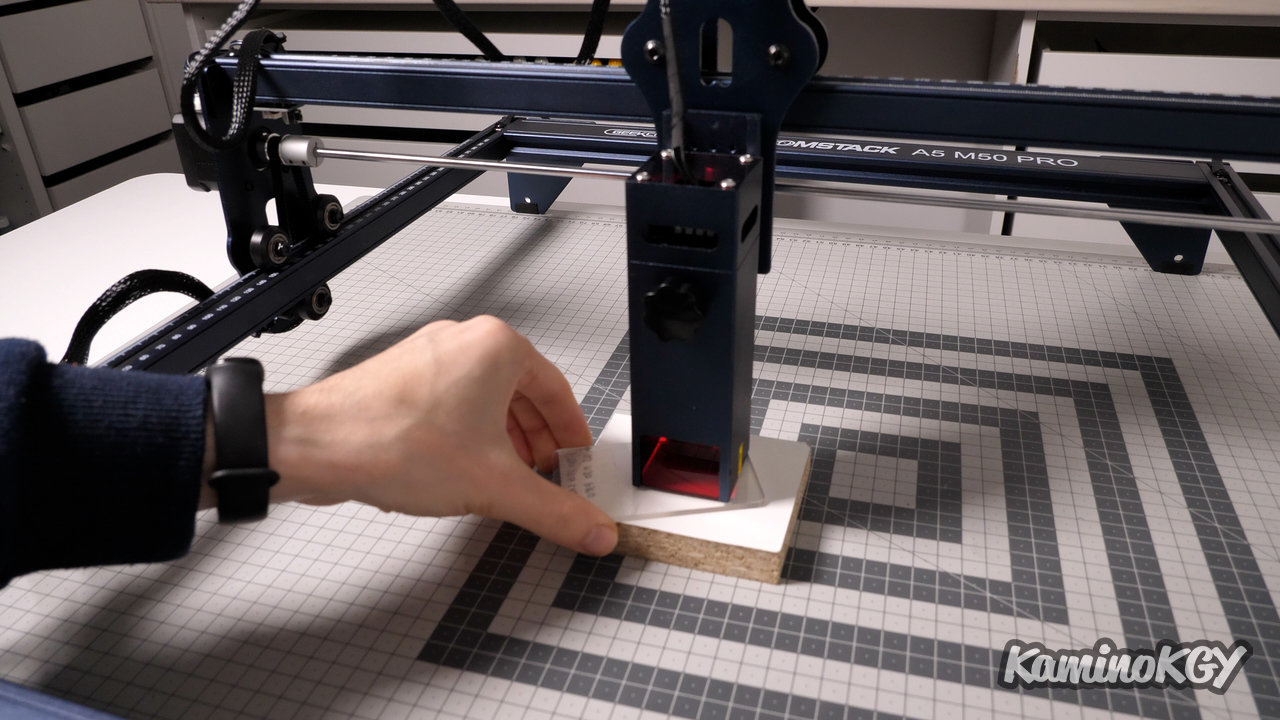
Adjusting the focus of the laser is done by loosening the small wheel on the front of the laser module. Adjust the level by placing the wedge underneath and tighten the front screw. The process is very simple, the wheel more easily accessible than many other machines, even if we don't yet have the precision of a carriage that goes up and down with an endless screw, it's a good compromise.
>
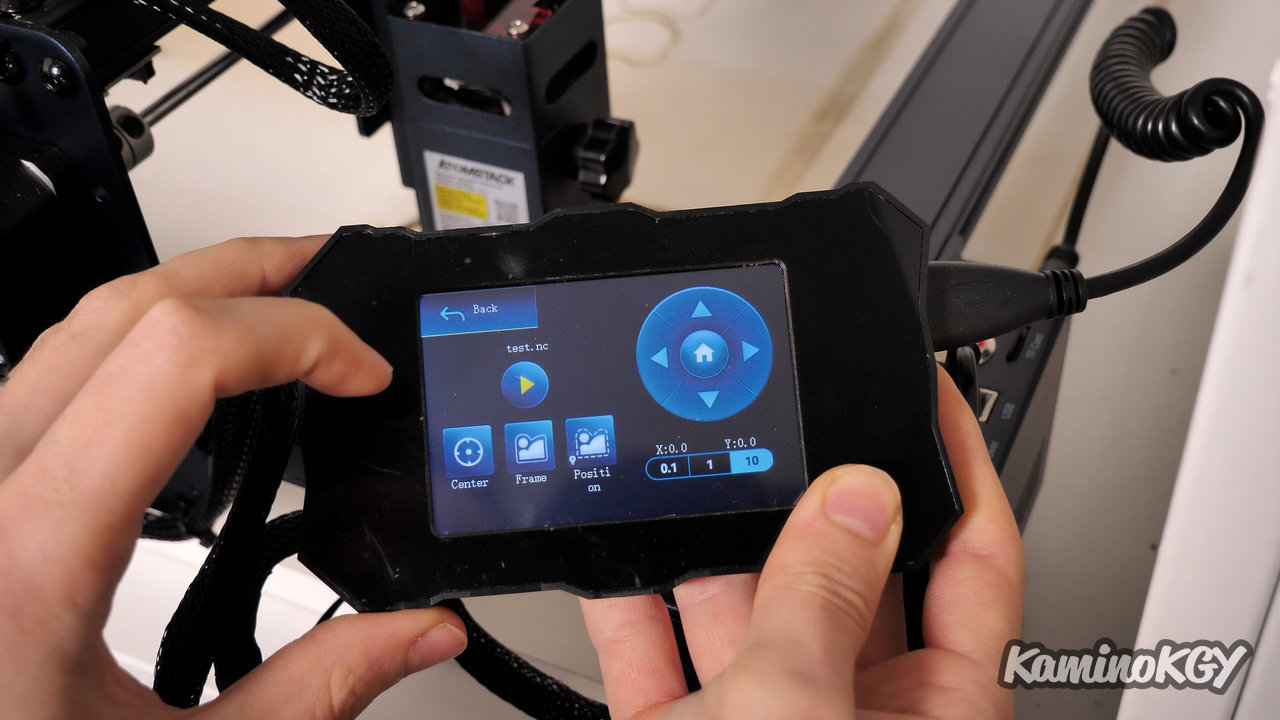
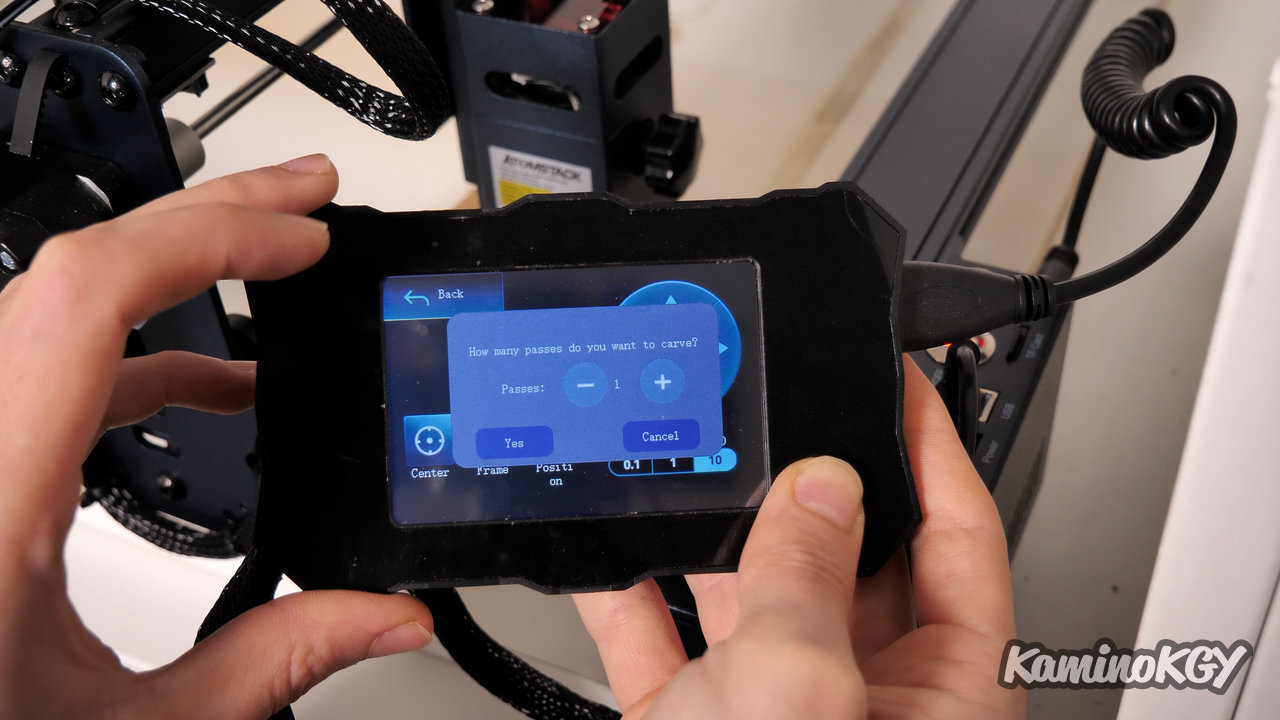
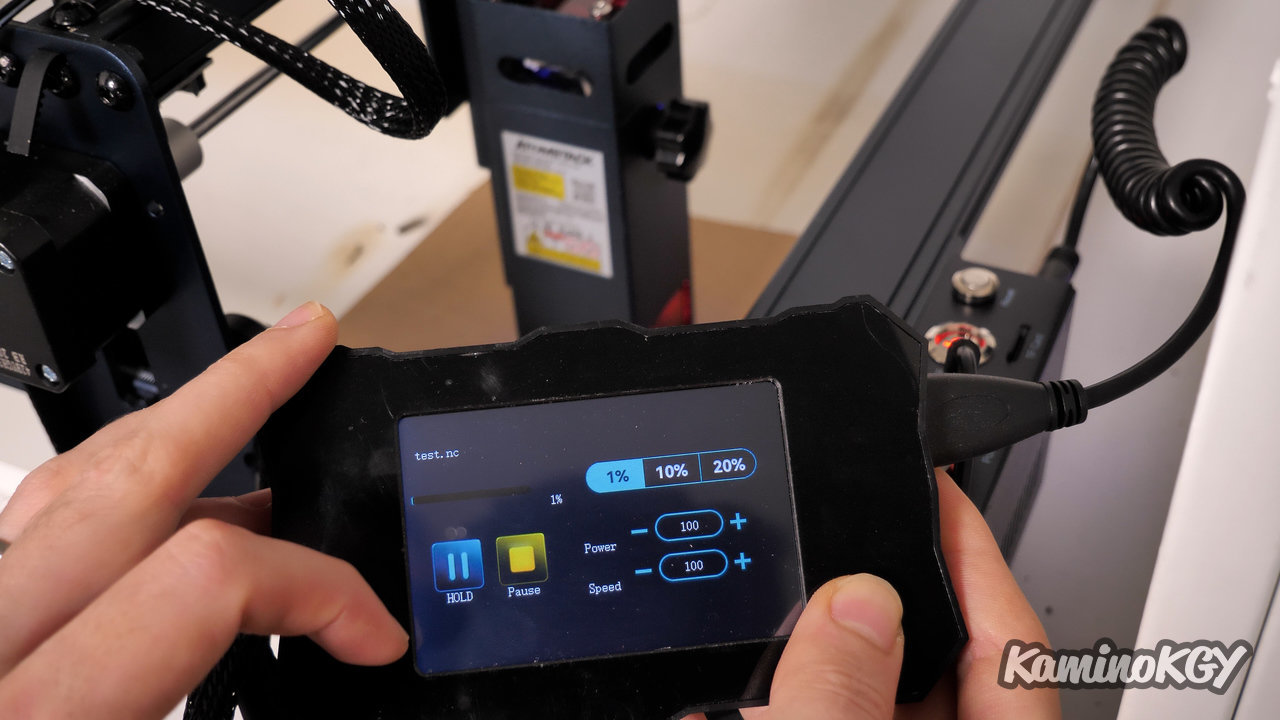
One of the very big advantages of this machine is the possibility of being able to use it in offline mode, without being connected to a PC. Once the file to burn, or cut, is on the microSD card, insert it on top. You can walk around the work area. It takes a bit of time because it looks like it's loading the whole file to see the boundaries. You can move with the arrows in steps of 0.1, 1 or 10 mm, the house launches an autohome. When you run the file to burn, it asks you how many times you want to run it. During work, we have a percentage of progress. You can pause and resume directly where you left off, or stop to stop it completely. We can play on the current power and speed to adjust according to what we can observe. And when you don't use the screen, you can stick it on the front of the motherboard. Leaving the options available when launching a file, there is only a button to mute the beeps and display the firmware version of the machine. I would have liked to be able to use a D-Pad, even without launching a file, but you can easily do without.
Engraving prints
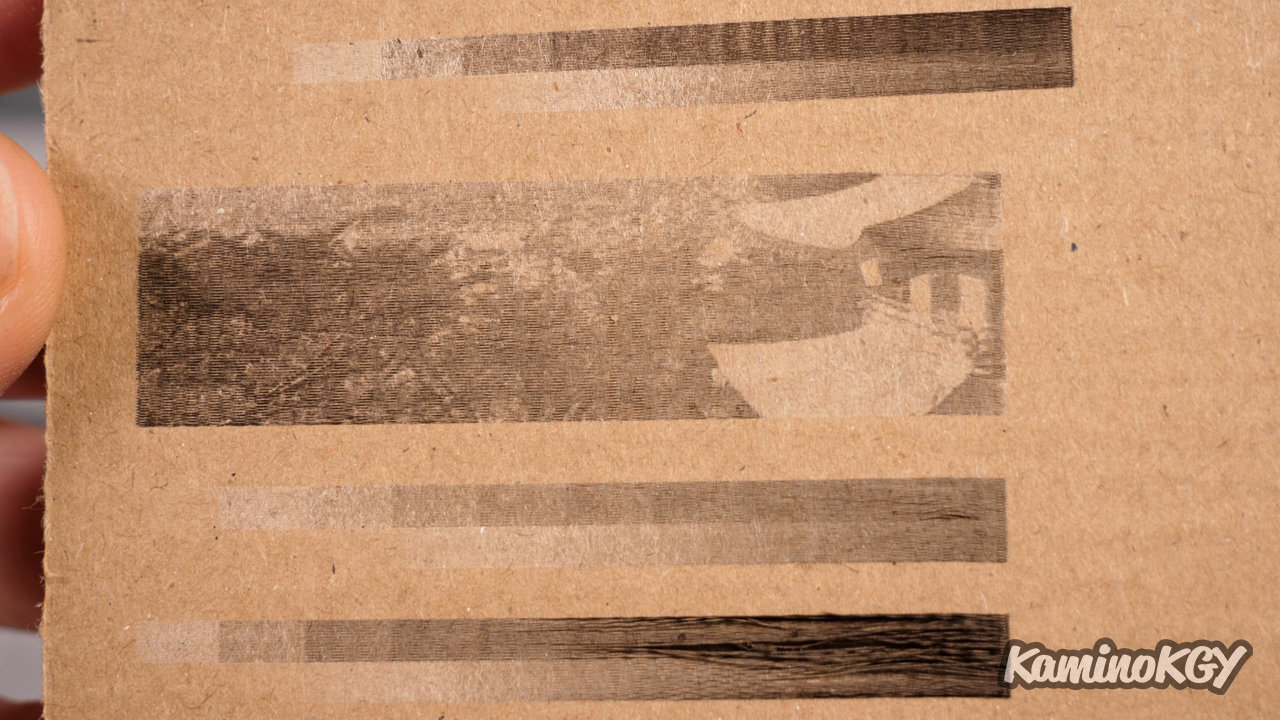
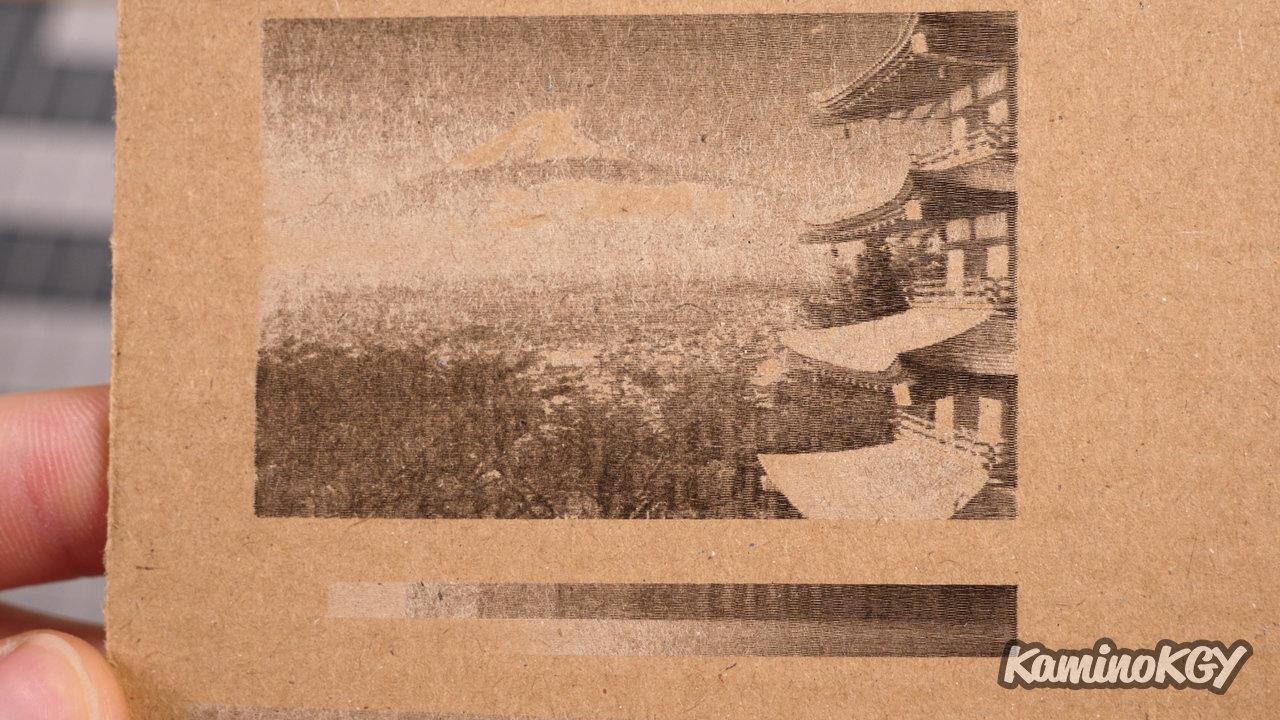
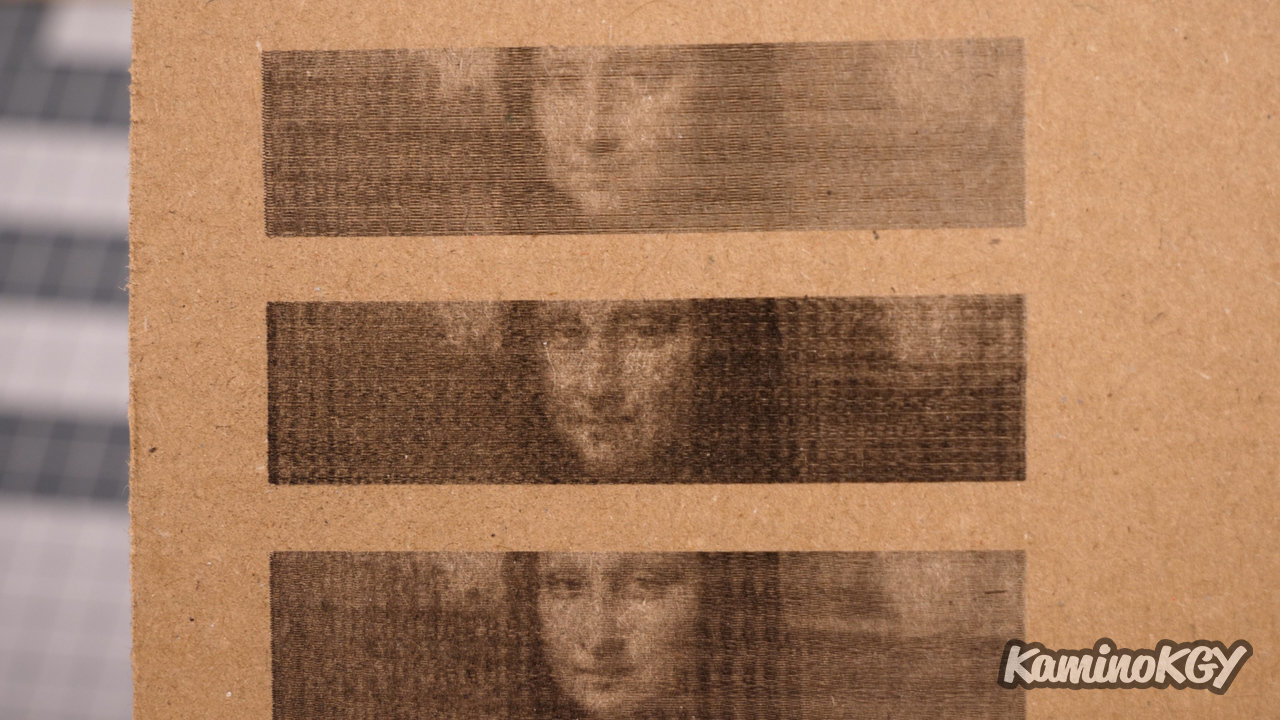
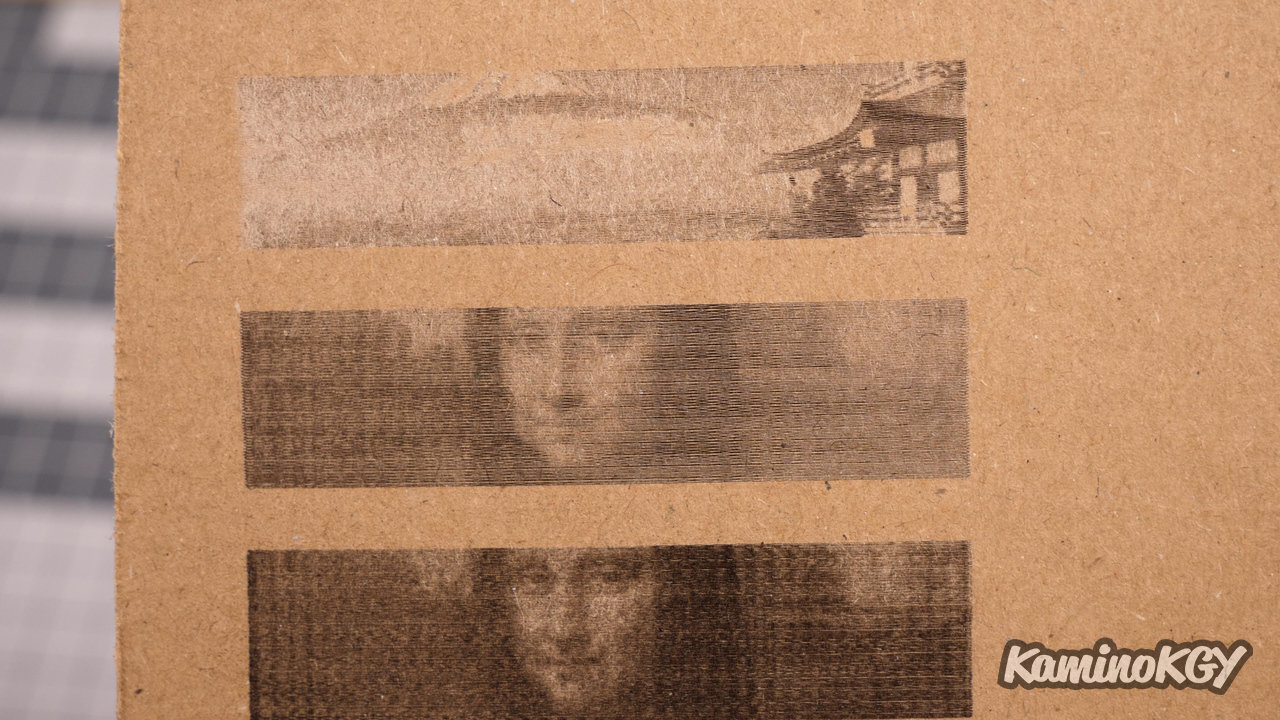
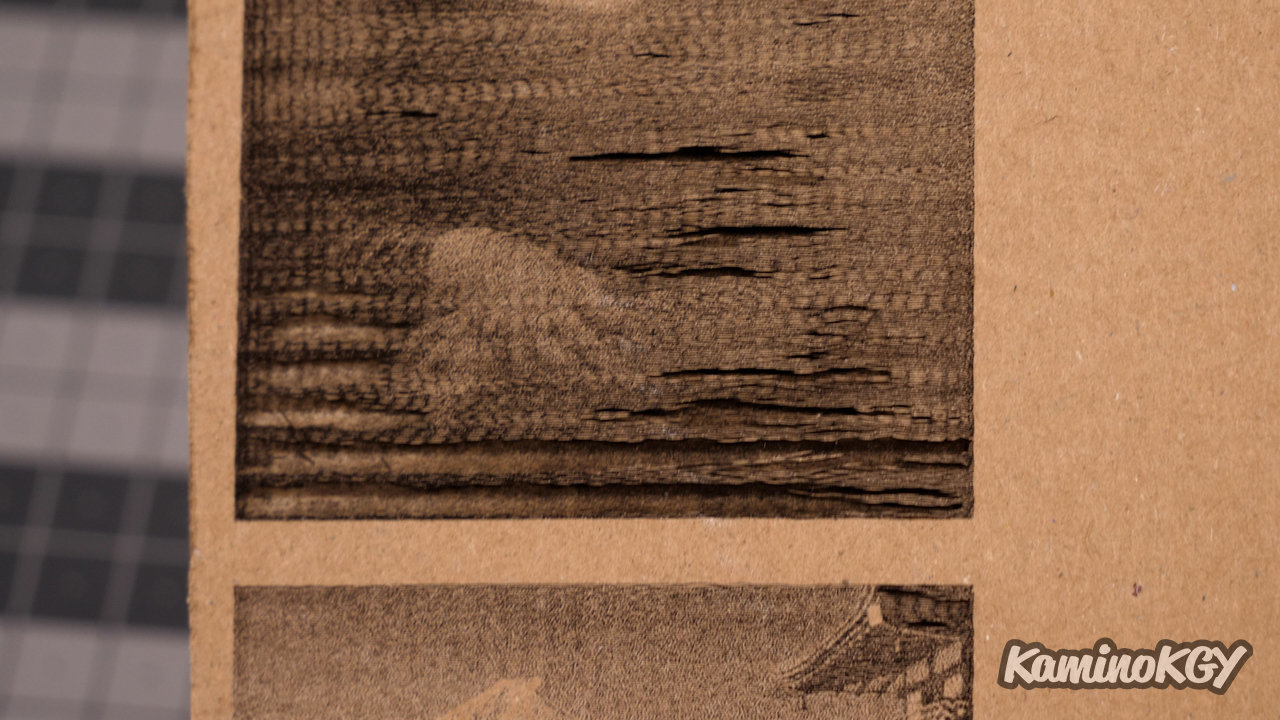
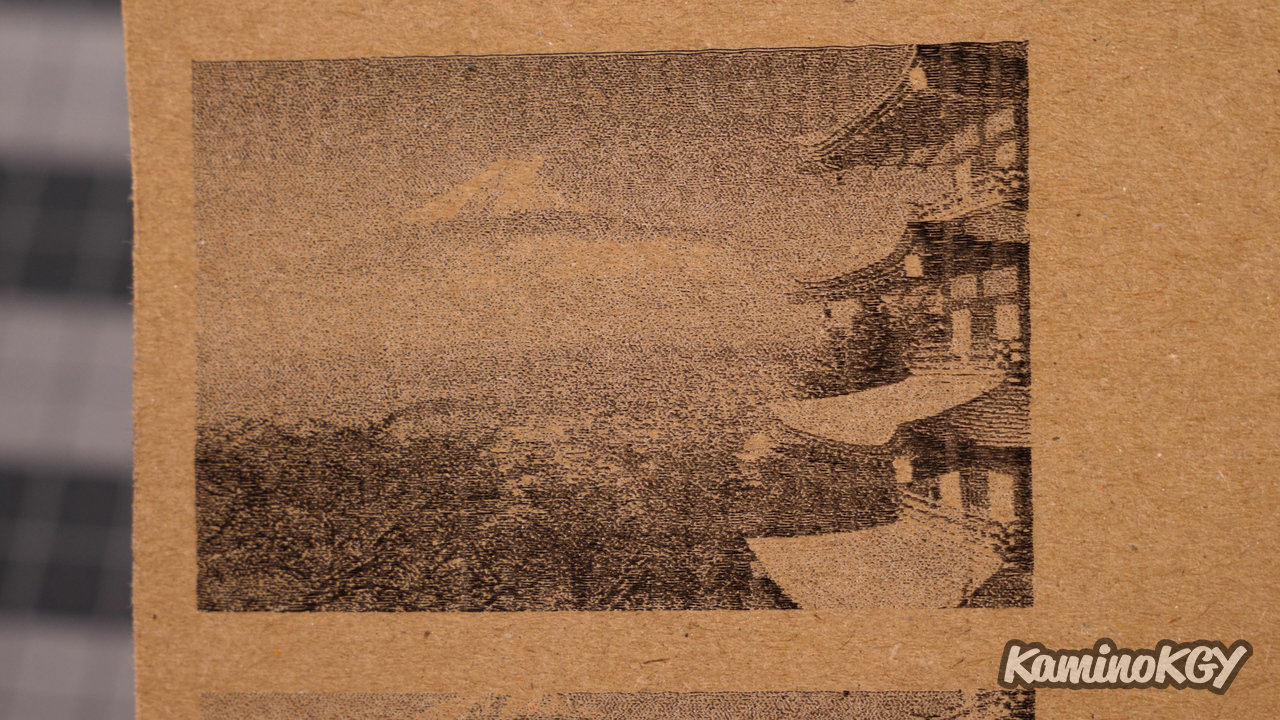
If we now look at a number of test engravings and cutouts, starting with cardboard. We can see that the first gradient was a bit too strong. The second is much more readable. On Mt Fuji, the left is more marked than the right. The box may have been a little bent. But on the other hand, we can notice that the trees in the foreground are clearly visible, even if the rest is a little pale. The second Mt Fuji is much cleaner, brings out the details. On the different Mona Lisa heads, I tested different number of lines per mm. The first with 10 lines is probably the most faithful, but we see a pattern appearing and at this stage, not sure if it is entirely linked to the cardboard itself.
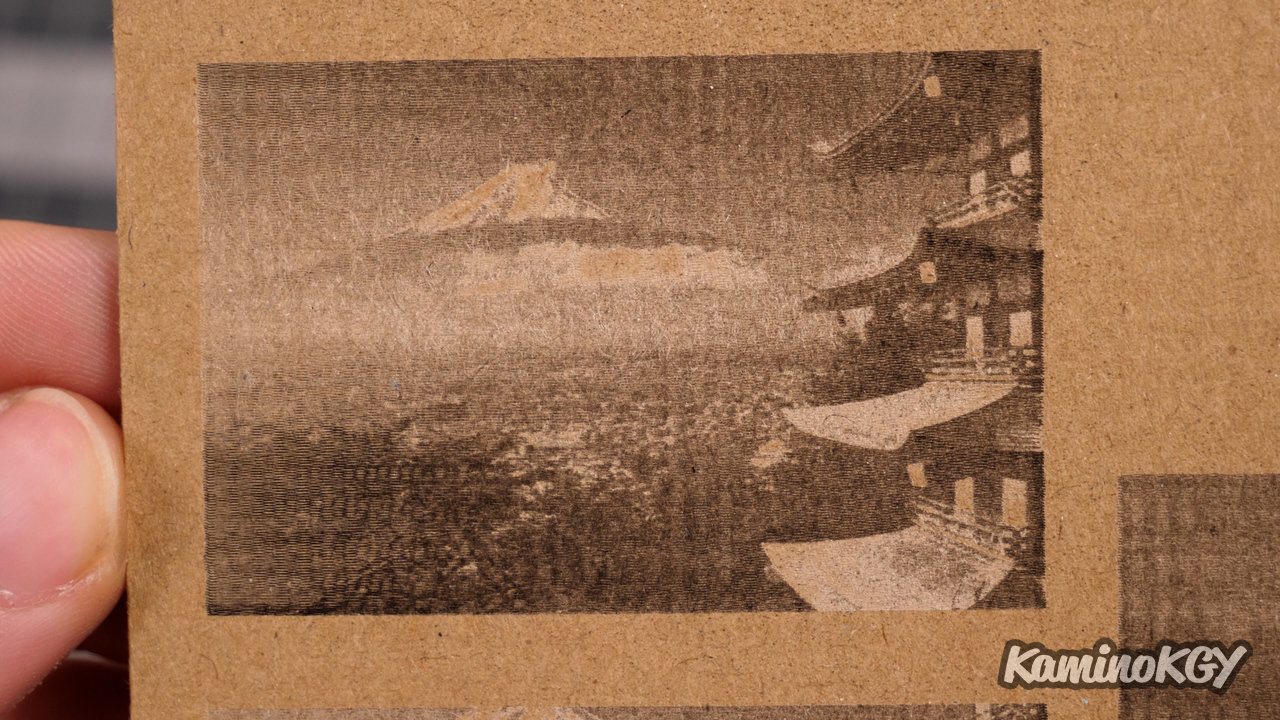
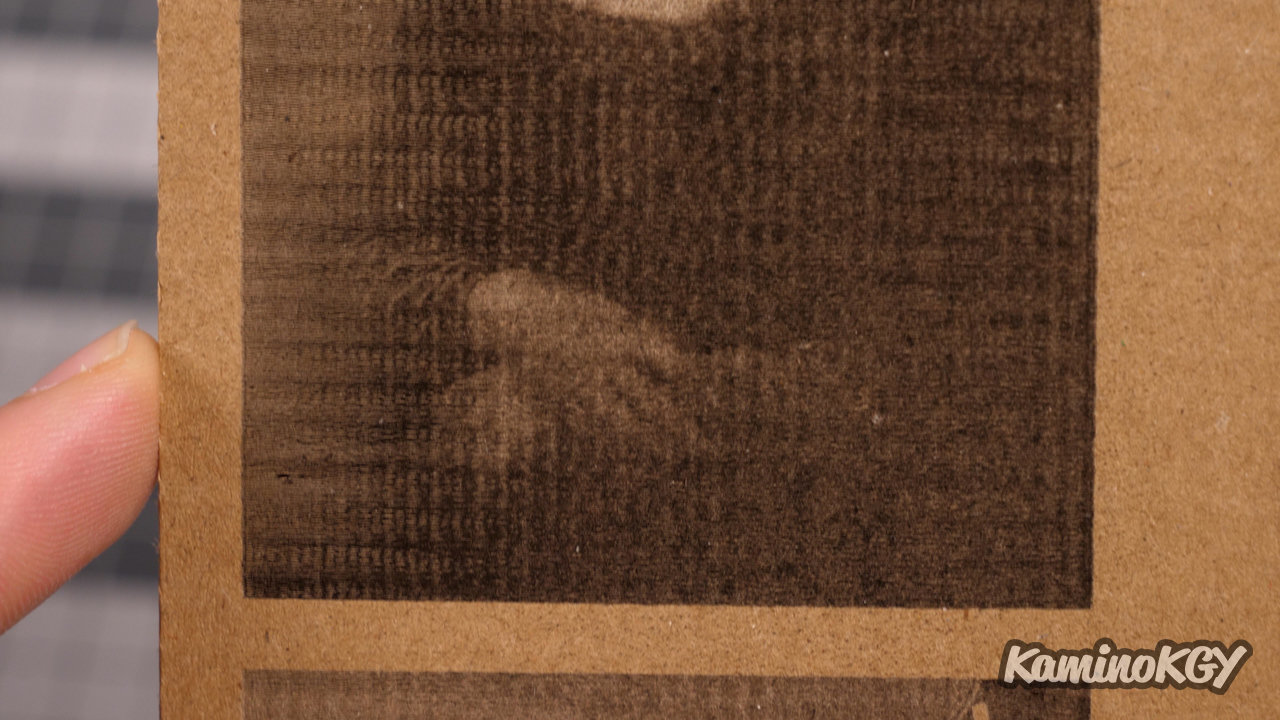
The Mt Fuji stand out well and with a good contrast in dark and light, on the other hand, the Mona Lisa is not terrible by this pattern which seems clearly visible with the power which increases slightly.

On this other card, I used the settings offered by Atomstack in pointillism mode rather than Line by Line. I must admit that the result is really good, even if you still see a bit of horizontal lines and the power is slightly too high because it starts to dig in on the right. On the other hand, the darker Mona Lisa leaves no doubt that the power is too high.
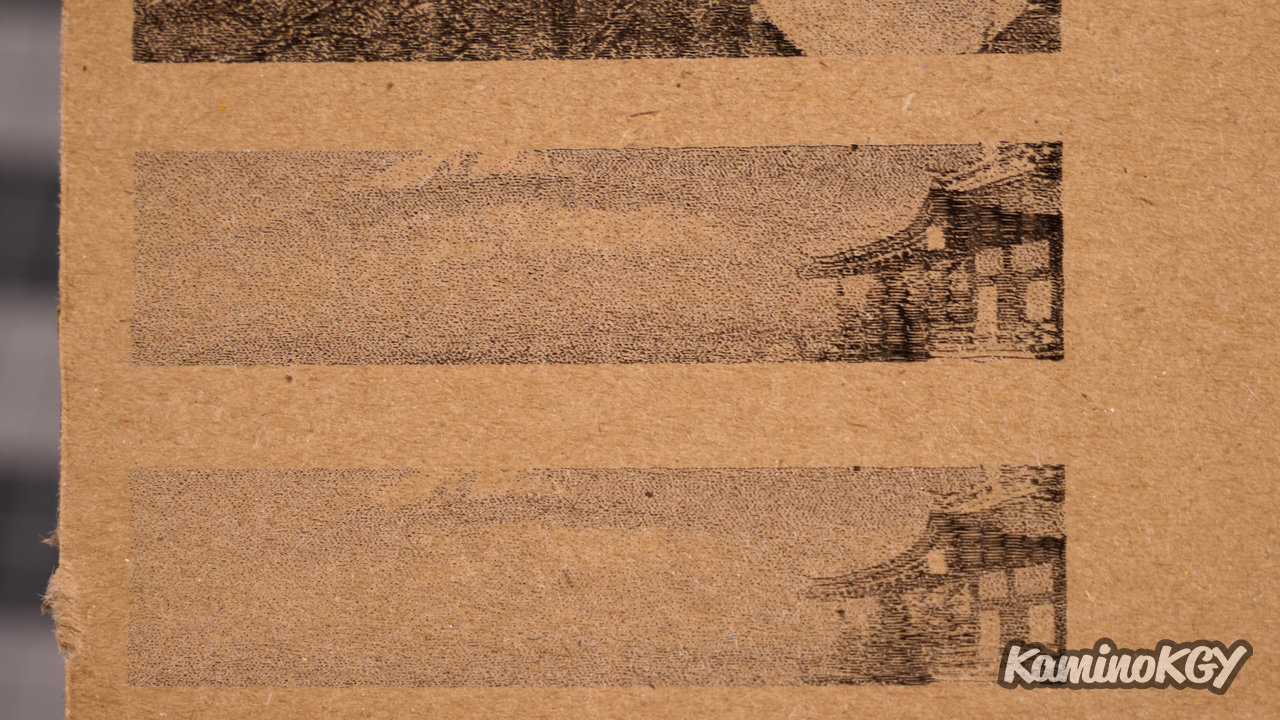
On this last card, I tested other settings in pointillism mode to see the results with lower power. It is with a maximum power of 55%, on the last image that we have the results which seem the most satisfactory with well-marked blacks, but always at the limit of crossing the thin layer of cardboard.
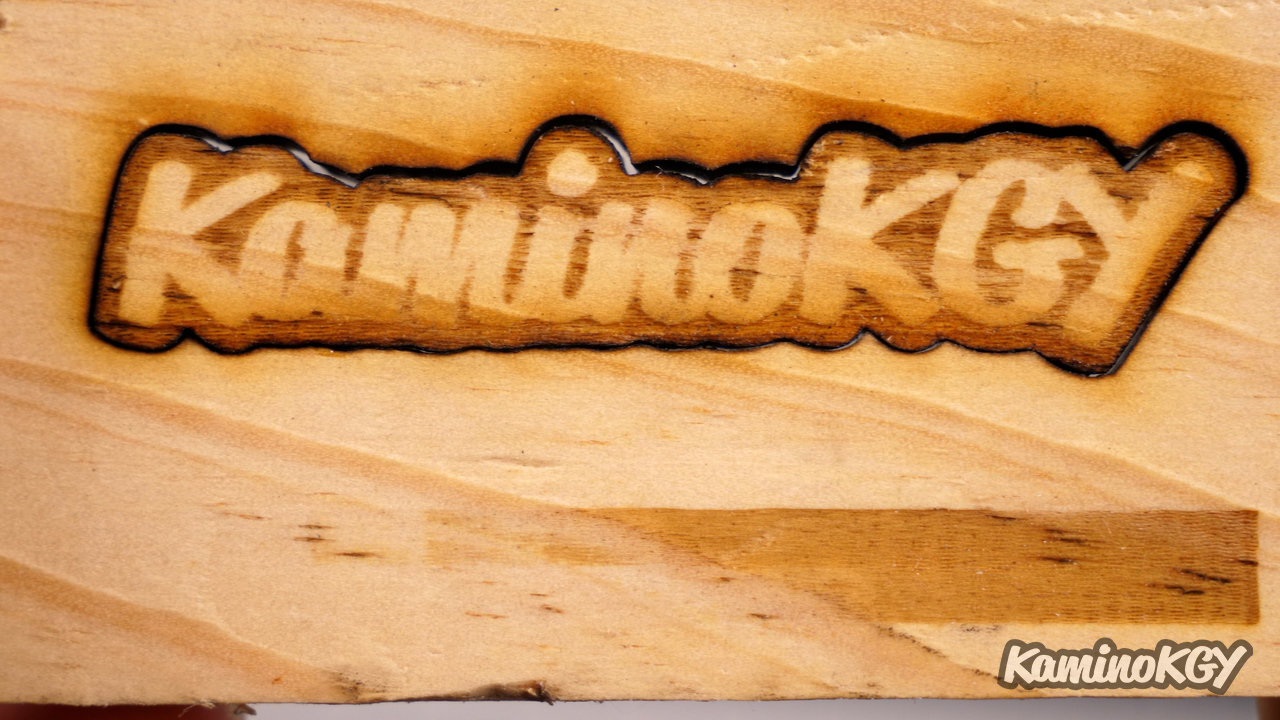
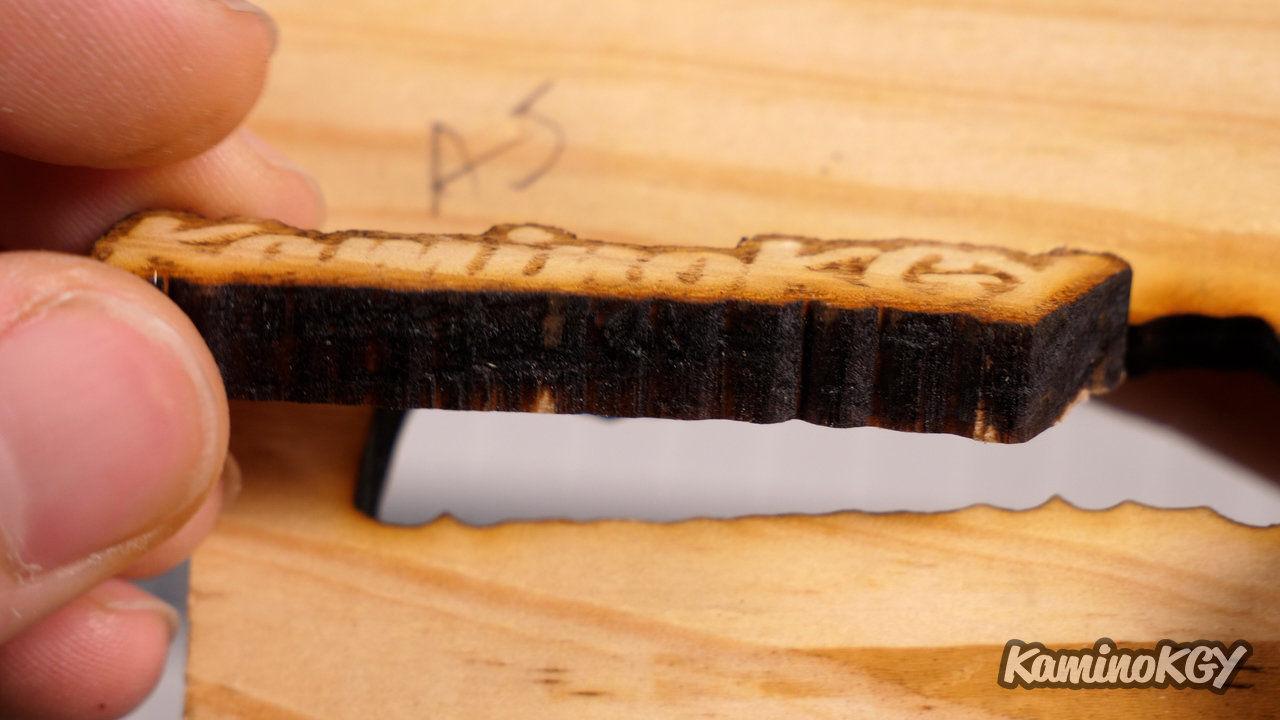
On this 7 mm thick wooden board, the engraving stands out well, even if it does not allow you to go into very dark shades. The KaminoKGY is well engraved and cut quite easily considering the 5.5W power of the A5 M50 Pro. It will take 3 passes to begin to pass through in places and 5 to sufficiently release the part on a good part of the contour. An Air Assist module normally used to improve the cutting and engravings obtained here.
To summarize
Compared to the A10 Pro, we have a less powerful 5.5W laser, but I find that there is not much of a difference. I do not have the impression that we can tell ourselves that it is really half the power that we are going to use. It may be more about the speed that will have to be played.
Bye bye!