A small 400 mm/s leaves you dreaming because the printing speed is something important to you? The printer we are going to see should really interest you. Today we will test the Flsun V400. It is a Delta printer which prints very very quickly and which we will obviously compare from time to time with the Flsun Super Racer to see what has changed.
Unboxing
In the box, there is the nomenclature of the machine, the assembly and adjustment documentation, the covers that are put in place on the top of the machine, the power cable, the spool holder, the bag with screws, tools and spare parts, the carbon rods to mount the hotend, the uprights which are really massive, with integrated rail system and pre-assembled mounters. Below we find a spool of filament, we have the touch screen or more precisely the tablet, the support with the end of filament detector, the support for the tablet, the automatic leveling system of the plate, the hotend pre-assembled direct drive, you can immediately see that it is compact and the LED strips on the underside. Then on a structure that meets on the top of the machine. In fact, it is the base that incorporates the power supply, with a textured PEI flexible magnetic tray.
Assembly
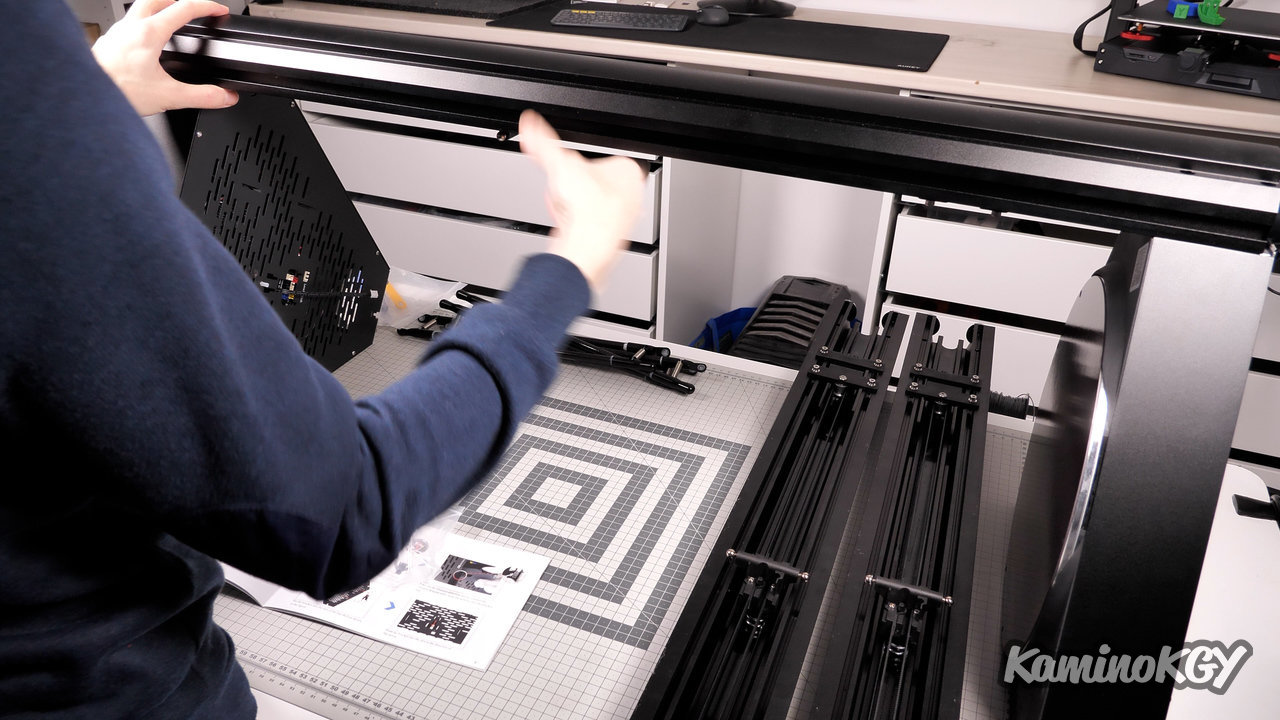
Concerning the assembly, it's simple, we rest the motors on the base of the quantities that we place on the high and low details, we screw and we do that 3 times, for each of the uprights. We slide the cable to connect the shelf in one of the uprights. The rods are placed to mount the direct drive hotend by simply pulling on each side. We connect all the hotend cables to the top of the machine, no need to search, just follow the color code. We connect the end of filament detector, which we slide into place. We end up putting the reel support and the plates to close at the top. And we can start using the machine.
Features

Regarding the specs, on a build volume, based on 300mm diameter, versus 260 for the Super Racer and 410mm height, versus 330mm.
And with the dimensions, on an even more impressive printer structure than on the Super Racer. The 3 uprights are really strong. and you immediately feel that the machine is really stable.
There we have the V400 and there, the Super Racer, and there, we can already see a big difference in size, especially in height.
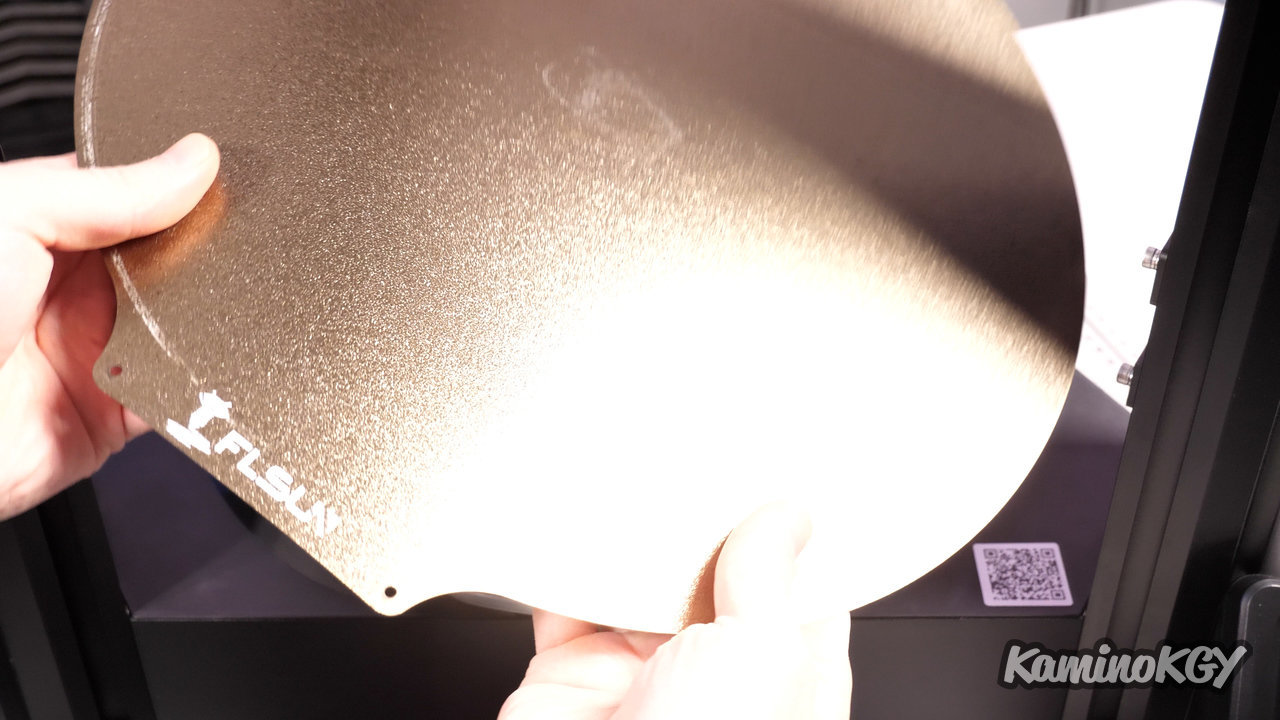
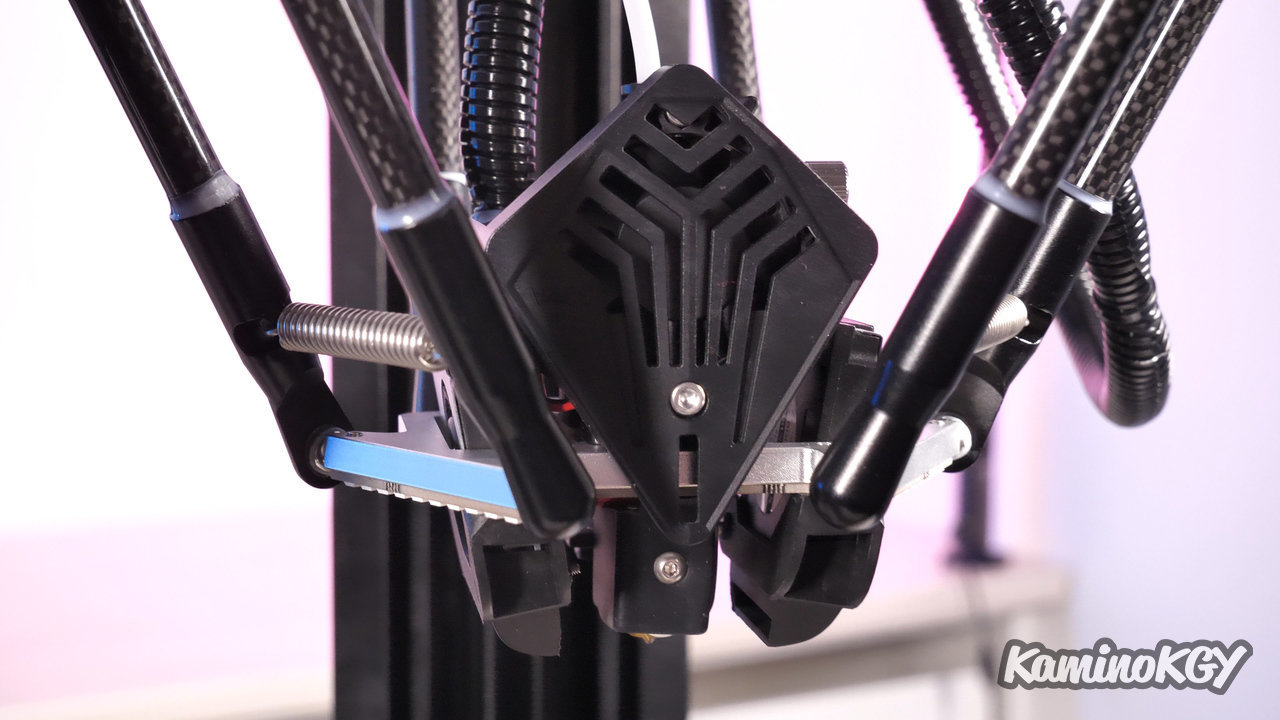
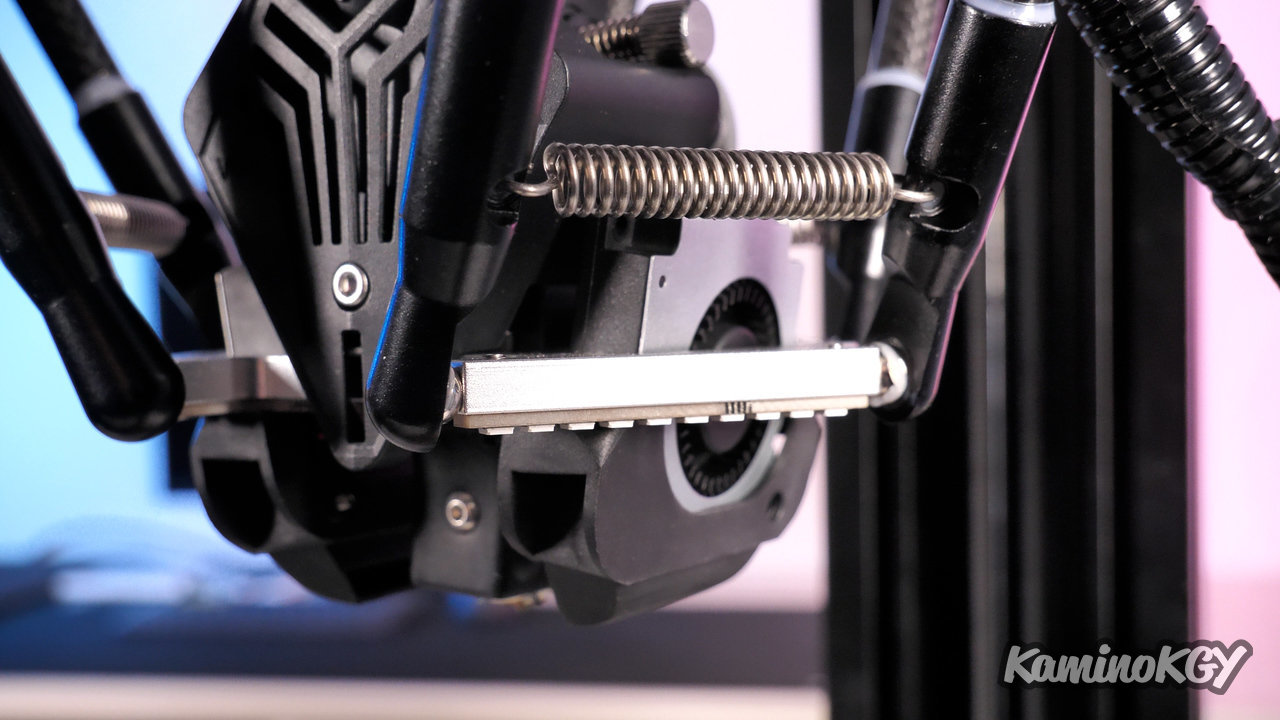
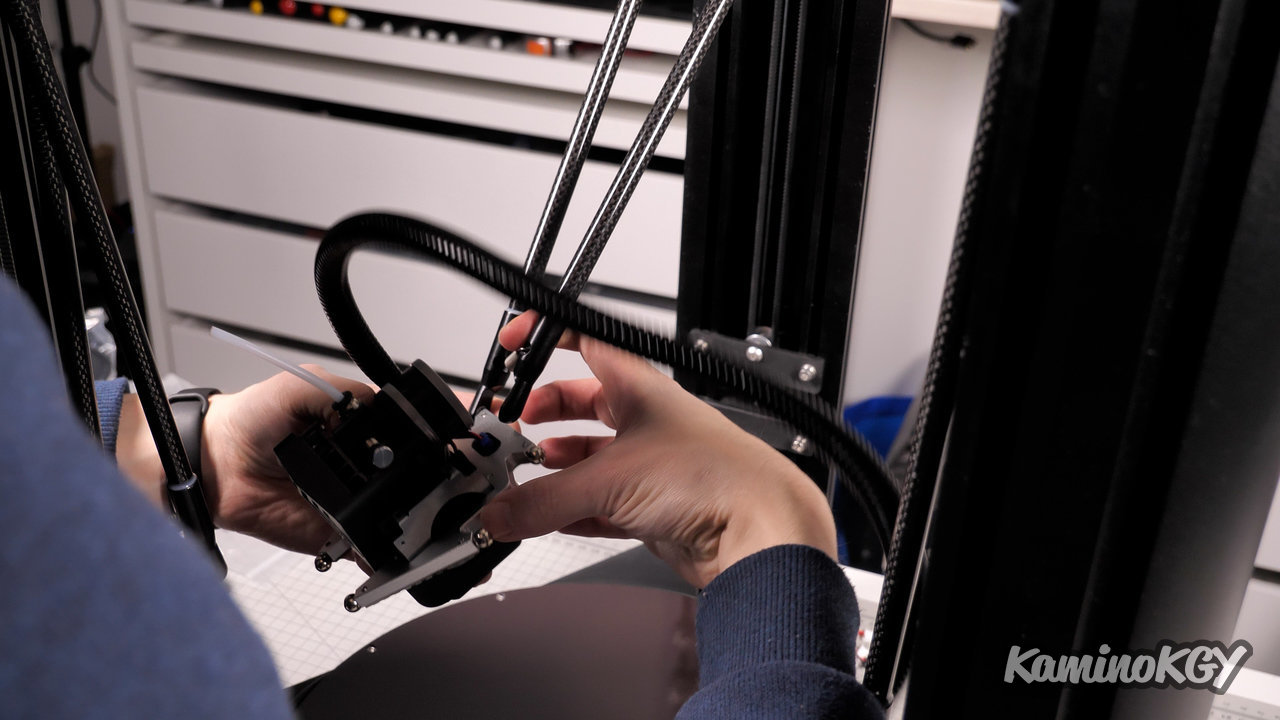
Finally, there is a flexible magnetic PEI platter as standard, against the glass platter with ultrabase type coating. We keep a Volcano type hotend but we go from a bowden type system on the SR to a Direct Drive on the V400 and that is really appreciated especially with the increase in printing speed, the Direct Drive being obviously heavier. But we can see that they still opted for an Orbiter-type extruder engine, which should limit the impact as much as possible. We will have to see the test prints to see if we observe vibrations or not. And little more, there will be LED lighting under the hotend module to better see what is happening below. And it's always a nice little extra.
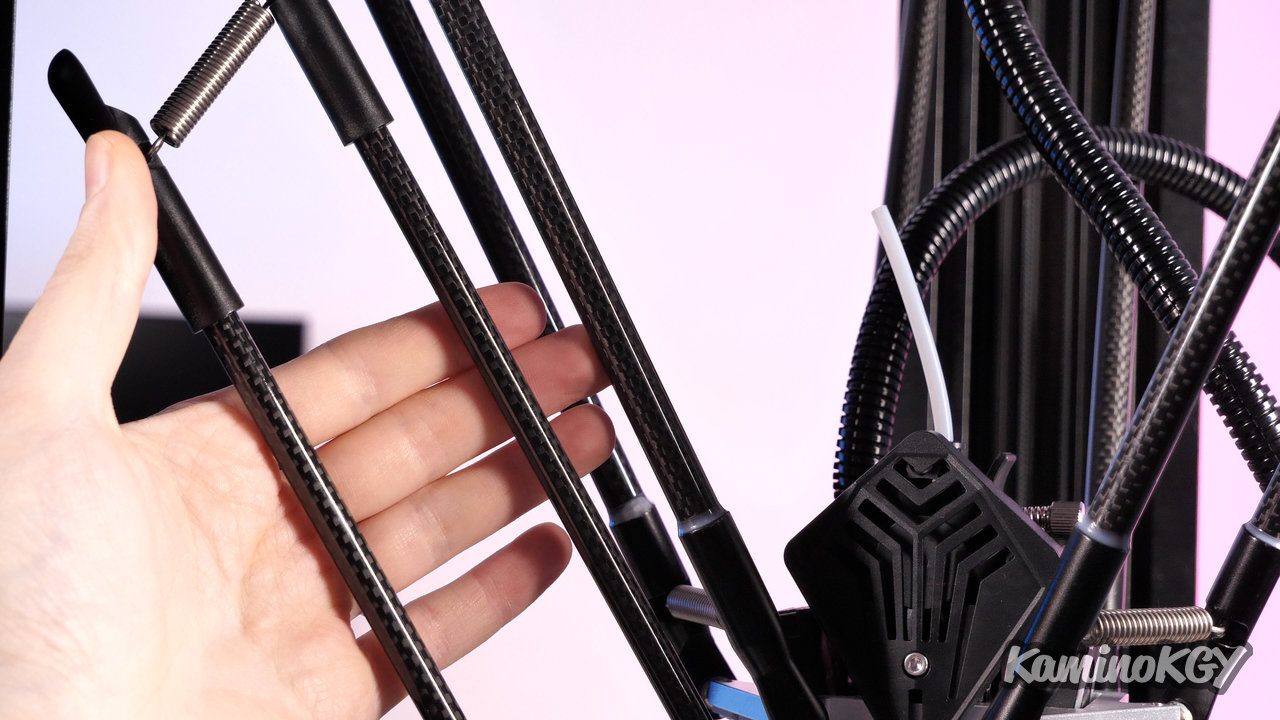
The diameter of the carbon rods has increased from the SR to the V400, it will bring more stability to the whole.
So the very big change compared to the Super Racer is the switch to the original Klipper on the machine, which will allow you to go faster by setting the right parameters. And what's good is that the profile of the V400 obviously already configured, so we can enjoy the machine directly, without having to tweak Klipper, which is of course the big advantage compared to those who would like to do it on the Super Racer, but you will have understood a significant additional cost.
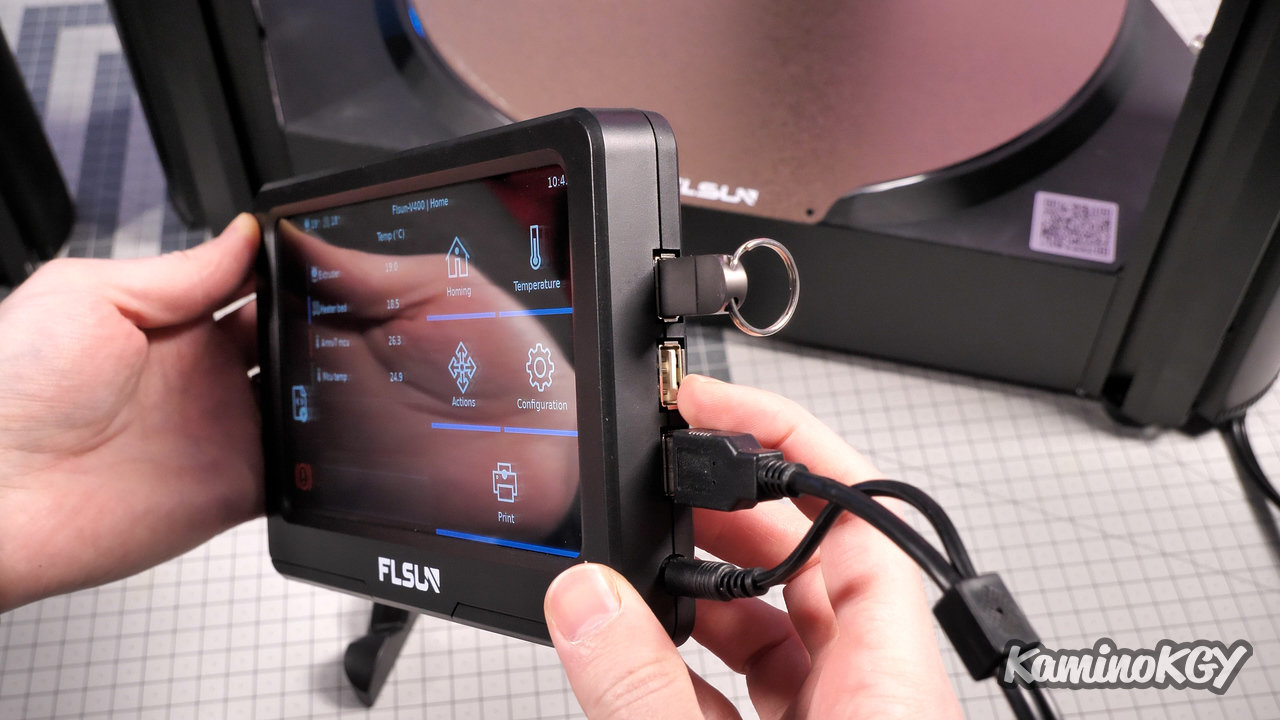

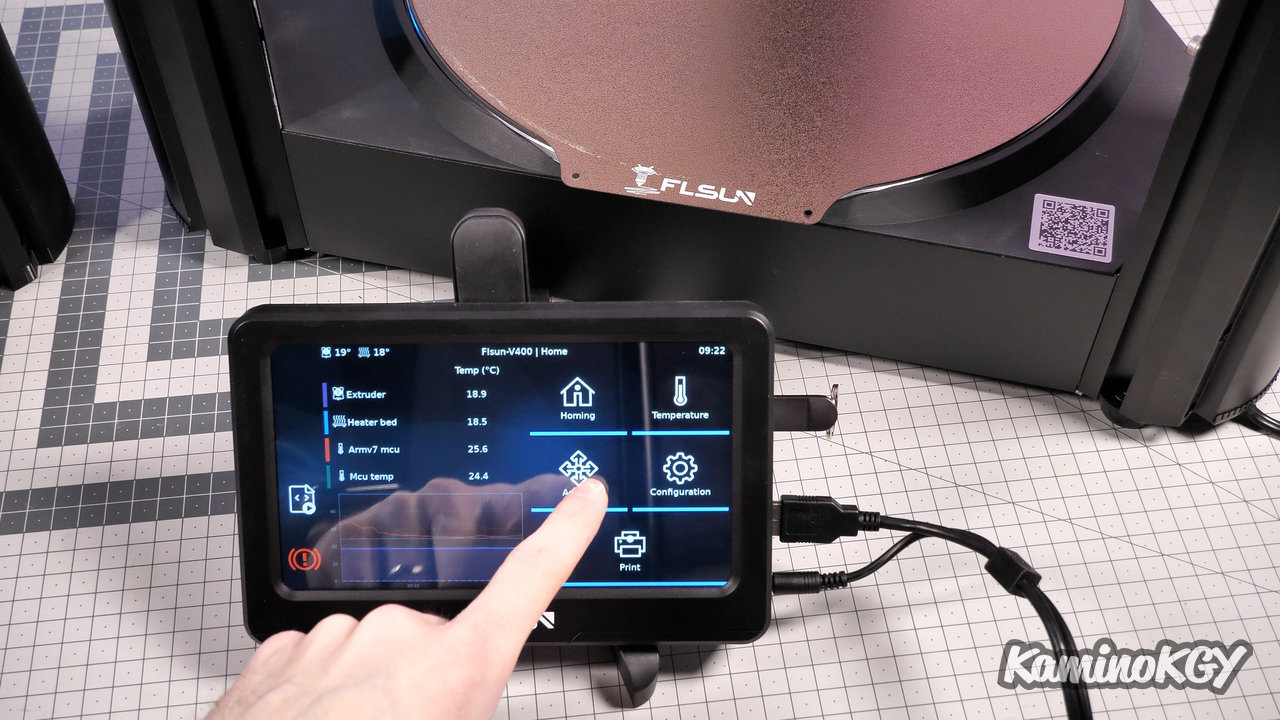
And with Klipper we go to a very nice 7-inch IPS touch screen with 3 USB ports so that you can already connect the machine and insert a USB key and a microSD card reader on the top to load files in offline mode. line or go through the Wifi connection.
The screen that is really a touch pad with a 1.6Ghz 4-core processor, 1GB of RAM and 16GB of storage.

You can also take the opportunity to tour the menus on the screen. Already on the screen we can see the temperatures of the extruder, the plate and the motherboard with the graph that updates. We have the menu to do the autohome, the menu to manage the temperature by element, with preconfigured parameters to go faster. The action menu is used to manage the axes and move them according to the desired value. We can manage the extrusion, moreover, I go through this to load and unload the filament, because by hand it is often too hard. The fan menu allows you to control the speed of the fans with a slider. We have the macros to turn on or off the LEDs and the logo. You can disable the motors. The console allows you to type commands directly, especially with the large keyboard. With light we can also manage the LEDs. In the configuration menu, we have the management of the leveling of the plate, the adjustment of the limit values of speeds and accelerations of the machine, the configuration of the Input Shaper, System and Parameters of interface management. Finally in print, we find the connected peripherals, with the USB key, where we have the models that are present and that we can print. Once the printing has started, we have all the information and we can adjust a lot of parameters during the printing, so it's really practical.
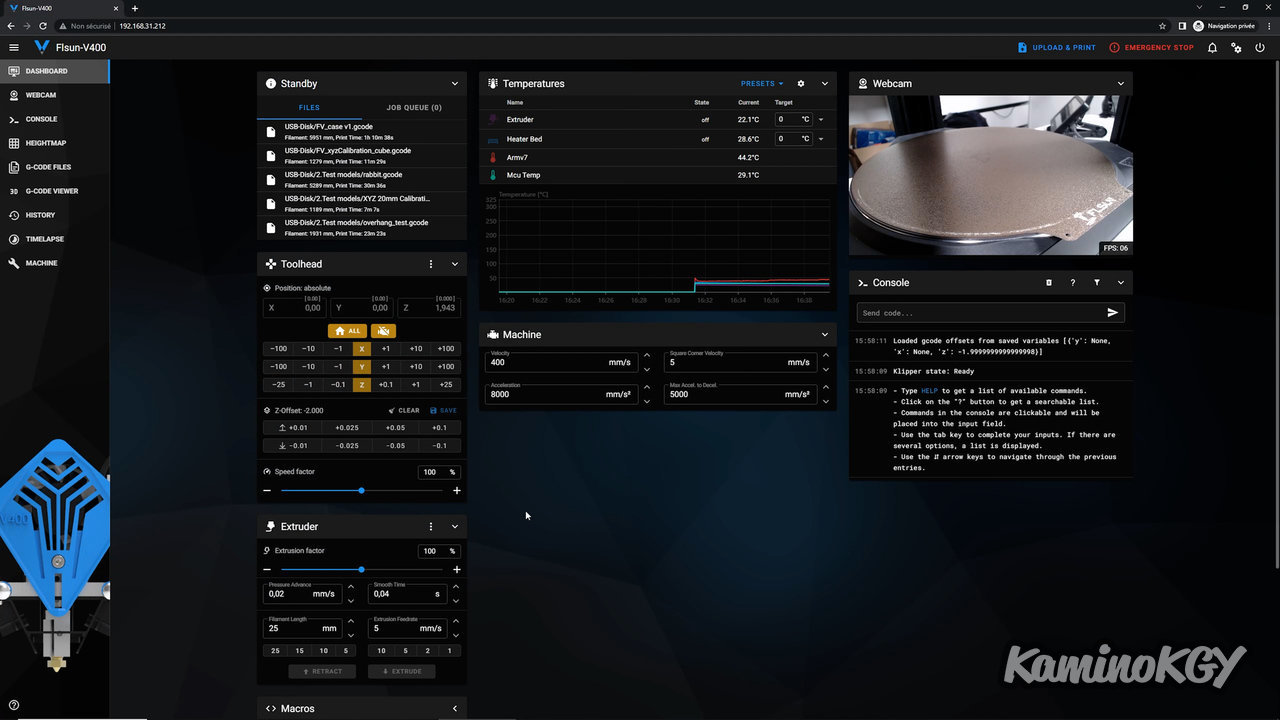
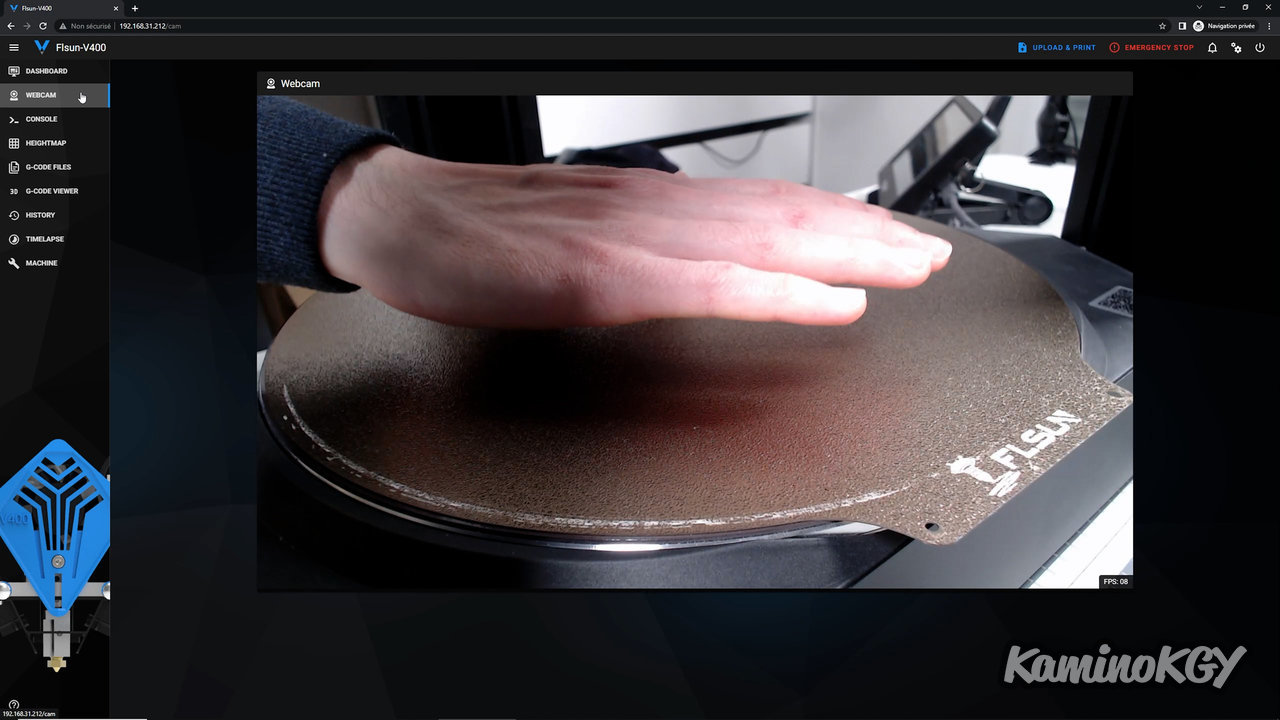
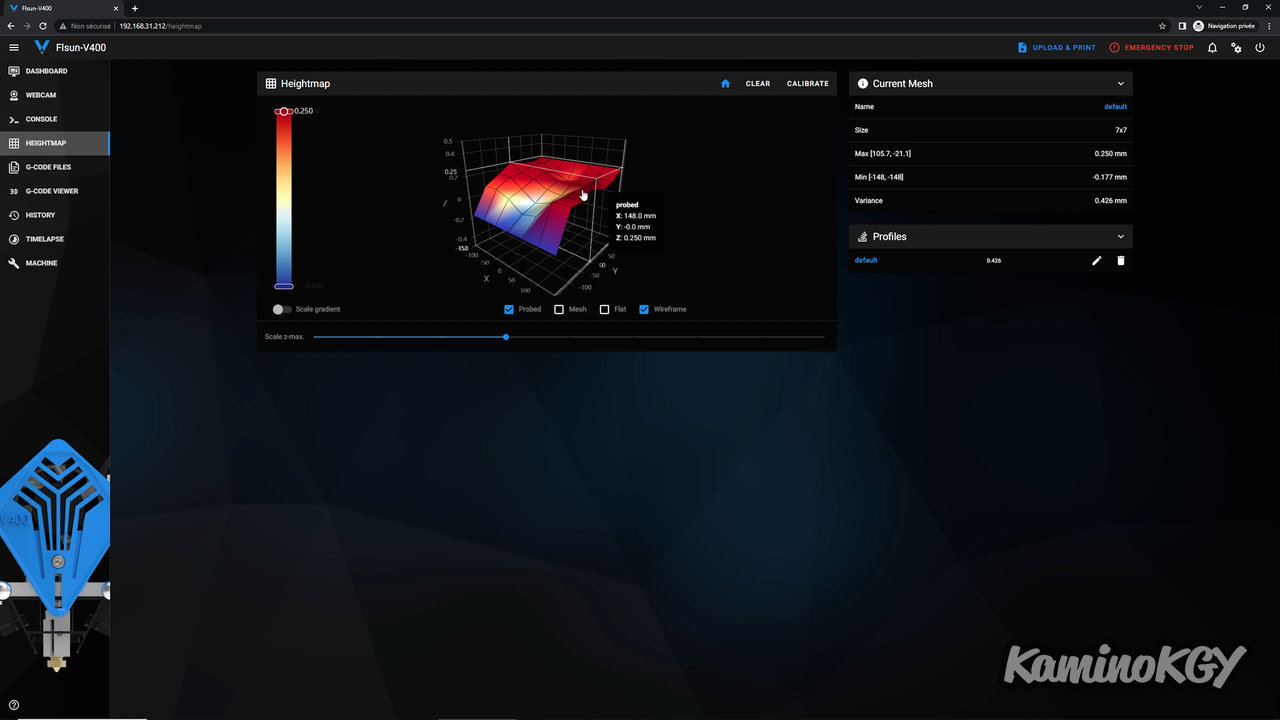
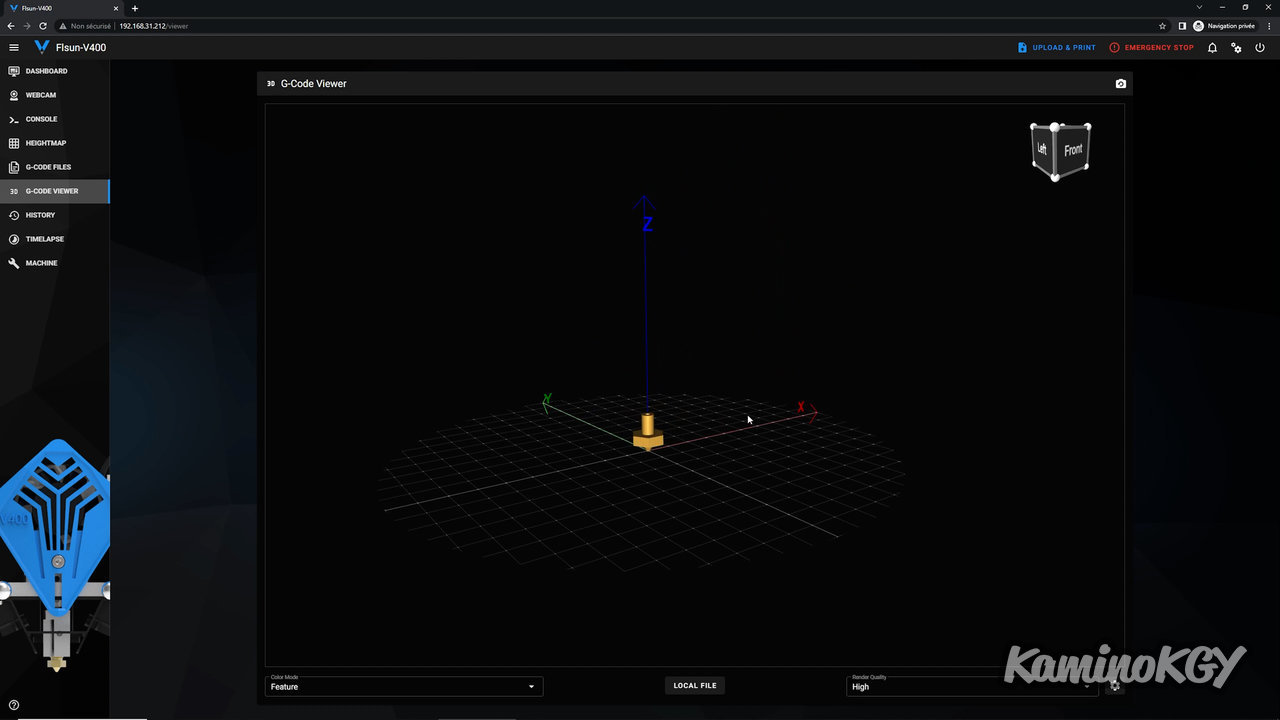
When you configure the wifi, you will be able to read the IP address of the machine, which you just have to enter in a browser to access it. And precisely on the web interface has this view, with the list of files that are visible on the USB key connected on the screen, with the list of tasks. Then, the management of the hotend with the autohome of one of the uprights or all of the axes. The temperatures of the extruder, bed and motherboards, with the graph below. Below are the limits of the machine, with the maximum speed, for the angles, acceleration and deceleration. The speed percentage settings are just to the left, the set of extrusion settings. We have predefined macros for the machine to turn on the LEDs, which we also find on the insert just below, with the speed of the fans, or the activation of the end of filament detector. On the right, it is the webcam connected to USB that can be seen with the number of FPS. The console makes it easy to place orders. Otherwise you can load files directly via the button at the top right. We can see the Webcam in large, note that it is a Logitech StreamCam with 60fps max which is connected. We have a view with the console in large, the map of the leveling of the tray, a priori, it would be a little leaning to one side. We have a list of the files present on the USB key and under folder, it is really more readable than on a small screen. There is a gcode viewer, the history of what we printed with the printing times and amount of filament used, a specific folder for Timelapses and finally Klipper configuration files. The GUI is really nice to use.
The leveling of the bed is similar to that of the Super Racer with an adapter that you connect at the top, stick it magnetically and follow the leveling steps on the screen. And there really is no need to bring the nozzle closer to the deck because it really sticks. You can see that I have leftover filament on the tray left over from the first impressions, before I reassembled the nozzle. The tray is not damaged, only traces of stuck filament that comes off easily.
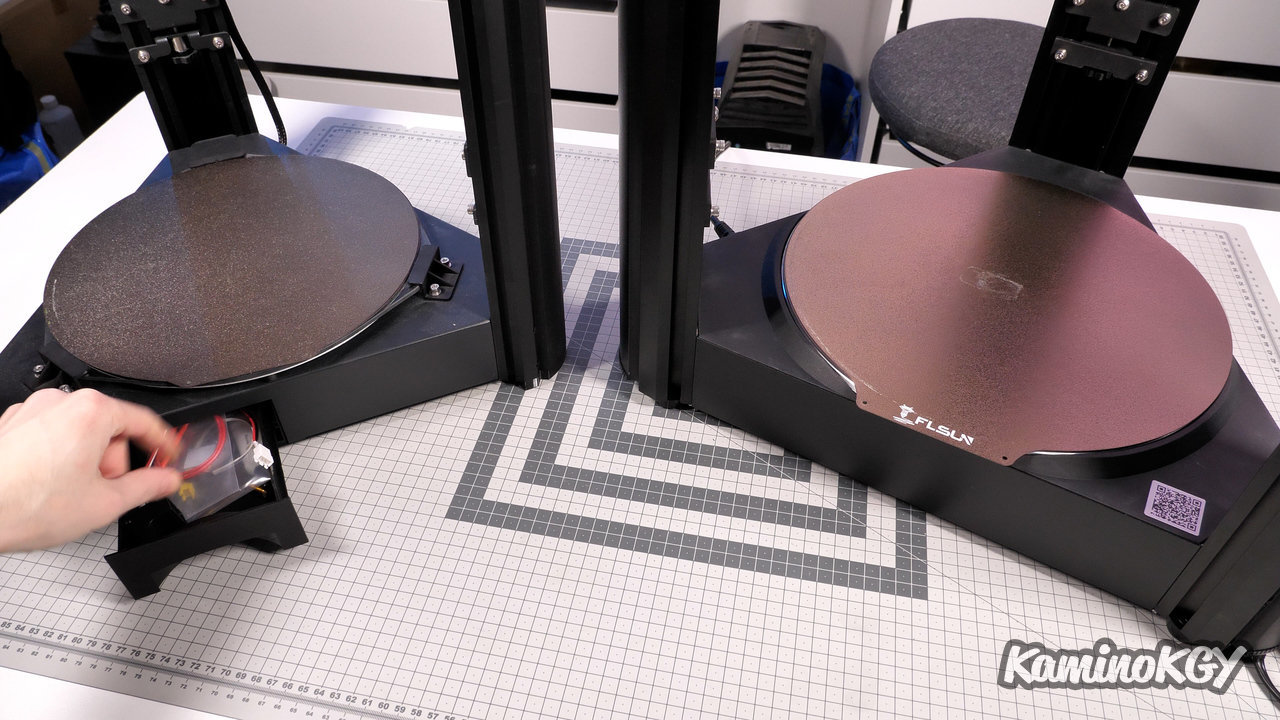
And the little extra that was practical for storing the automatic bed leveling system on the Super Racer was the drawer. Because there are more drawers on the V400, despite having a larger base.
Inside the printer
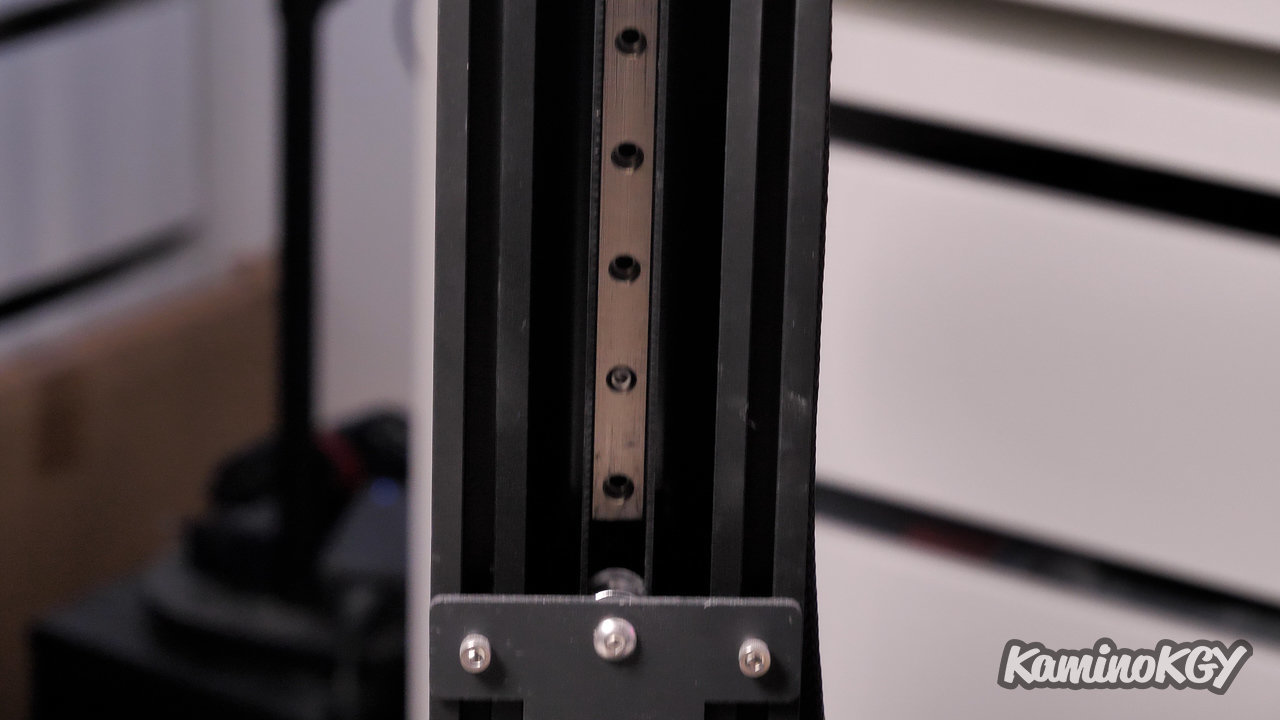
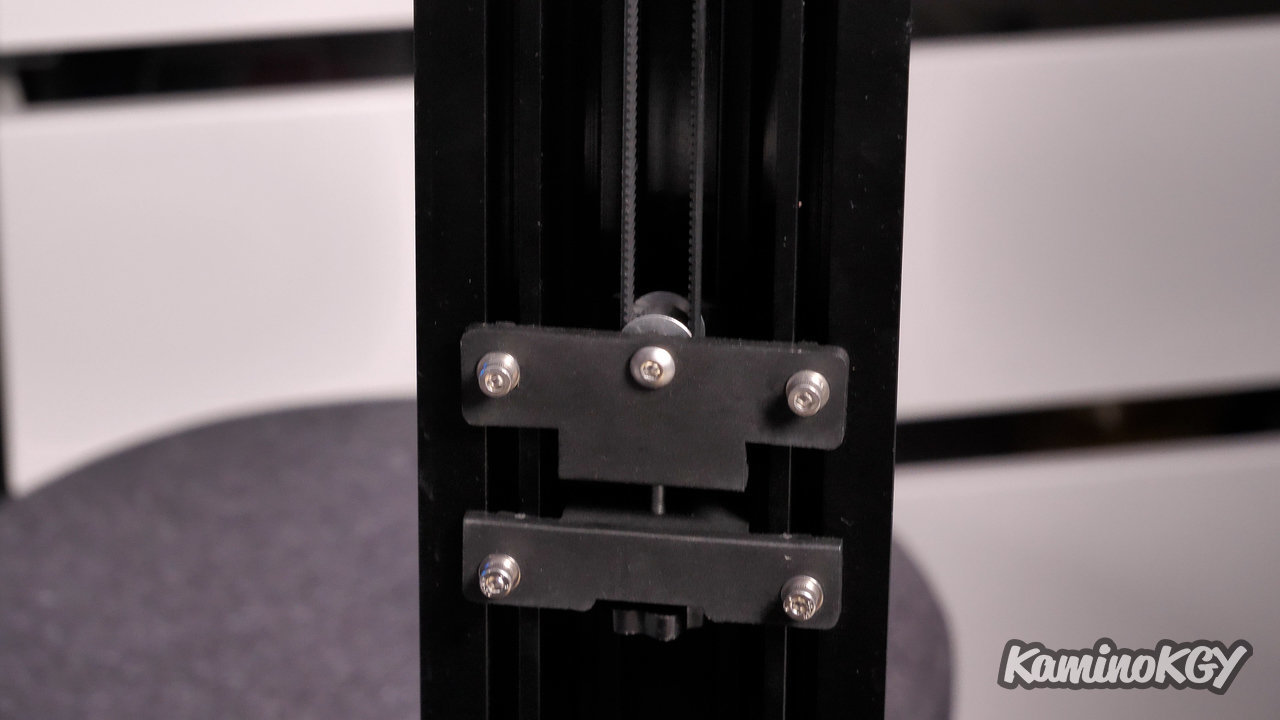
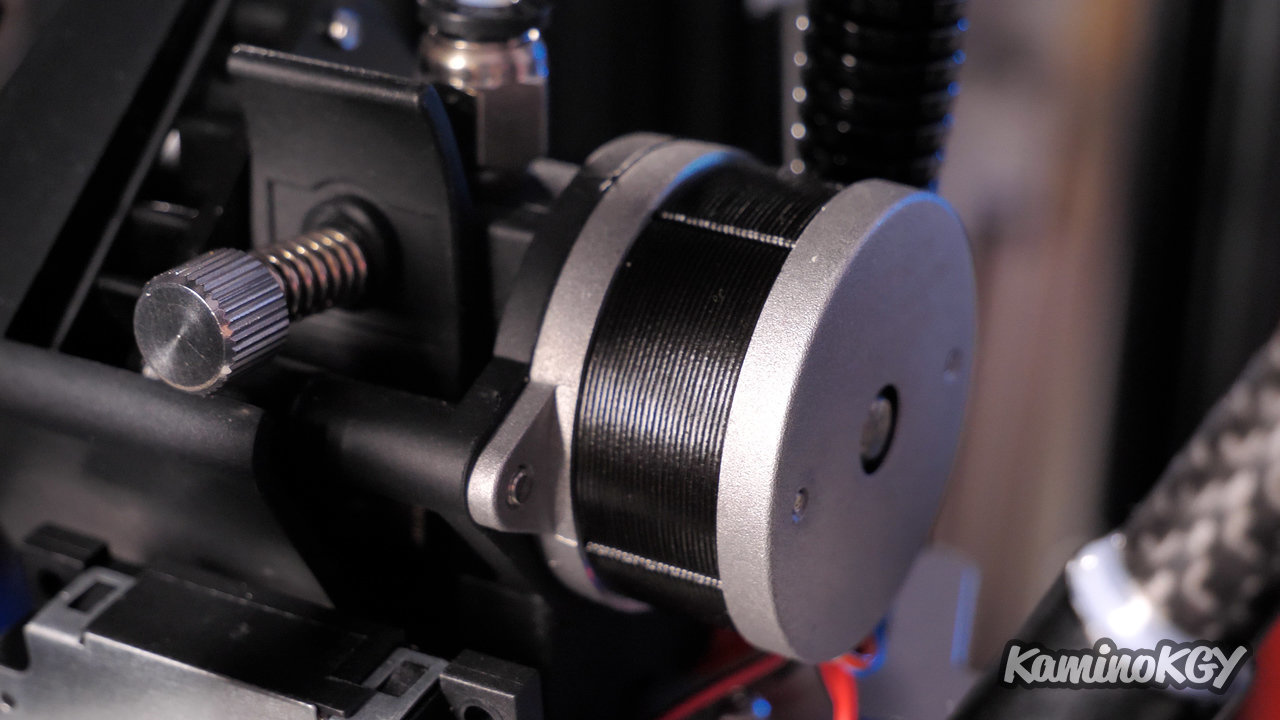
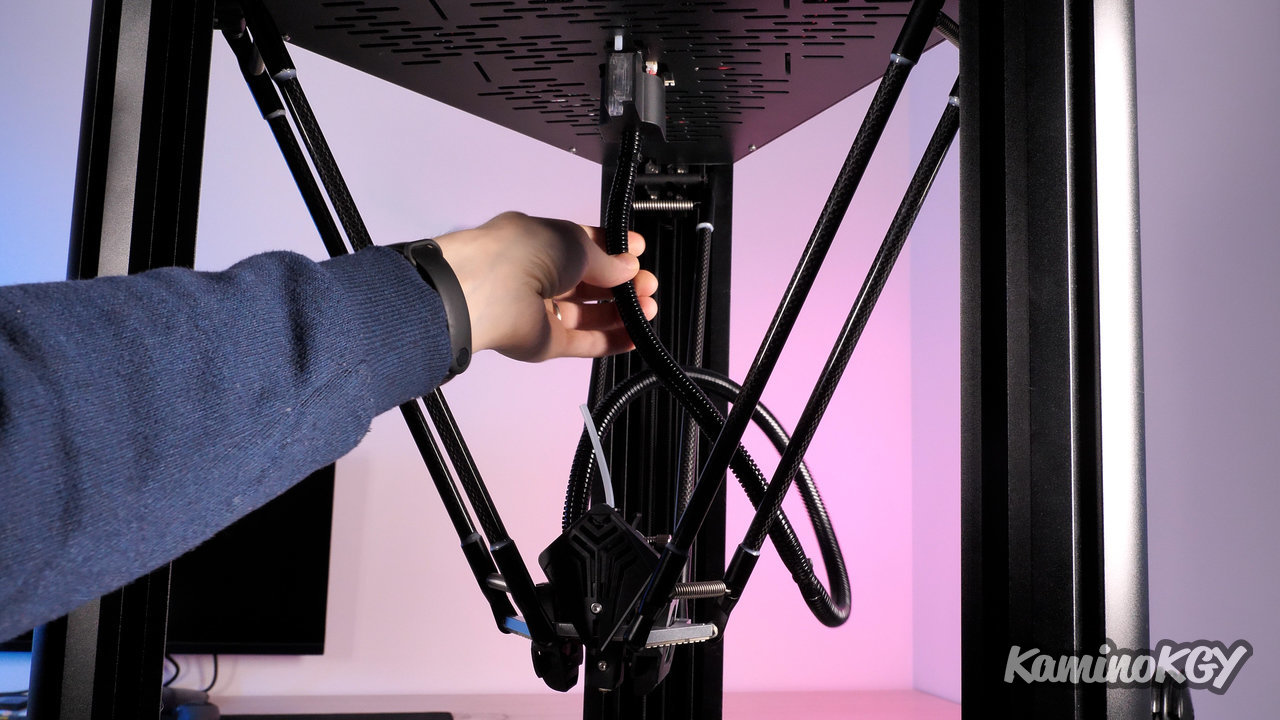
If we get closer to the bowels of the machine, we can already see that the translation system on the uprights is no longer on classic linear rails as was the case on the Super Racer. The V400 has what they call a dual linear rail. We can see that it is a trolley with wheels on bearings that is inside the structure. It is different from the trolleys which are outside the classic rails.
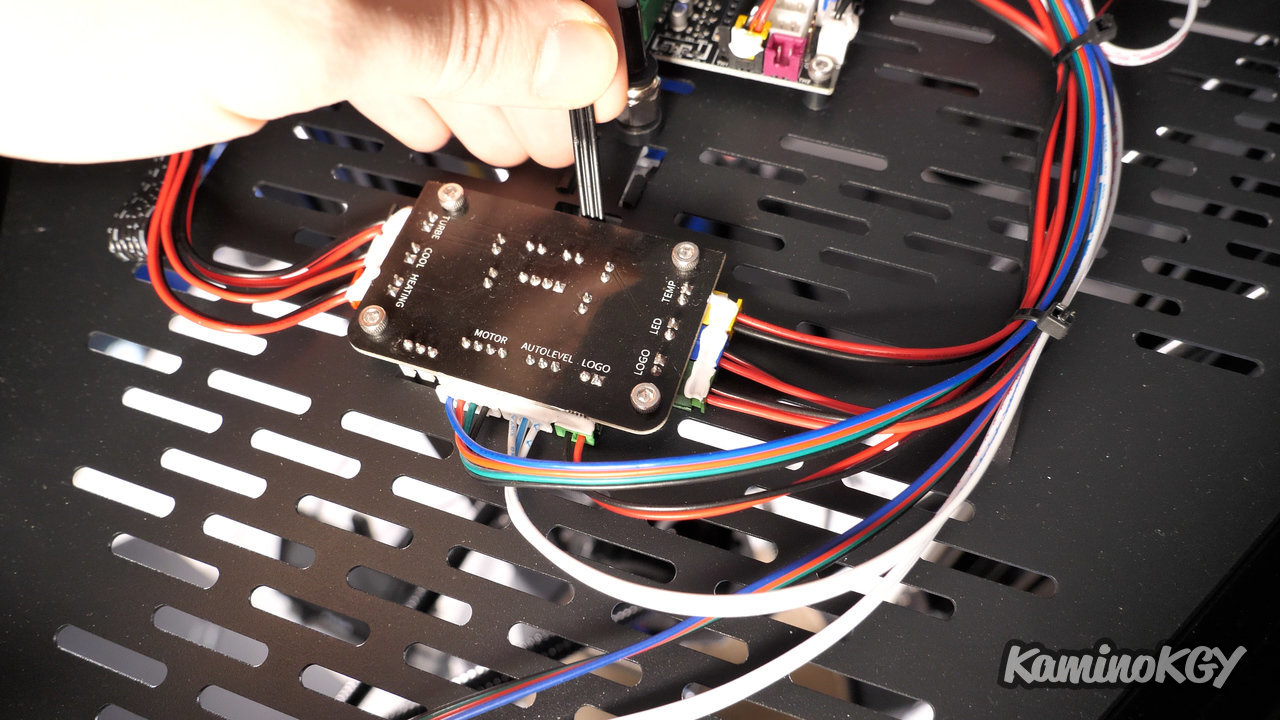
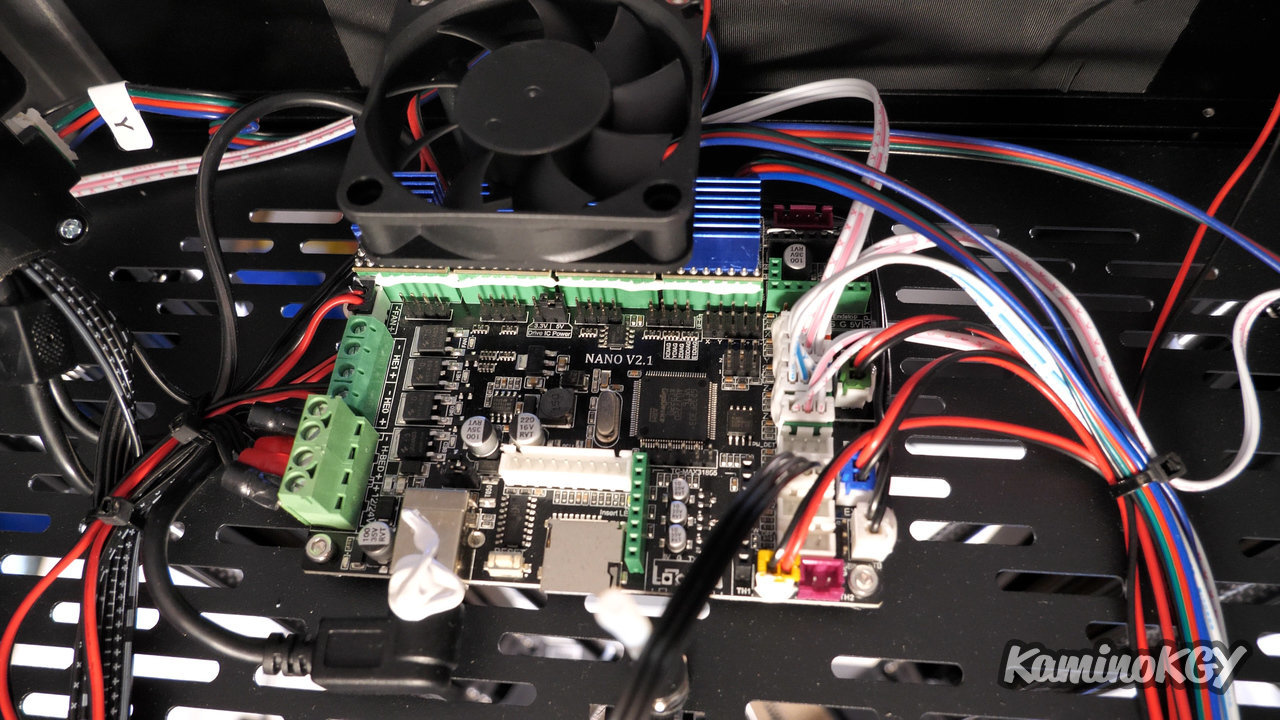
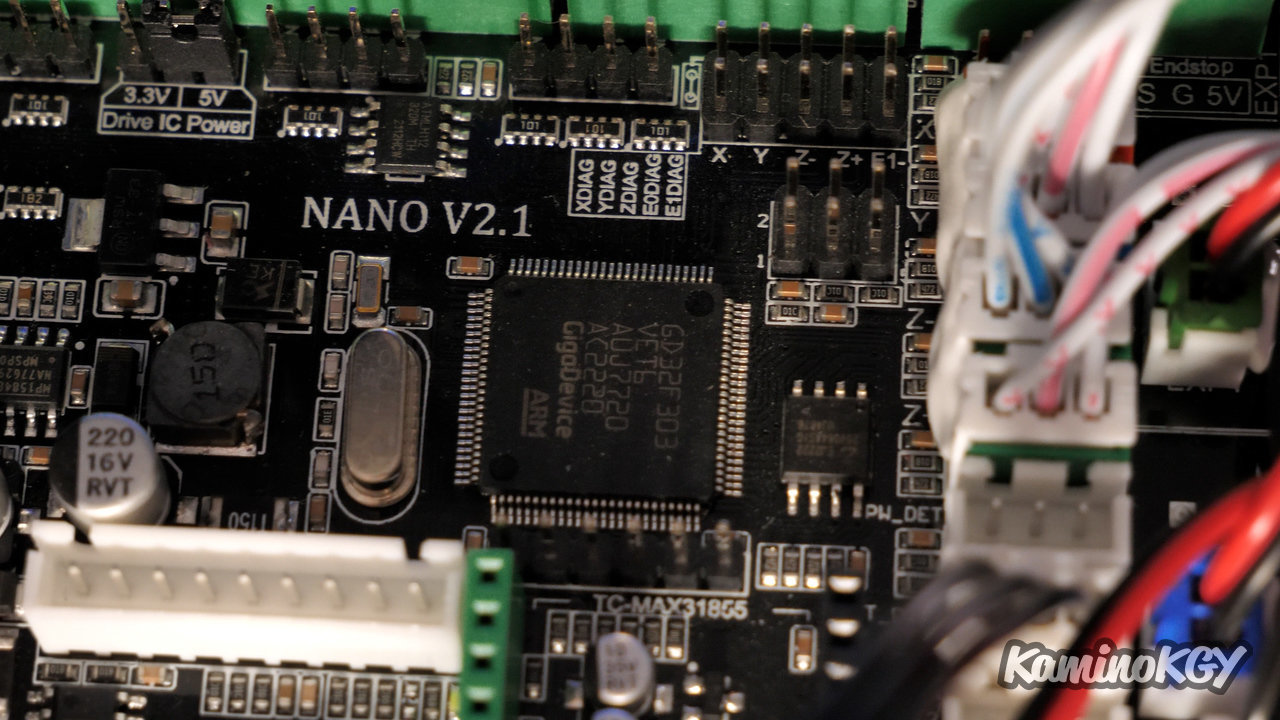
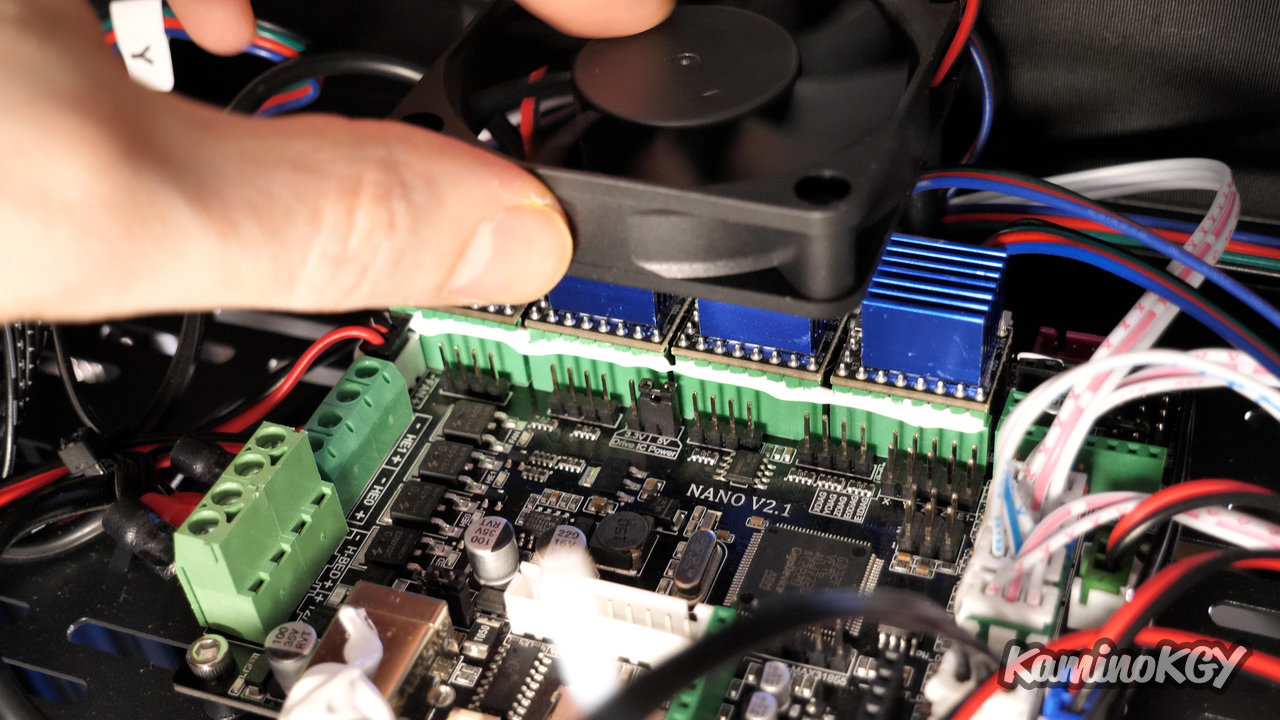
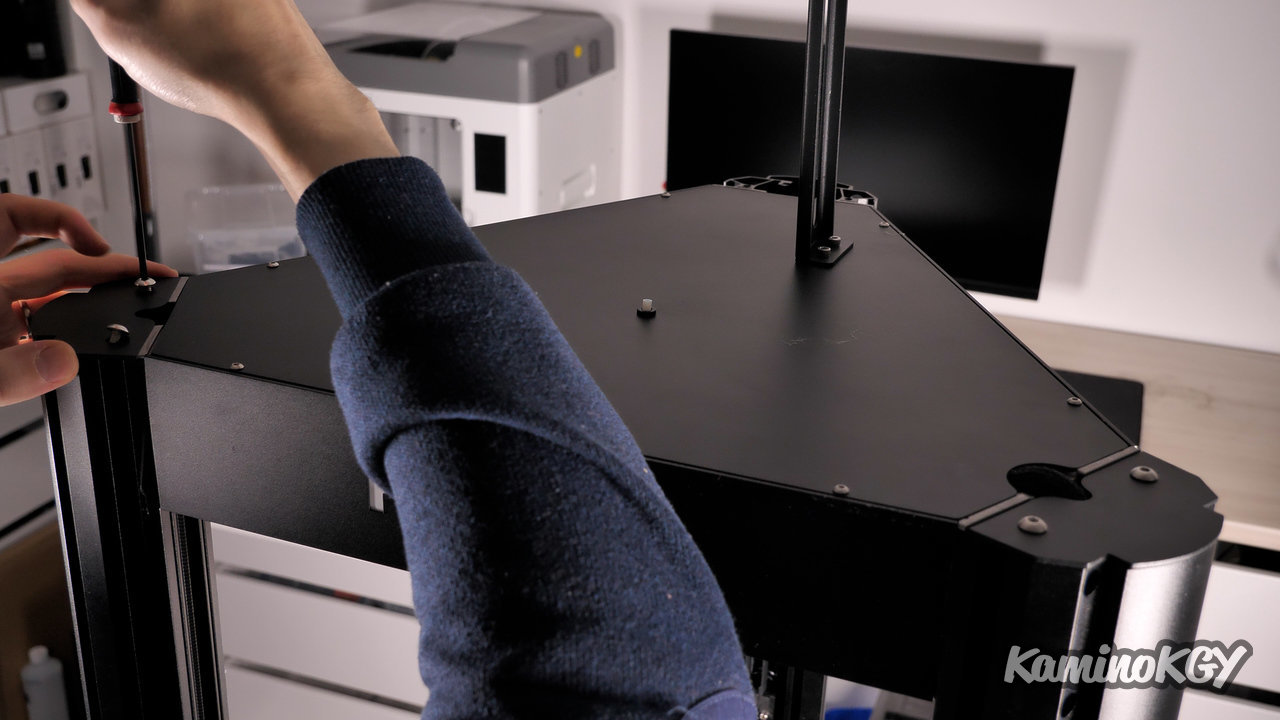
Inside the upper platform, there is the hub that connects the hotend with all the necessary ports. and behind, we have the motherboard indicated Nano 2.1 with the screen which is connected to the USB port. We see that we have big radiators on the drivers and above all a big fan that blows directly on it and that's really good for good cooling.
Rise in temperature of the plate
Concerning the rise in temperature of the plate, I find that it is a bit long. It takes almost 5 minutes to reach the desired temperature (or almost). On the other hand, the distribution of heat is rather homogeneous, colder on the outer edges, but it is caught up. I guess the thickness of the base with the resistor, the magnetic film and the PEI plate is a little thick and since the temperature probe is below, it stops the heating a little early. But it's true for almost all printers you're going to tell me.
To be improved

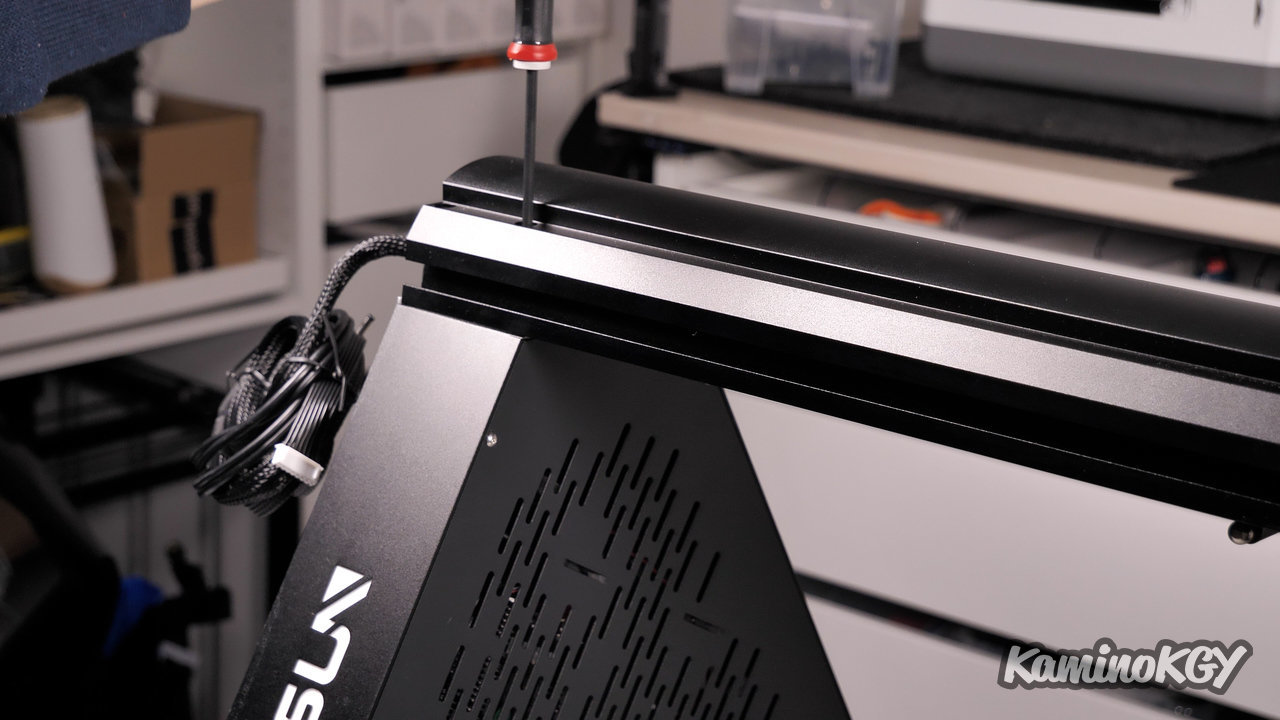
A small point that I will see to improve is the pvc sheath to pass the cables from the top of the machine to the hotend. I think I'll prefer some sort of braided nylon sheath or a small fabric sheath. It would make for something a little more flexible. I don't know if there's a reason why they preferred it, other than maybe because it's easier to add or remove the wires without taking out almost everything.
Then, the prints with the basic parameters are a little over extruded, so you will have to adjust either at the machine level or on the slicer to correct it. But that we will see right away in the test prints and besides, it should be noted that for the test prints, I used the profile offered directly by Flsun.
Test prints
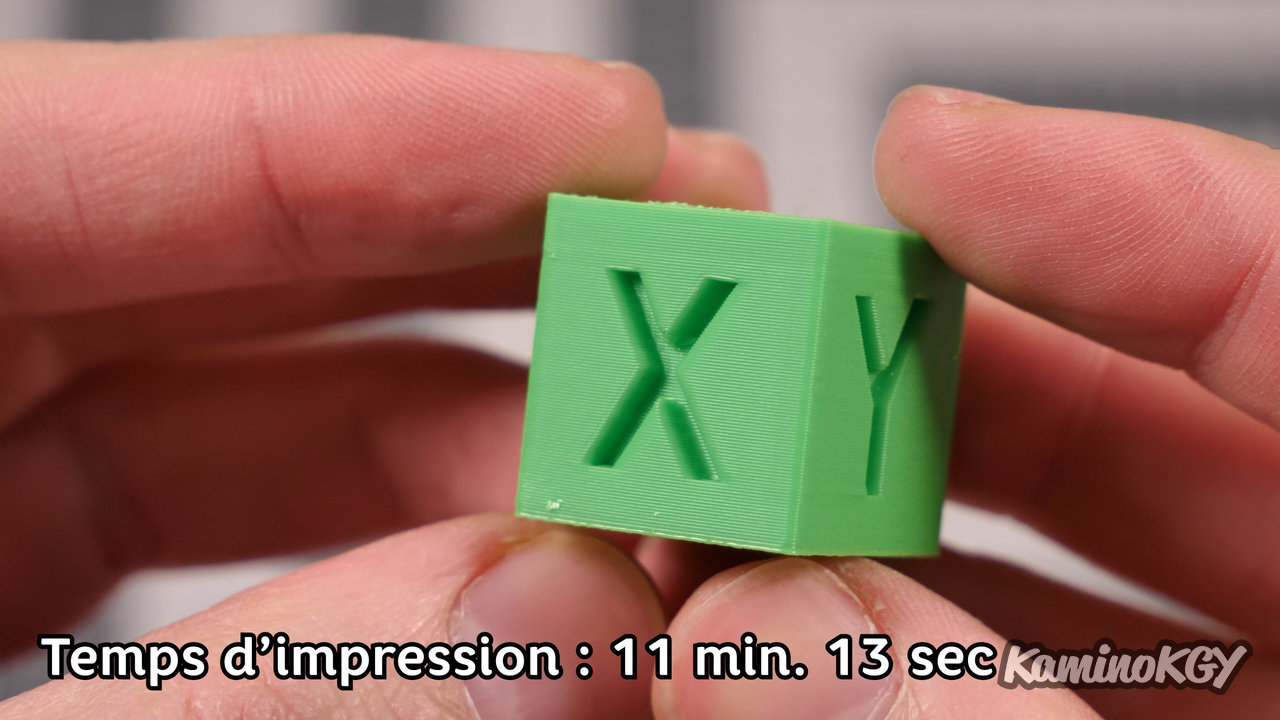
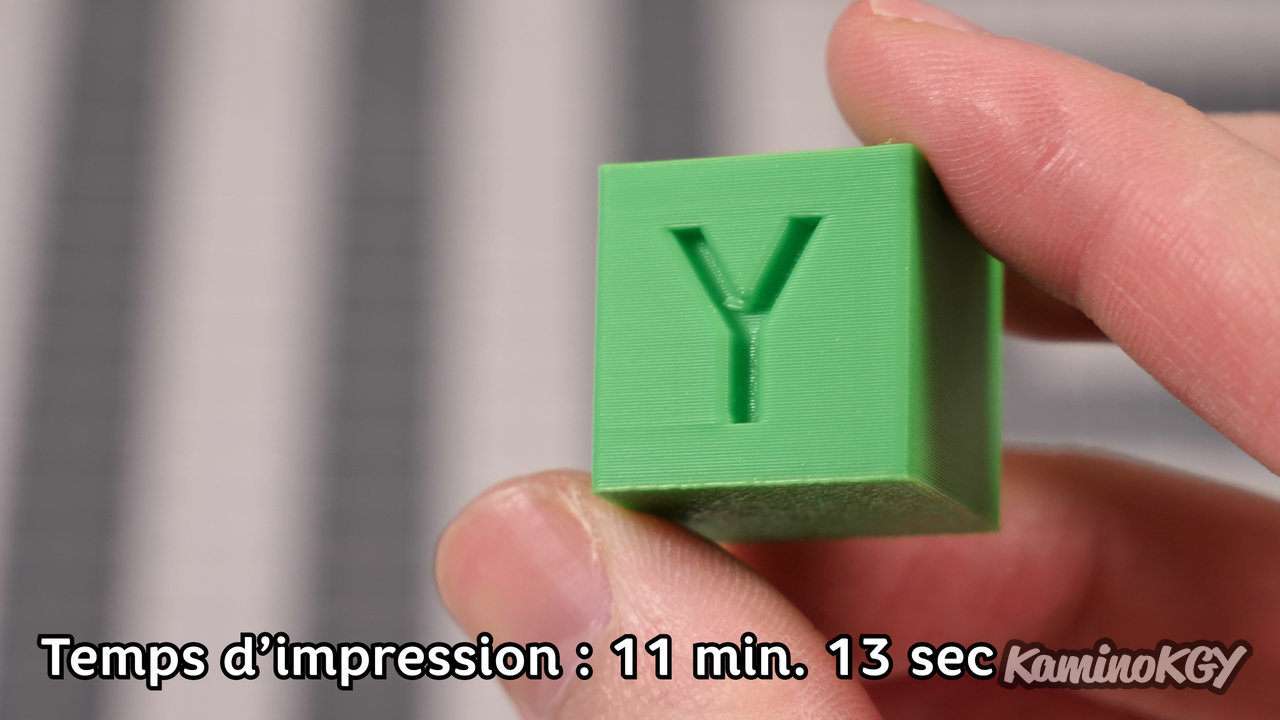
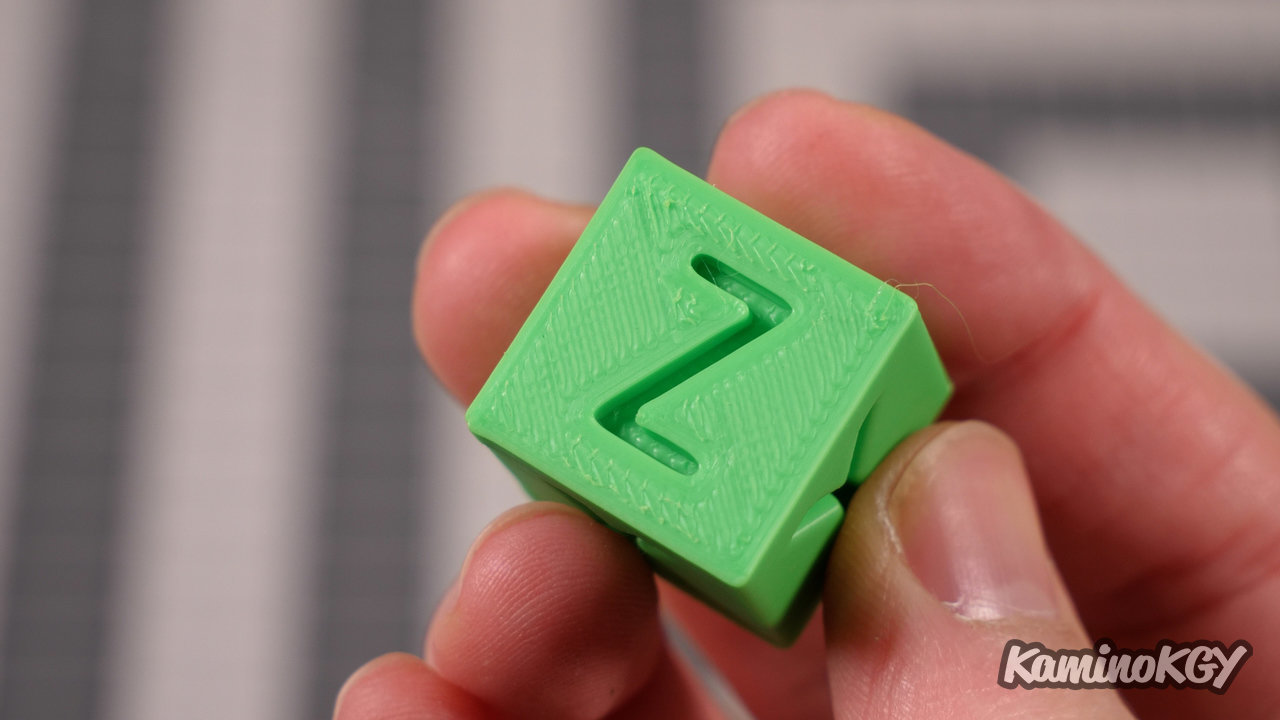
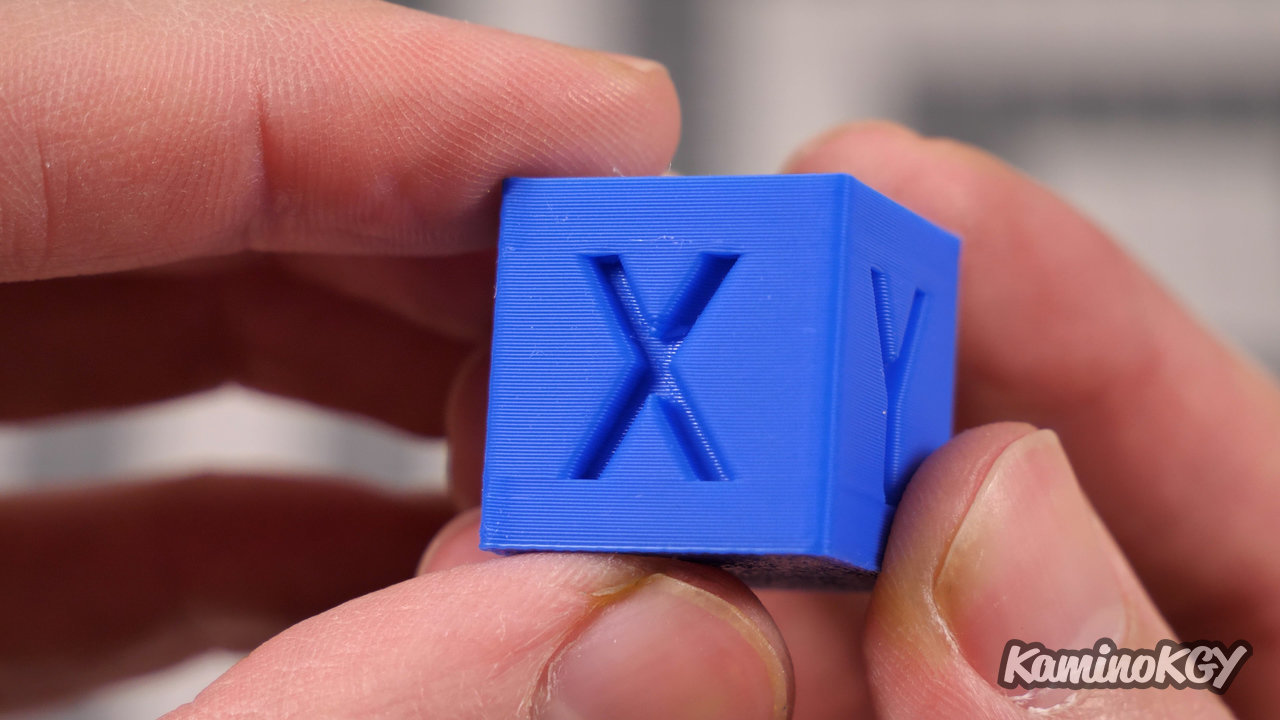
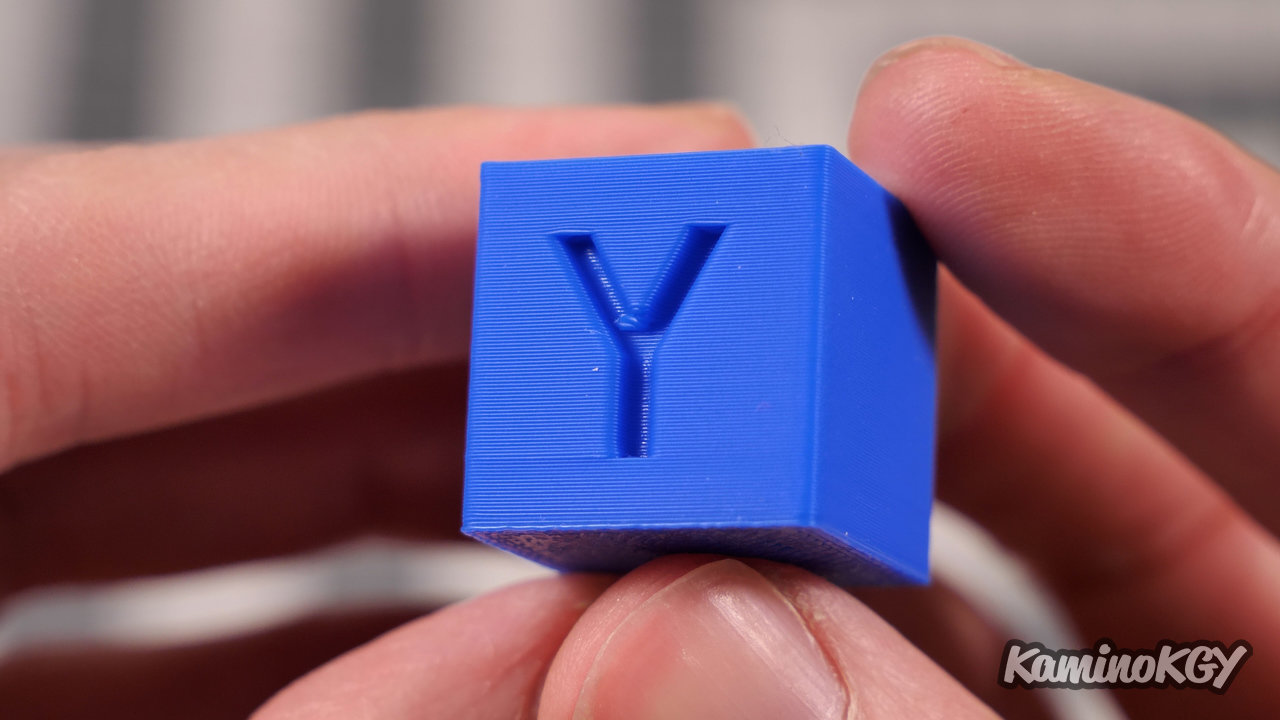
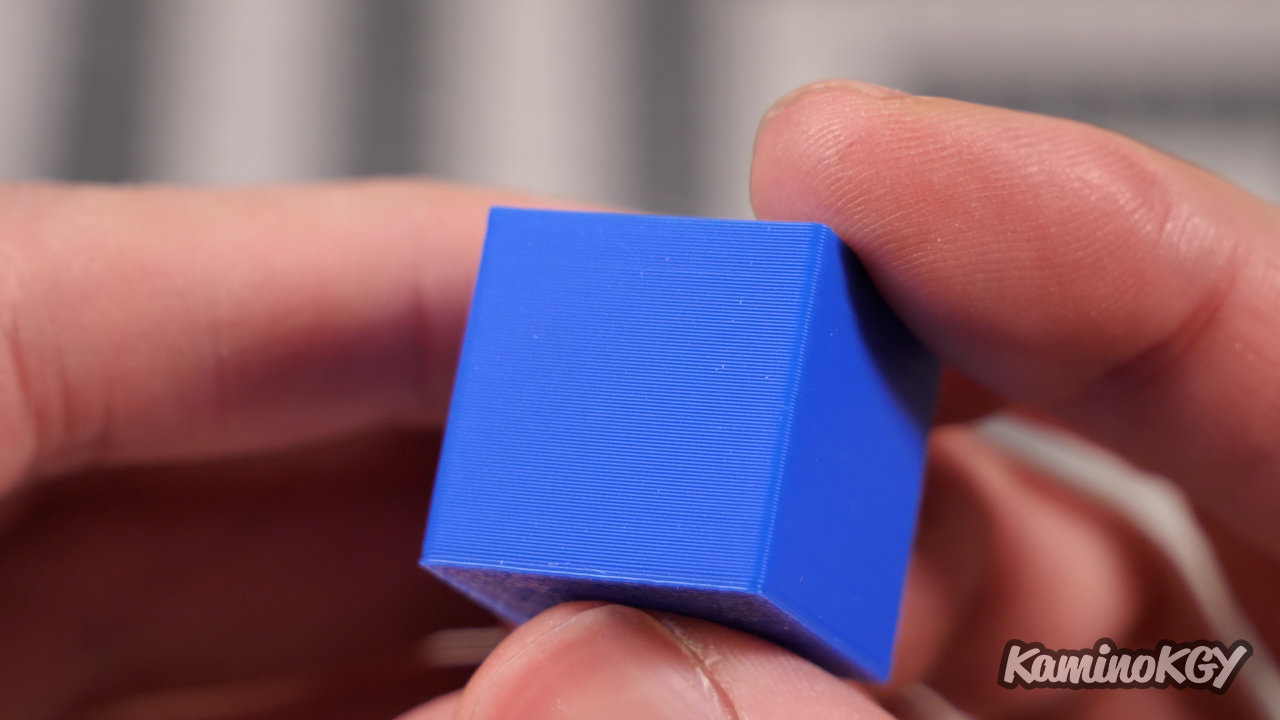
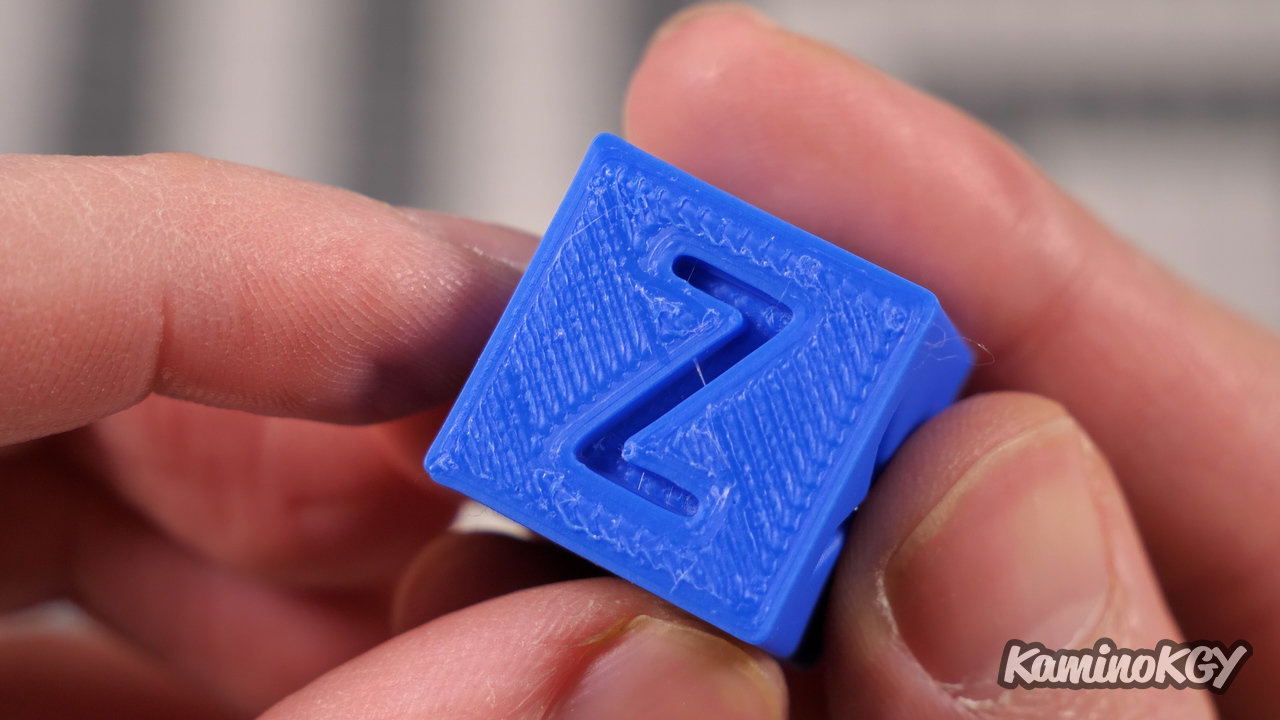
On this first calibration cube printed with the basic profile, in just 11 minutes, we can see that the surfaces are extremely smooth, the letters are well drawn, the interior is quite well cooled, even if we still see the same small piece of filament that goes to the left. We will find it on the other prints. The corners of the prints are also straight, it's often more like a bead on other printers that don't handle the flow of filament in the corners. After the top is a little over-extruded. And we don't see any ghosting.
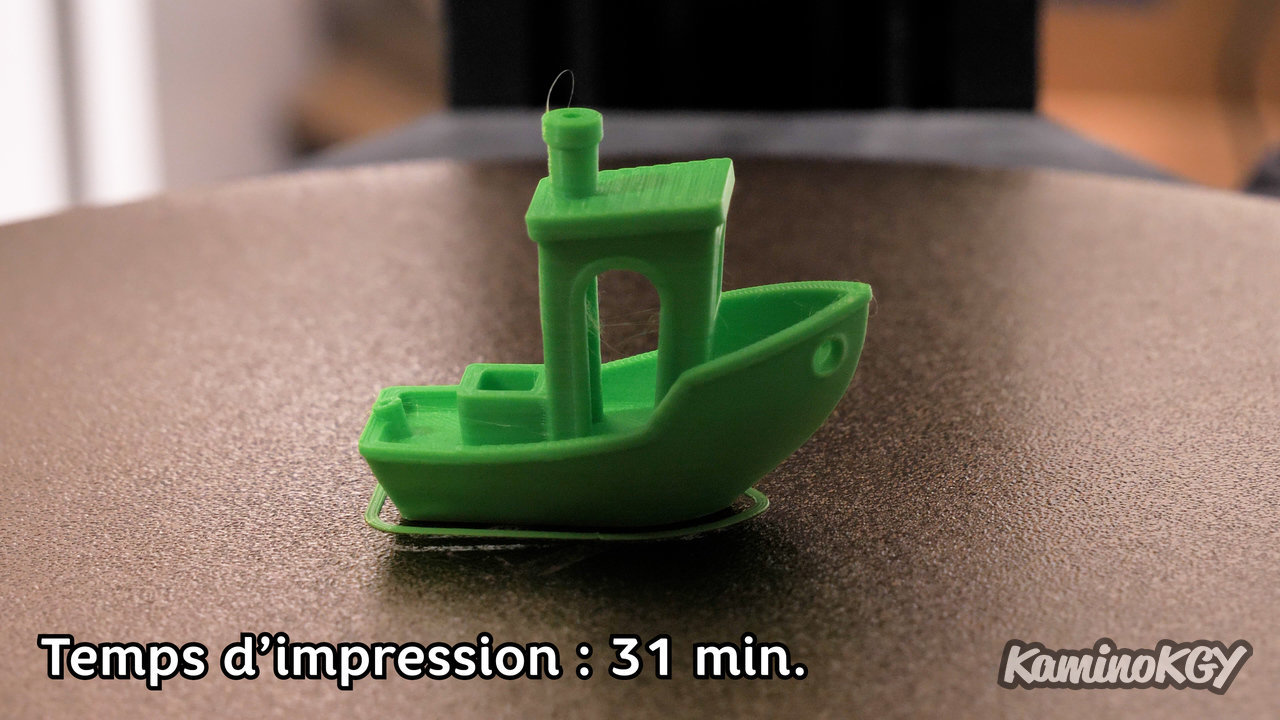
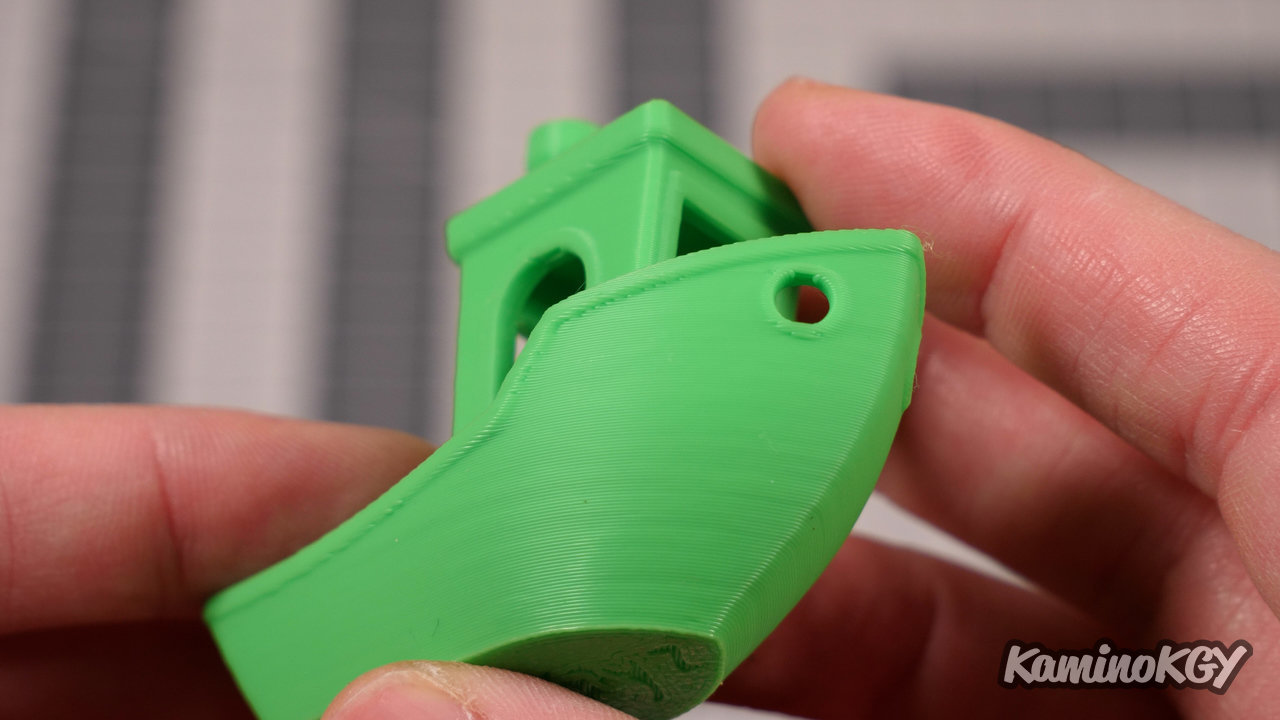
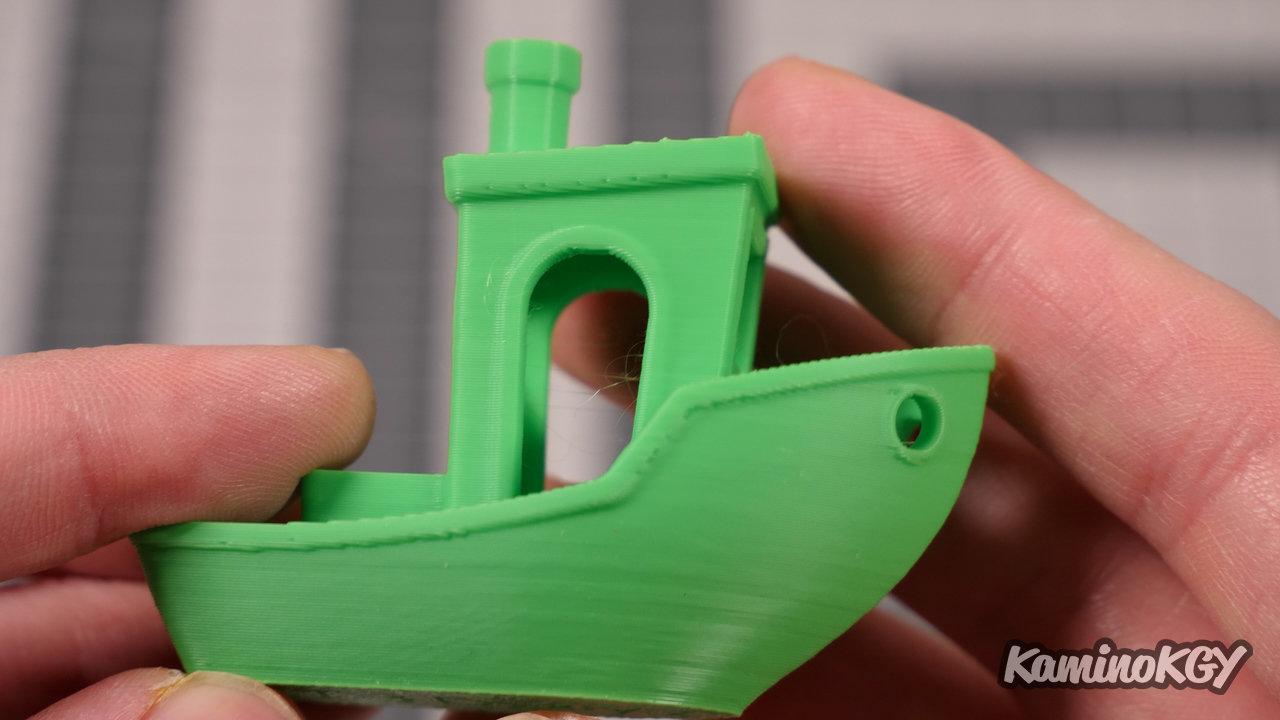
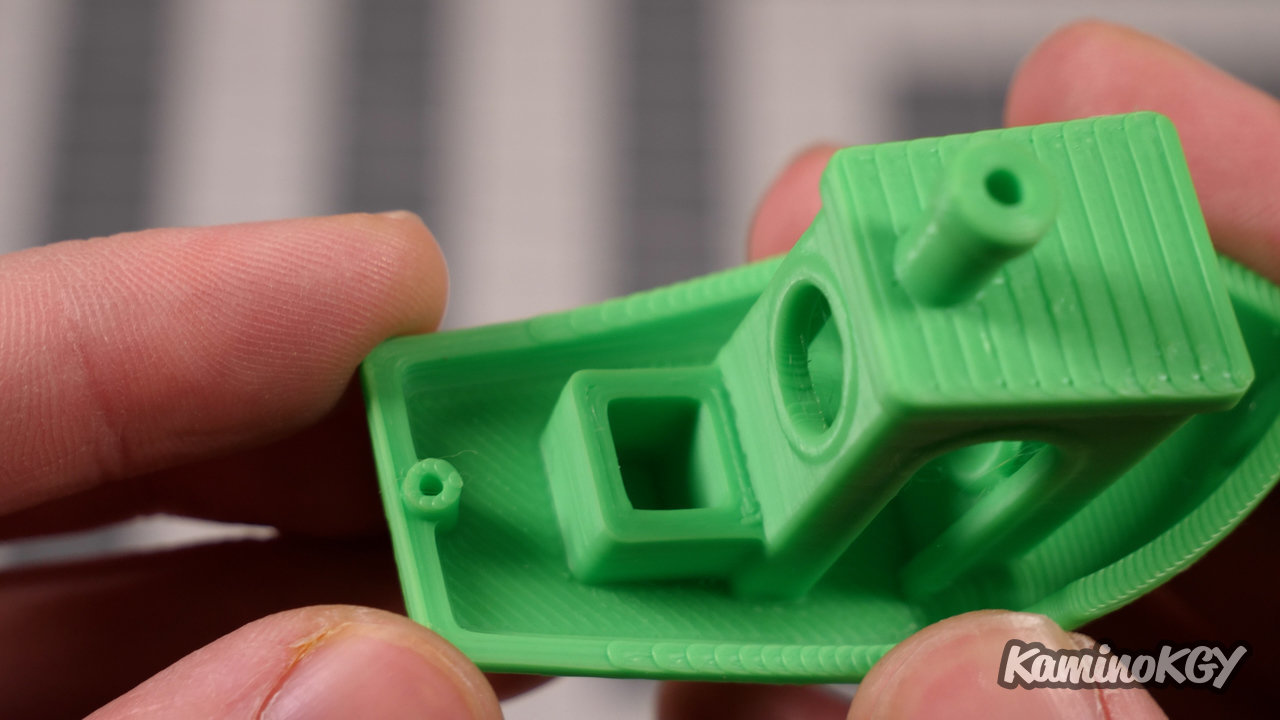
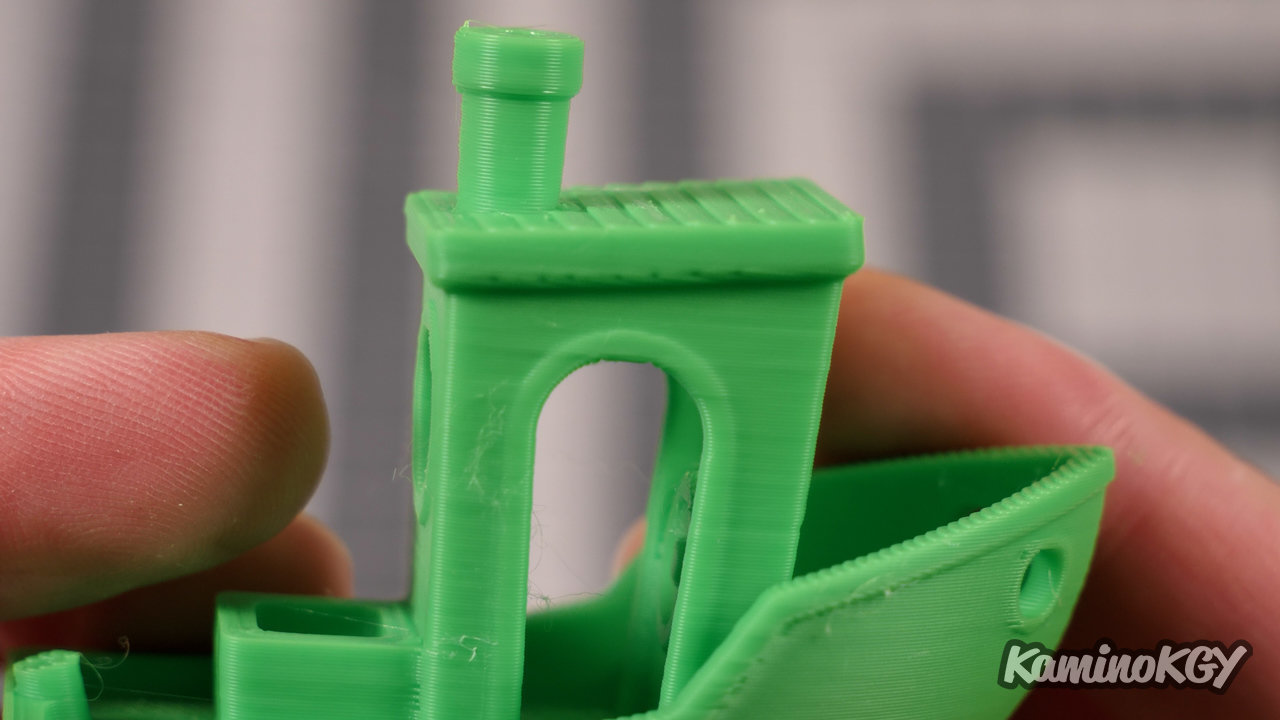
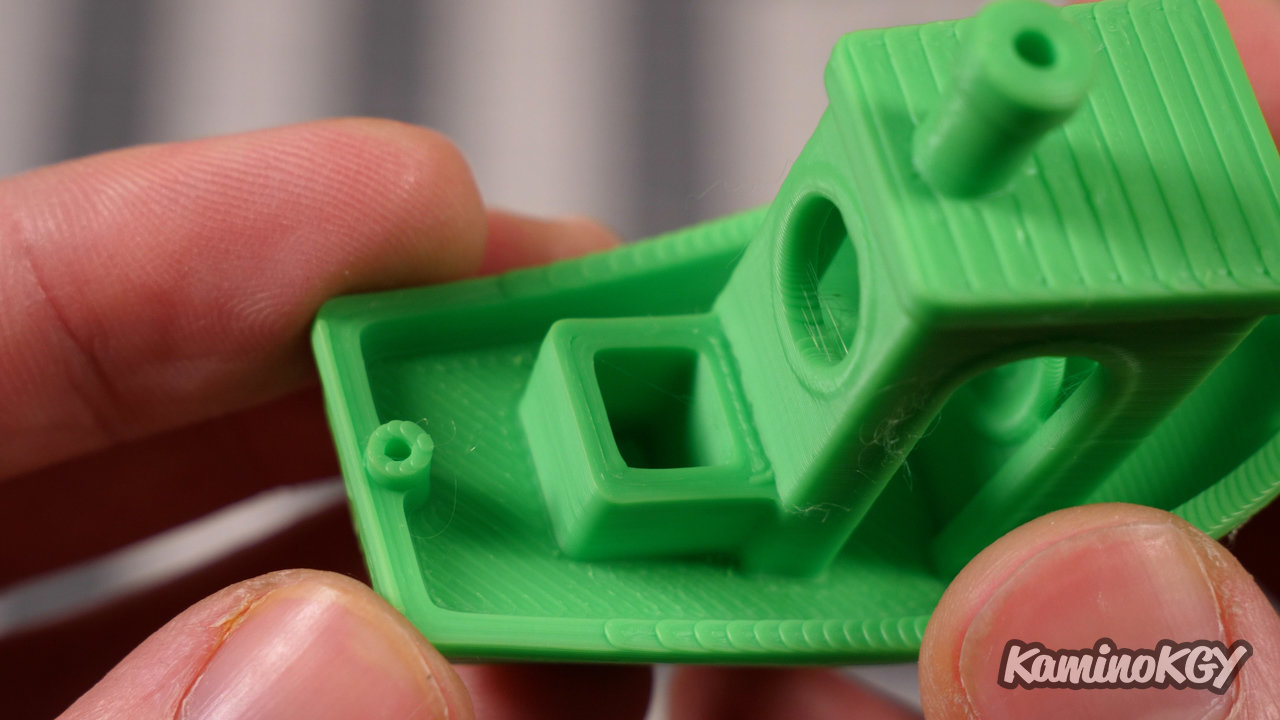
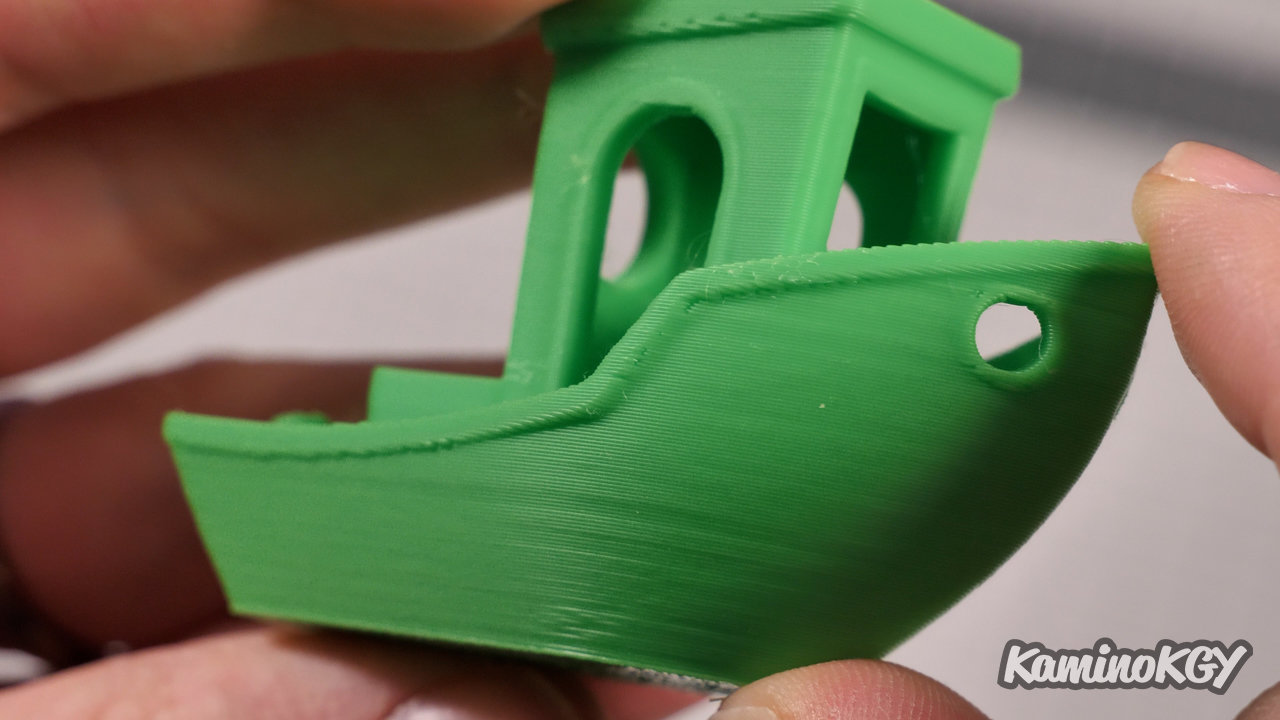
On this Benchy, still printed with the basic profile, in just 30 minutes, we can see that the hull is very well formed on the front. The top of the cabin is very well cooled, whether on the side or on the front. We see a little stringing, the retraction setting should be able to overcome it, even if it is quite linked to the filament here and the temperature which is 210°C base. The top is very smooth, we hardly see the over-extrusion, except perhaps on the back square.
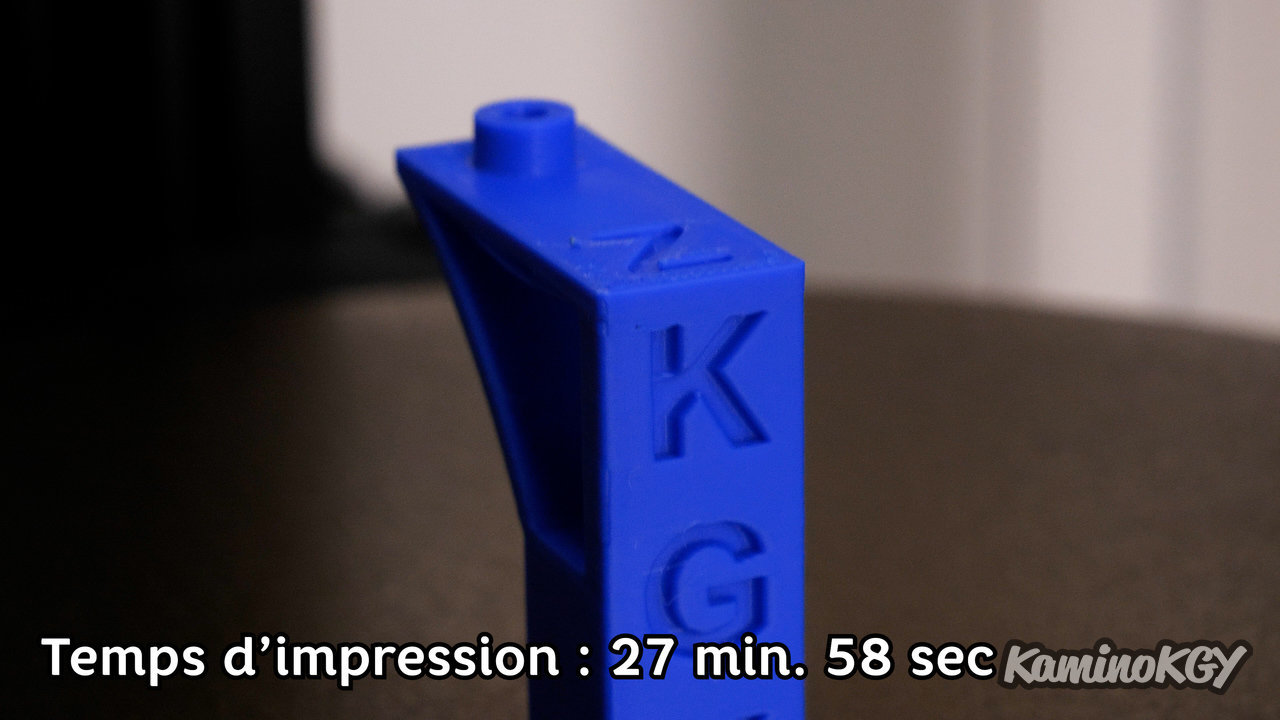
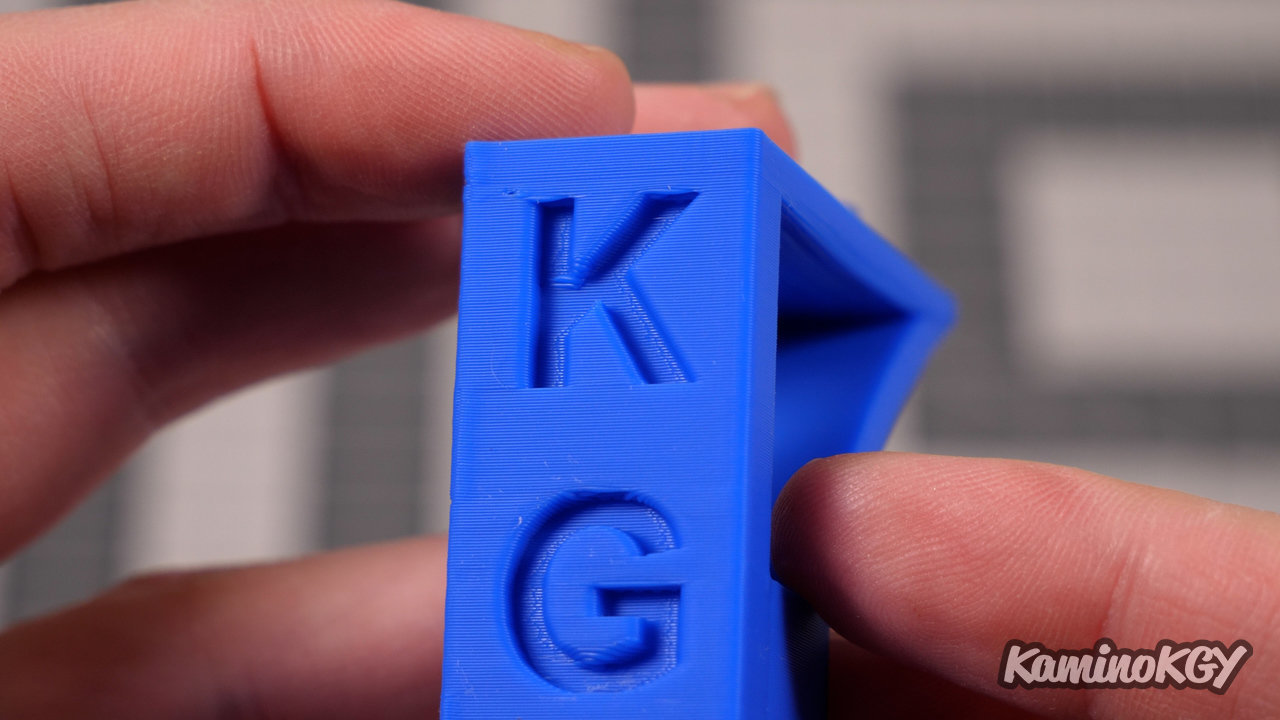
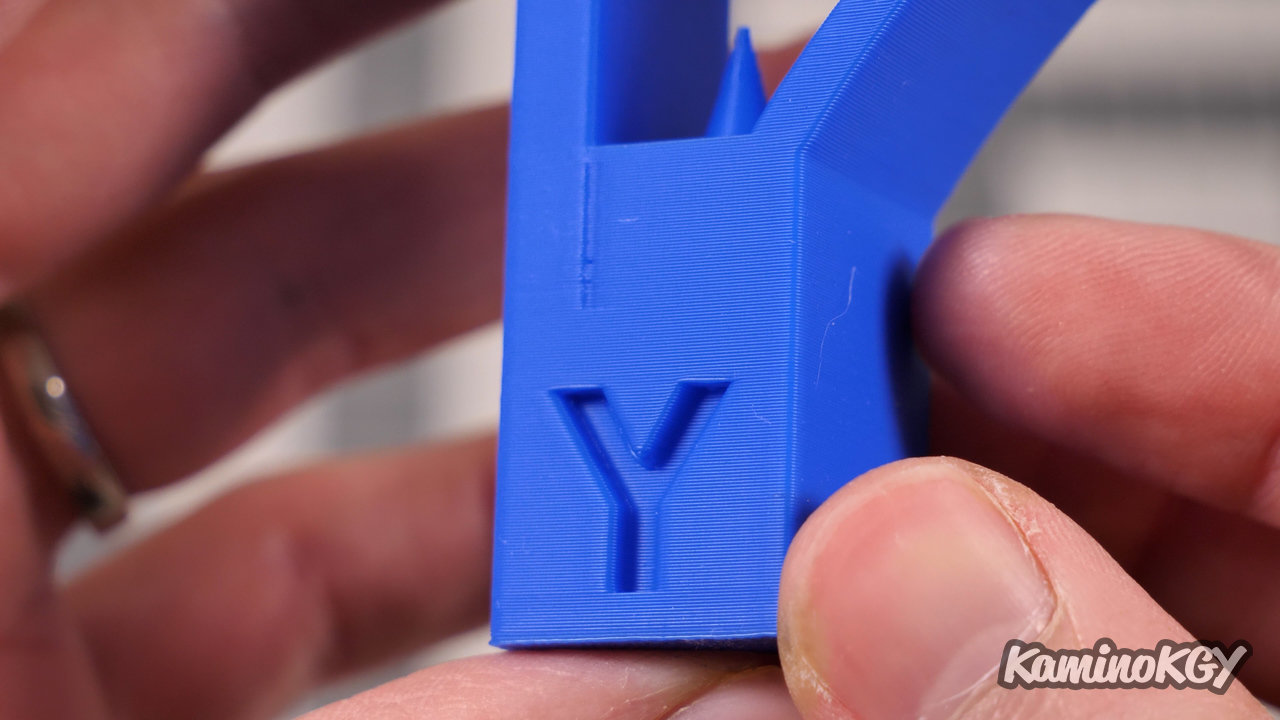
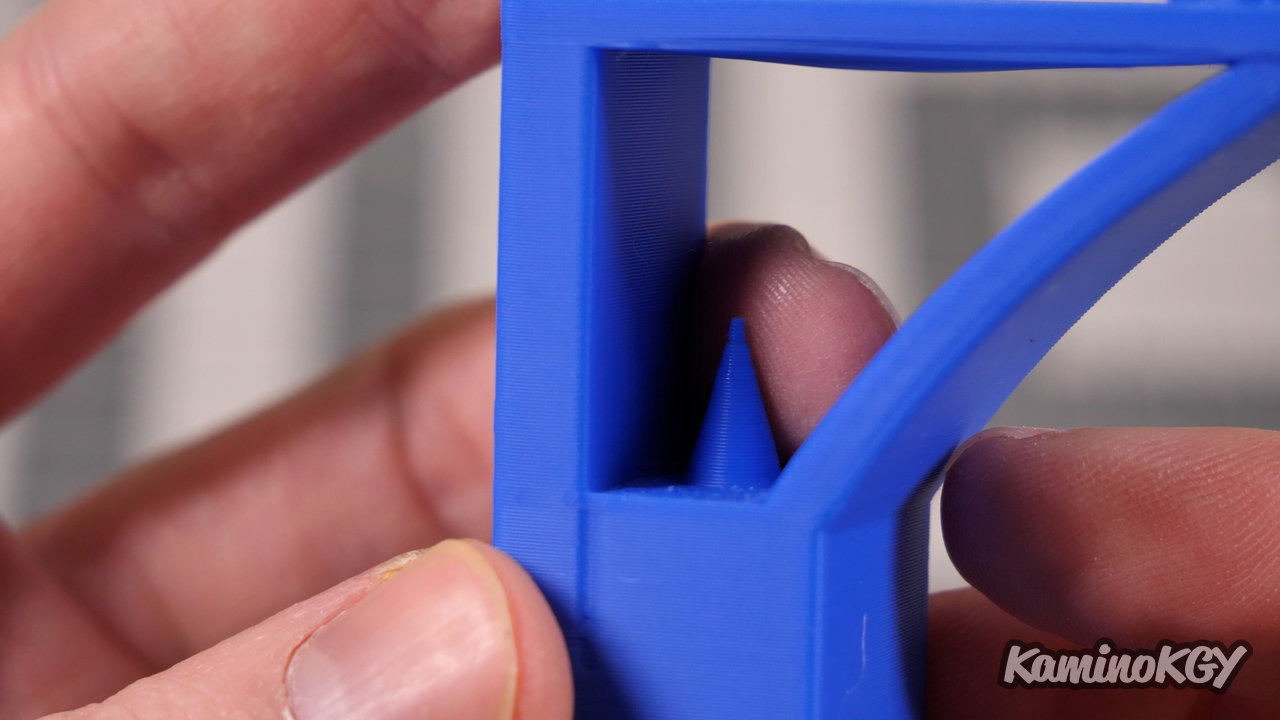
On my KGY test, printed with the basic profile, but with a temperature lowered from 210 to 200°C. The letters are pretty well drawn, we can see the Z-seam, the beginning of the layer in the top left corner, there is a little lack of cooling inside the letters with this little piece of filament going to the left . I am always amazed by the absence of ghosting on the faces which are super smooth. The small cone inside the model is well drawn, the end is very clean. We don't really have any stringing. On the overhang, the cooling is good, but on the steepest angles, it is a little more complicated, to see if we could not find a parameter to reduce the printing speed on these angles. The bridge is better cooled on one side than the other, but frankly it's still ok. On the top, you can see some over-extrusion on the smaller diagonals, but some under-extrusion on the longer runs, that should be fixable too.
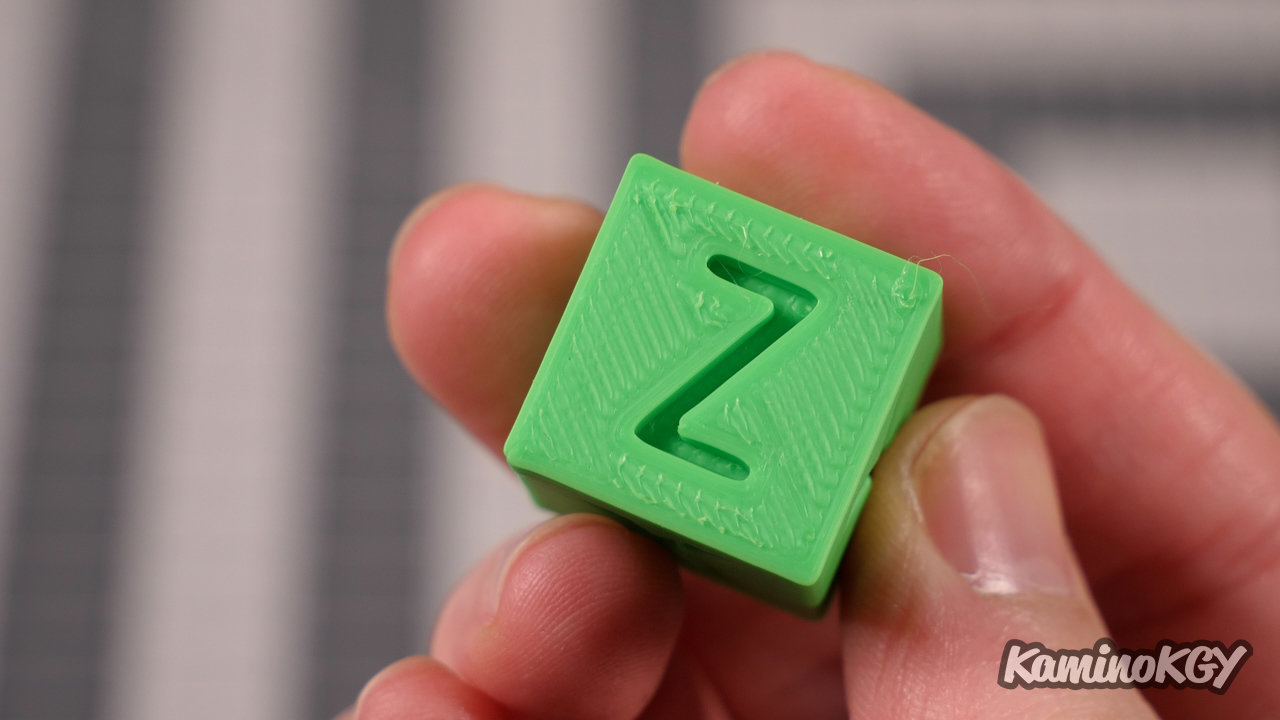
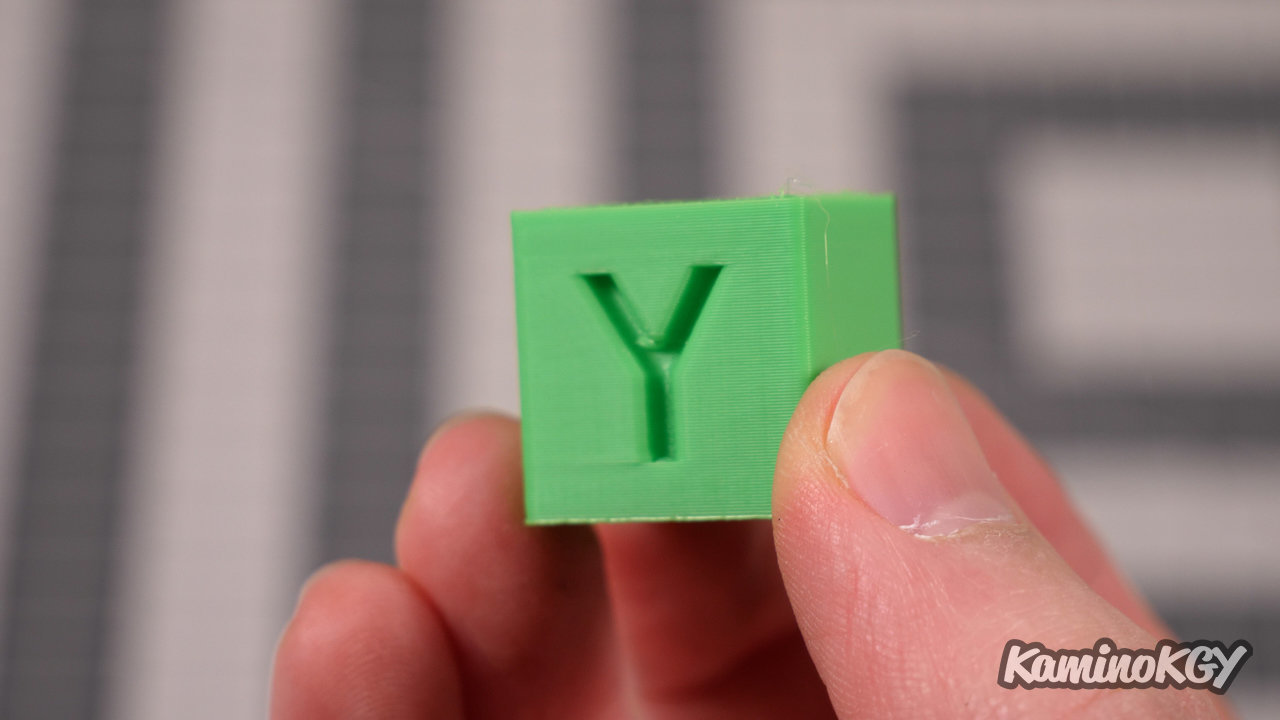
On this other calibration cube printed at the same speed as the first, but with the temperature reduced from 210 to 200°C. We get the same results overall, super smooth surfaces, and an over-extruded top.
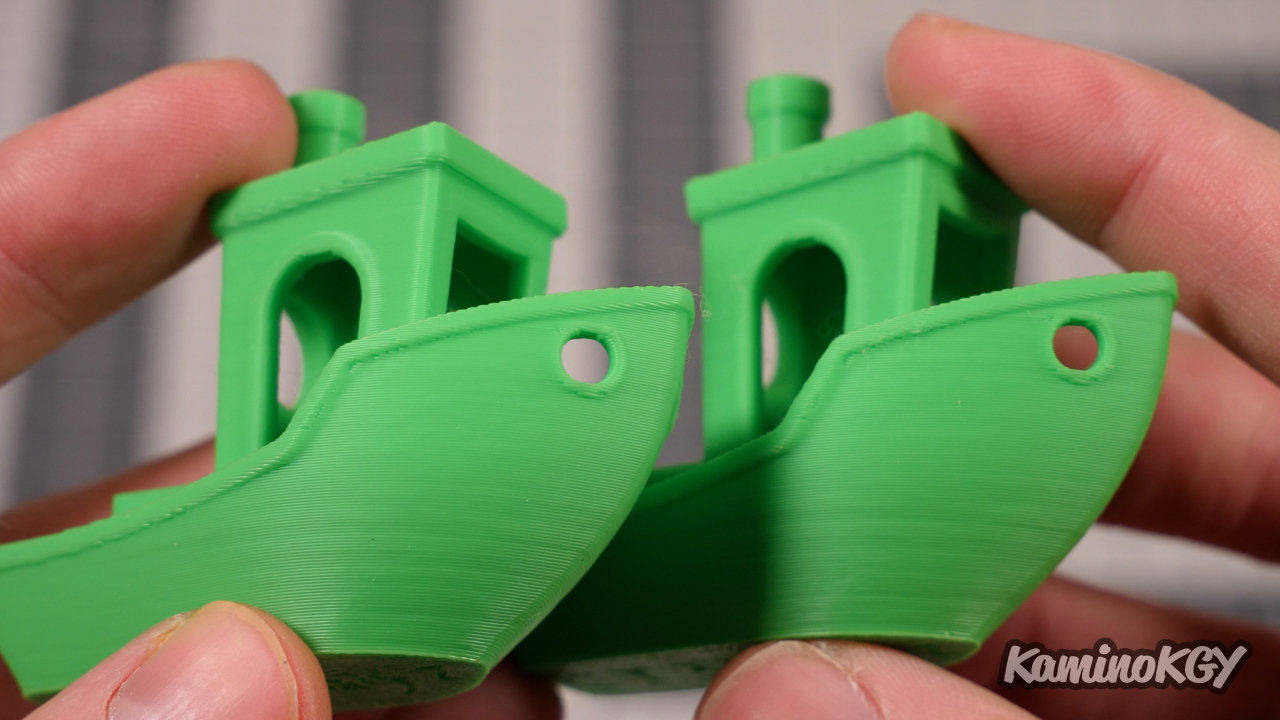
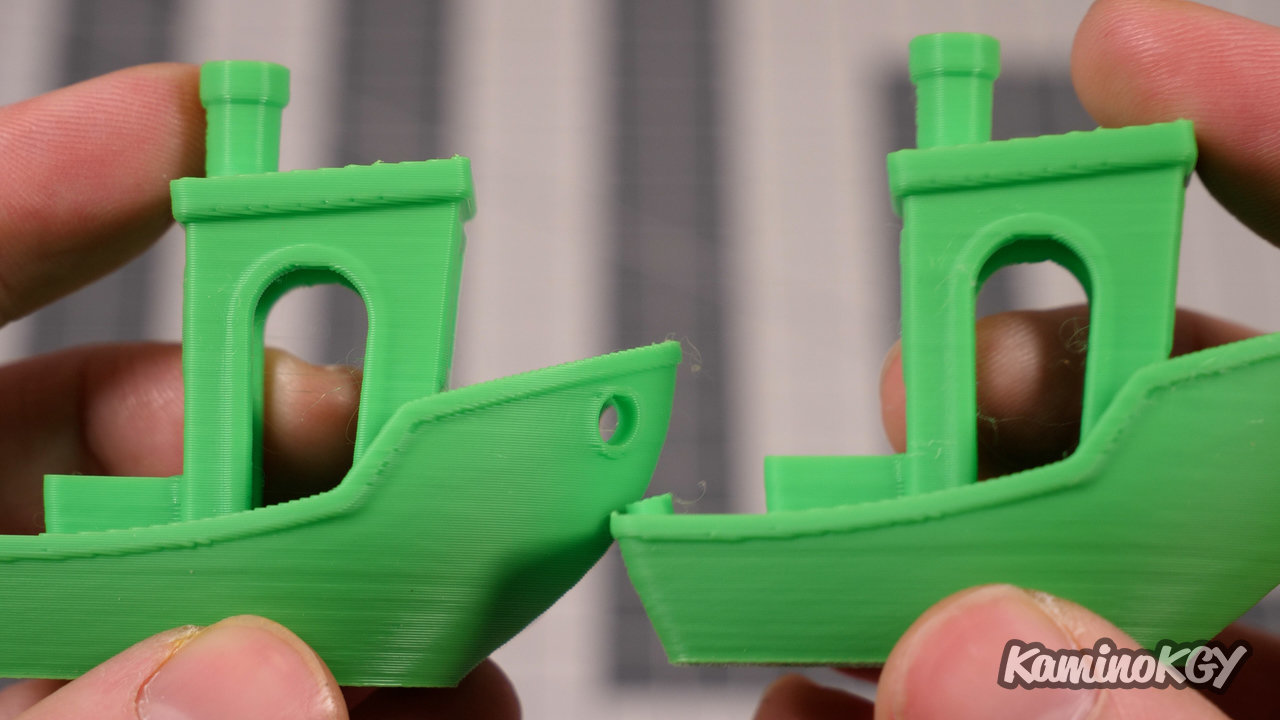
Ditto on this second Benchy printed at 200°C, we have a Benchy almost identical to the one we printed before. The stringing is the same, even if with the drop in temperature we could have gained a little, so it could come more from the increased retraction, knowing that on the profile, there is Z-hop which does not necessarily help the things either, but it's good to keep it because with high speed prints, we will probably tend to have more warping, by slight lack of cooling in this area.
Review
With the speed, we can see that the impressions are less precise, but given the difference in time spent for the impression it is really anecdotal. We have no real flaws. And if you want to increase the print quality, reduce the speed a little, you will always go much faster than on the majority of other printers we have tested so far.
Note that we can see this loss of detail at the level of the changes of direction and even more where there is the beginning of a layer. As seen on the Benchy.
And above all, we can notice that the cooling works really well, because with this speed, many printers would have major warping problems. So there, hats off, especially when you see the little blowers used and the platform that passes over the middle, you wouldn't really have said that it was a foregone conclusion, even if we have 2 blowers facing each other.< /p>
Personally, I'm really amazed by this printer which sends heavy, prints really fast and well, so clearly it's a big plus for me.
The V400 comes with a premium over other printers that don't have Klipper, but you'll save a ton of time, especially if you're using it for prototyping and want to be able to have the time to do several iterations during the day. And you don't want to bother configuring Klipper.
And if we put it into perspective compared to a Super Racer where we would have to change the chainring for a flexible magnetic PEI, put in a direct drive, buy the Flsun screen with Klipper, we can say that the price difference n is more than the difference in volume, which is not negligible either. But don't worry, we'll still try to test this upgraded screen soon on the Super Racer to see what happens.
Bye bye!