Today we will test the TTS-55 laser engraver from TwoTrees.
Unboxing
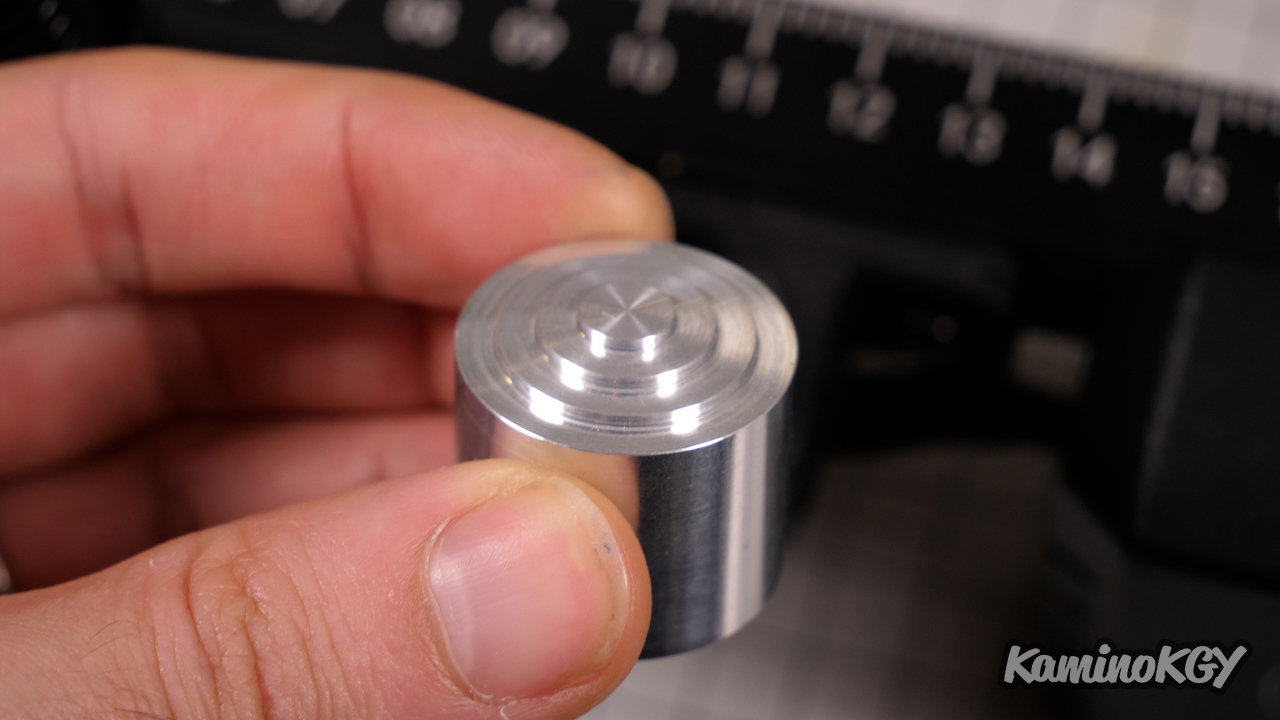
In the box, we find a first box with the laser and its cover, the power supply and the pad to adjust the focus of the laser in relation to the material to be engraved. It is found with a 3D printed support.
In the second box, there is a folder with the documentation. There is a bag with the screws, the cart with the laser support that goes up and down with a wheel. Then, it is the motherboard, a wooden support, probably to make a test of engraving, a USB cable, rather classic protective glasses, plastic covers and a belt tensioning system. And finally the left and right profiles with motors and the 2 front and rear aluminum profiles.
Assembly
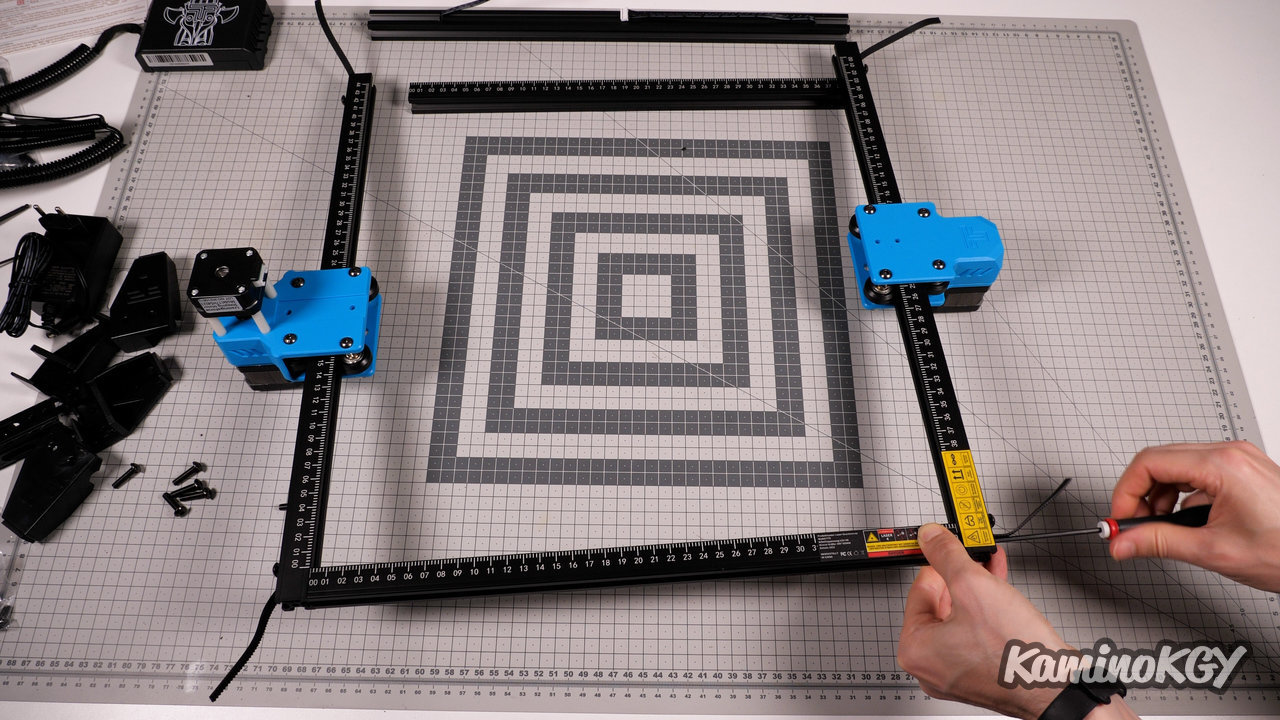
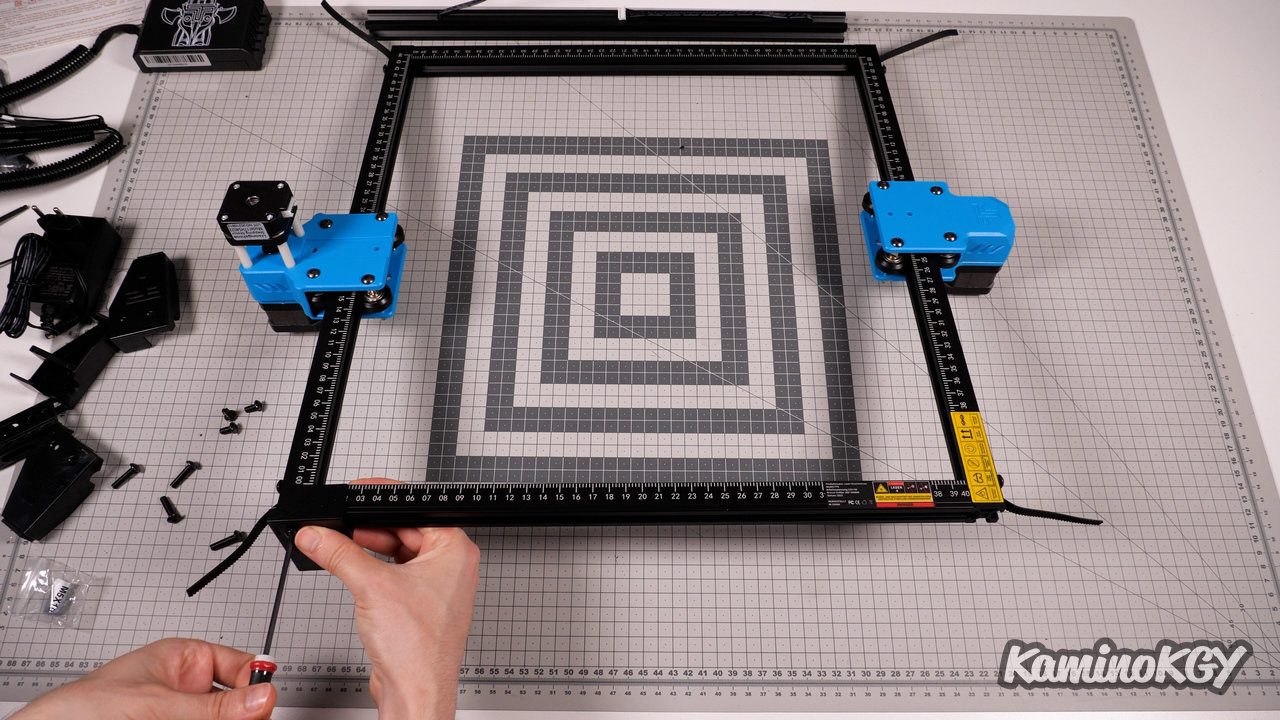
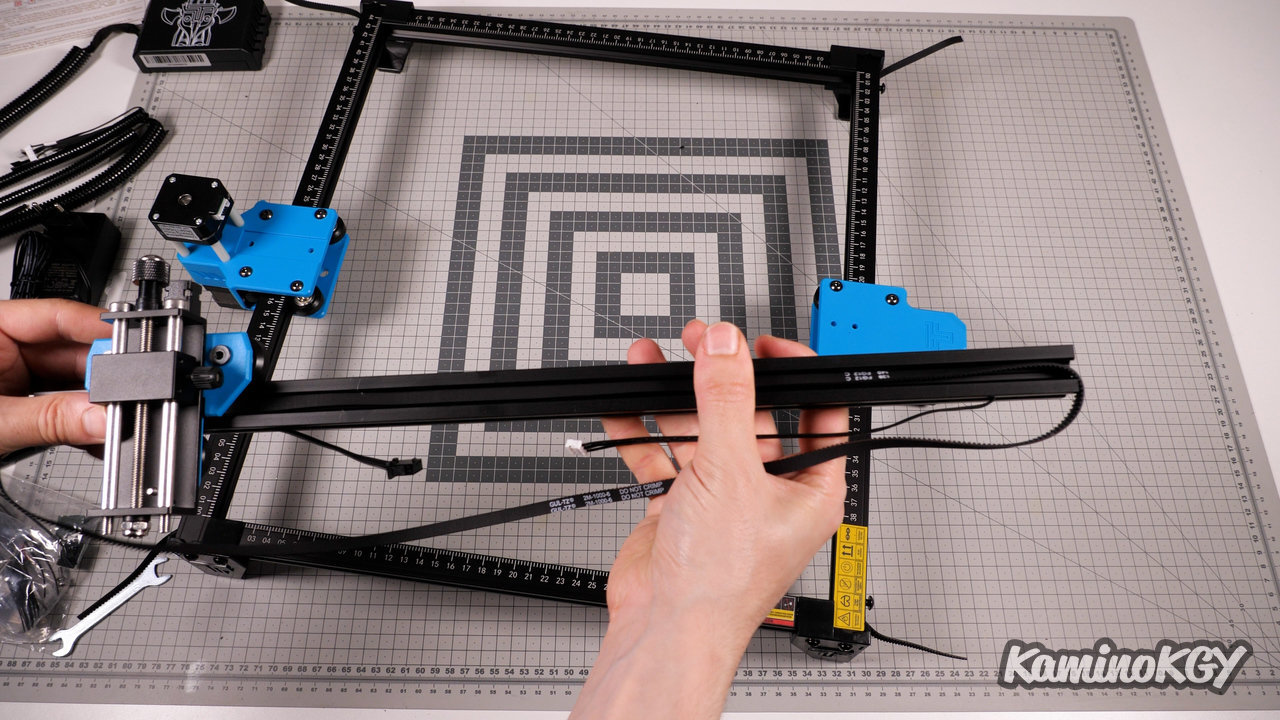
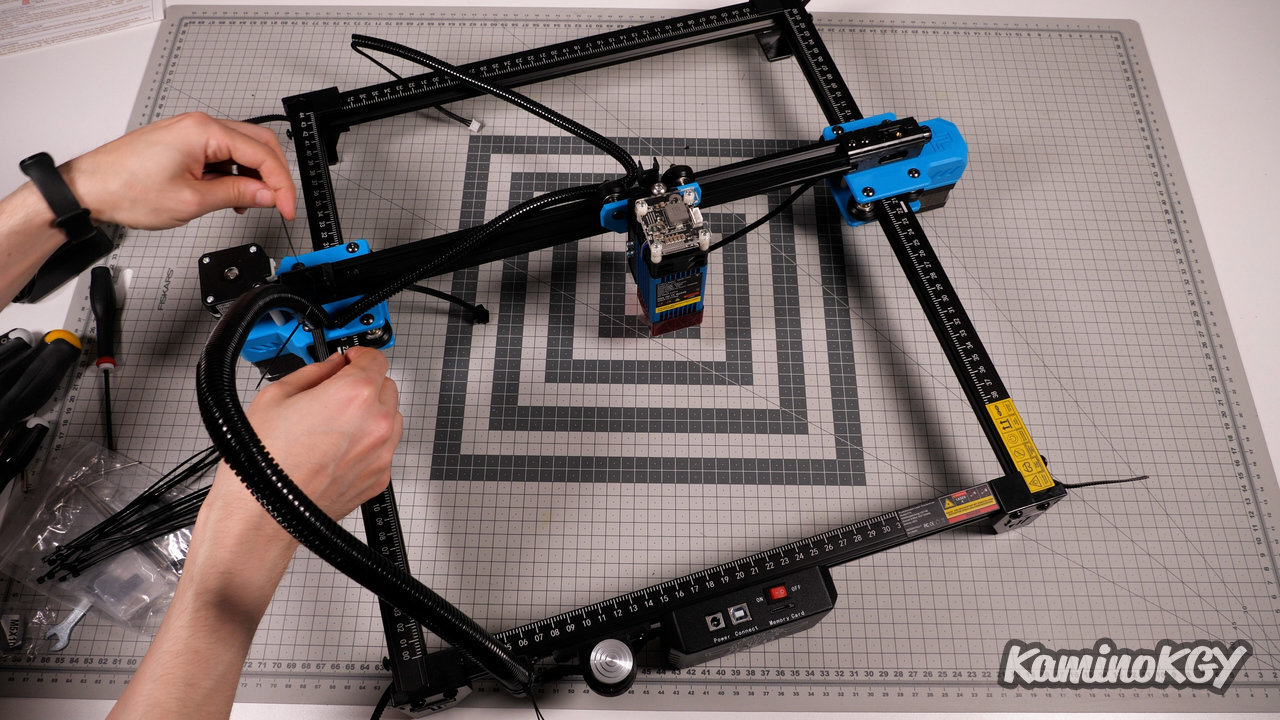
For the assembly, it is quite simple. And the documentation is quite detailed, just look at the thickness of the manual. We will start by screwing the frame of the structure with screws in the corners. Then, we place the covers at the 4 corners. We come to place the carriage on the central profile with its belt and the system of tension in end. We screw the whole on the side supports. We put in place the laser, the motherboard and we connect all the pre-wired cables in plastic sheaths.
Features
Regarding the characteristics, already it is a laser with an optical power of 5.5W. This will allow to make more precise engravings with a finer shade of gray, while with a 10W laser you will have to reduce the power and increase the speed, otherwise you will not be able to engrave the surface of the material.
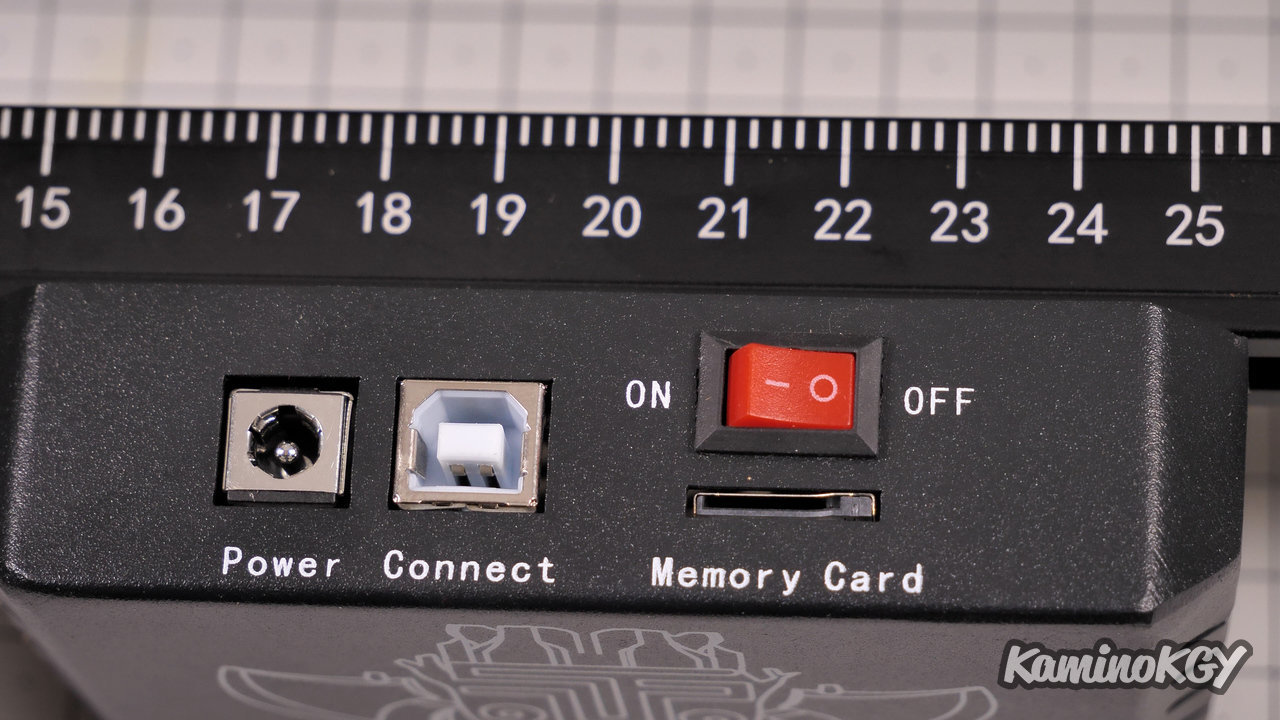
The work surface is 300 by 300 mm. We have a 32-bit motherboard, a USB port to operate the machine, controlled by a PC. An ESP32 allows the machine to be used in Bluetooth and Wifi via the mobile application.
Note that the laser is not designed to be used with an external air pump, called "air assist". But it will still be possible to mount a system similar to the one I made in the video of upgrades for the Ortur Laser Master 2 Pro S2.
Test engravings

If we move on to the test prints, the result is really beautiful. We have rarely had such a fineness and quality of engraving, especially in relation to the power of the laser, as previously mentioned.
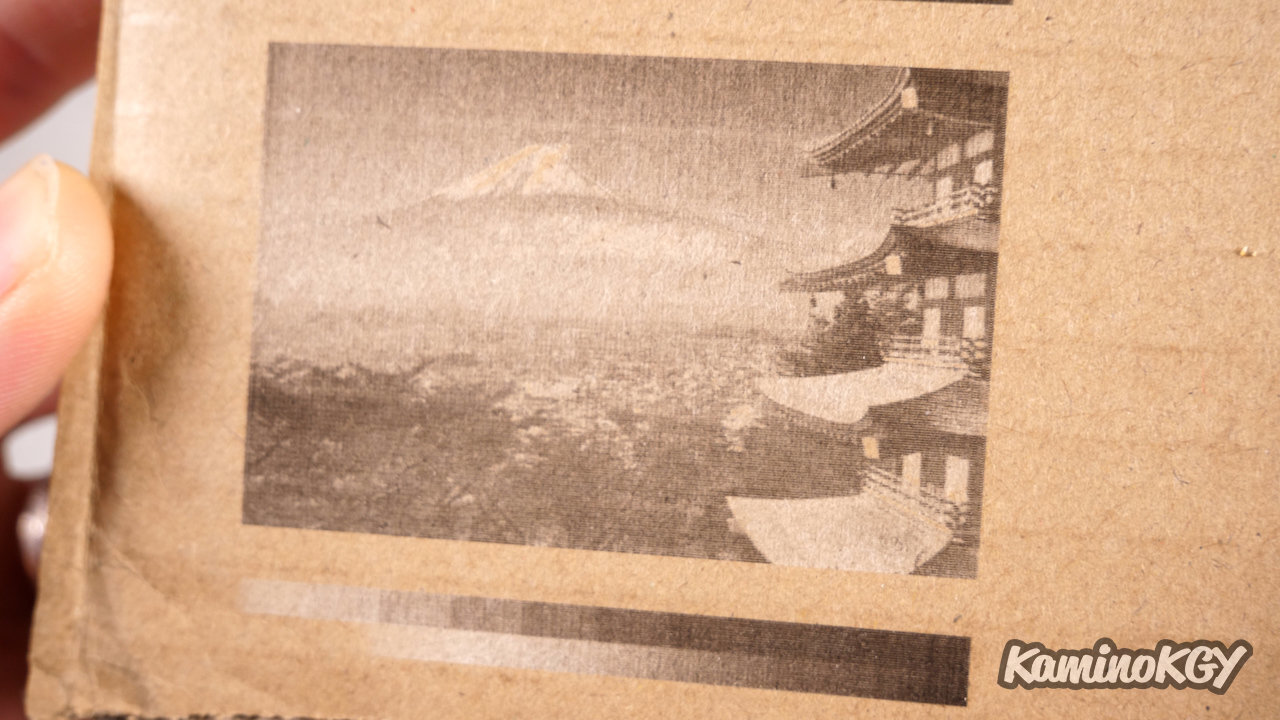
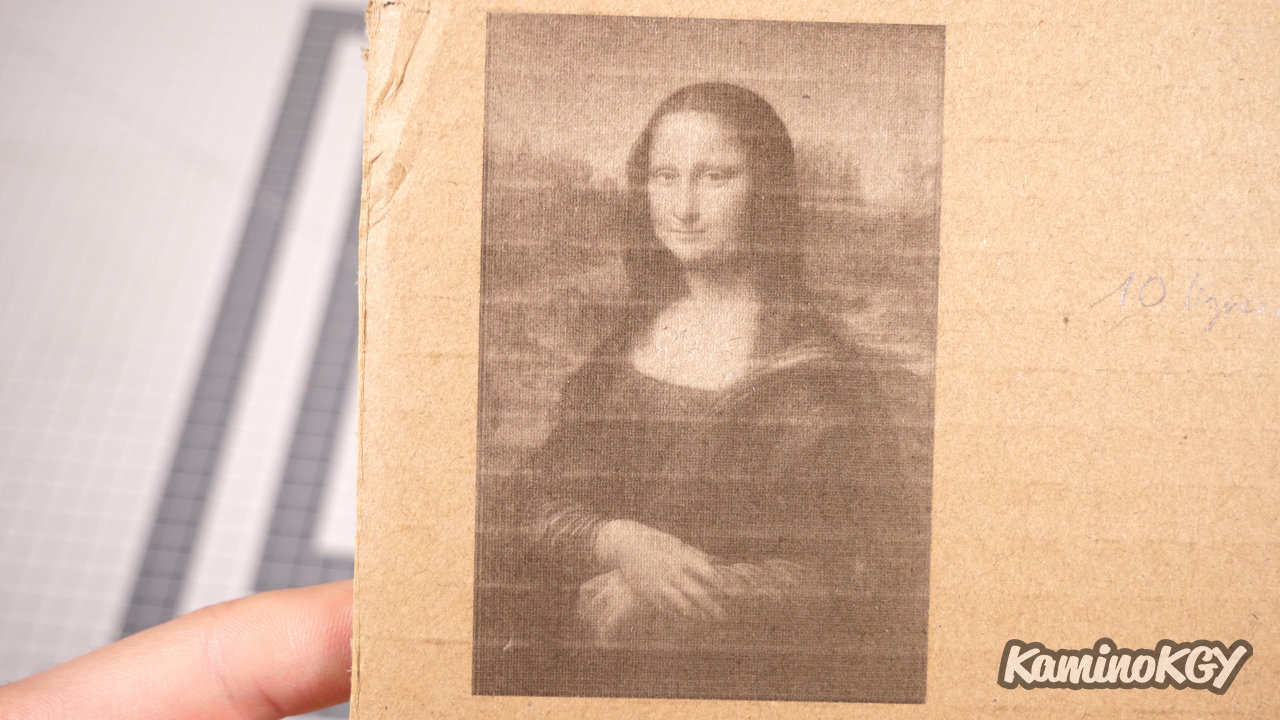
On the first cardboard, the engravings are made in 10 lines per mm. The gradation is well degraded. The photo is Mount Fuji is accurate and details are well distinguished, even in the trees in the foreground, often invisible.
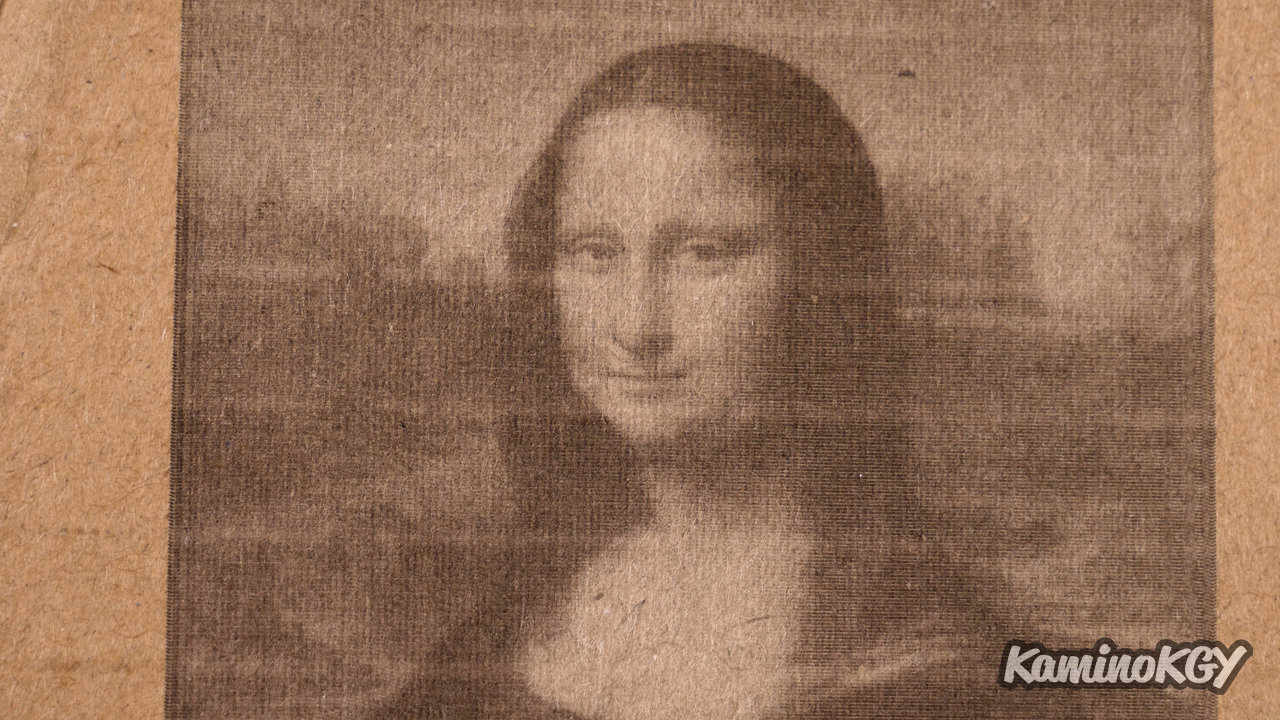
And then the Mona Lisa, there, the result is crazy. Note that the most visible white lines are related to the texture of the cardboard, but that the thinnest are a priori related to the number of lines per mm in height.
That's why I decided to make another engraving of Mount Fuji in 14 lines per mm at the bottom on the second card and in 18 lines per mm at the top. On this one, the result is a bit more mixed, because we gain a lot of details and the contrast is still really good to distinguish the trees for example, but we see appearing like a grid which is quite surprising. I don't know why this happens, but it would seem to me that it's related to the stepper motors on the X and Y axis.
To be sure, I made an engraving on the same cardboard, but rotated to see if it's more related to the machine or the cardboard itself. And this grid is still visible and according to the orientation of the engraving, which means that it is related to the machine.
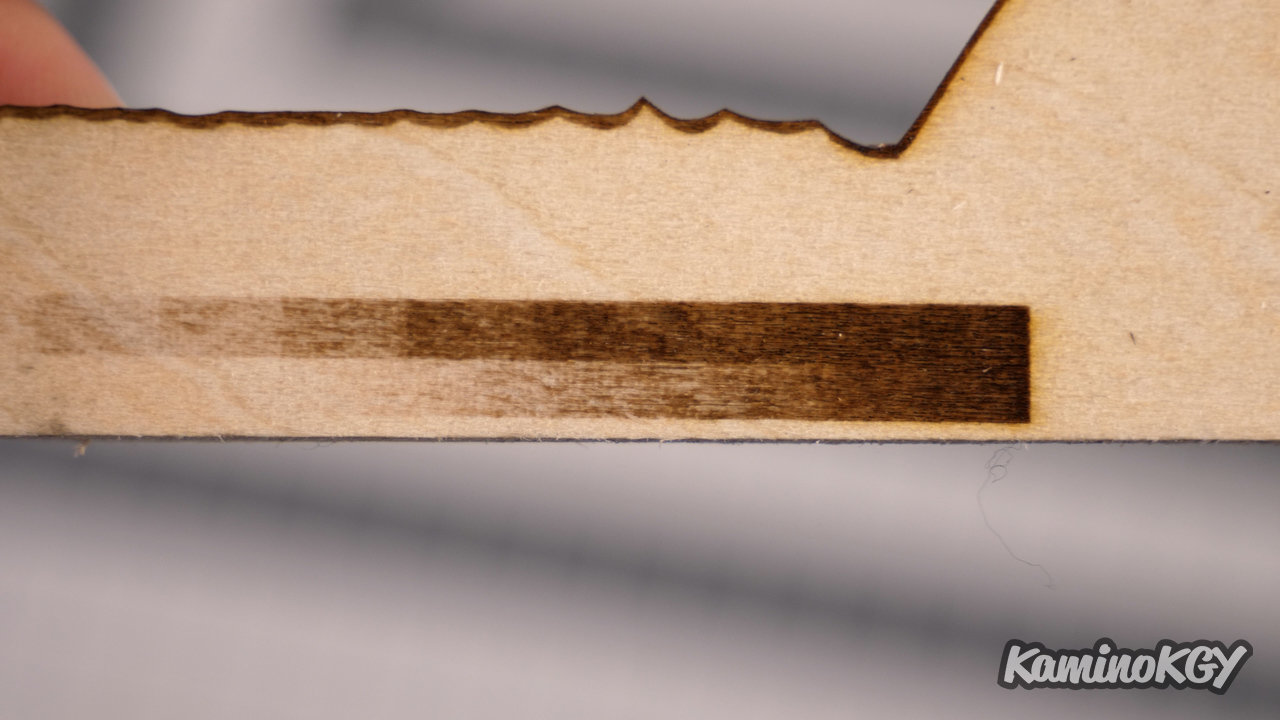
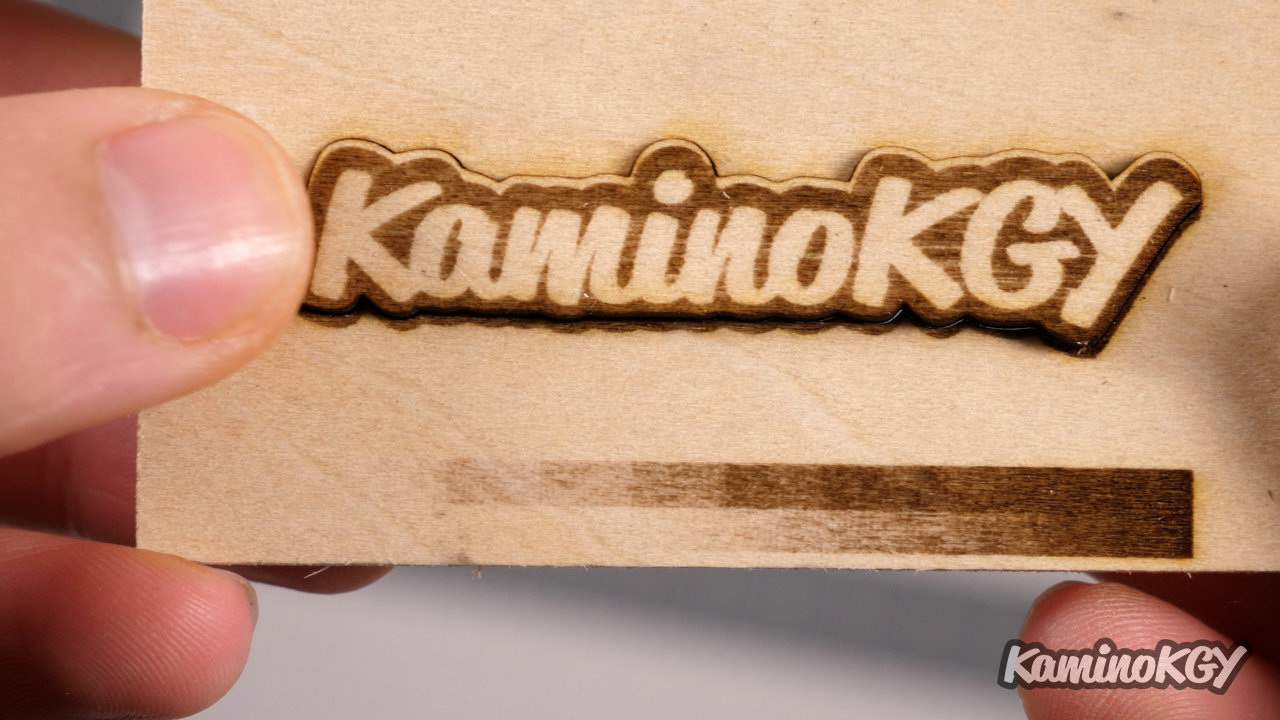
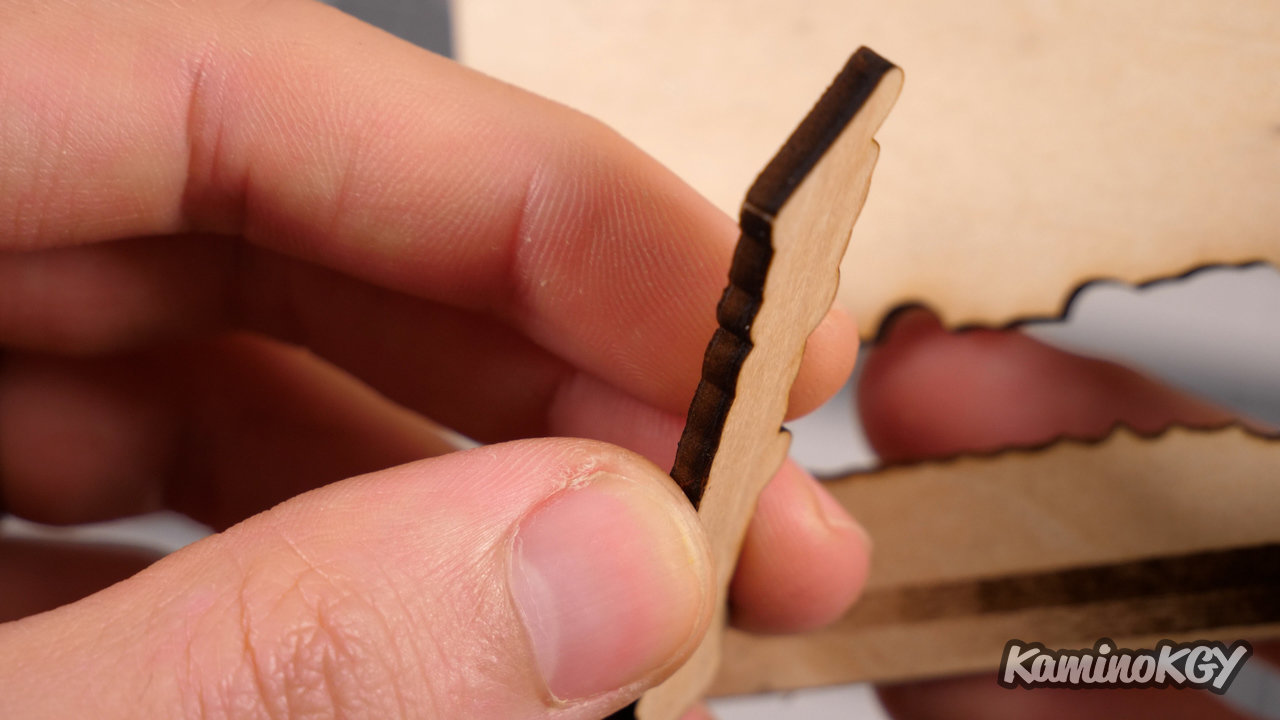
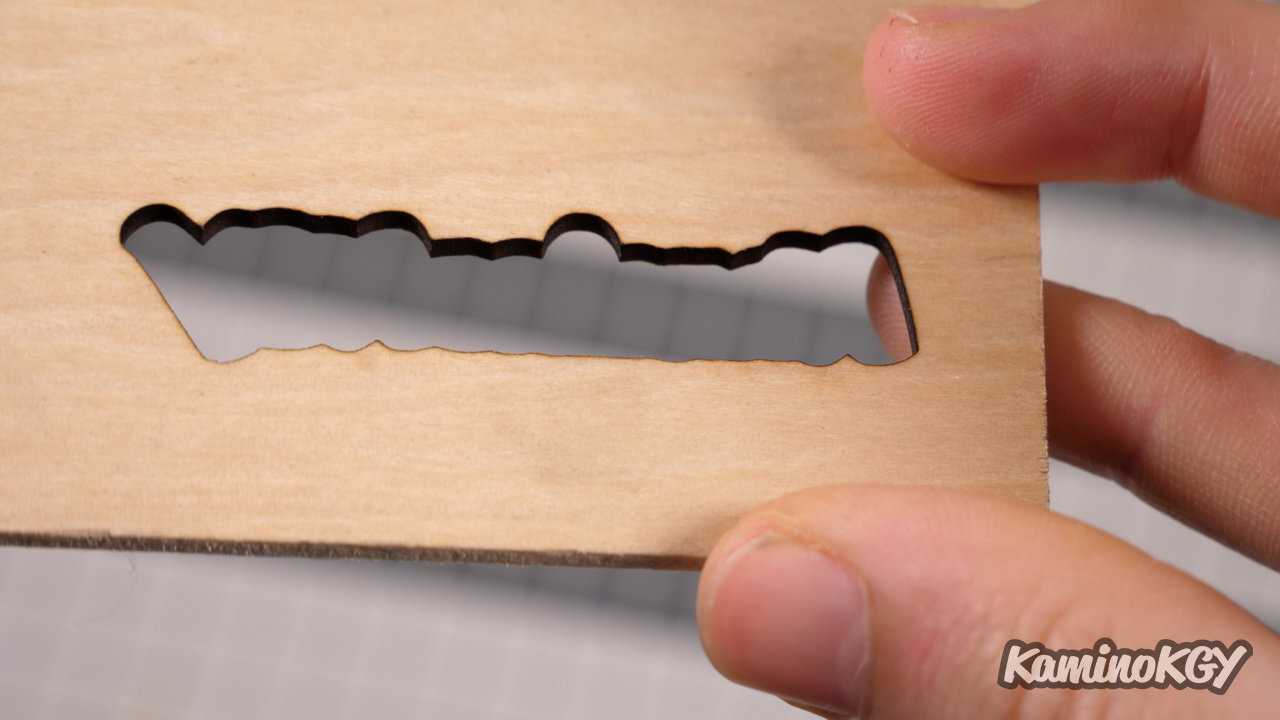
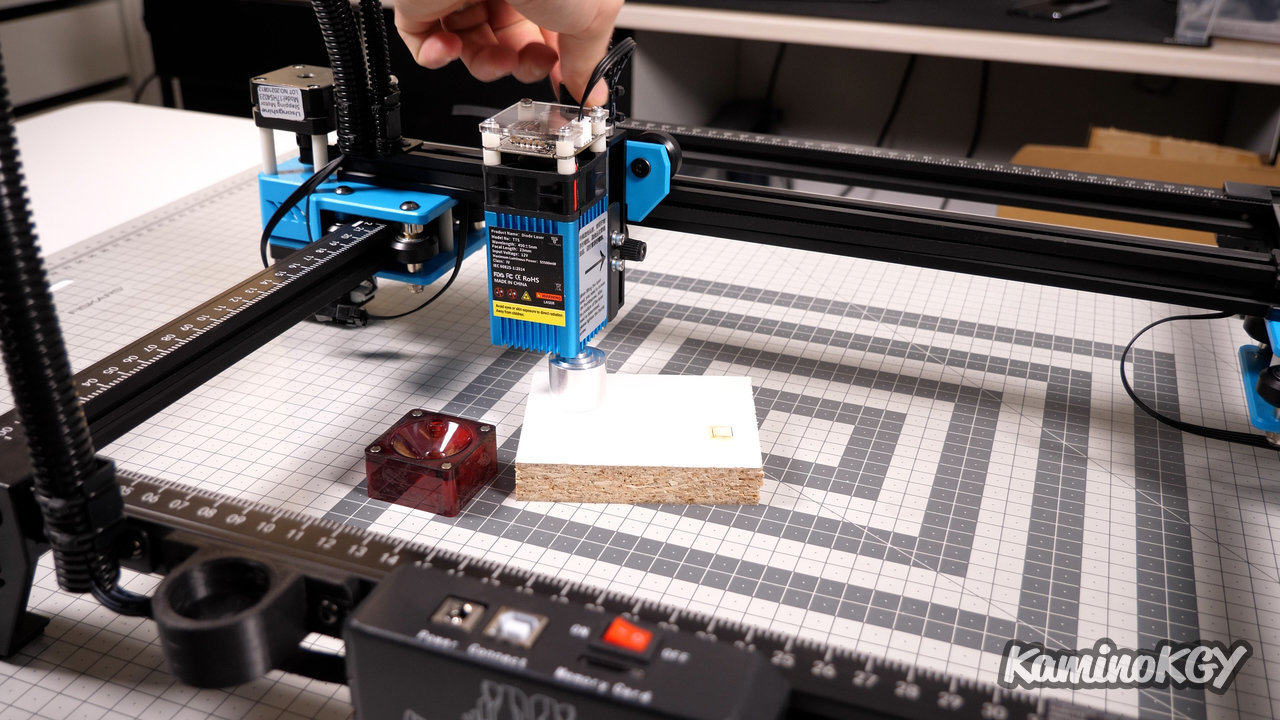
If we pass on plywood in 3mm thickness. The engraving of the gradient is well drawn, and we have a very visible contrast with very dark blacks. Above, I made an engraving of a small KaminoKGY with the same parameters I used for the cardboard just before. And I was able to cut around it in one pass with the laser power at 100% and a speed of 300 mm/min. You can see a gap between the 2 because it must have moved between the 2 as I launched them one after the other.
To summarize
I must say that I am pleasantly surprised by the result and I did not expect this. The engravings are really precise and we have interesting contrasts.
Bye bye!